I’m not afraid to admit that when it comes to buying gifts for my wife…I have some room for improvement! I normally dread holidays because I just don’t know what to get her. It’s not that I don’t know her likes and dislikes, it’s that I struggle with finding her the “perfect” gift on a NOT SO “perfect” budget!
With Valentine’s Day swiftly approaching and after receiving my early Valentine’s gift from her (My Avett Brothers Inspired Coffee Mugs) I set out to make her a gift that would she would love every day! (and do it on a budget!)
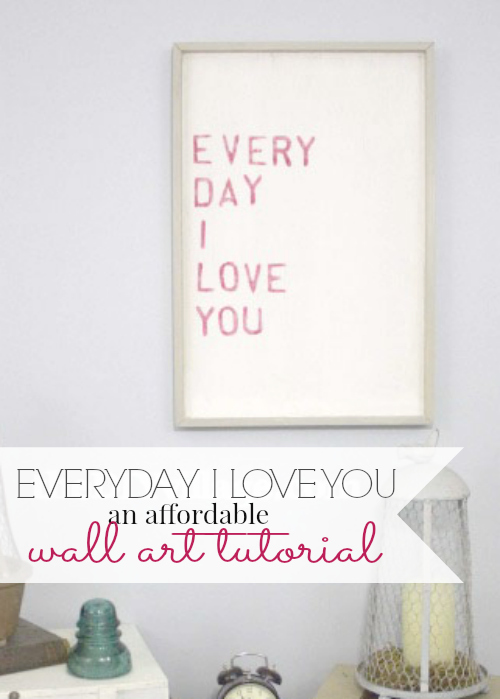
Since the first time Jacque ran across this beautiful “Every Day I Love You” word art by Sugarboo Designs, she fell in love with it! I wanted so badly to get it for her, but the $250 price tag just didn’t allow for it. Since I knew how much she wanted one, I decided since I couldn’t buy it for her that I’d make one for her instead!
I headed to our local home improvement store and bought some supplies.
I spent a whopping $11.00!!! I know…How’s that for affordable???
Here’s what I bought!
(5)- 1/2″x2″x24″ pine boards
(1)- 2’x2′ sheet of Luan
 Since I wanted to get as close to the original as possible, I chose to used mitered corners for the frame. But if you don’t want to fool with having to cut angles, take a look at this alternative way to make a frame in a recent post written by Jon of Young House Love.
I cut small pieces of wood for each corner. I figured I could use the blocks to help stabilize the frame and as an added bonus, they’d help secure the my luon art board in place by adding extra points of contact.
 I held the blocks against the sides of the frame with clamps and secured them in place using glue and a few brad nails.
 Once the frame was together, this is what it looked like.
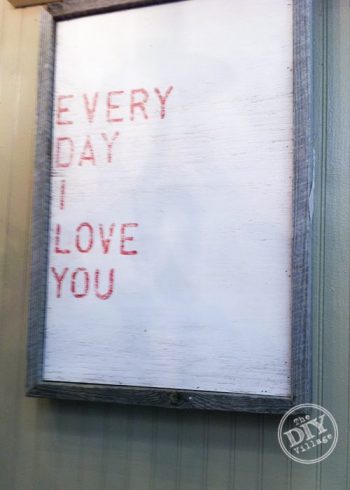
 I wanted to give the wood a more neutral and weathered look, so I grabbed some leftover stain we had from a previous project and gave the frame two coats of Rust-oleum Sun-Bleached Ultimate Wood Stain
 Next I needed to cut my piece of luon to a size that would fit on the inside of my frame. So I wrote my measurements down and with the help of the Kreg Rip-Cut
I easily cut the luan down to the correct size. Then painted it with a multi-purpose primer.
Once all the paint and stain had dried, I applied some wood glue to each block on the frame, laid the luan in place, and secured it in place until the glue had time to dry.
Now before I move on to the next steps, I realize that there are people that may not be have the vinyl cutting equipment to accomplish what I’m about to show you. If you are one of those people, don’t let that stop you! Just head down to your local sign shop and have them cut a custom stencil out of vinyl for you.
Now let’s move on to the artwork!
 Adobe Illustrator is my go-to program for creating the words or images that I use for my word art projects . I’ll always start out by going through my fonts to see if I’ve got one that will give me the look I’m wanting to recreate. In this case, I couldn’t find what I wanted, so I ended up just recreating the letters by drawing them like shapes.
 Once my layout was to my liking, I went ahead and cut my stencil and transferred it over to the luan.
 To achieve the weathered and worn look of the original artwork, I used a dry-brush painting technique, one which you may have seen us you on a few of our other projects. (Two of my personal favorites, The Woodland Dresser and the Word Art Dresser!)
 Lastly, by placing a couple of Command Picture Hanging Strips
onto the back of the frame, I could hang this without having to add any new nail holes in the wall!
So to review, I spent a grand total of $11.00 on supplies, used a few leftovers I had from past projects, and if you take out the time it took for the stain, paint, and glue to dry, I had less than an hour and a half of hands-on time invested in this project.
And here’s a side by side comparison!
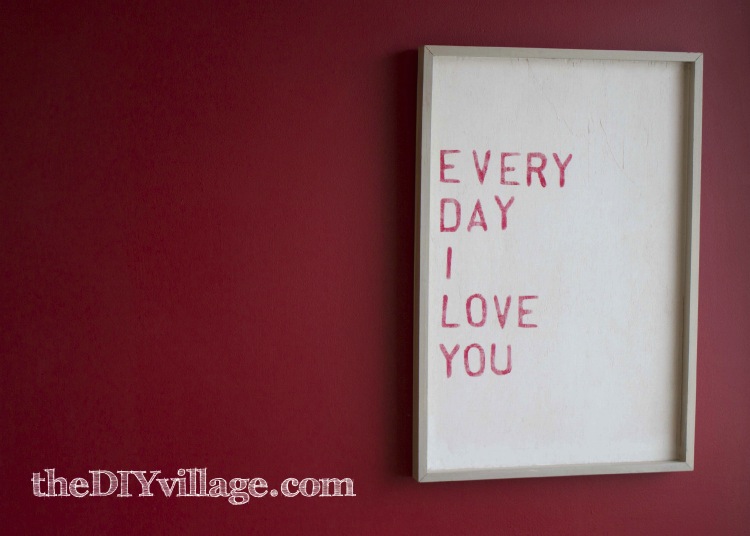
I ended up giving this to Jacque a couple of weeks before Valentine’s Day…I just couldn’t wait…and she absolutely loved it!
(So much so that she made me hang it up immediately!)
I think this is by far, the most “spot-on” gift I have ever gotten her! Funny thing is, at first, she thought this was the one from the store!!!
Every Day I Love You Word Art : An Affordable Knock-Off = A Resounding Success!
Now, I’d better get a jumpstart on what I’m going to get Jacque for our anniversary…UGH!
I’m open for suggestion if anyone has any ideas!
Wow! Fantastic tutorial! I need some new powertools in my life-that Kreg thingamajig looks pretty darn cool!
Thanks Melissa! That was the first time I used the Kreg Rip-Cut and I am pretty impressed with how it did! I’ll have another chance to get more familiar with it, as Jacque has recently added a master closet renovation request to the Honey-Do-List!
Love this DIY art piece! Love the font you chose! I love making DIY one of a kind art pieces like this! 😀 Pinned!
Thanks Heather! This was a really fun project to work on! Especially because Jacque wasn’t expecting it!
Oh come on now! Stop making all the other guys out there look bad! 🙂
Courtenay, I promise you, the other guys will have their turn to return the favor!
Yay, major husband points to Matt! I don’t think Andy even realizes Valentines day is coming. 🙂 I love the art!!
Ha ha, Thanks Kelly! I finally set up all of the important “don’t forget” dates in my online calendar! I even added reminders as a back up!
Holy romantic! Sweetest. gift. ever.
Ah, thanks Jessica! Hopefully I won’t be held to this standard every holiday!
Dude, what are those little yellow triangle thingies? HOW have I never seen those before?
Oh, and you are pretty much the sweetest husband ever 🙂
Ashley, those are called “Painters Pyramids” and they are super handy to have around. I think we bought these at Hobby Lobby, but I know I’ve seen them in the paint section at Lowes also! And thanks for the compliment, Jacque tells me I have my moments!
Matt, Maybe you and ethan can have a heart to heart before valentine’s day??? SO romantic!
Ha! Jocie, Jacque might persuade you to rethink that! We’ve been together for 7 years and I think this is the 1st time I’ve gotten her a Valentine’s Day present that wasn’t late! I figured I’d better make up for the last 6 years!
hahaha, we’ve been together almost 9 years and some years he has completely forgotten that Valentine’s Day even happens! lol. One day….
In his defense, he is really thoughtful and helpful, just rarely in relation to a holiday.
Seriously, though, great job, Matt!!!
Simple and beautiful! You guys just keep getting better and better with what you do!
Nice work.
–Katie
Thanks Katie! This was a fun project to try and recreate such a cool look! We’re definitely trying to keep our momentum going!
it’s awesome, effective, and packs a lovely punch!
🙂 popping by via tuesday’s treasures and would love to have you visit my blog when you have a moment.
smiles to you.
michele
Michelle, thanks! I’m headed over to check it out right now!
It’s so beautiful, and a perfect Valentine’s Day gift.
Debbie 🙂
Thanks Debbie! Jacque’s told me every day since I gave it to her that she loves it! So I must have done something right!
Love this project! Sooo sweet! And I need to find some of those little yellow things you used to hold the frame up! I am so glad I found your blog. I keep finding myself here seeing all your great projects, so I’m a follower now. And best of all? We are both in Knoxville!! Small world! Great to meet a fellow blogger in town!
Ellora, it is great to meet another East Tennessee blogger! Those yellow pieces are called Painters Pyramids and they are pretty easy to find locally! Thanks for the follow! And hopefully Jacque and I will get a chance to meet you soon! Take care!
Love this! How simplistic and perfect! You did a great job! Would love for you to share at the party tonight! xo bridgett
http://www.osiemoats.com/2012/07/thursday-linky-party-1.html
Thanks for the compliments Bridgett! I missed last weeks party, but I’ll stop by this week!
Cute project Matt. I have never seen a Kreg Rip Cut before I have got to get one of those. Great tutorial.
Joanie, the Kreg Rip Cut is really nice and super easy to use! Definitely check them out! Thanks for stopping in!
I love knock-off projects and this is adorable and so sweet! Love it!
ps. Great tutorial too! 😉
Thanks Roeshel! Knock-offs are always a fun challenge, and luckily with Valentine’s Day coming up, this one paid off nicely!
Popped on over from Debbiedoos and I see you have a Dalmatian. I have one too! I’ve had many over the years, but sadly they have passed and I’m down to one. Love that you and your wife blog together about DIY. Great job. I’ll be subscribing.
Wonderful and so creative. Now I have a question I am new to all of this and would like to know what the stencil cutter that you are mentioning is? I have a sign I to would like to make but do not want to have to hand cut it. Any help would be great!
Hey Carol! We have two different vinyl cutters. The largest of the two we have is the Roland GX-24, it cuts up to 24″ wide and how ever long you need it to cut length wise. It’s a pretty expensive cutter, so if you’re looking to find a good cutter at a more affordable price, our second cutter is probably what you are looking for. It’s a Silhouette Cameo and it cuts up to 12″x24″. It cuts all kinds of materials and it pretty easy to use. If we can be of any further help, please let us know!
So can I order one from you? Serious. I too fell in love with that sign after seeing it in Joanna and Chip Gaines, from fixer upper, master bedroom. Wanted to recreate but don’t have all the tools to do so. What would you charge?