
Sometimes I find it hard to believe that people are willing to part with their old furniture for near to nothing. We picked up a small dresser last week for $20 on Craigslist. I’d been on the lookout for a small piece of furniture that I could experiment on and with some inspiration from Lindauer Designs, I came up with a plan. I chose to make stencils of streets and cities that Jacque and I had at one time or another lived. But we’ll get to that! First things first! This dresser was in need of a little TLC! As you can see in the picture below one of the drawers wasn’t sitting quite right, that’s because it was missing some of the framework. A trip to Lowes for supplies and some help from my Father-in-law and the dresser was as good as new. We used some 1×2 to replace the missing supports, cut them to length, glued and nailed them into place. And for good measure, we reinforced some loose joints with glue.

After the repair work was complete, the dresser was in need of a good sanding. Thanks to my orbital sander that didn’t take too long. Next we primed the whole piece white, followed by a second coat of a slightly darker tinted primer. My plan was to distress the piece any how, so I thought that I’d try creating a layered look to the surface. After each application the dresser got a quick sanding using very fine sandpaper, just to even out the surface.

We added a 2 applications of top coat and let it dry over night.

Now, I used my vinyl cutter to create stencils, but there are other options! If I didn’t have my cutter, I’d print out the words and trace them onto stencil paper, then using a craft knife, carefully cut the stencil out.
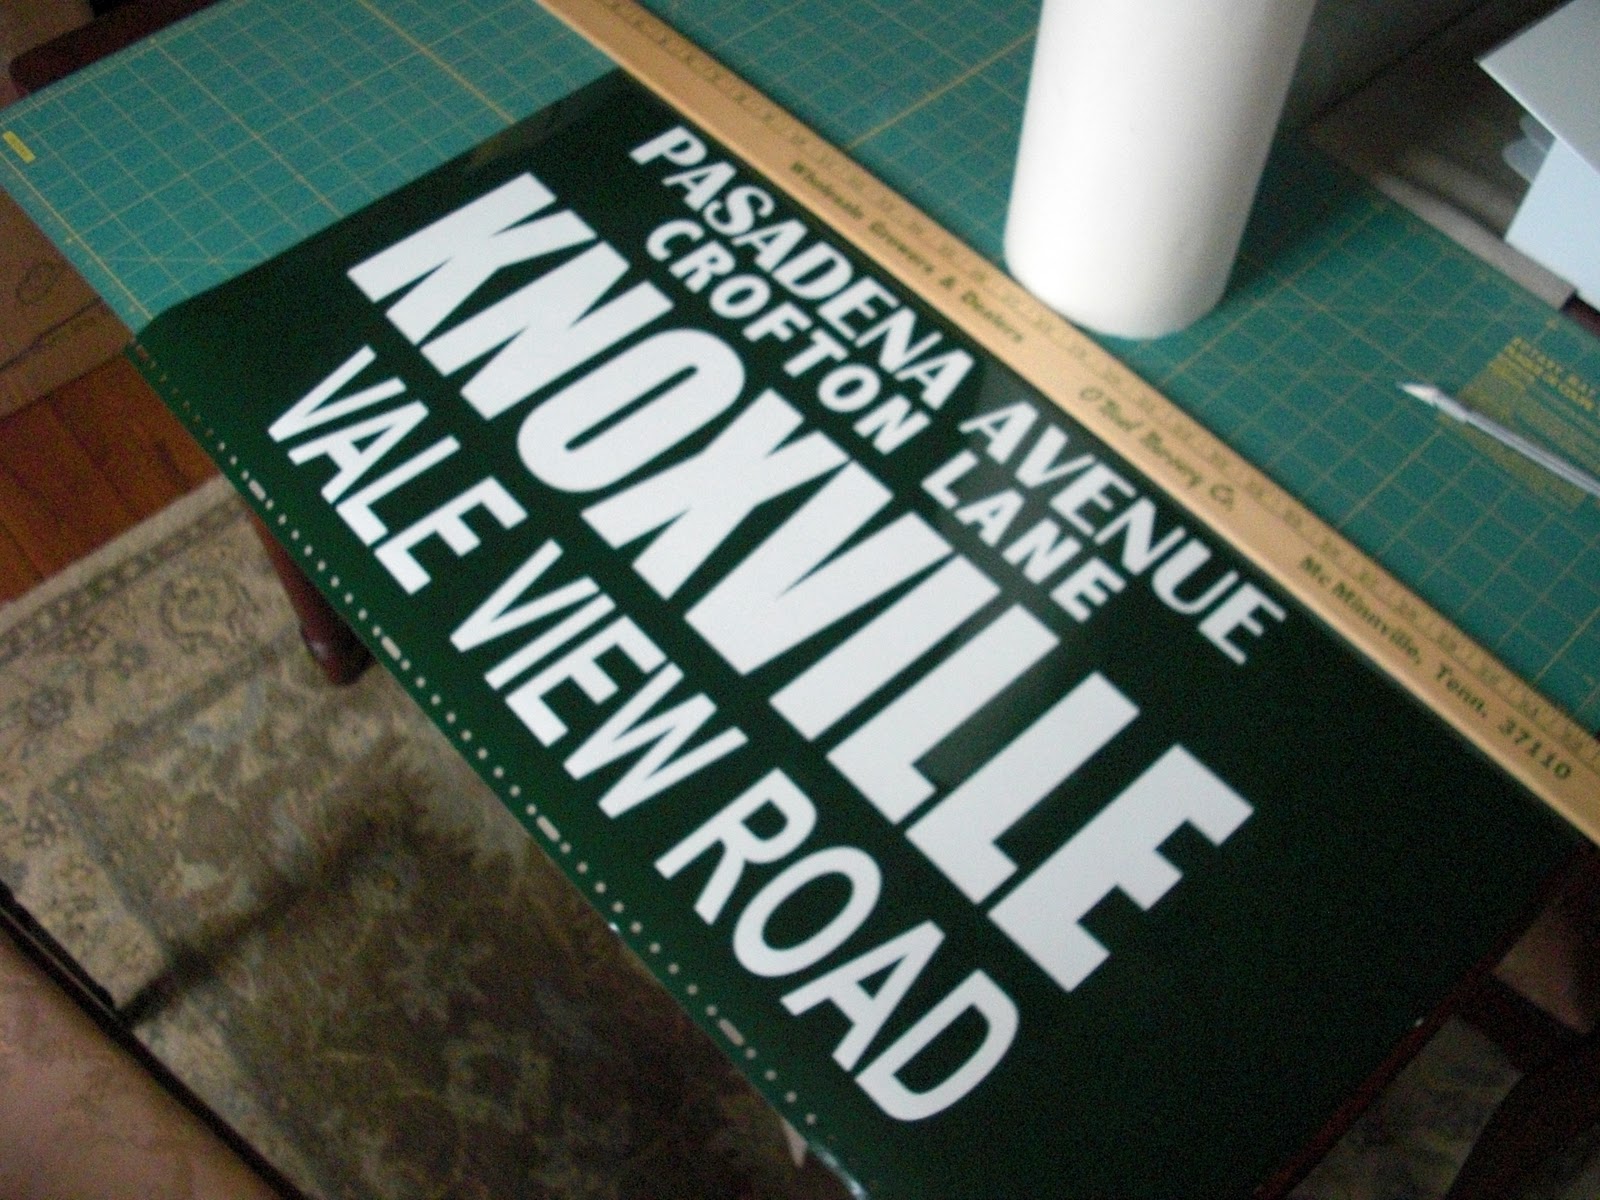
So I secured my vinyl stencils into place and began the stipple painting process using a stencil brush and small amounts of paint. Be careful about putting too much paint on the brush, you don’t want the paint to run.


When you remove the stencil, here’s what you’re left with!
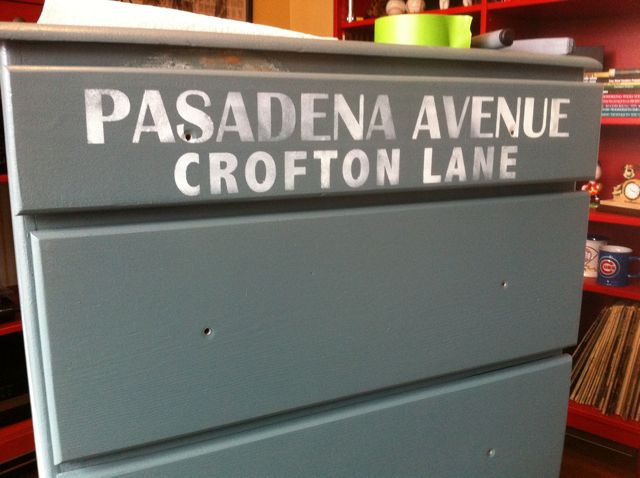
I continued the same process to the rest of the dresser and then let the paint dry for a few hours.


Now it was distressing time! This is also where having painted with two different colors comes into play. When using a medium grit sand paper or a cabinet scraper, vary the amount of pressure exerted on the work surface. This will allow the layers to show through. I try to pay attention to areas that would get more natural wear, like the edges of the drawers and on the frame where the drawers close. The different colors subtly show through on the distressed surfaces and give it a vintage look. We finished it off with a coat of polyacrylic and we can call this project complete!

We’d love to hear your feedback! Please let us know what you think of our Word Art Dresser!
Thanks!
Matt
That is awesome! I love it!!
WOW! What a great idea!! I can't wait to see what you do next!!
I LOVE it! What a great idea!!!!!
It's beautiful! I was thinking of doing a similar thing but with the names of ballparks on them. Thank you for the inspiration!
Kirsten, thanks for the feedback! The ballpark idea would be awesome to see! We'll keep an eye on your blog to see it!
I love this! It's really fantastic! It reminds me of something you'd see in West Elm…
Wow this is a very snazzy masterpiece 🙂 I would love to do something like this one day 🙂
It's so fun to have a custom piece like this in our home! You really should try it sometime :o)
Stopping by from The Girl Creative. I love this transformation! It's such a unique idea and I'm sure it stands out in your home. Pinning it!
Awesome job! Very clever idea!
Thanks Maria! We love word art and we love refinishing furniture, so it just made sense!
OMG ty for sharing – it look fantastic