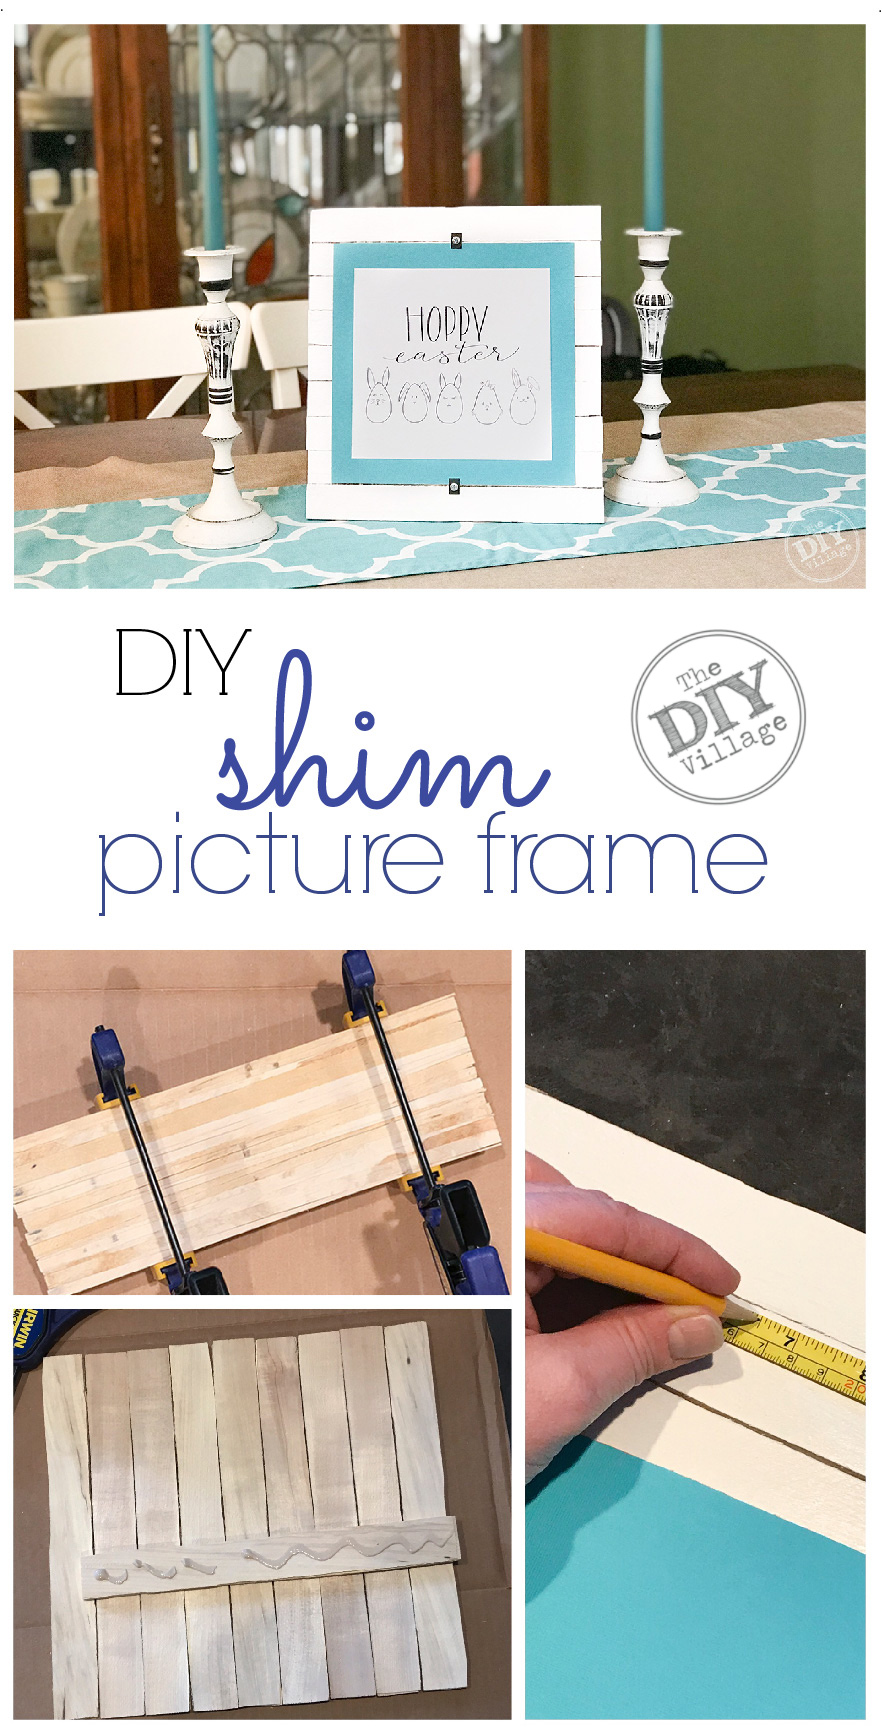
 If you are new to our site you may not know that I love printables. I have created so many of the years but never really had a way to display them. Presented with the challenge to create something neutral to display them on that can be interchanged at any time I went to the garage. Sometimes the best projects are created with things you already own. In my case a wood shim picture frame was a clear winner. The shim picture frame is super easy to make and some of the items I used are optional so the cost is pretty minimal.

MATERIALS:
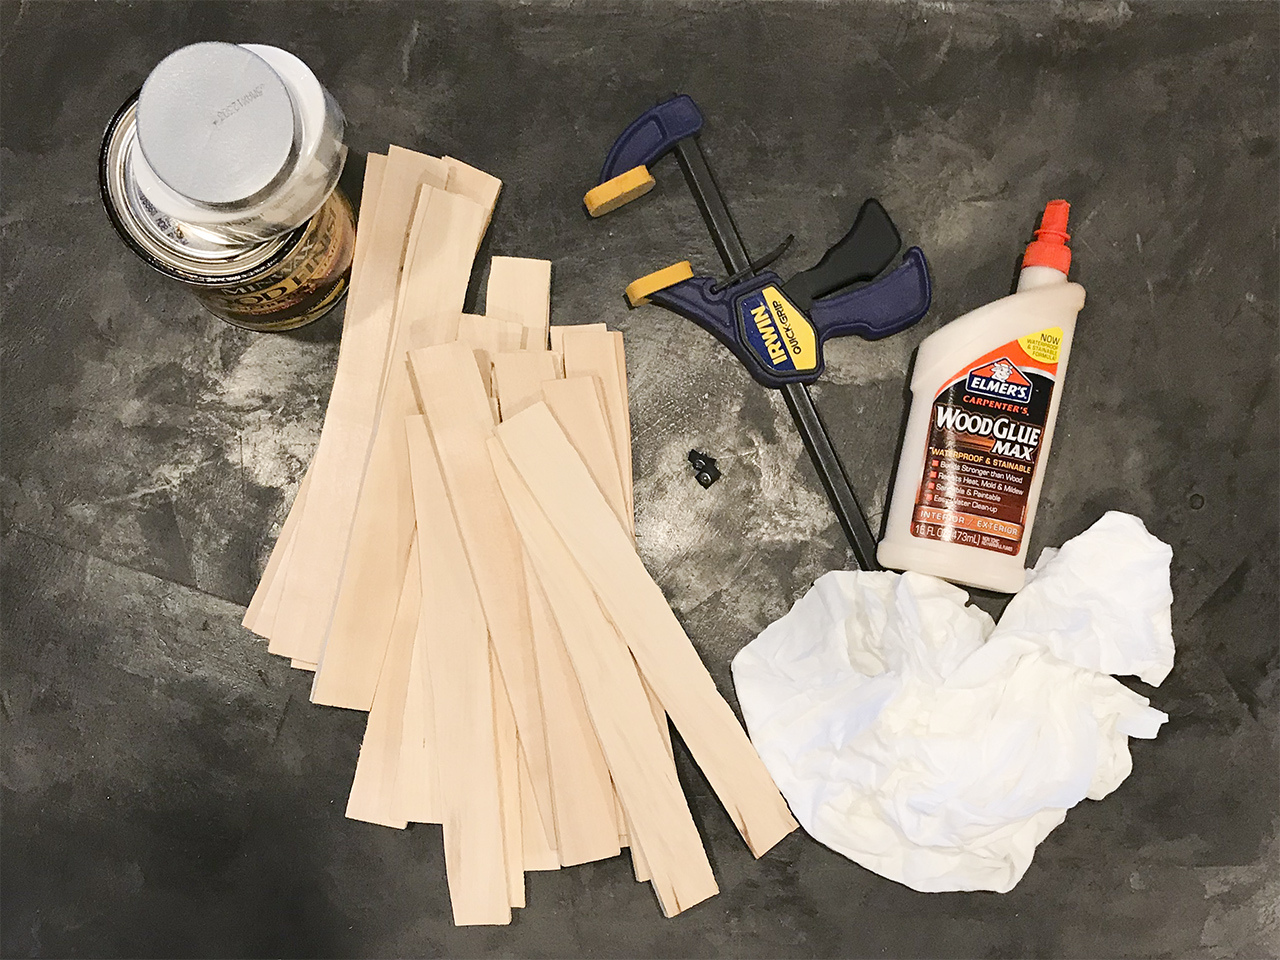 Contractor Shims – 1 package (will need 22 shims)
Wood Glue – (found HERE)
Speed Nuts – 2 (found HERE)
Metal Screws with Rounded heads – 2 (found HERE)
Clamps – (found HERE)
Paint or Stain
Brass Screws (optional) –(found HERE)
Tape Measure (found HERE)
Printable (found HERE)
Chip Board (found HERE)
INSTRUCTIONS:
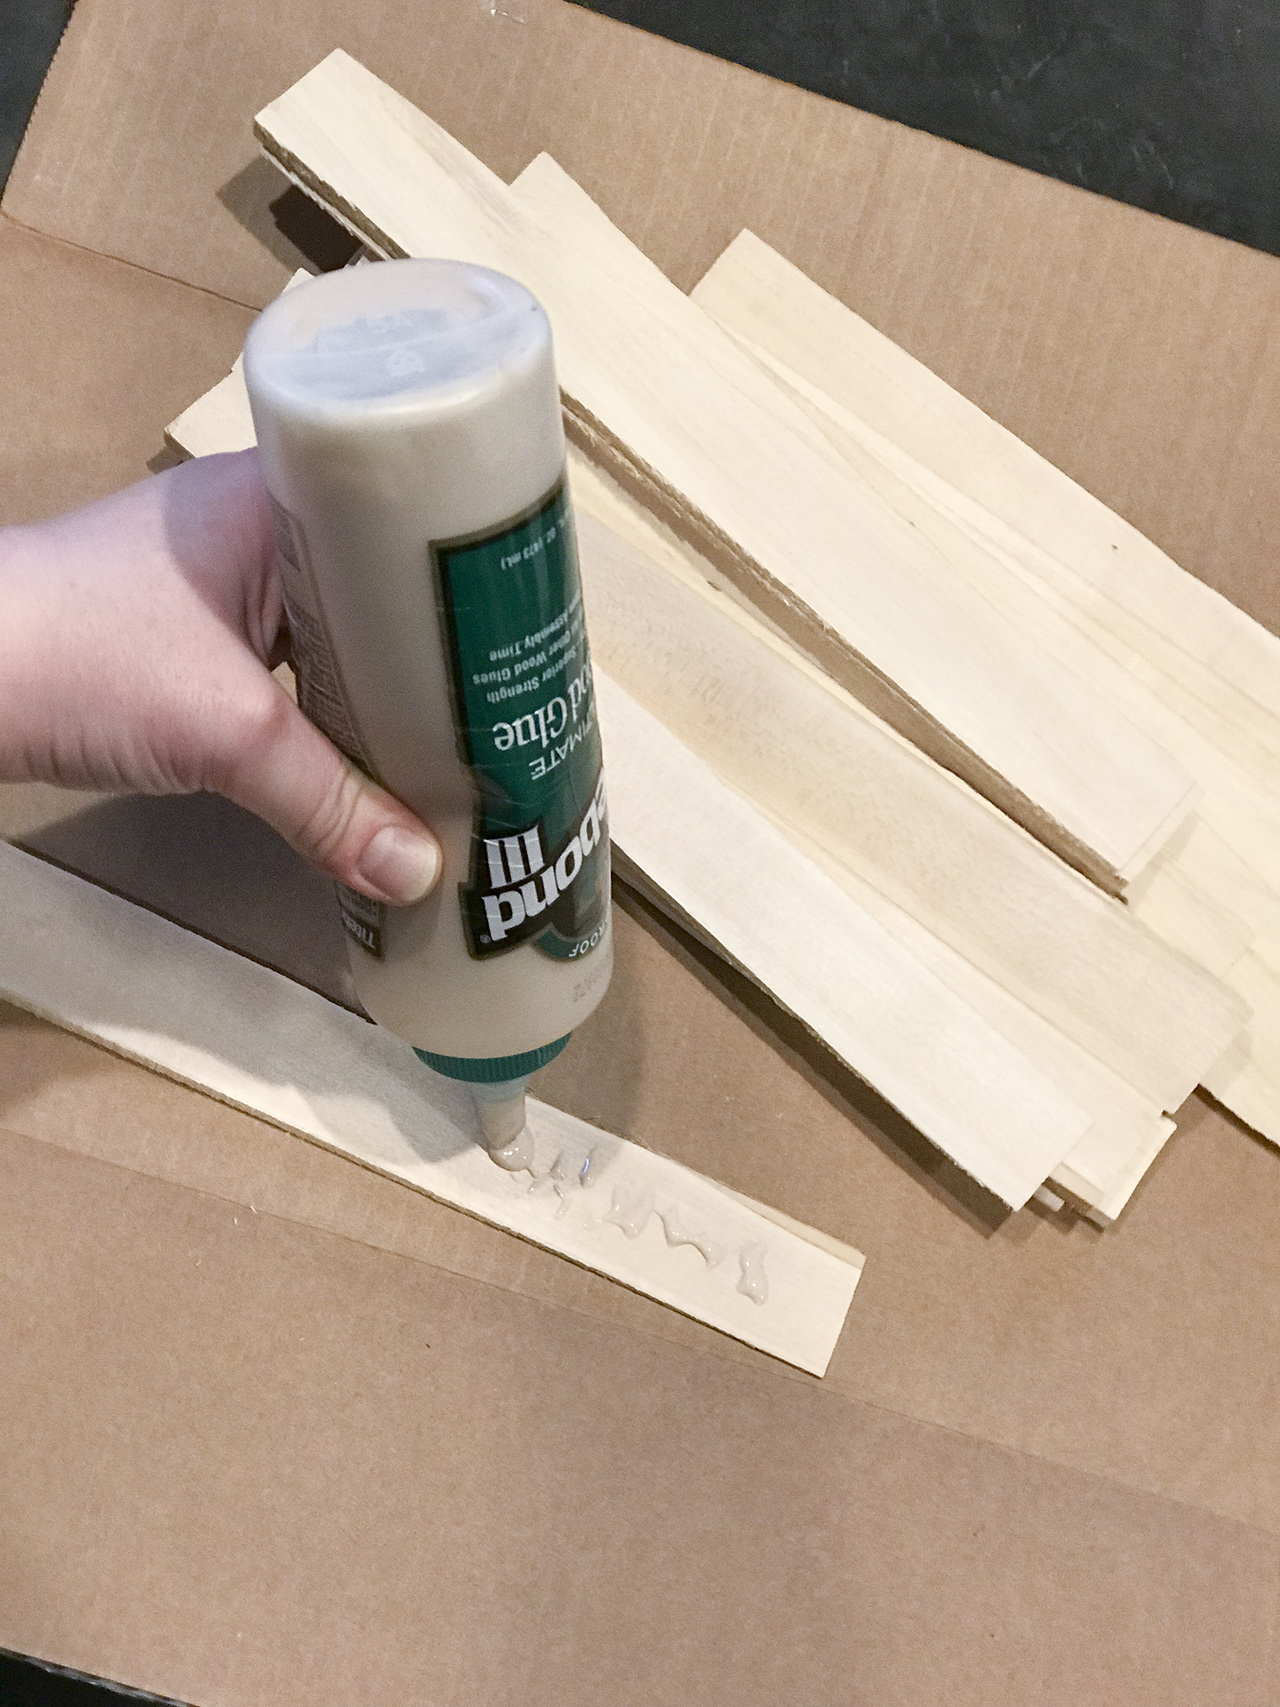 Shims are made on an angle. Two pieces of shim turned with reverse ends will make a rectangle. Apply a bead of glue to one side of a shim.
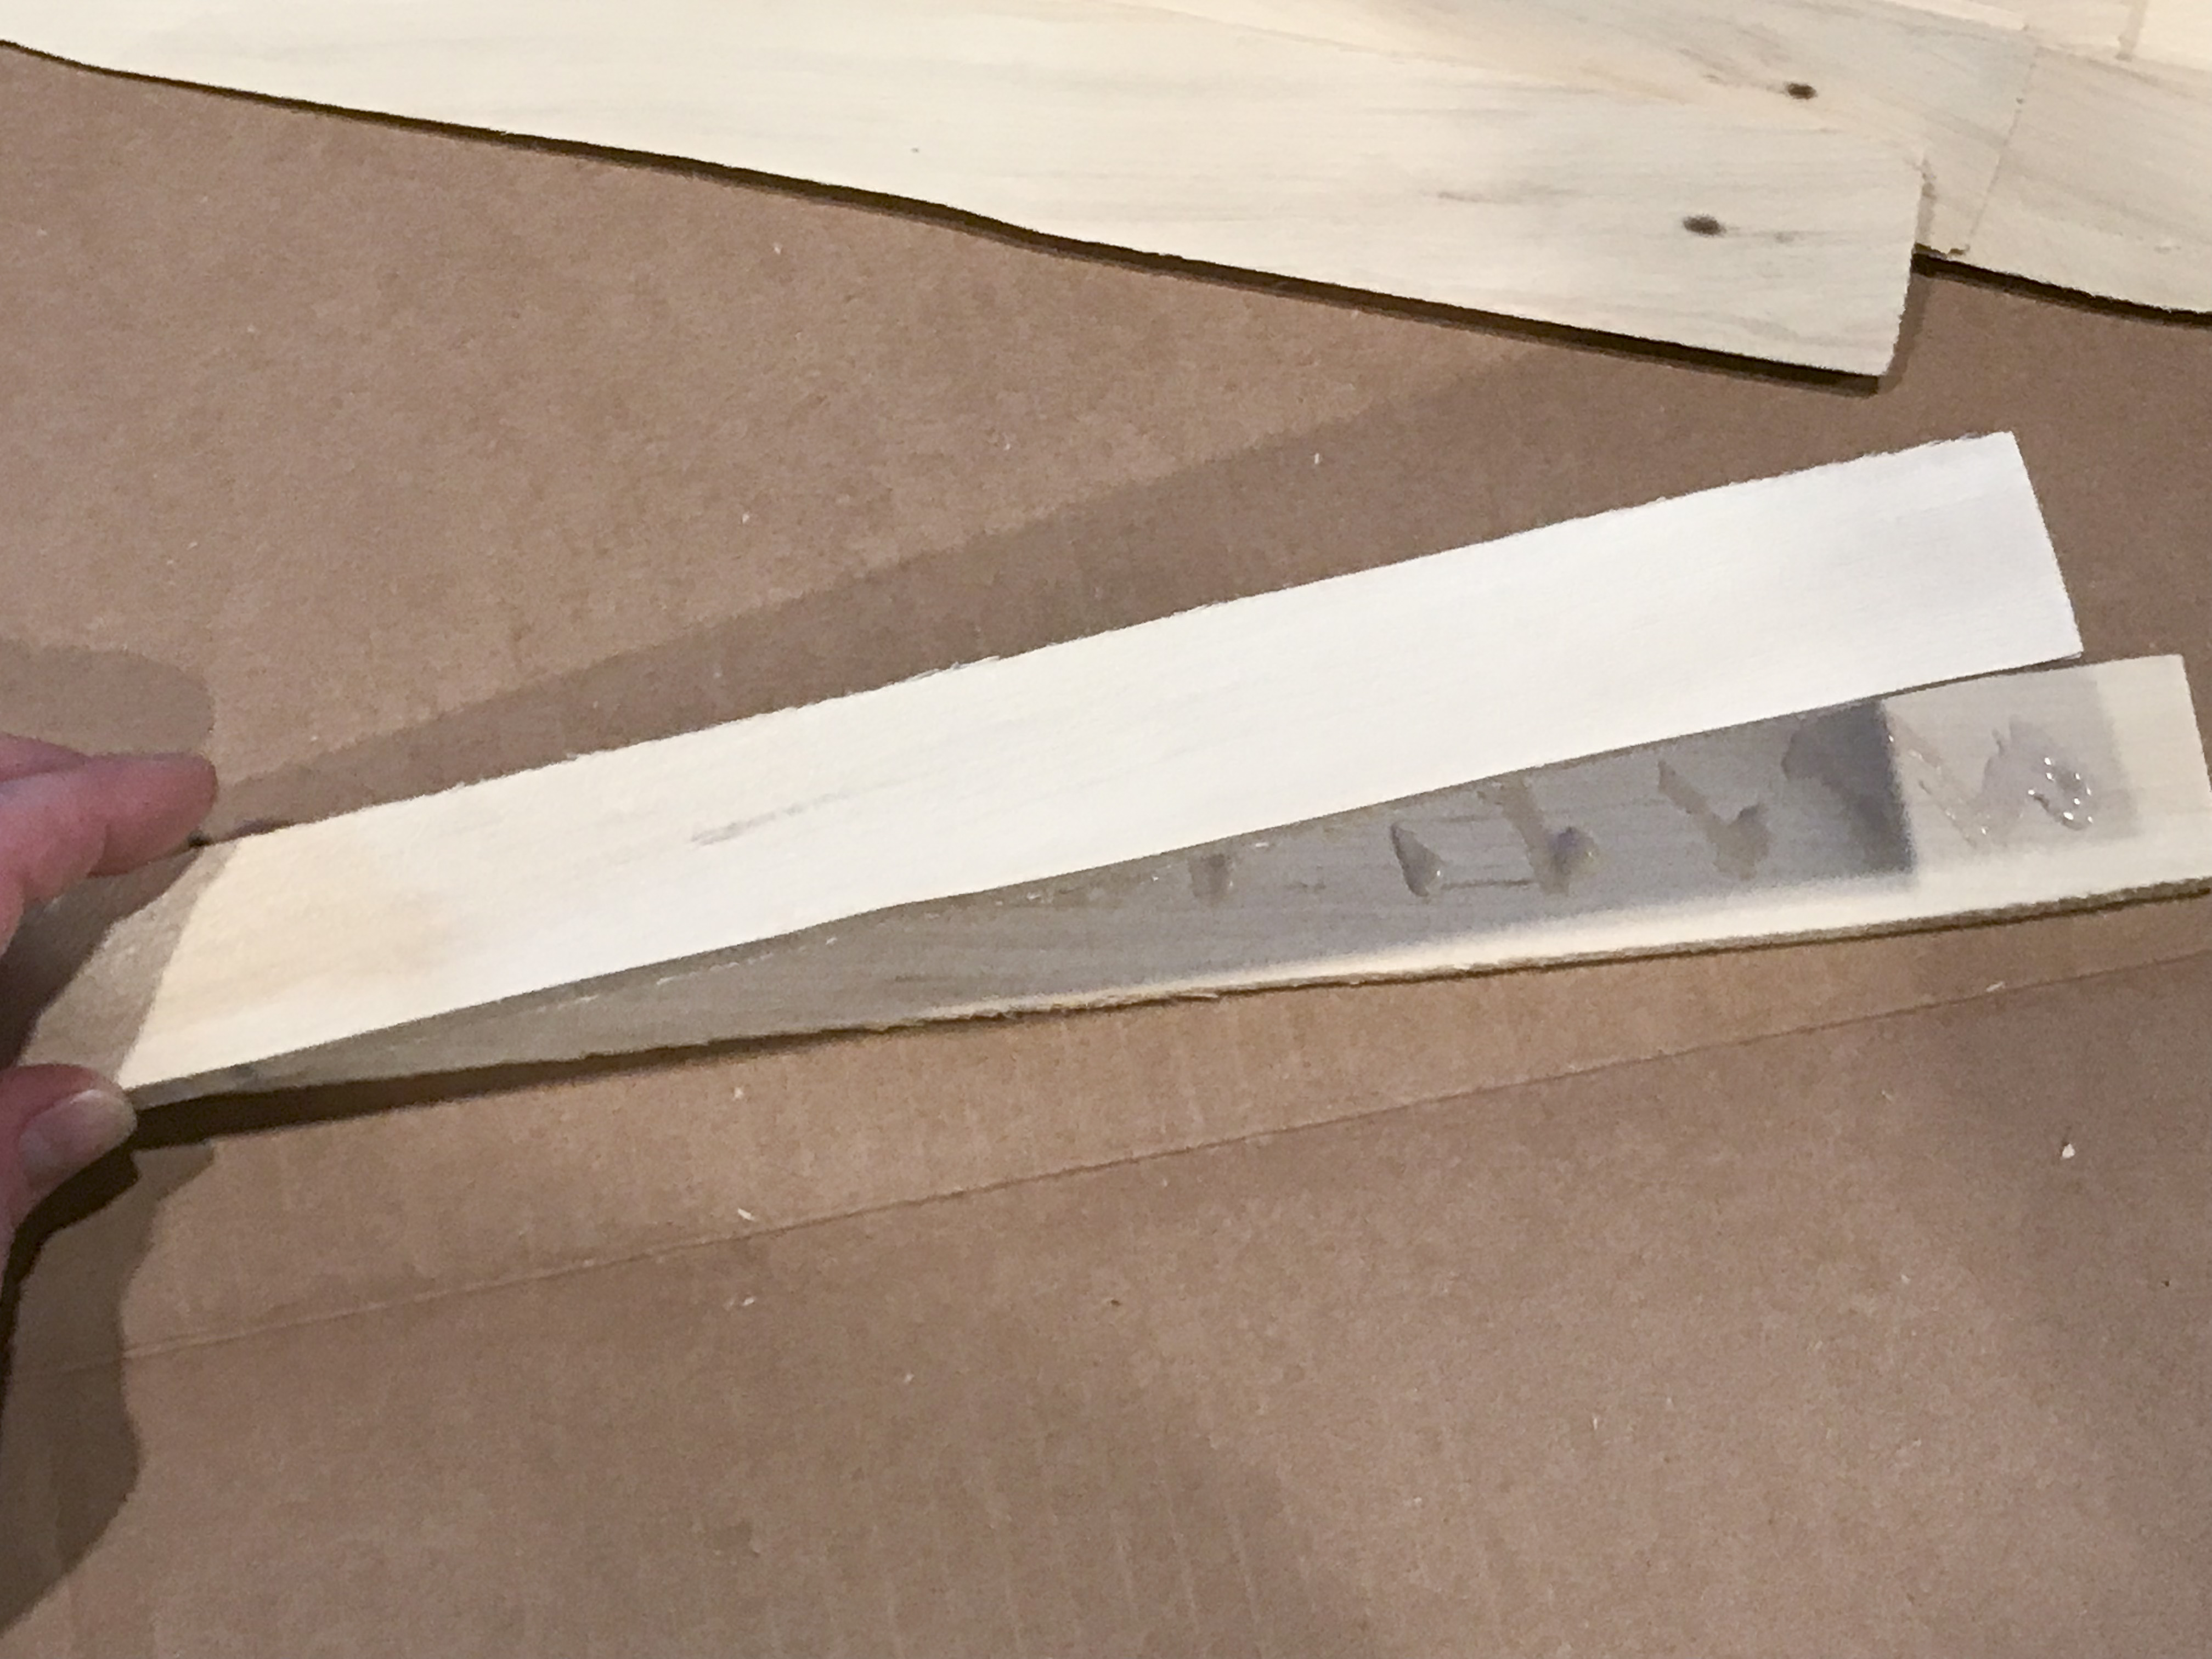 Using another shim place it on top of the glued shim making sure that the ends are flush.
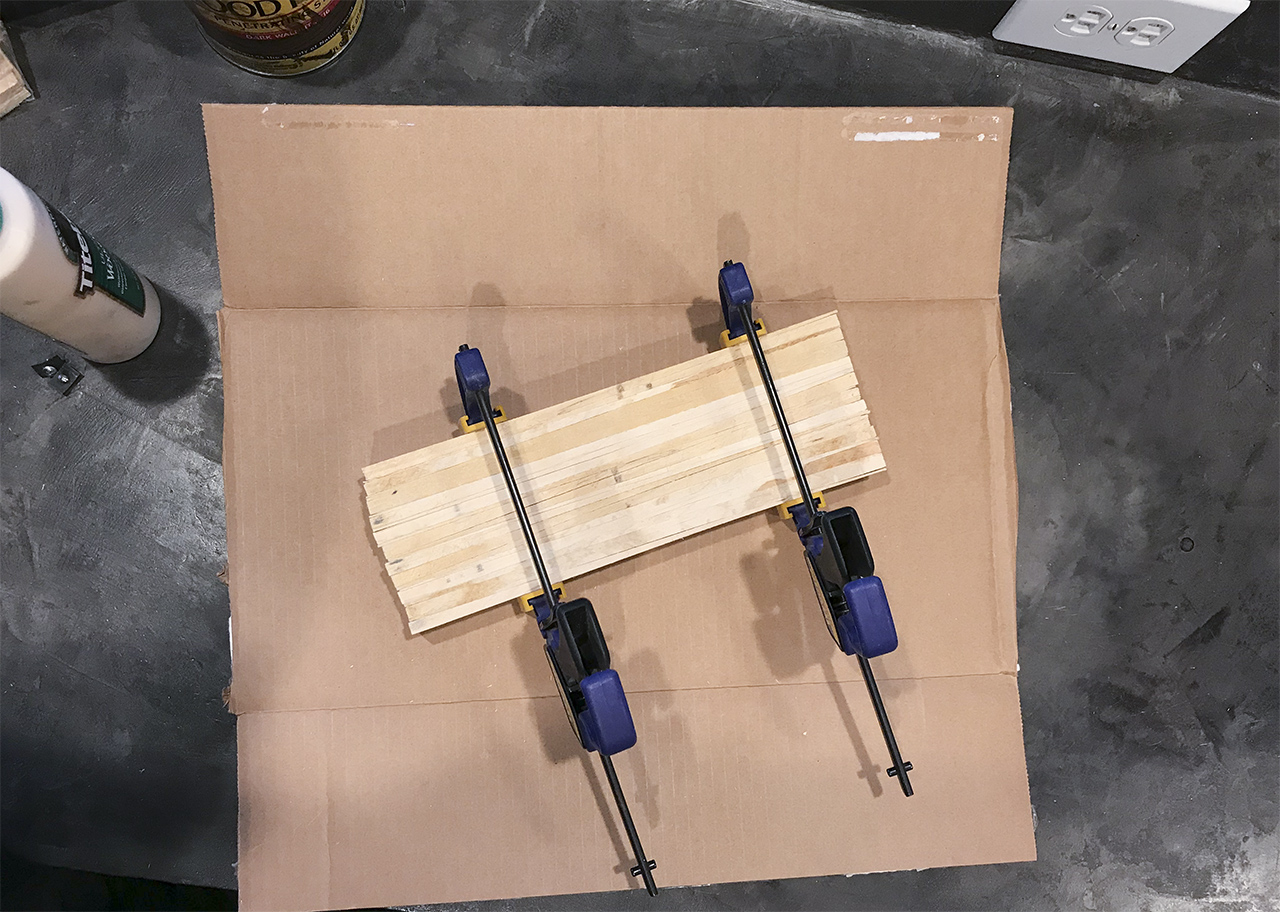
Repeat this process 10 times creating 11 total shim rectangles. Making sure the sides are flush, clamp and let dry.
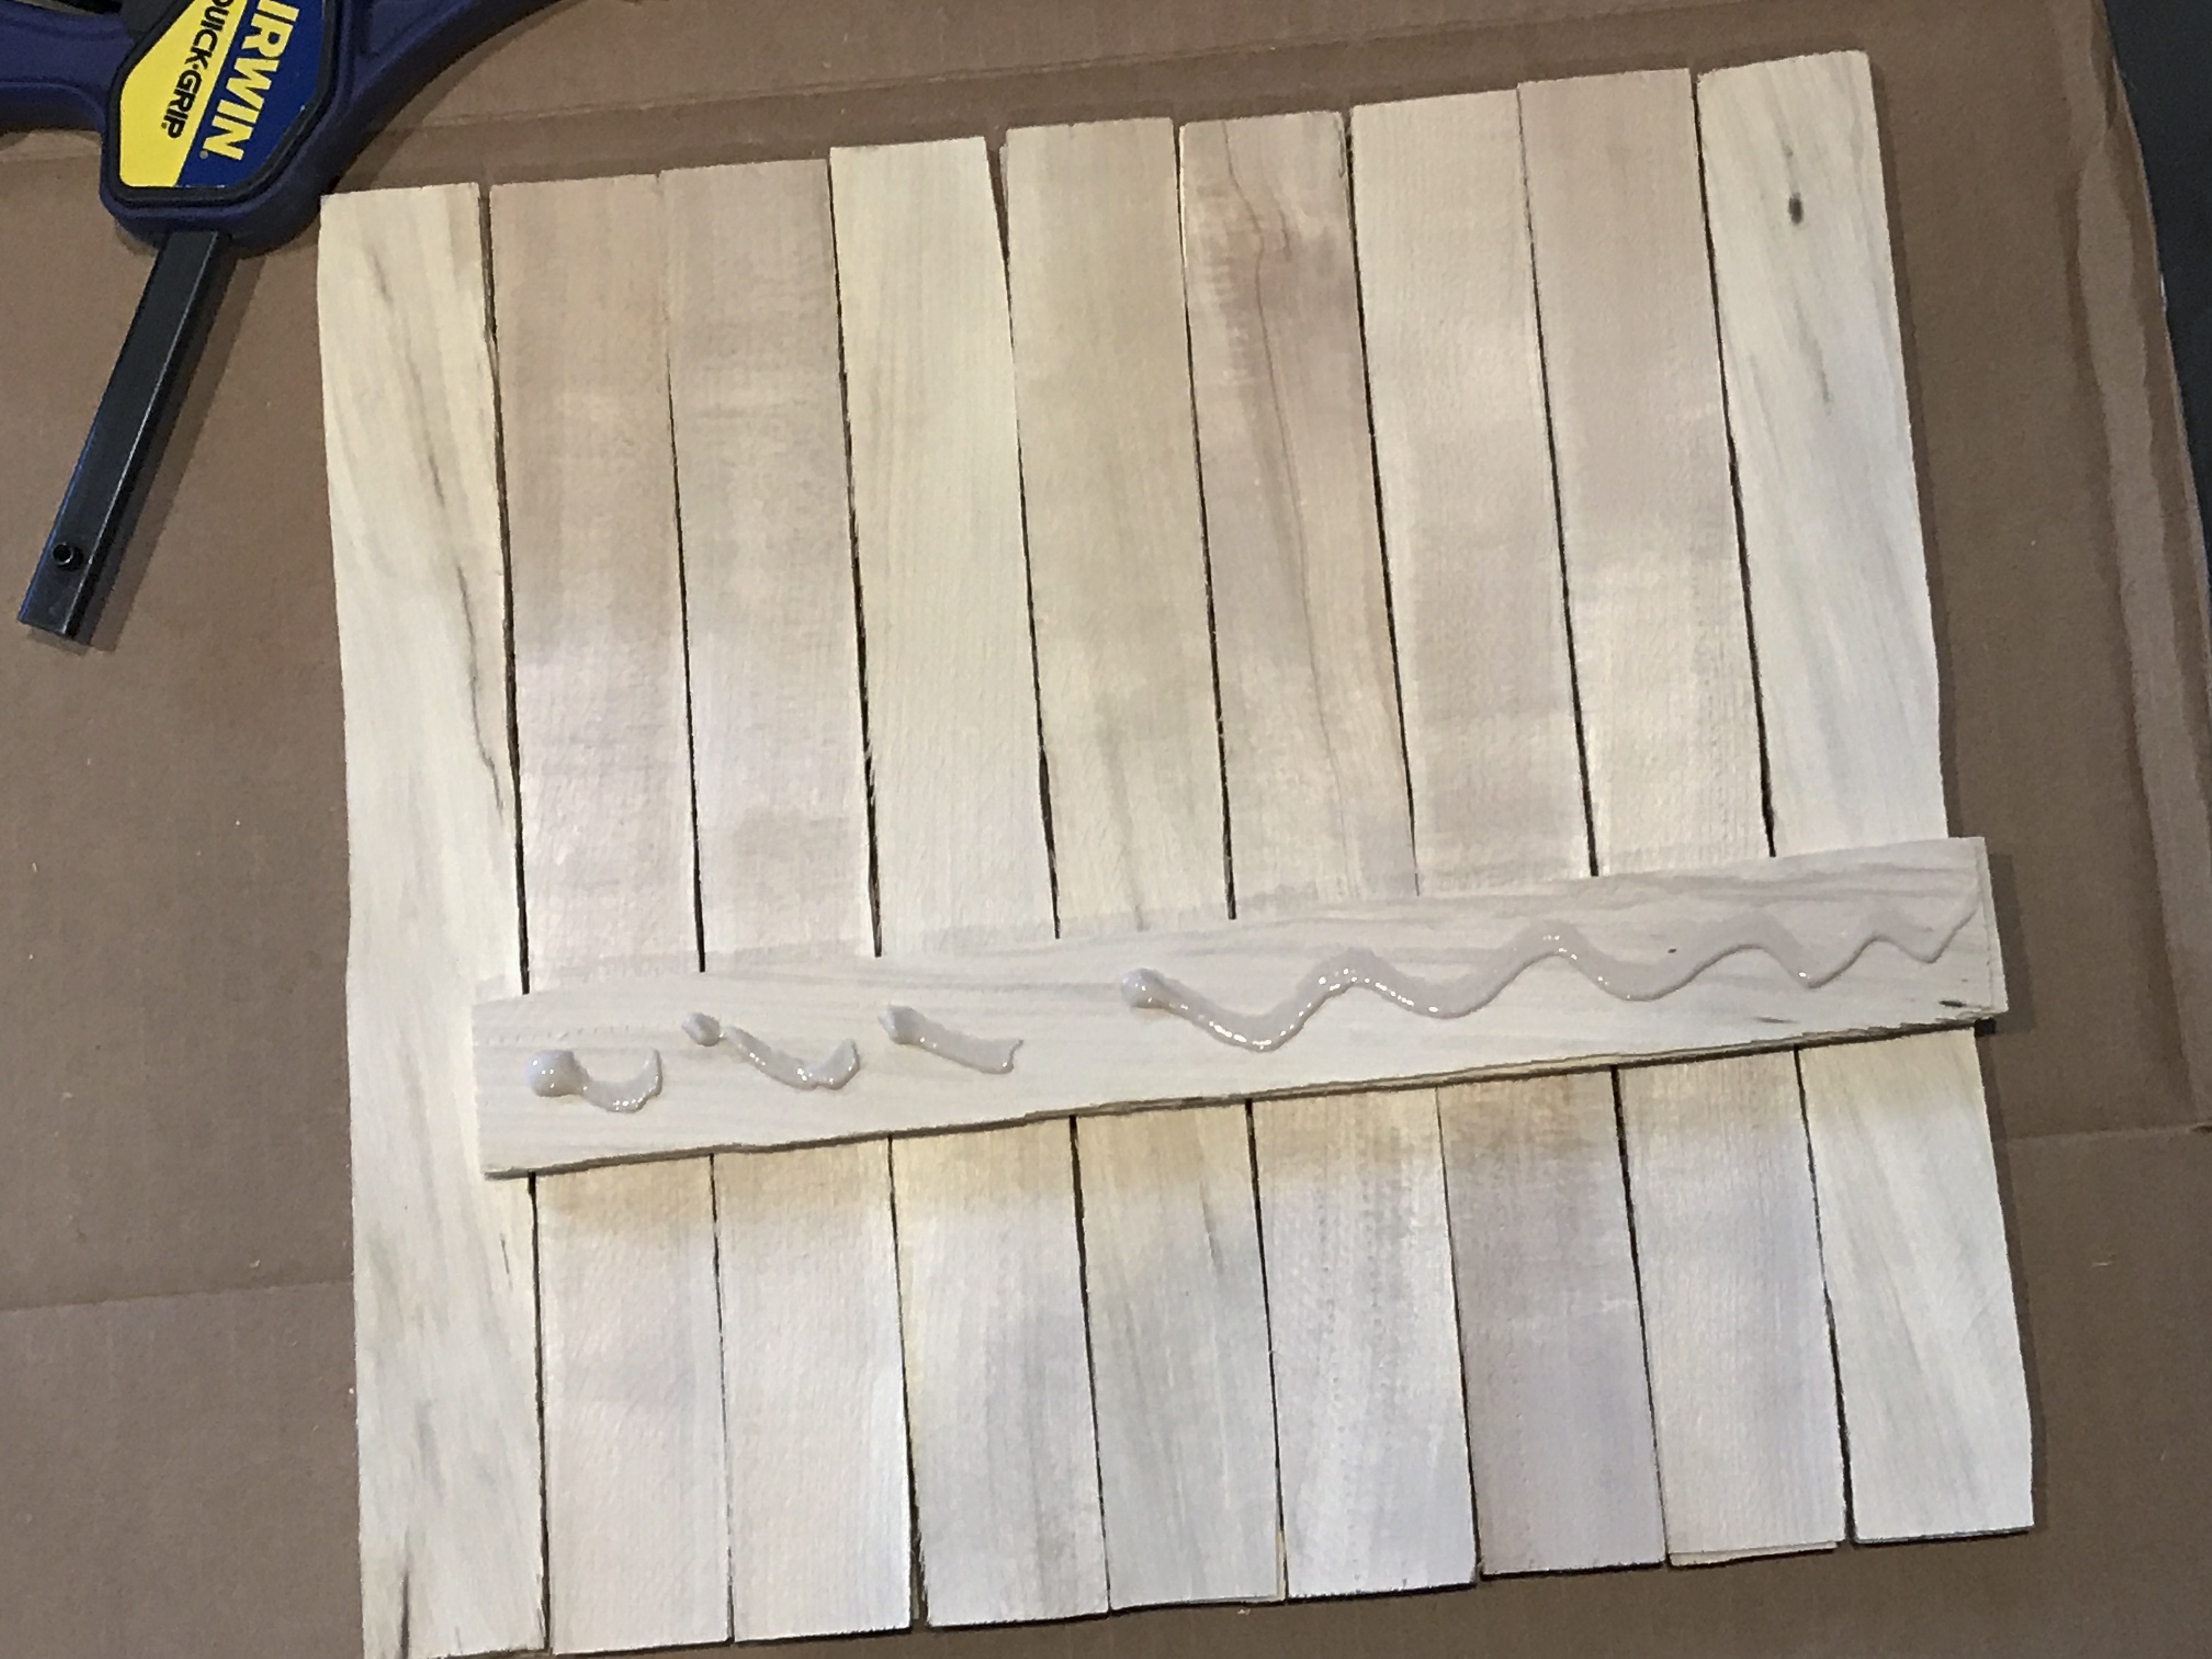 Once the shims are dry lay them out attempting to get them as flush as possible. Apply a bead of glue to the two remaining shims and attach them to the other shims.
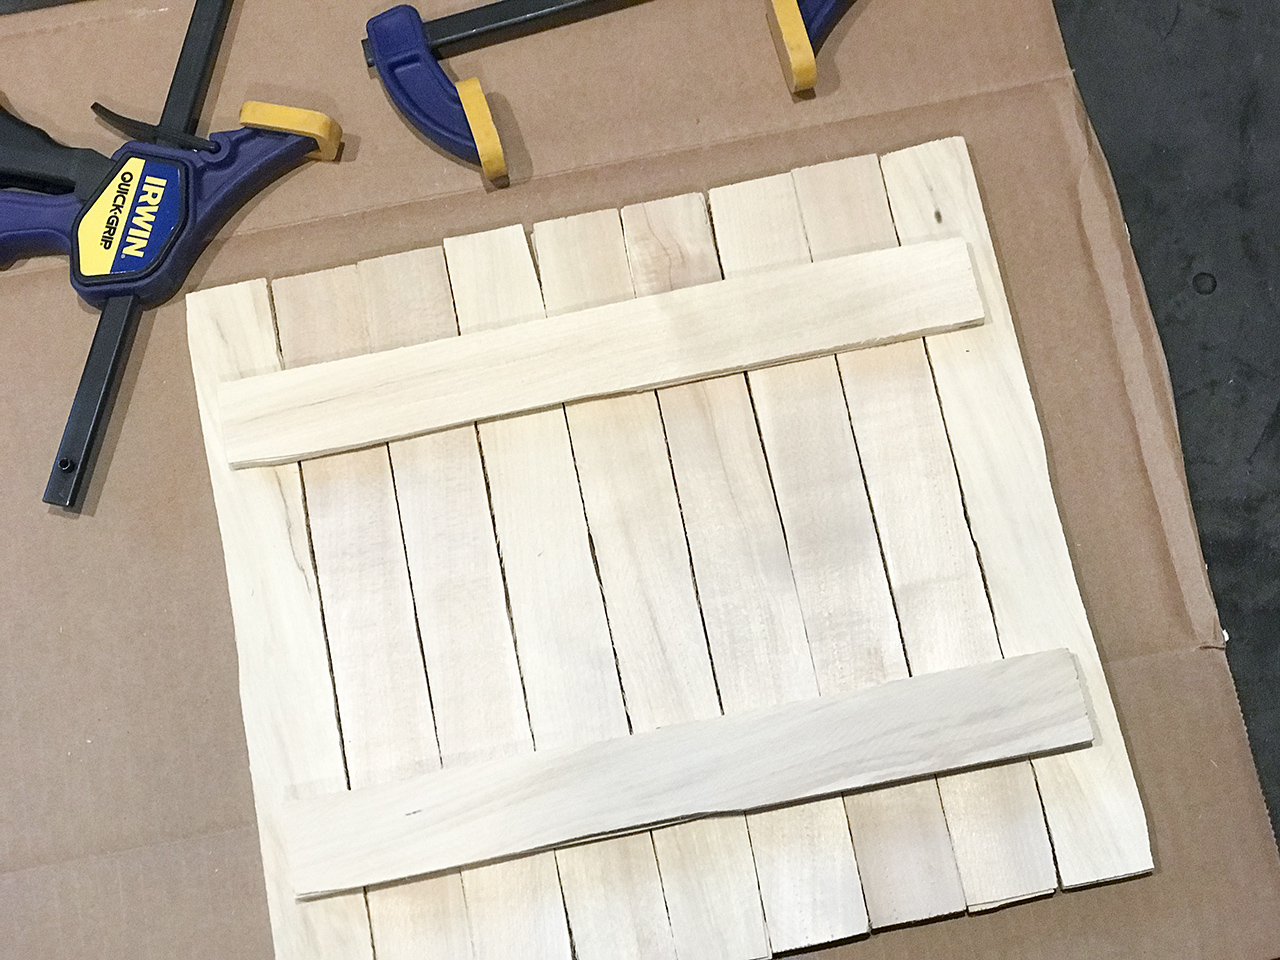 This will hold all of the front shims in place. At this point you can ad screws or short brad nails to each shim section to hold them in place. If you opt to not use screws or brad nails place heavy objects on top of the glued shims to act as a clamp.
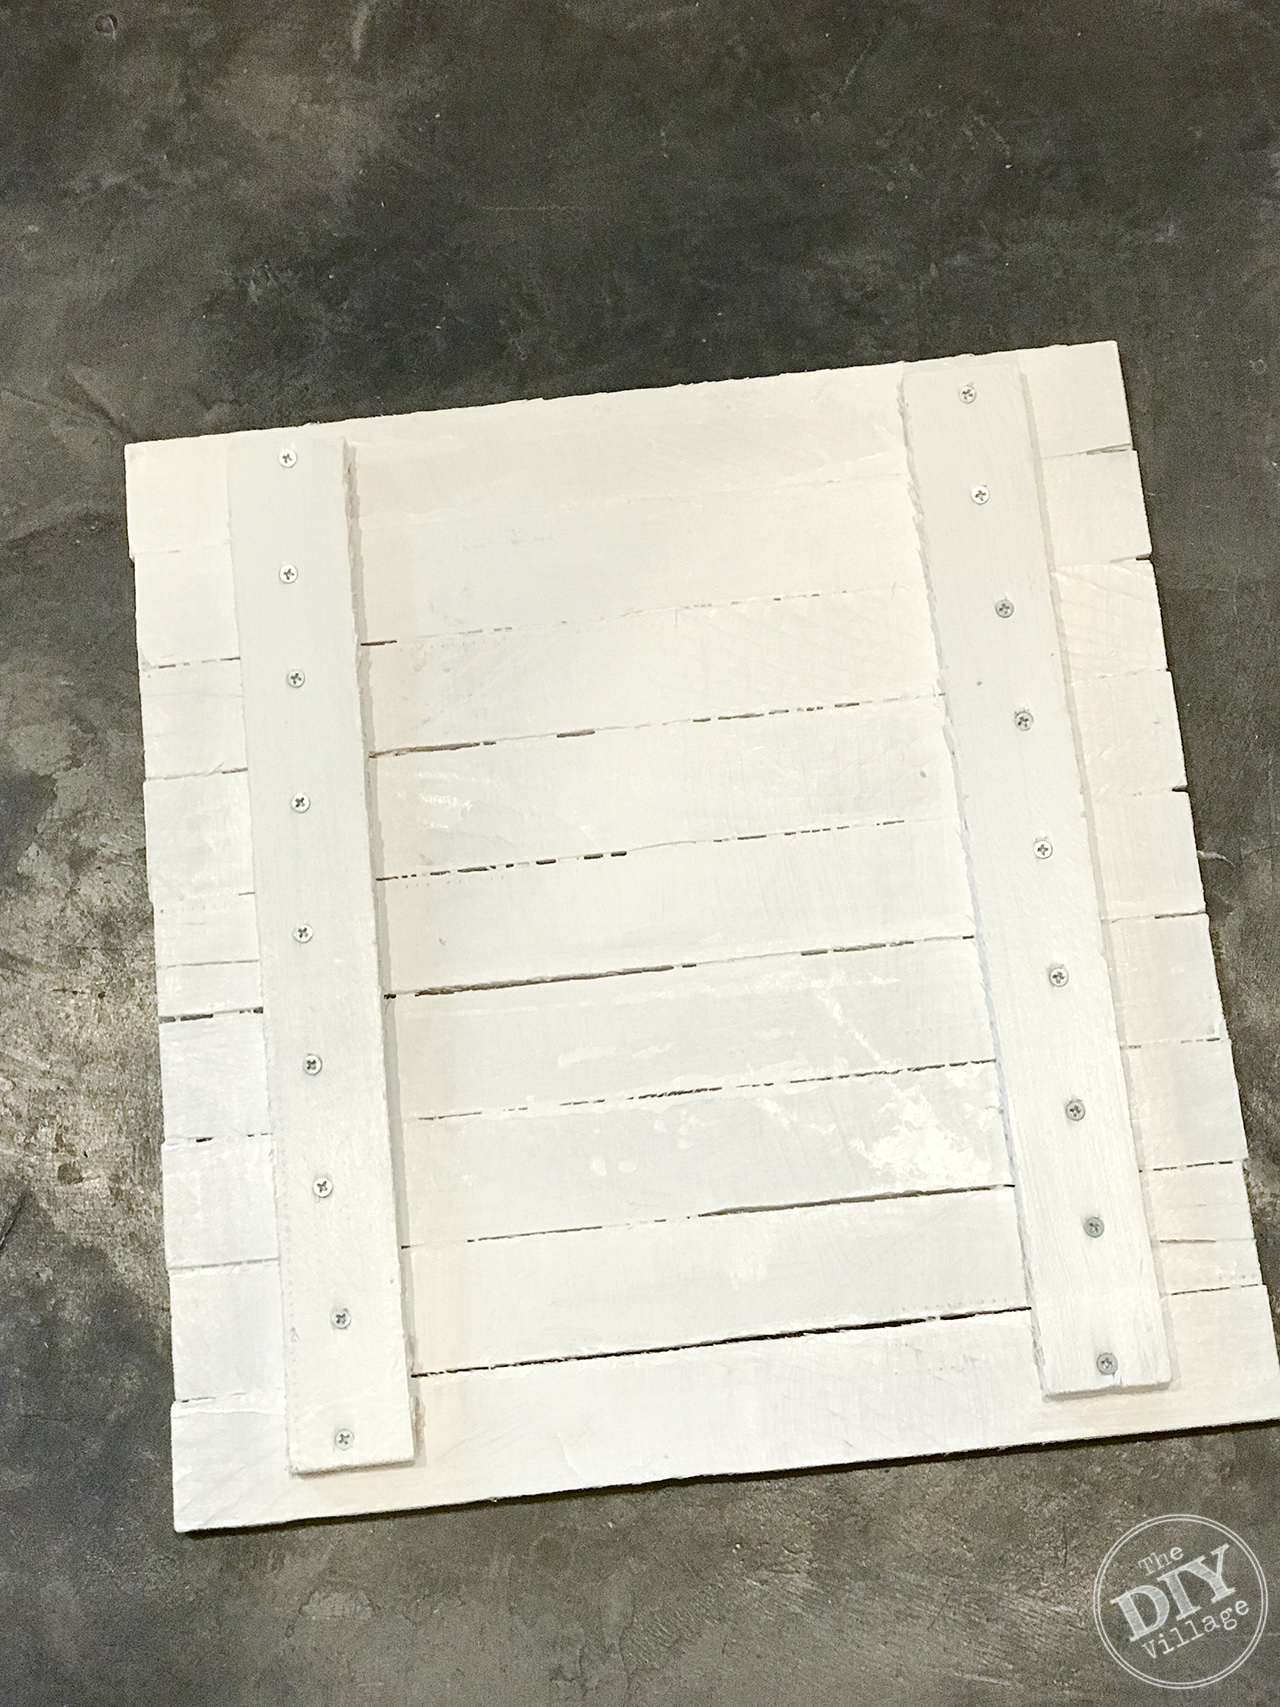 Once the glue has set you are ready for paint or stain.
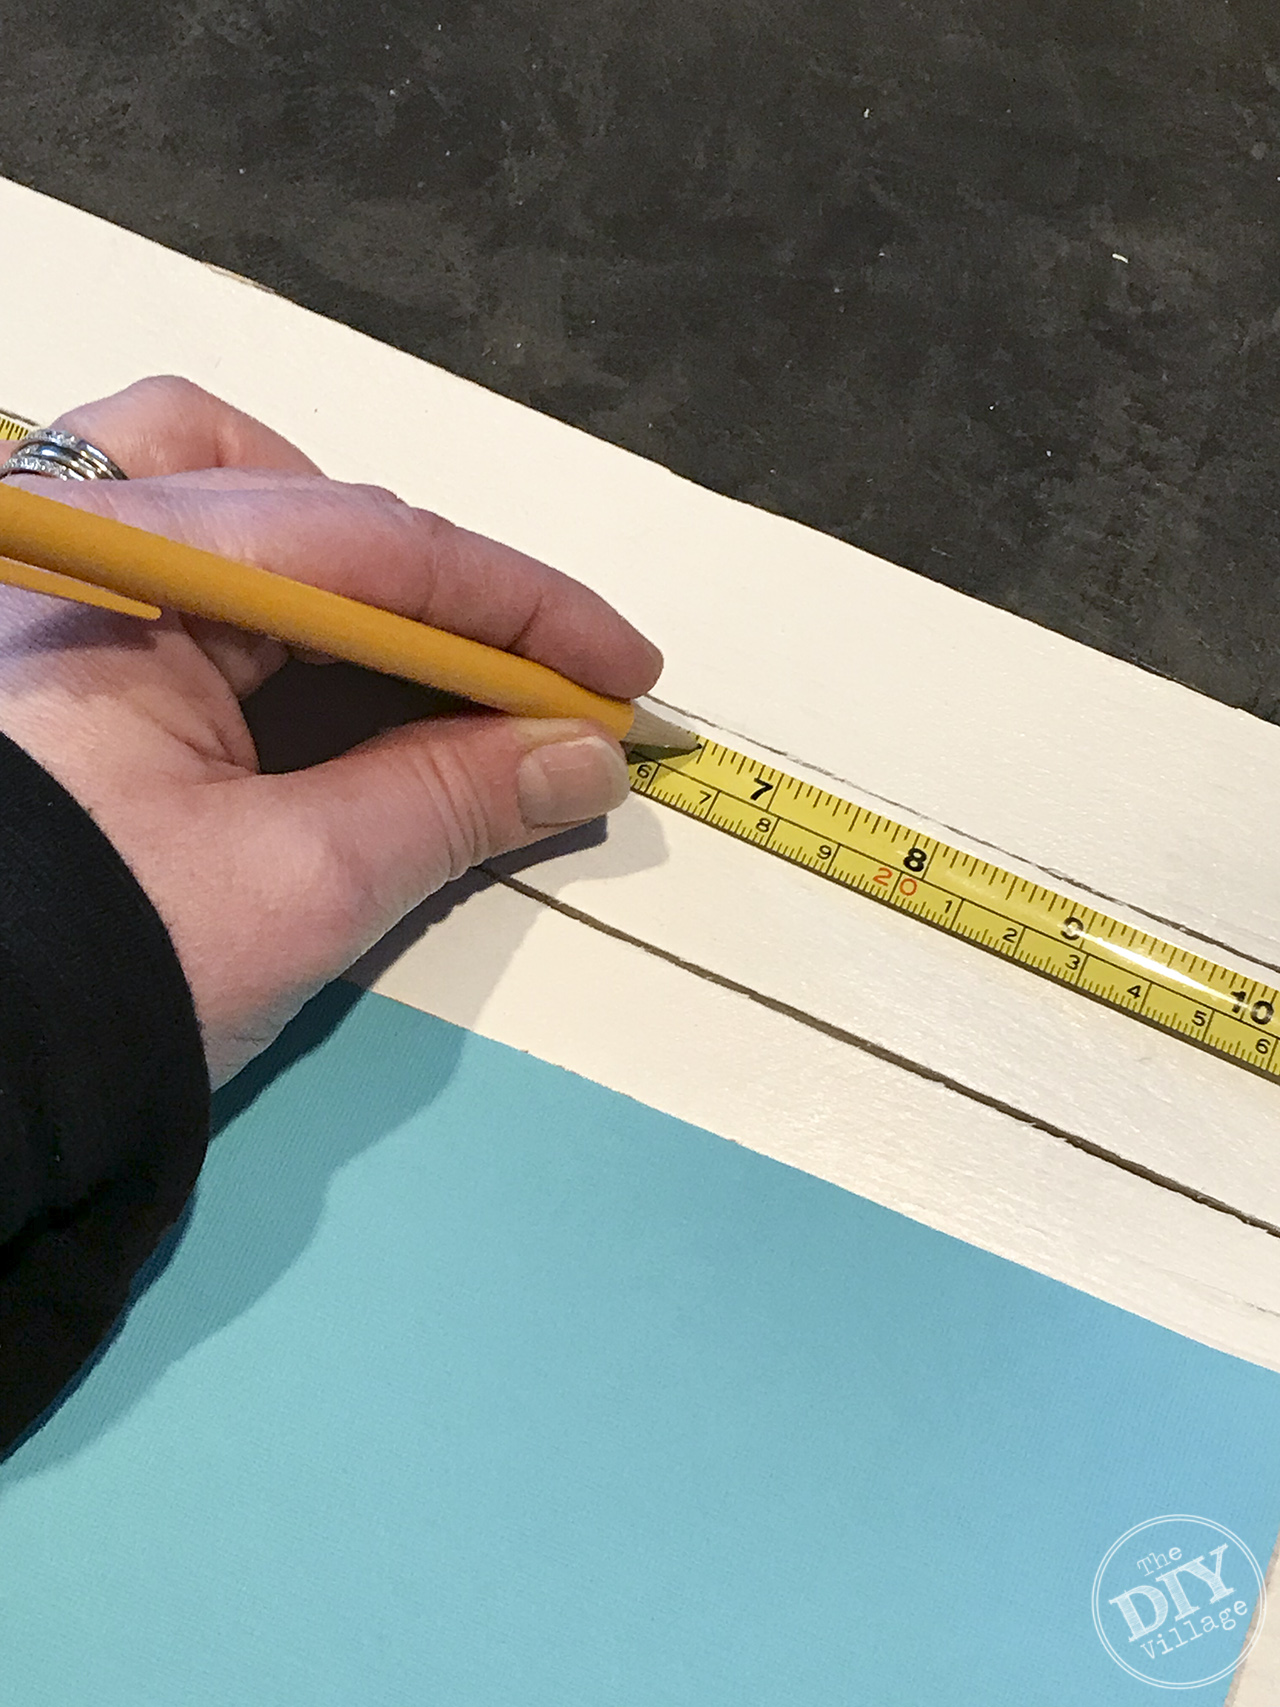 Use the spaces between the shims to hold the speed nuts down. Measure 6″ to find center and mark.
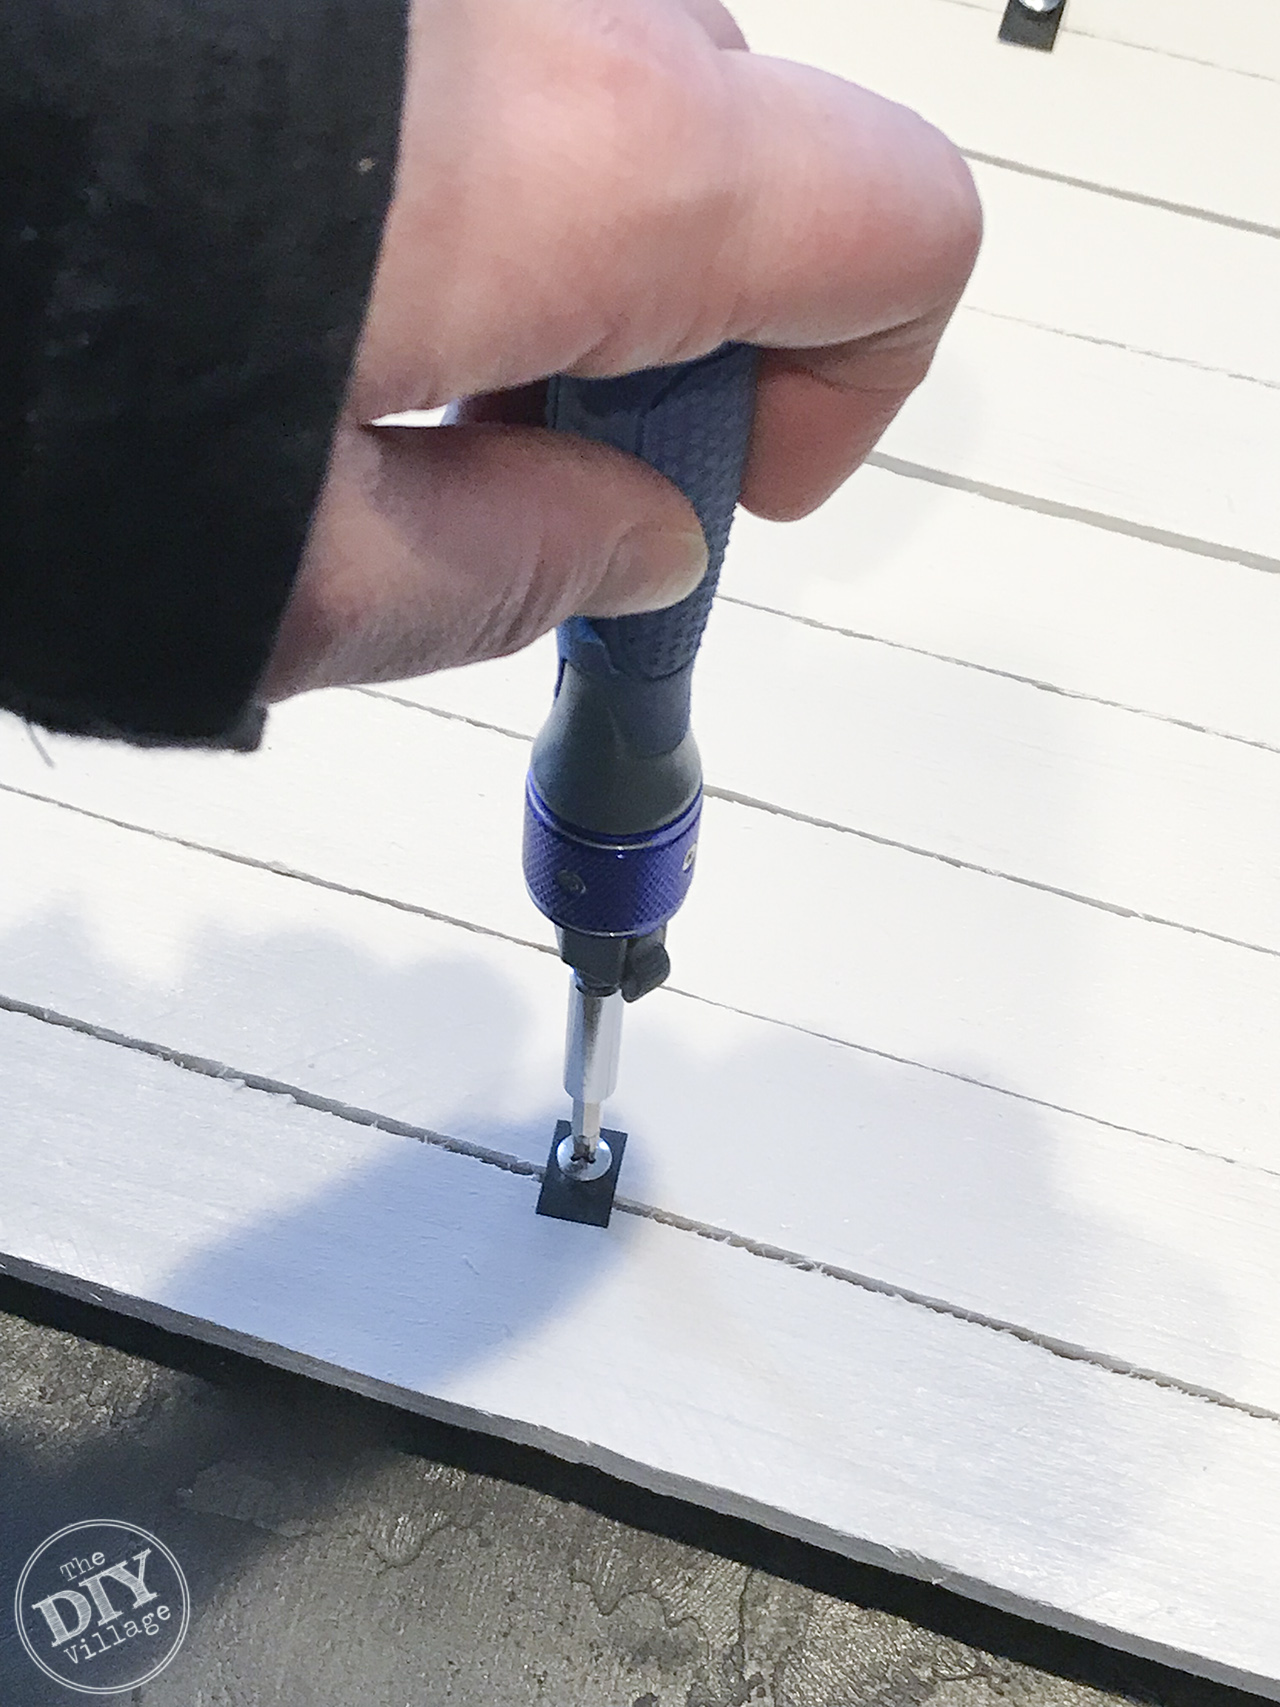 Insert the screw into the speed nut and screw down making sure to leave enough space to slide the printable or art behind the speed nut.
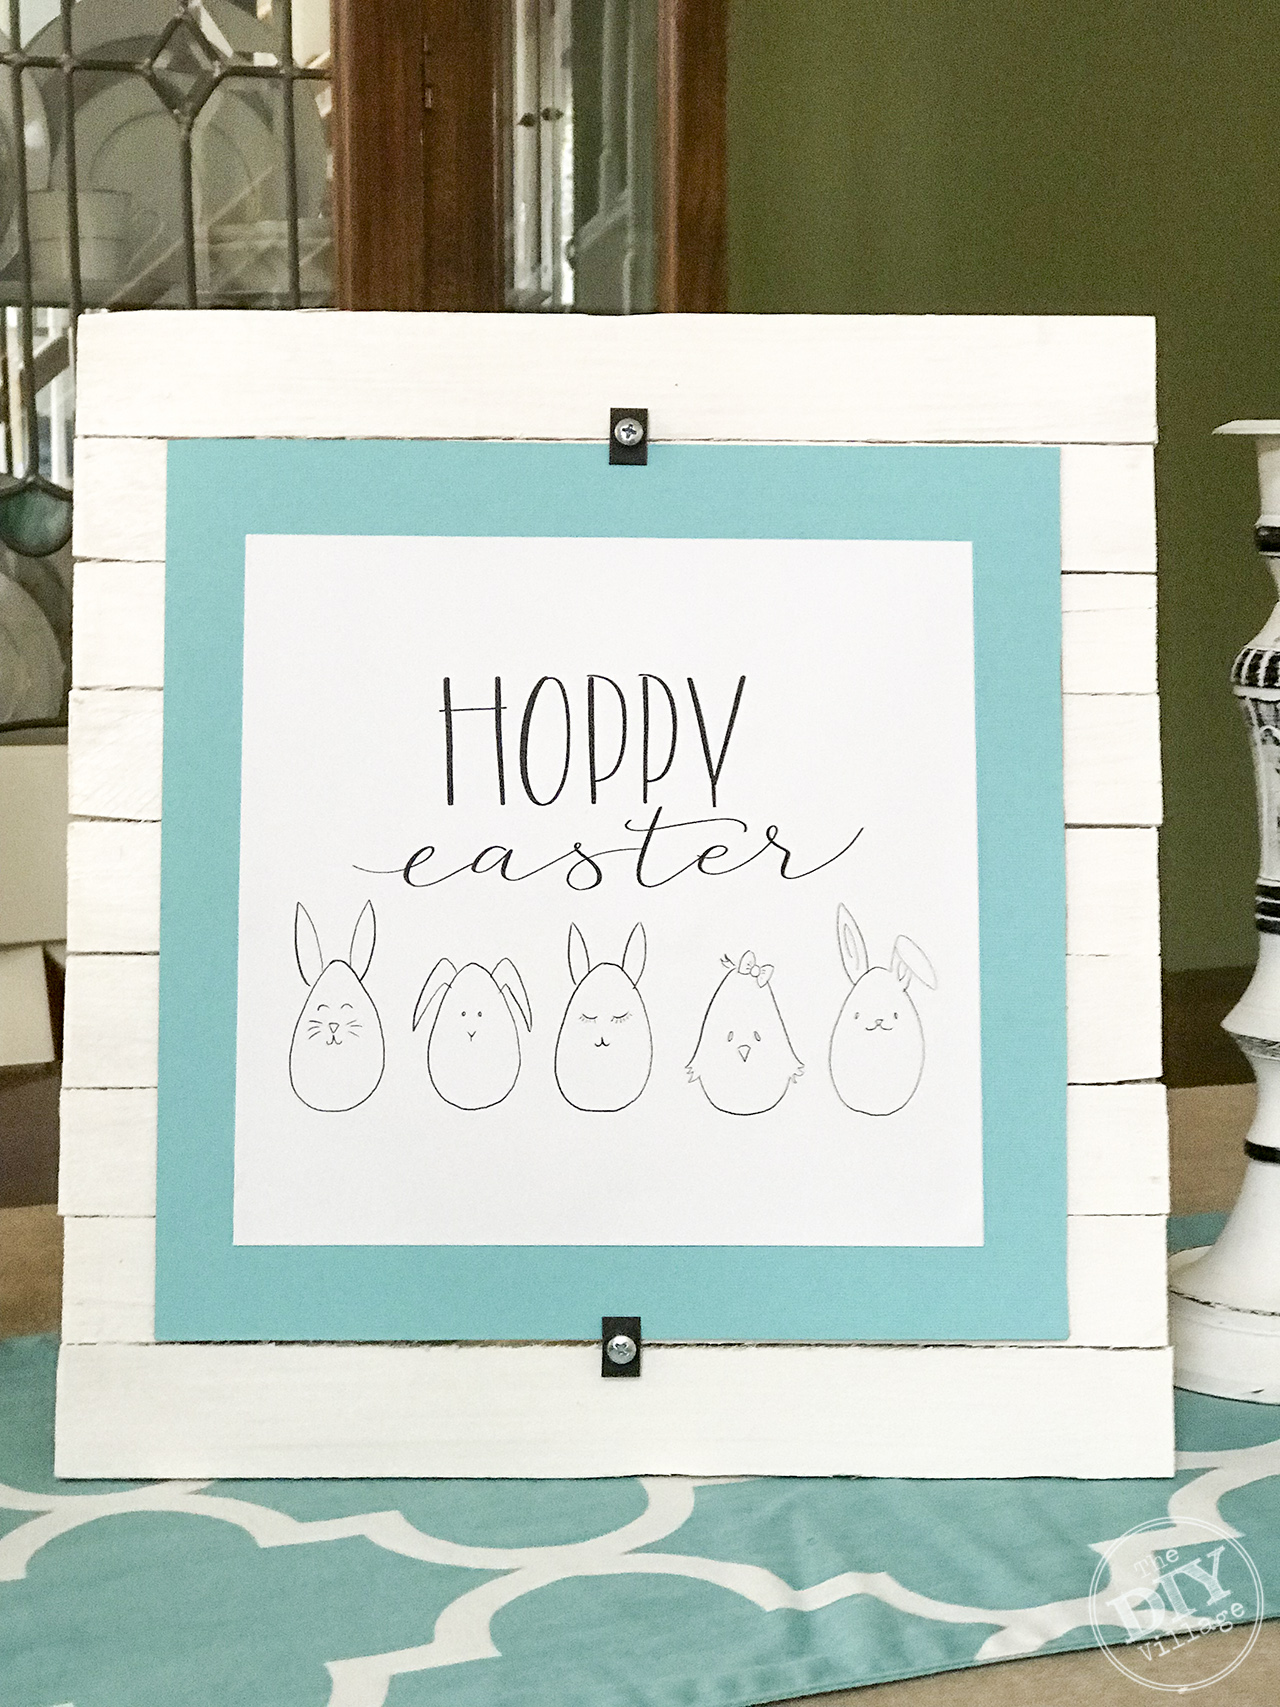 For my background I covered a piece of chip board with card stock and attached my printable to the chip board using removable dots for each display changes.
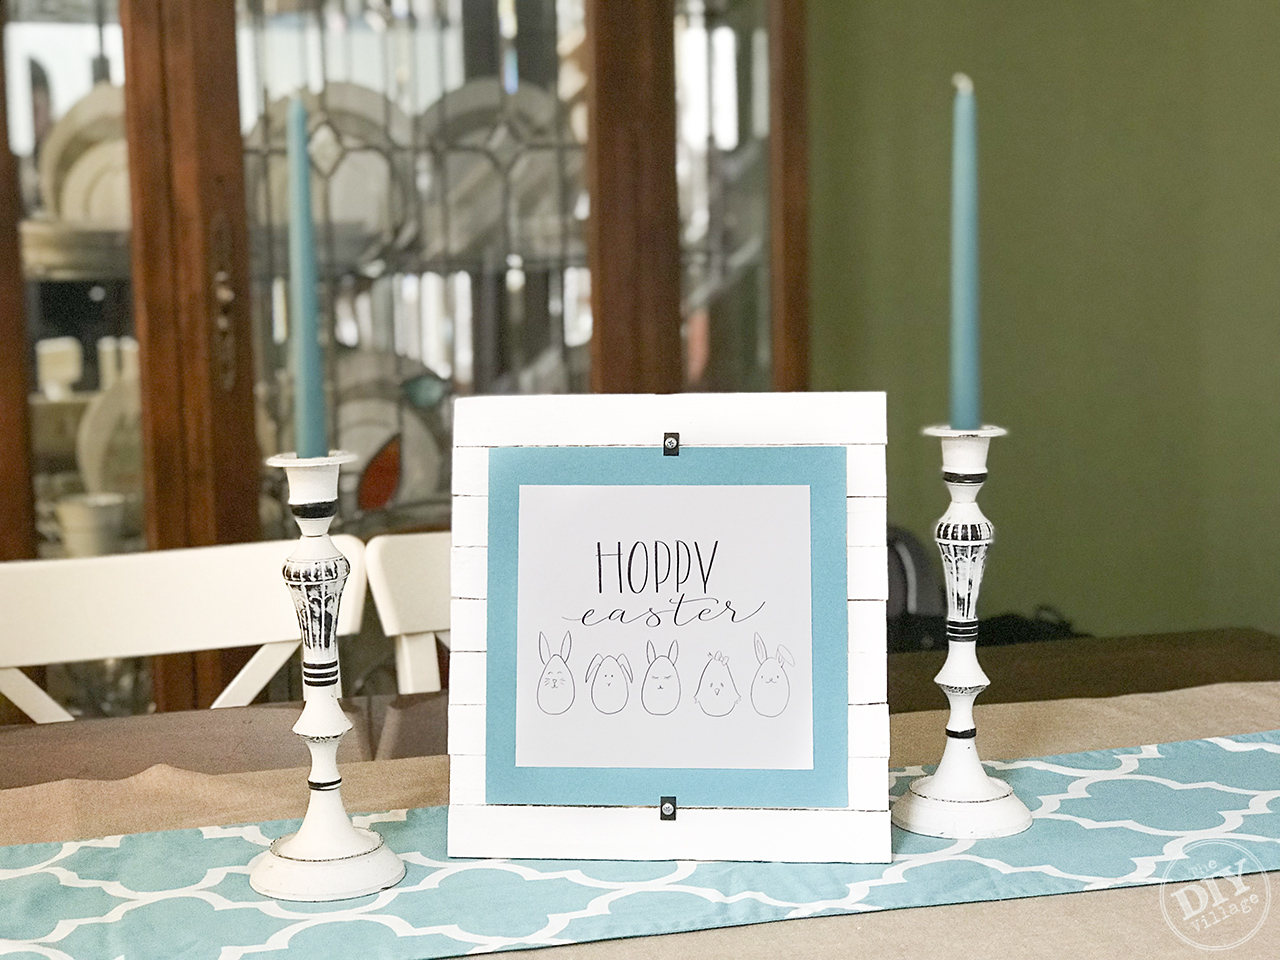 My printable is from Jocie at One Project Closer you can find her Easter printable here. If you don’t remember Jocie has a great hand lettering course that I am obsessed with. If you are interested in getting into hand lettering you can check out her course HERE.
Before you leave make sure to check out all of these awesome display frames. I love how creative everyone is in making their frames. 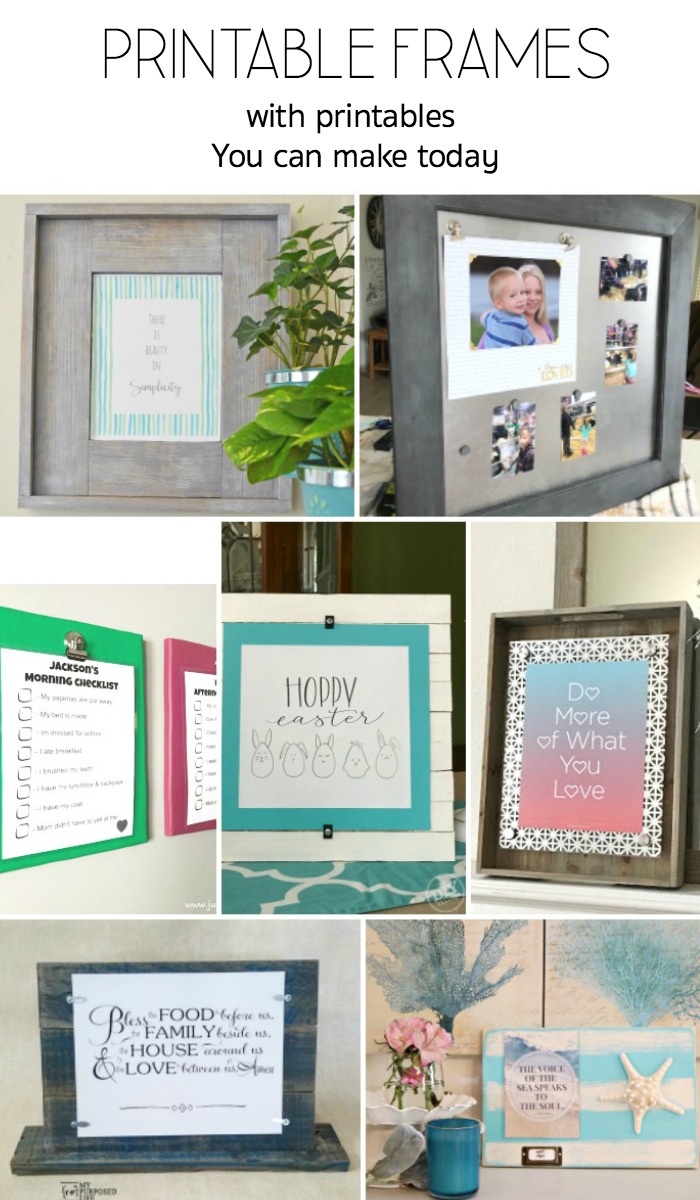 H2OBungalow – Easy Rustic Picture Frame
Create and Babble – How to Make a Magnetic Scrapbook Display
Just the Woods – How to Make a Printable Display for Kids Chore Charts
The DIY Village – DIY Wood Shim Picture Frame
The Kim Six Fix – Acrylic and Perforated Metal Floating Frame
My Repurposed Life – Printable Pallet Frame
Refresh Restyle – How to Make a Photo Display
Jacque,
I love the printable you used and the speed nuts to hold it. So cute!!! I’ve never made a “shim” project…. I don’t think?
love your picture frame!!
gail
Super cute! Seriously, you hand lettered your printable? Wow. Love the shim frame for an easy way to hold a printable. I’m turning into a printable hoarder too! Pinned 🙂
Great items and thank you for showing us
Your printables are so creative! Especially this Easter printable is so cute. I love the idea of that shim frame.
The printable is super cute! I also love how simple and easy to follow all your steps are! I’m going to try and give this a try!
Thanks for the great content!