When it comes to transforming a back yard, an outdoor fire pit rates high on everyone’s DIY to do list. When Jacque and I purchased our new home last year, we were moving from a townhouse. One thing that always bugged me over there was that we were pretty restricted about doing anything outside the house, as the yard itself was considered common property. So when we made the decision to move, one of the first things I thought of was how awesome it was going to be to decide for ourselves what we wanted to do in our new backyard. The number one thing on my list was an outdoor fire pit.
We’re lucky to have an incredibly talented friend, Jesse Hoffman, who is a professional landscape designer. Good Ol’ Jesse was kind enough to come by the house, listen to our ideas, add his input, and put the pencil to the paper! I had envisioned a stacked stone circular fire pit, but Jesse introduced another idea that involved a more oblong shaped fire pit and landscaping around it. I think Jacque saw an opportunity to coach him into adding the landscaping as part of the project just to add more to the “Never Ending Honey-Do-List” (Of course she’d never admit to that). Jesse’s idea was to build the fire pit in the shape of an eye, have an area for seating in front of it and a mounded landscape bed surrounding the backside. Who am I to argue? He’s the expert, so we went with his idea!
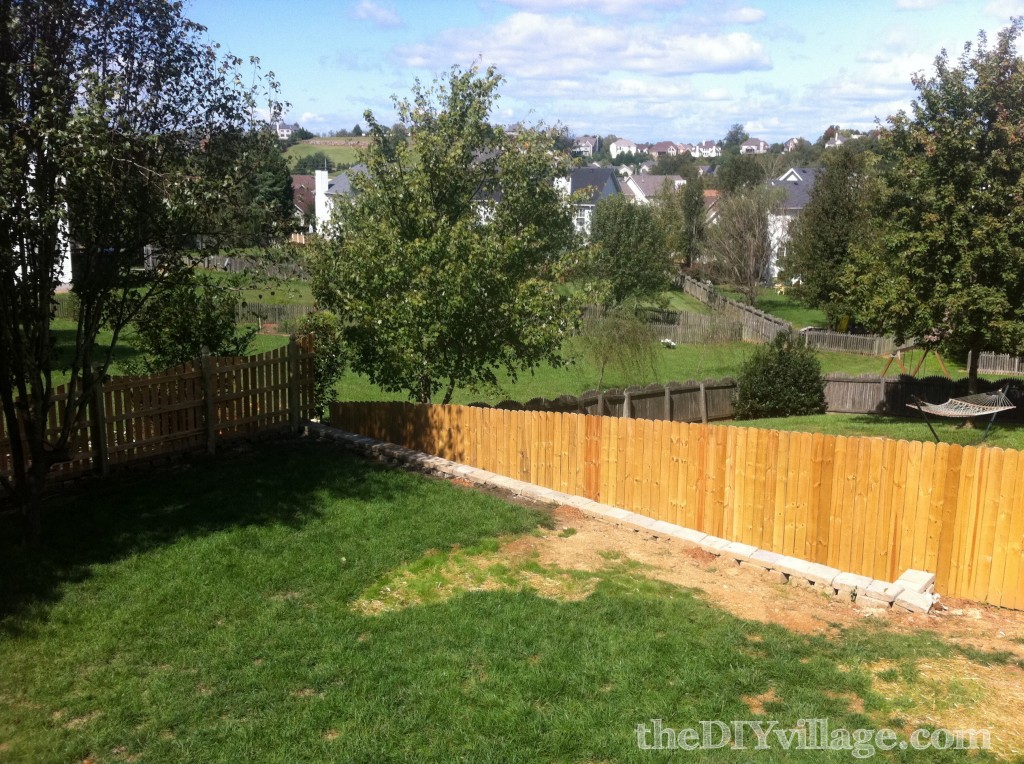
Here’s what we started off with…Just a blank canvas!
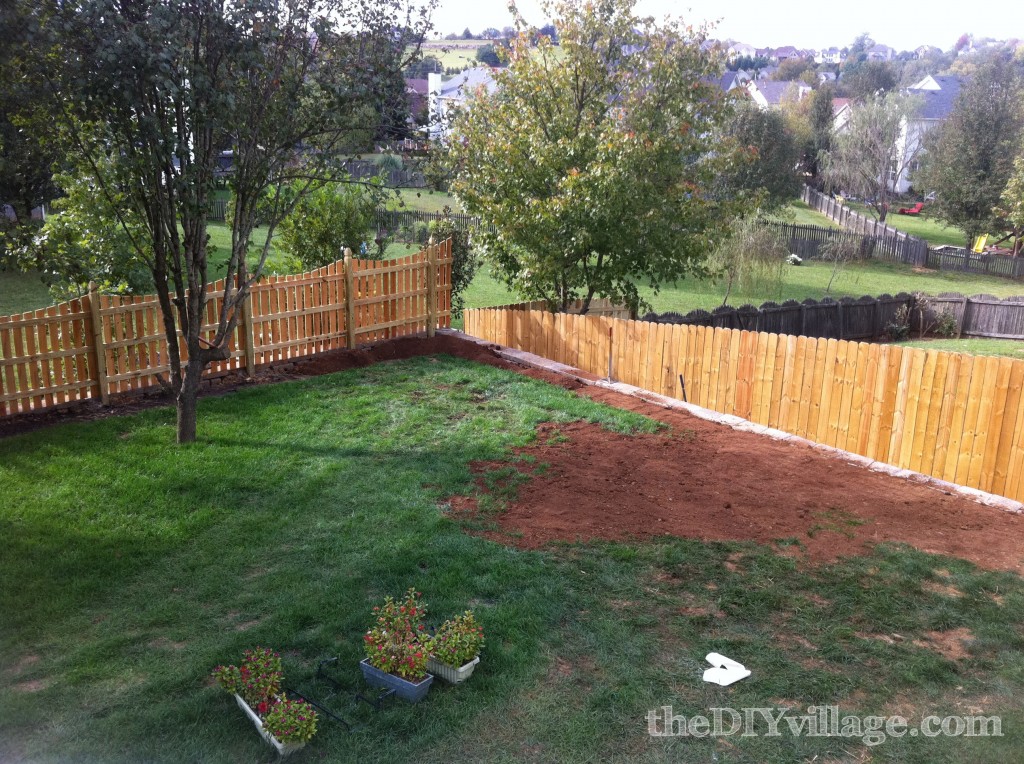
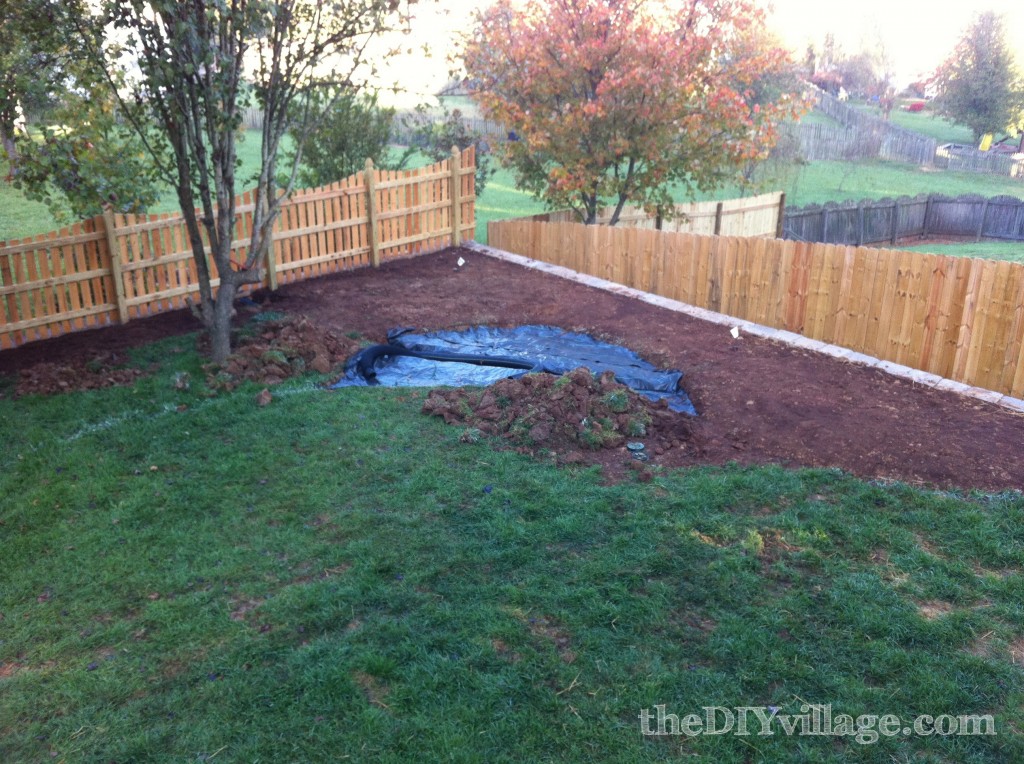
We had to bring in more fill dirt to level out the areas next to the retaining wall.
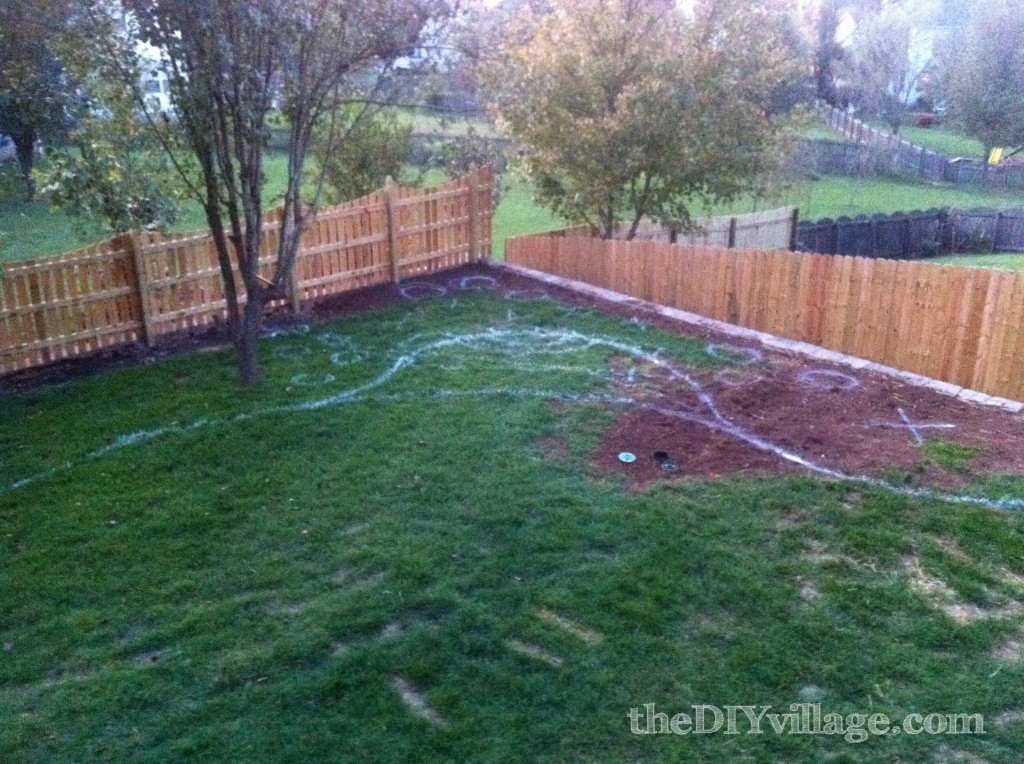
Next we laid out the design onto the ground with spray paint to give us a feel for where everything would be, plus it made it easier to know where and what to dig!
Then we brought more dirt in to build up the landscape beds. Altogether we hauled in an additional twelve cubic yards of fill dirt.
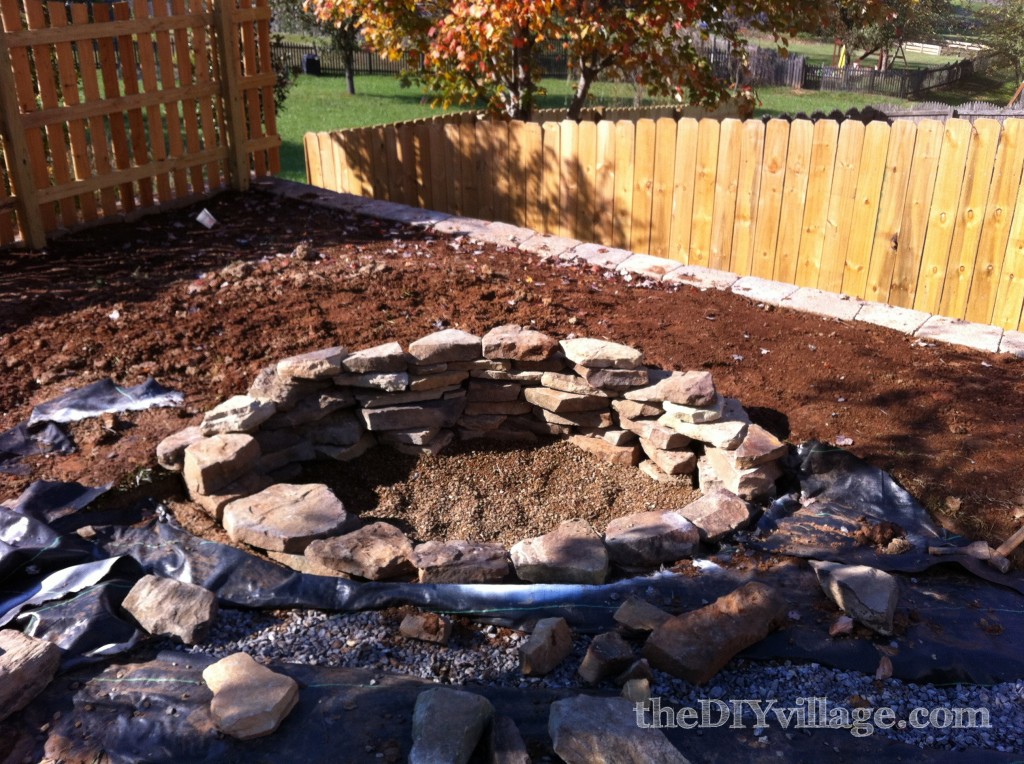
The next step in the installation process was to dig out the actual shape of the fire pit. I chose to dig down about eight inches so that we could lay a base layer of gravel to allow any water to drain below the surface of the fire pit.
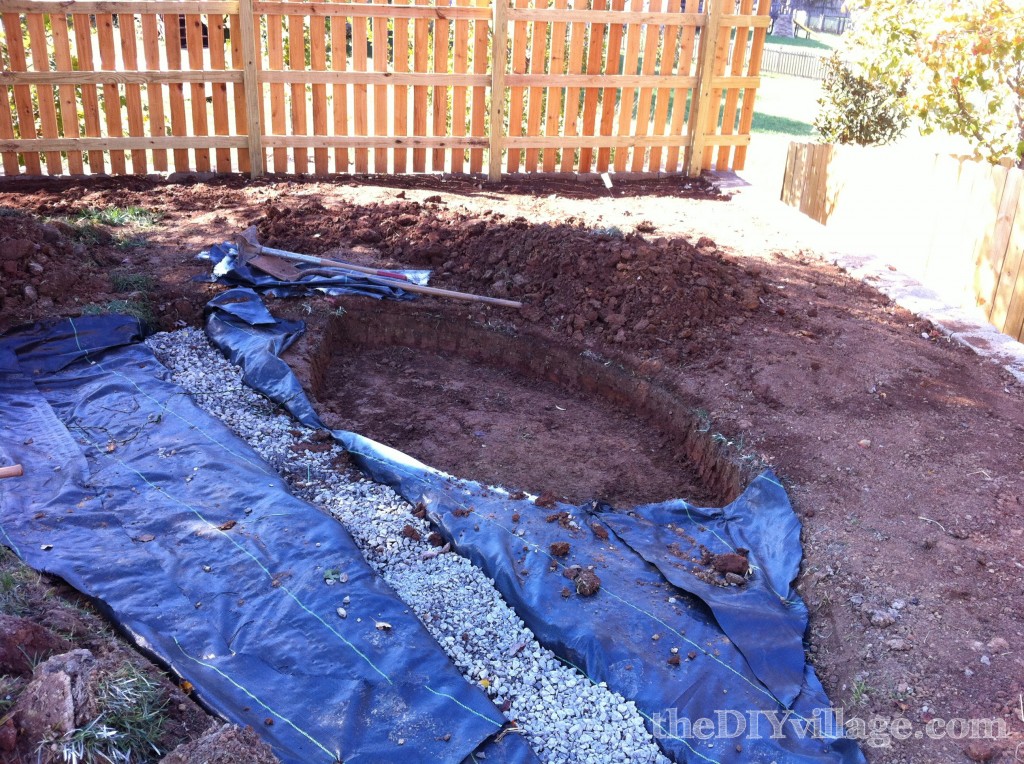
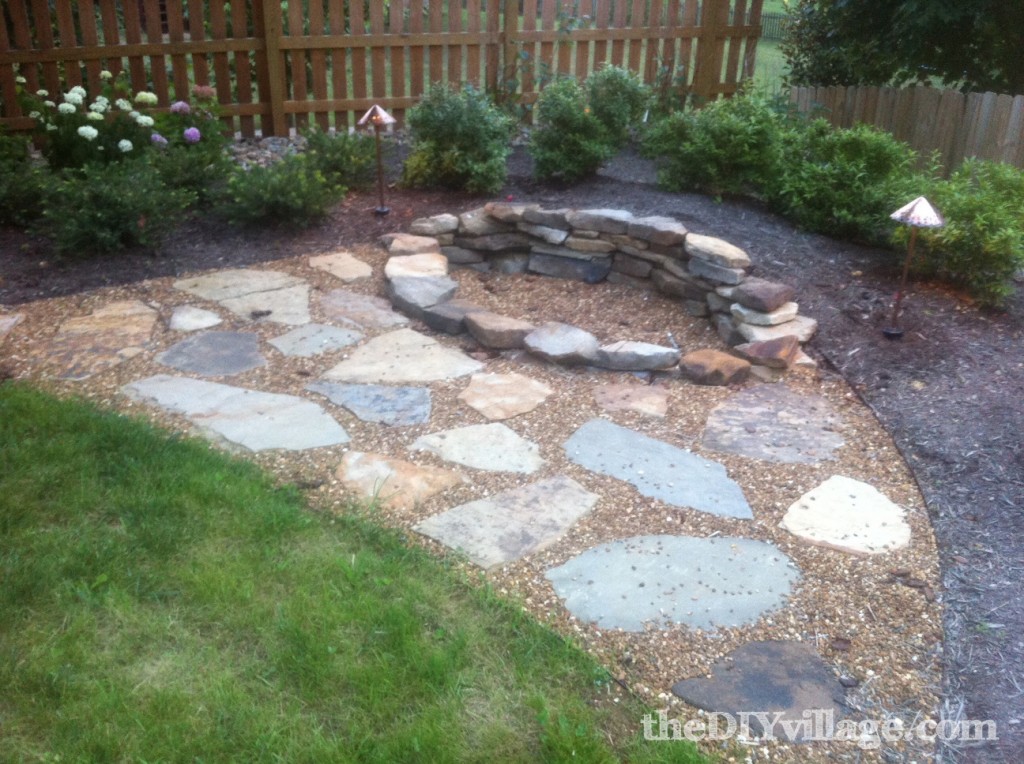
With the gravel in place we then began to stack the stones to create the outline of the fire pit. There wasn’t a lot of skill involved in stacking process. I tried to use stones that stacked nicely side by side and on top of each other. I could have used mortar to secure the stones in place, but with the height being so minimal and the higher stacked backside being built up against a mounded landscape bed, I felt that there was already plenty of stability.
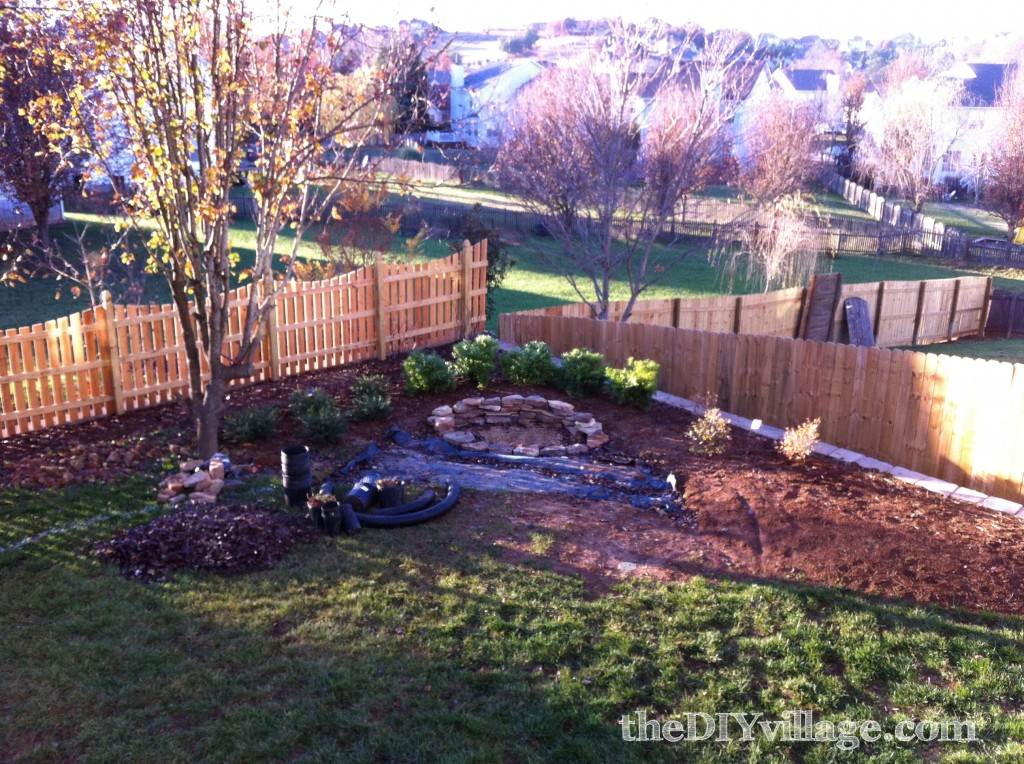
Now that the fire pit was practically complete, we brought in the plants to finish off Jesse’s design. We were careful to choose a variety of plants that wouldn’t leave the yard feeling bare in the fall and winter.
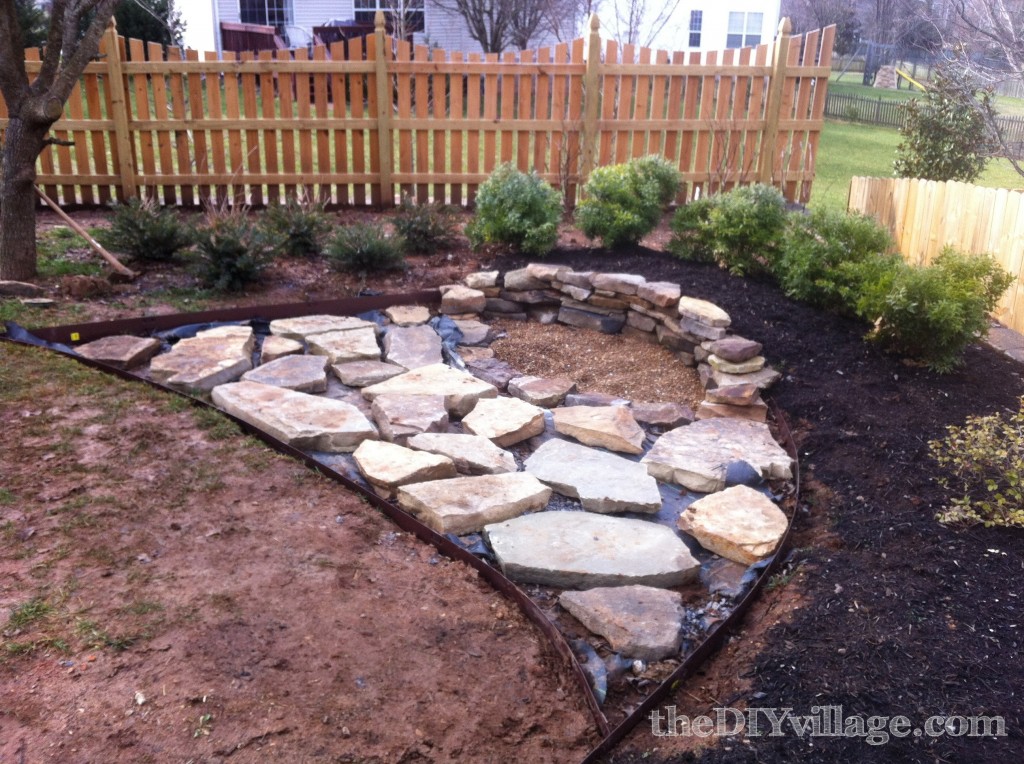
We placed flagstone pavers to make up the area where we plan to having seating and we placed metal bed edging to help border and define that space.
Lastly we added pea gravel as filler in between the flagstone and we installed some low voltage landscape lighting to accent the area at night.
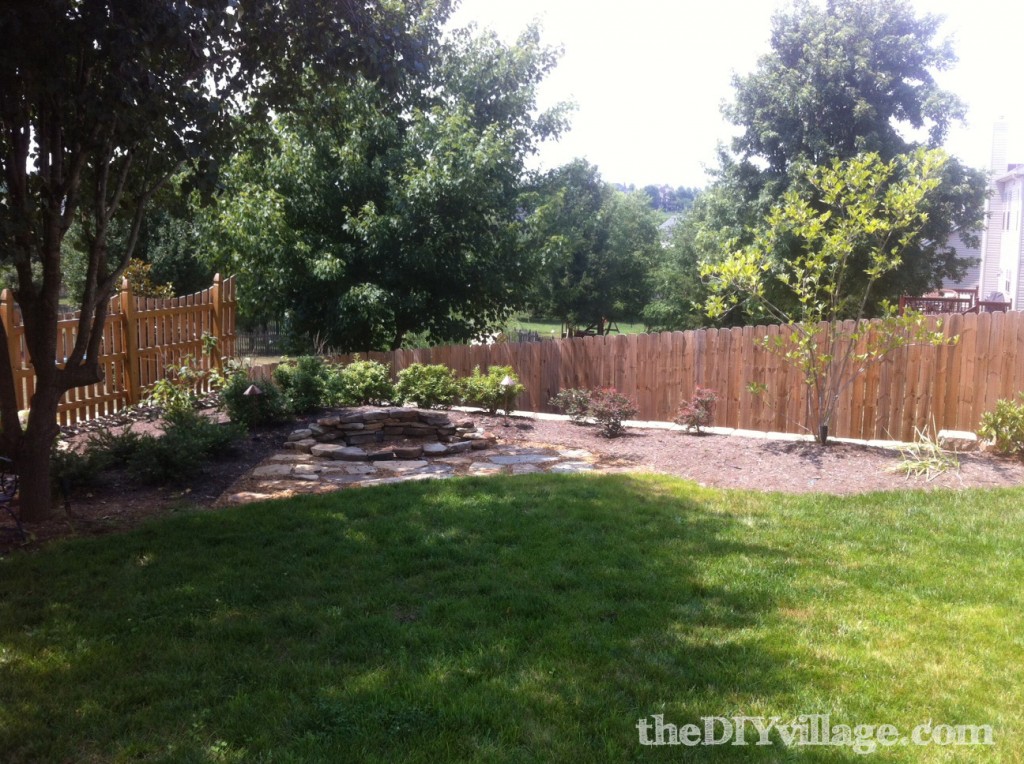
And here it is from a distance.
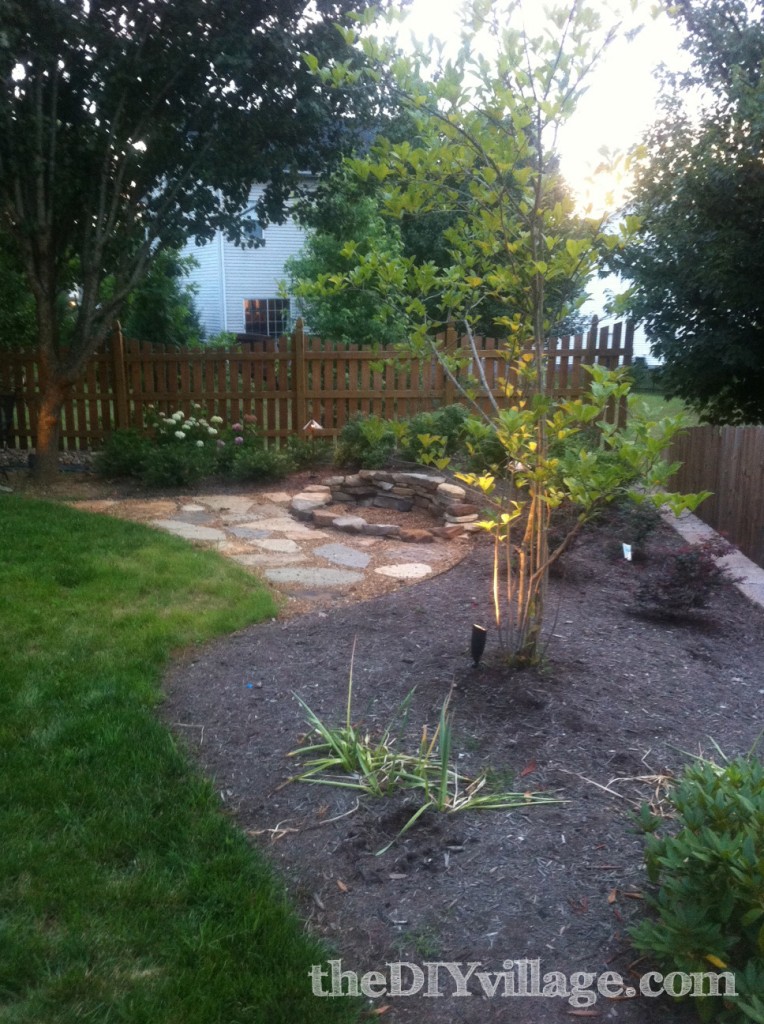
And from a different perspective!
I can’t tell you how excited I was to finish this project! We’ve still got a lot of projects planned for the yard, but I am looking forward to some late night lounging out at the fire pit!
Now we just need to decide what to do for seating…We’re looking for ideas so feel free to leave us your suggestion!
Simply beautiful! You guys did a wonderful job. Love the amount of landscaping that you incorporated into this area. It truly transformed your backyard!
Thanks Kirsten! We’re really happy with how everything turned out!
It looks so professional! You guys did a great job! And in this heat? Crazy people! Crazy awesome!
XOXO,
Rachel
Thanks Rachel! Now we are like 1/10 done with the backyard…ugh.
Awesome! A little hot for a fire here but would love it come fall.
Yep, I’m with you Kim, I’m counting on the fall weather to really get it’s use, but, it was nice to finally just sit around that area tonight and enjoy an ice cold drink! P.S. Thanks for the WP help!
What a ton of work, but MAN! What an after!!! Amazing! I love the look of it.
Thanks Stacy! We’re excited to have at least one area of our backyard ready for relaxing!
Are you freaking kidding me??? You guys did this yourselves???? I love that you can see the whole backyard from up above so that you could really plan it out as a whole with that view in mind! But I’m more impressed with all the heavy yardwork that y’all did!!! I am asking myself if that would be possible if my hubs and i were still kidless… I just don’t know if we’d have it in us to bring it all the way to finish! I love it and love that you guys are so capable and inventive!
bye bye
Well, Angie, we thought it would be best to work as hard as we can before we have any children, simply because, we don’t know what we’ll have time for then! Thank you so much for taking the time to let us know what you thought!
Love this whole idea! The stacked stone really adds alot of warmth and personality to the space. The landscaping was done perfectly, too. You guys created such a fabulous place to kick back and roast marshmellows! 🙂
xoxo laurie
Laurie, Thanks! I plan on logging some R&R hours out here for sure! We really appreciate your feedback!
Another great project! I continue to be in awe of all the beautiful ideas you have…plan…and finish! This is a definite A +! I hope you will enjoy many hours surrounded by the beautiful get-a-way that you’ve created! Can’t wait to see it in person! Sounds like lots of smores are in your future! We’ll bring everything for a batch or two!
That is awesome. I so want to do this in our new house! It looks amazing!
Holly, thanks for letting us know that you liked the fire pit! We can’t wait for this fall! There will be many nights spent around the fire! When you build yours, send us some pics, we’d love to see them!
WOW!! You couldn’t have shared this at a better time! My parents were just telling how they want to build one. I will be sharing your post with them 🙂
Thanks so much for sharing at The DIY Dreamer.. From Dream To Reality!
Christine, glad we could help! When your folks get done with their fire pit, we’d love to see it, so if you get a chance, send some pictures our way! And thanks for sharing our project!
Just brilliant! Love the result!
Stacey of Embracing Change
Thanks Stacey! We are really happy with it!
Featured you! Come and grab a button!
Stacey of Embracing Change
Stacey, that is fantastic! Thank you so much! We will proudly grab a button!
That looks GORGEOUS! Oh how you are going to enjoy this. Thanks so much for sharing with the newbie party. I appreciate it.
Wow, you did an amazing job!!
Thanks Kathy! There’s nothing like putting a little sweat equity into the yard!
Matt this firepit is great!! We are getting ready to do the same thing in our backyard. One question: Did you put landscape plastic under the pavers and pea gravel? Looks like you did from the picture but can’t be sure. Thanks.
Hi ,
it,s few years later hopefully now you and ?…your kids are still enjoying your great firepit ! Its great!
XOXO from MA
Yes they do!