
All you need is love!!!

This past Christmas I was introduced to a fabulous product called Deco Mesh. In a nut shell Deco Mesh is a woven type product that has incredible reflecting qualities as well as the uncanny ability to POOF! I have seen it before but never thought it would be something I would use, until I decided to make a garland for my front door. I won’t lie I was/am hooked. This stuff is great! Not only does it come in tons of colors, it is easy to use, very inexpensive, and since our front door is exposed to the elements I have to have something weather proof. It comes in varying widths and patterns but is usually 10yd in length, which is more than enough for a few projects.

What your going to need for your Valentine Wreath:
Deco Mesh – Two colors (1 – 21″ wide and 1 – 2 1/2″ wide)
Wired Ribbon – 3 colors or patterns (2 1/2″ wide)
Wreath Form
Wired Hearths
Craft Wire
Decorative Wood Cut out
Tape Measure
Scissors
Scissors

First you will want to attach the end of the deco mesh to your wreath by gathering it tightly and then using craft wire to wrap it in place. Then take sections of mesh bunch them till you get the look you desire, I like to space my poofs about 5 – 6″ apart. Leave the mesh on the roll for this part only cutting it when you gone around the entire wreath that way if you need more you don’t have to try to patch it together.

Next take the 2 1/2″ wide mesh and repeat till you have a look you like.
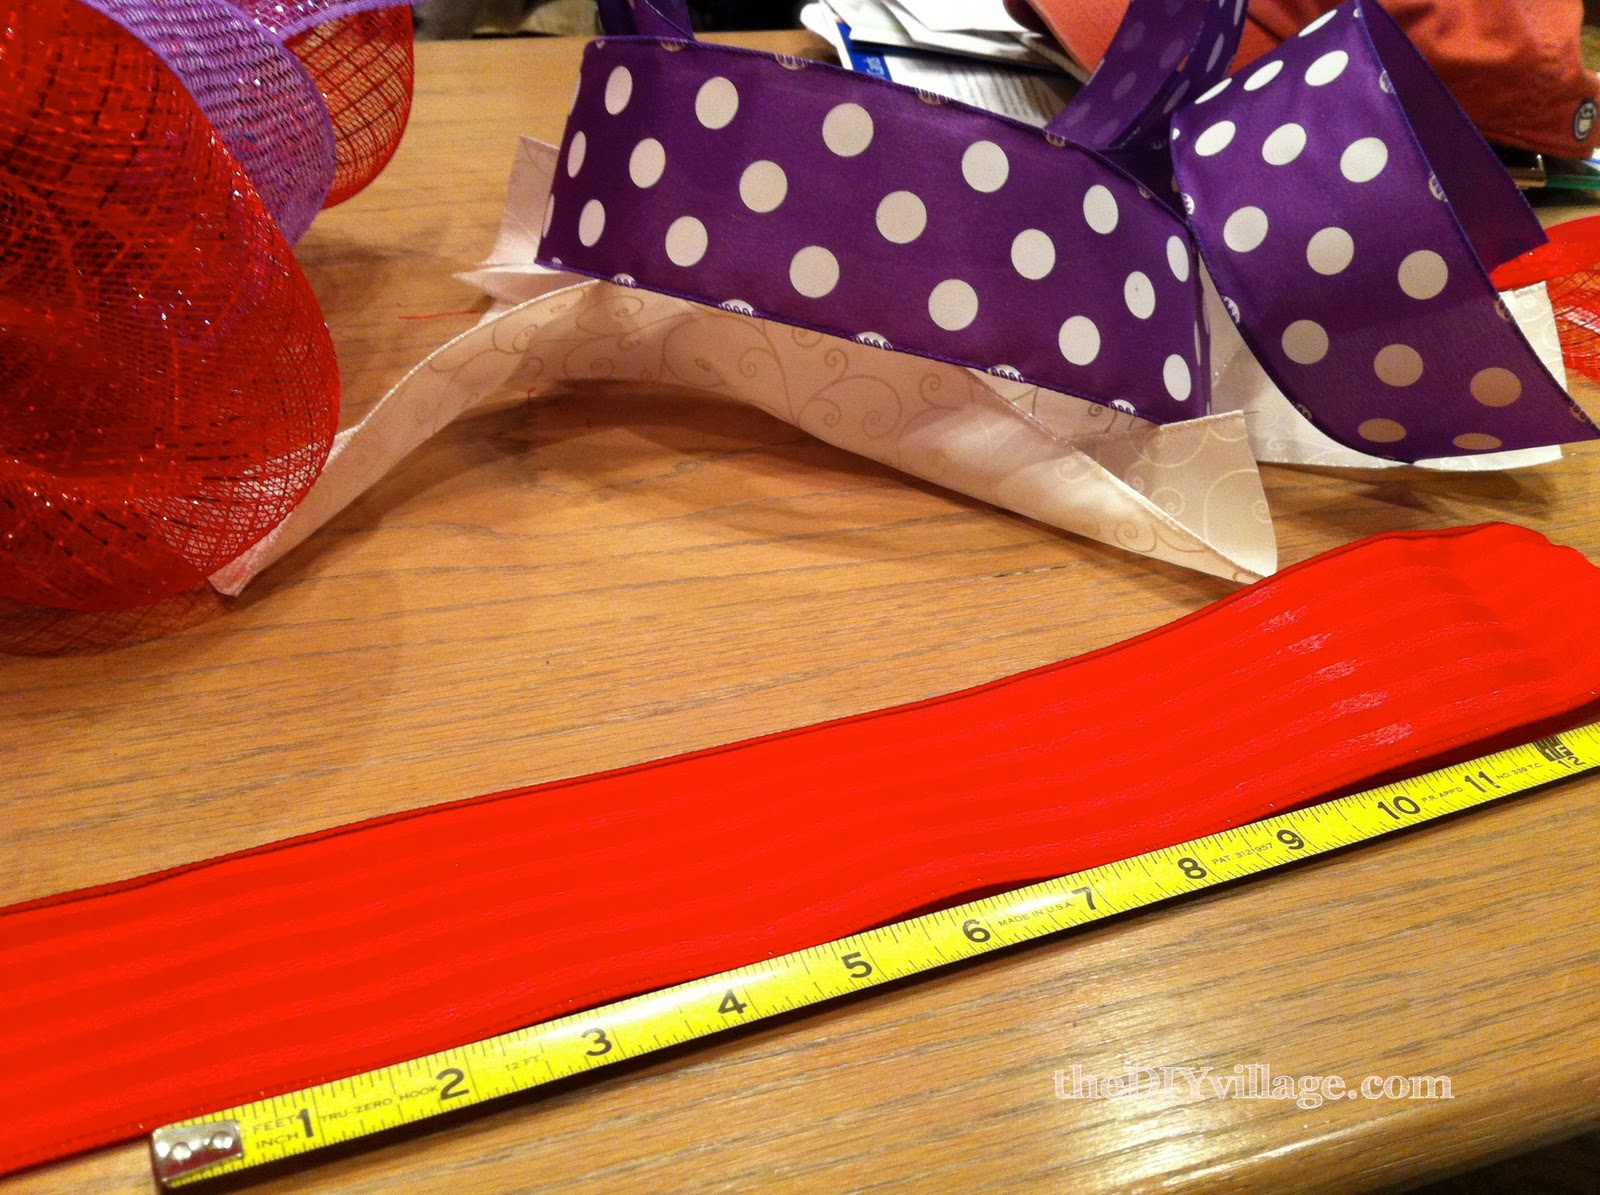
After you are done with the mesh you will need to cut your ribbon. Lay your tape measure out and cut 5 or 6 strips of ribbon about 14″ long. After I have cut all my ribbons I trim the ends and stack all 3 in a ‘X’ shape scrunch them in the middle and attach them to the wreath with wire.

As I was working on this particular wreath I got a package in the mail from PickYourPlum. If you have never heard of them you need to memorize their name and get on their 5 day a week mailing address list because they have some of the best deals on the cutest crafting items. This day’s package contained two LOVE and a XOXO cut out of wood, so stinking cute! I decided to use one of the LOVE’s and painted it white. While the paint is drying add the wired hearts to your wreath. The ones on my wreath are from the Dollar Tree and I only had to use one.

Once the paint was dry I wired the LOVE to the base of the wreath and now it’s ready for the front door! Just remember anyone can do this don’t be afraid to just go with your instincts. What Valentine crafts have you created? Let us know!
-Jacque
YEAH! SO super cute! Thanks for taking pics and showing us!!
-pyp team!
Your wreath turned out so cute!! I was so bummed I missed out on those love letters! Thanks for linking up with us! We'd love for you to grab a button and help spread the word : )
PYP Team and Cherished Bliss,
Thanks for taking the time to check us out! We look forward to sharing with you again soon!
This is one of my favorites so far this year! Gorgeous! I love it. I hope you will link this up to my I Heart Projects Party if you haven't already.
http://www.etsy.com/listing/92196103/reserved-listing-for-aimee
Love your wreath! Your instructions are very easy to follow. Thank you!