
I love a good Craig’s List find, while picking up a dresser the owner asked if we were interested in any other furniture. Long story short after two trips we ended up buying 2 chairs, 2 stools, and the dresser.
One of the chairs was this lovely green and plaid number screaming to be made over!
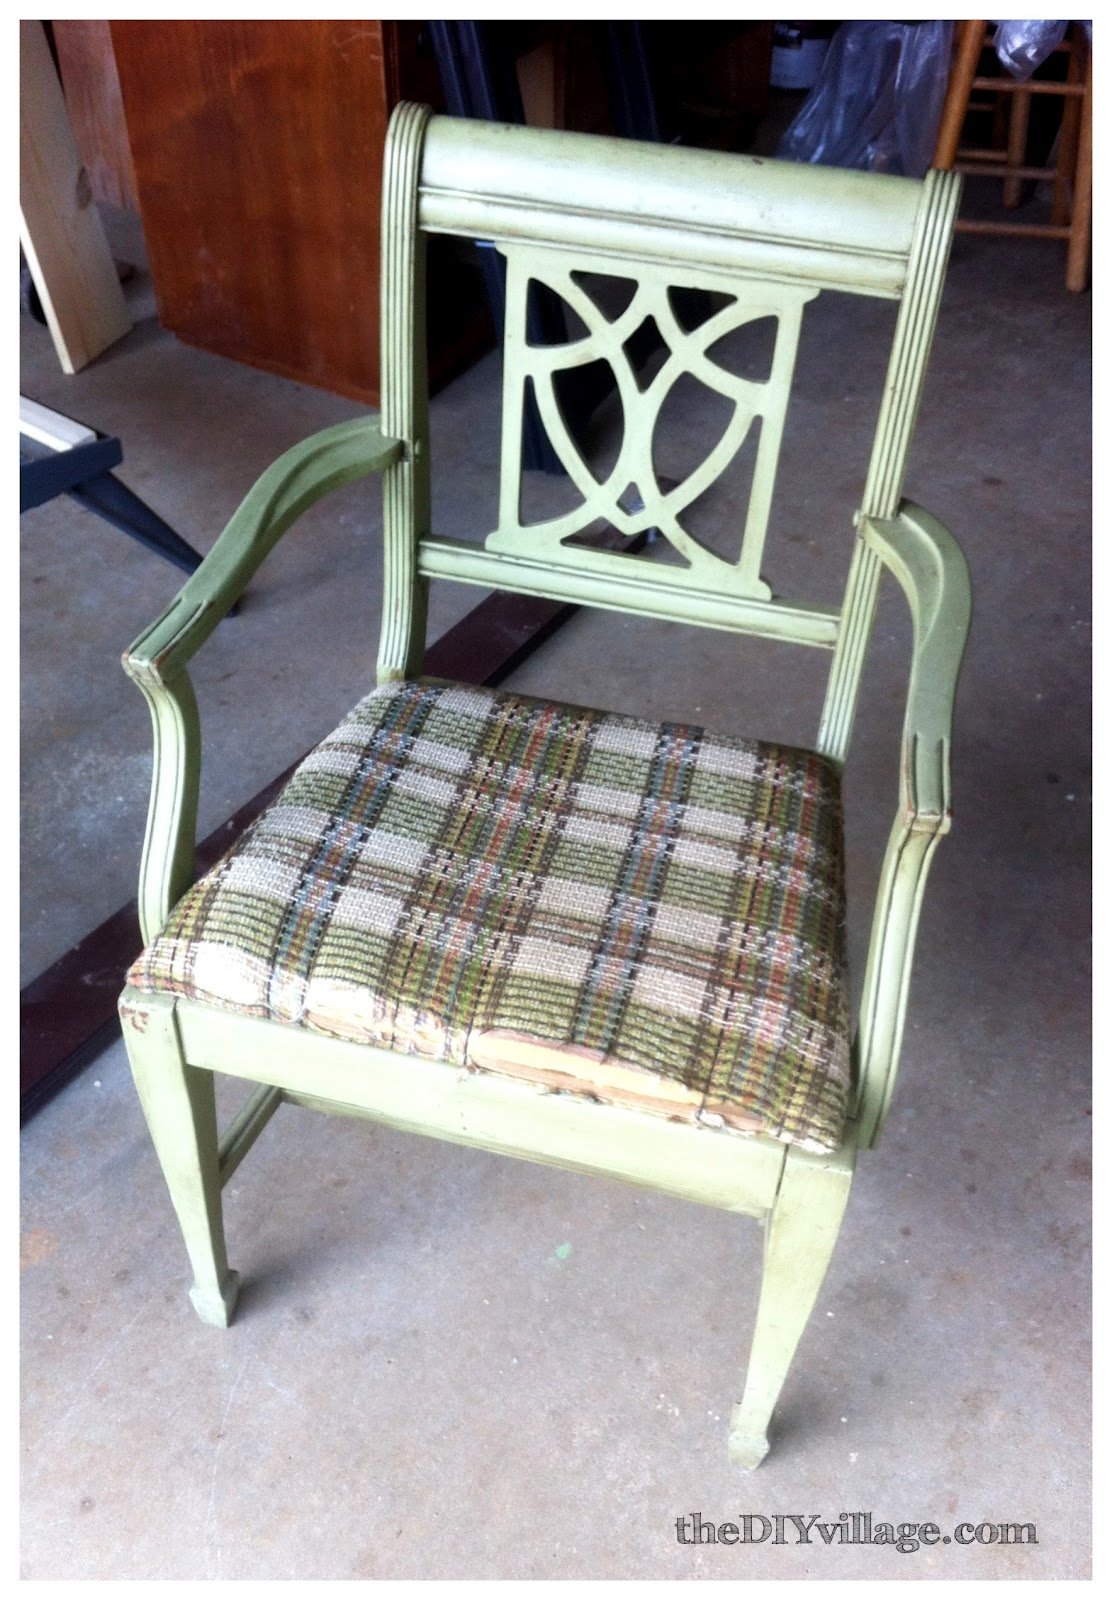
Matt Removed the cushion for me and all the staples holding the fabric down

With the cushion off she is ready to prime … after quick cleaning that is. You want to make sure any residues and dirt are removed from your furniture before you prime.

Primed and dry – ready for the first coat. I have recently started to use oil based primer which I LOVE but I have got to learn how to properly clean my brushes before I ruin anymore!

I mixed two colors we already had in our garage to come up with this light aqua blue color.
One coat down!

While the first coat was drying, it was time to recover the cushion.
Oddly enough I did not hate the old fabric on the chair, but lets be
honest it was dirty and had to go.
I cut my fabric just slightly larger than my cushion and used a staple gun to hold it in place.
With the first coat dry and the cushion re-covered I put it in place to make
sure it looked good and of course fit!

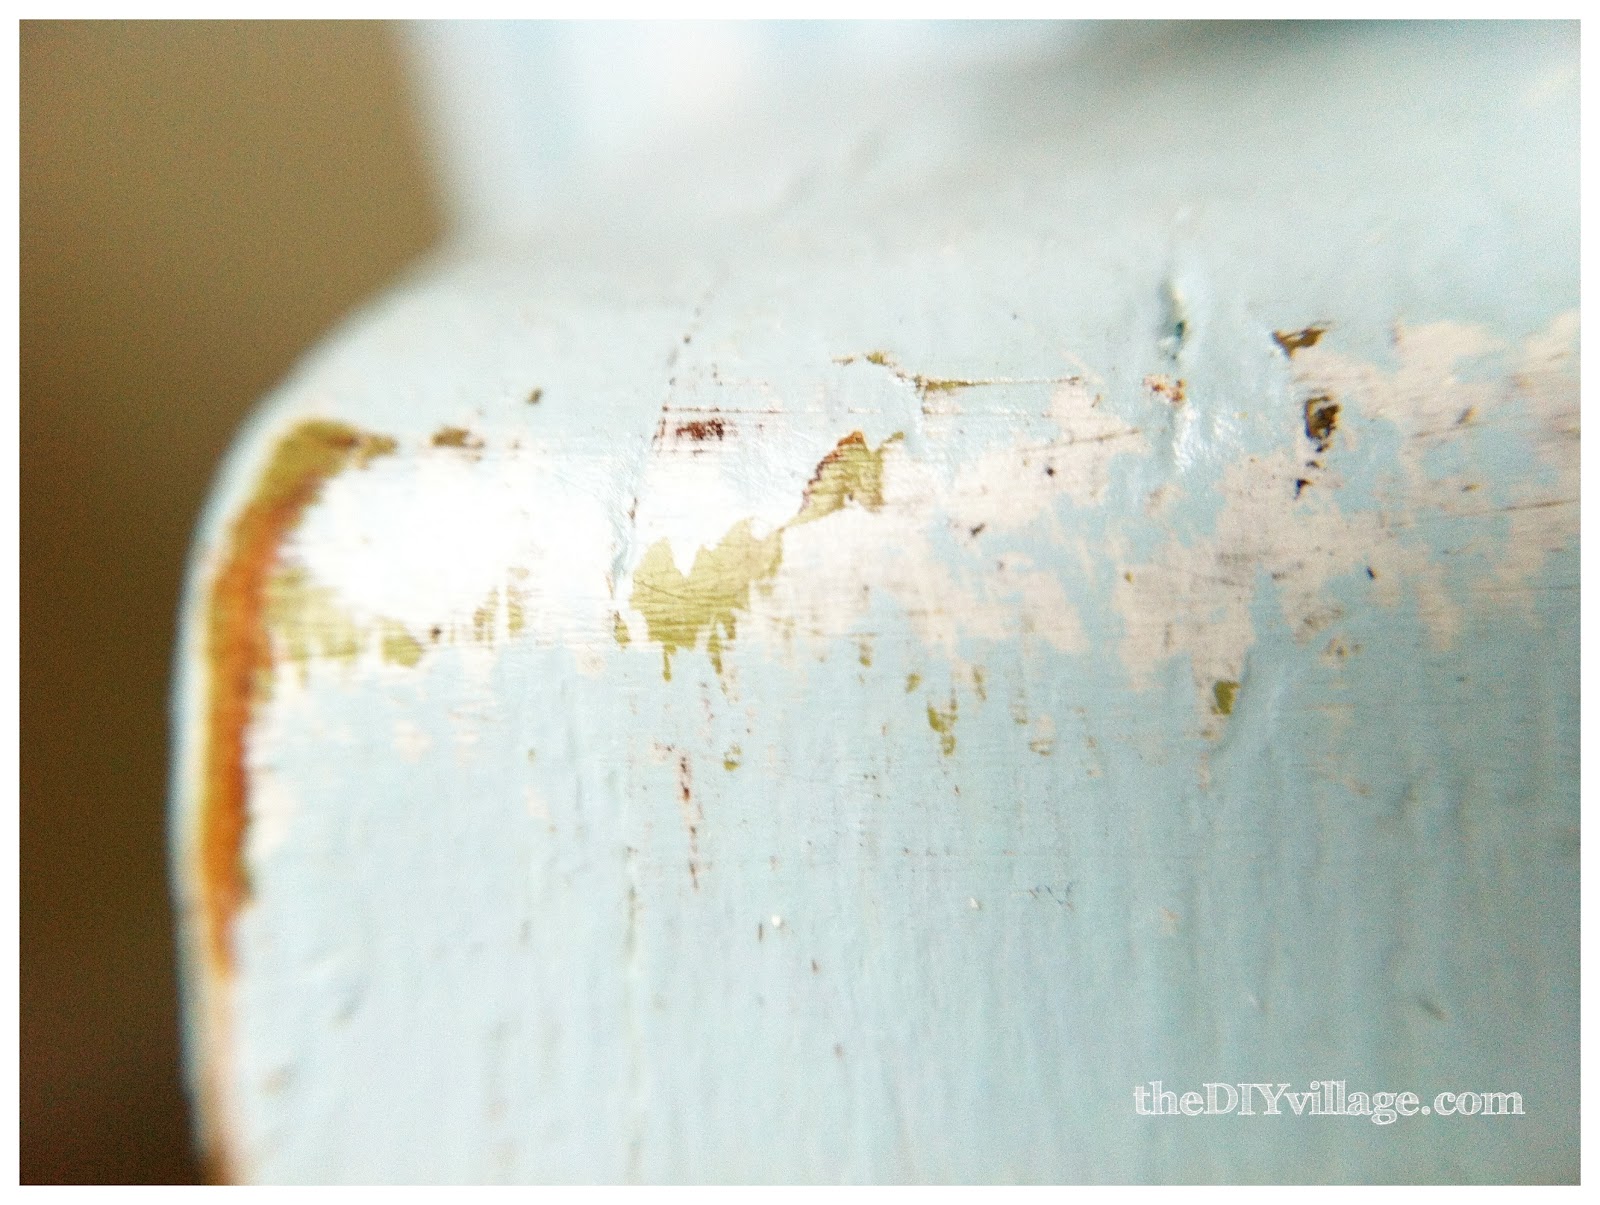
After the second coat was dry I enlisted the help of Matt since he is the master at distressing furniture. We used a few different techniques including furniture scrapers and sand paper to achieve the look we were after. Using a damp rag I wiped down the entire surface of the chair preparing it for the poly acrylic coat. I put two coats on the entire chair to ensure durability.
And here we have it the fruits of my labor!


Now I just have to find the perfect home for this pretty little chair!
Check out the Before & After of our Vintage Chair Re-do

What a great make over!! Great job. I am your newest follower. Stop by sometime!! -Sarah
Thanks for joining my newbie party. I did not see the box pop up to comment so I hit reply. Love the chair!
Sarah I love your furniture you do a wonderful job!
Thanks Debbie so glad to be part of it!
great job on the chair it has that wonderful country chic look going on
I love the new color of the chair..great job!
Thank you! I was smart enough this time to paint some of the color on a paint stick so I can try and color match when what I have mixed up runs out.
thanks for sharing a great make over on your chairs. I've hopped over from the newbie party at Debbiedoos.
Thank you and welcome to our blog!
I saw this at Debbie Doos Newbie Party – I love what you did with this chair! It looks beautiful!
I'm a new follower – I would love for you to check out our blog at Bringingbeauty.blogspot.com
Thank you for visiting us! How funny is it that I was just on your page checking out your Chevron Vanity? Love it by the way GREAT JOB!
Lovely!!
Thank you! Need a chair? lol
The chair has such beautiful lines and I love the color you chose. Newest follower.
I LOVE LOVE LOVE LOVE this!! It seriously looks so amazing! I have a few chairs at my house I'd love for you to come finish 🙂 Thanks so much for linking this up to this week's Tutorial Tuesday!
Kari
Newlyweds on a Budget
Thank you so much! I just wish there would have been 6 chairs instead of two! If you haven't tried distressing with a furniture scraper I really suggest investing in some. They are on sale right now at Woodcraft – these are the ones we use.
http://www.woodcraft.com/Product/2020022/19046/Curved-Scraper-Set-4.aspx
Jacque
This is one of the first projects I have planned to do once we get moved.
Our dining room chairs just need new covers and I figured I can do it myself. Did you remove the old ones first or just cover over the old? Just curious! Thanks. Great job!
Since I did not know the history of the chair cover and we found it in a stinky storage room I went ahead and took the old fabric off. But since you know where your chairs have been I would save myself a step and just leave them on. Removing staples can be a real pain.
Jacque
Great job on that chair Jacque! I love the distressing you gave it and the beautiful blue paint color! I just finished a make-over on my little chair…see it here
http://elegantnest.blogspot.com/2012/03/this-little-chairis-done.html
I am in love with the results…and am motivated to finish another piece soon!
Have a great day ~ Laura
I just looked at your chair! So cute I had to pin it! Great job 🙂
-Jacque
Great job on the chair. Very beautiful!
Thank you!
Wonderful transformation. Love the color and the distressing – so pretty!
Love the aqua color you came up with-following you from tdc-stop by for a visit!
THat is a sweet chair! Great find! Often when I pick things up from others, I have learned to hint a bit that I am always looking for furniture or sometimes just coming out and asking. You would be amazed what ELSE you can find! LOve the chair – and the little animal on it as well! Very pretty! Thanks for coming by to link up – please come back this week to link up as well!
Stacey of Embracing Change
Thank you! I have to be careful when I hint about other things because I usually find 5 or 6 more things I'd love to snag up … only so much garage space though hahaha
You are inspiring me…I have 6 chairs waiting for rehab in my garage…this is beautiful!
Holly
504main.com