I’ve recognized a trend where personalized wall art has really become a decorating MUST in a lot households. I think it’s pretty cool to visit someones house and find their walls adorned with unique pieces of art that are not only visually pleasing, but art that shows something about who they are or what’s important to them. That’s why I chose the wall art that you’ll see today! Creating your own DIY Wall Art is a great project whether you’re looking to add a “personal” touch to a wall in your own home or you’re looking for a quick and affordable DIY gift idea for someone else! A really cool one I recently came across was his and her canvases by Amanda over at Dreamsicle Sisters.
So let’s jump right in!
Step 1: Come up with a stencil. You can buy them at your local craft store, have a local sign shop make one for you, or if you’re like us and lucky enough to have your own vinyl cutter, you can make your own!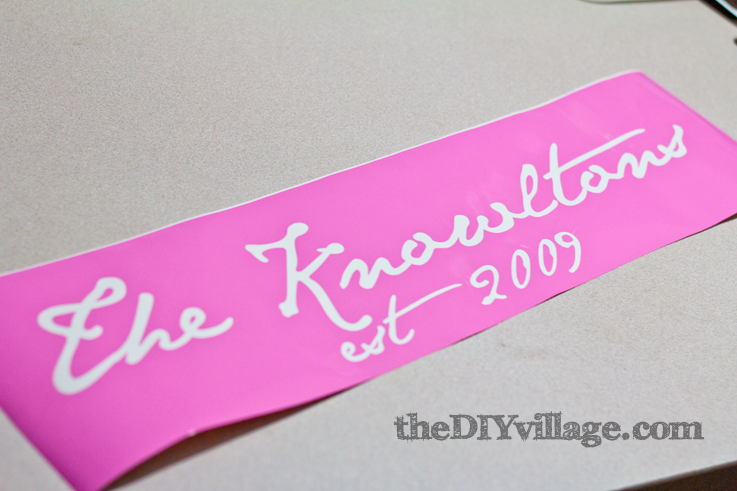
Step 2: Choose the substrate or surface you plan on using for your wall art. (Luckily, we’ve got a close family friend who just so happens to be replacing planks on his barn and was kind enough to offer us his old barn wood! What a score!)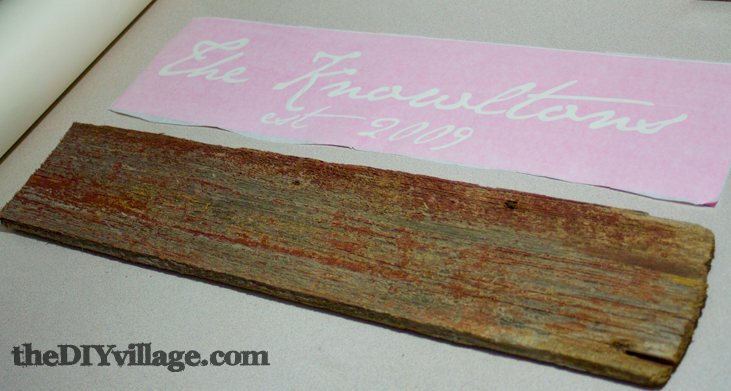
Step 3: Whether you are using a store bought stencil or using vinyl, you’ll need to secure it to the substrate. If you are using vinyl, you’ll need to apply transfer tape over your stencil and remove the backing material to secure it to the art surface. With a store bought stencil, taping it in place should be sufficient.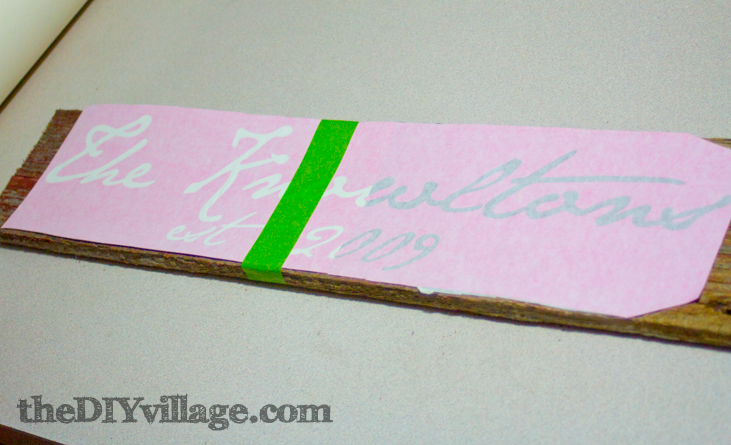
Step 4: Choose a paint brush. Dip the end of the brush into your paint, getting a small amount of paint onto the tip. Then begin to stipple the paint over the stencil. 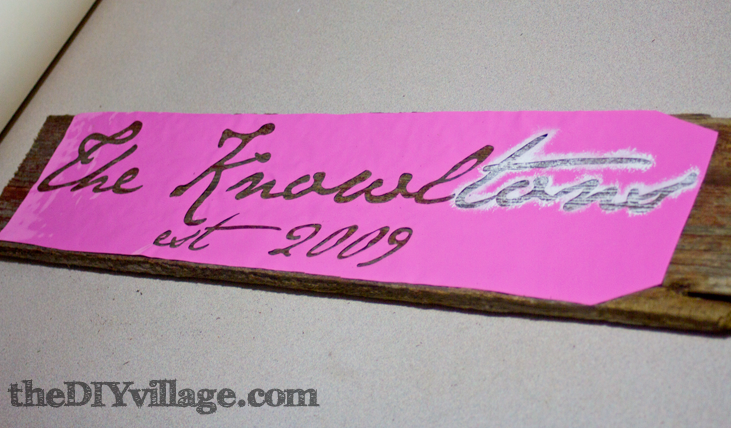
To give your art a more weathered look, use lesser amounts of paint on the brush. Continue the process until you have covered the stencil.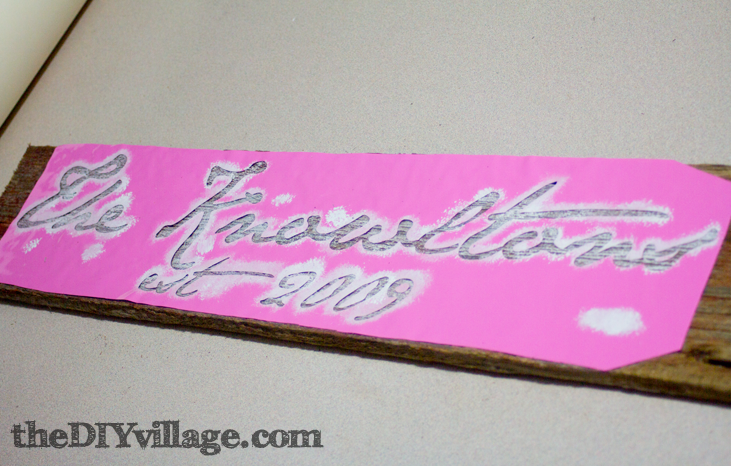
Step 5: Add a fastener or hanger onto the back and all that’s left is to display your DIY Wall Art with pride!
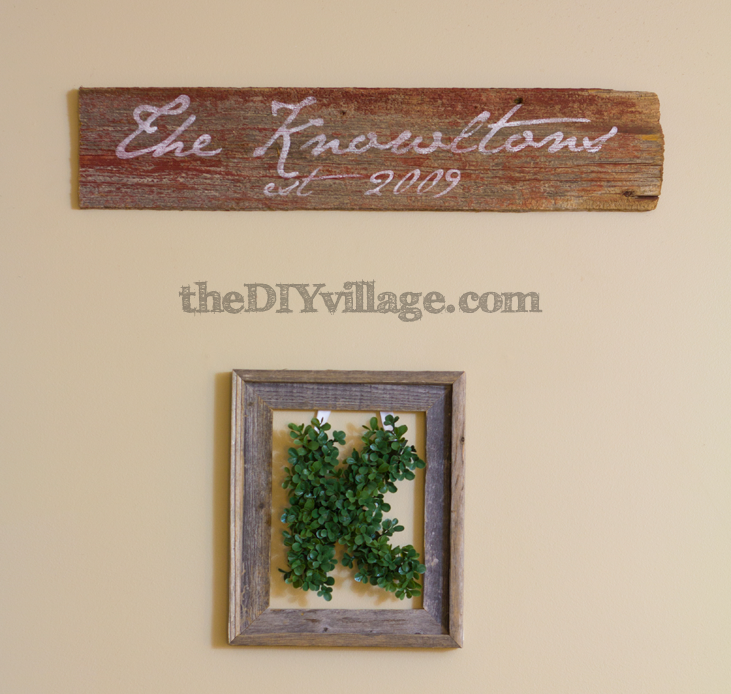
Our artwork is one of a kind and who knows someday we may be passing this down to future generations!
I love this idea! Would be really cute hanging over a bed too!
Pretty! I have one of these signs and LOVE IT!
Great job! I love personalized art!
Angela
Ohhh I want one of these! So cool and definitely destined to become an heirloom. You guys should open an Etsy shop and sell these. 🙂 I’d be your first customer!
Visiting from Blogtalk. I love the sign and want to make one of my own. I agree with Ann – You should sell these. Sharing via Twitter!
Great idea! Thanks for sharing how you got such a great look for your sign. I saw your post over at “Stone Gable” blog party.
I love this project!~
Love it, Matt! I wish Ethan would decorate more! Maybe you two can collaborate! haha
Love this, girl!!!!!!!!!
Looks great! And how lucky–scoring the old barn wood–yay!
So pretty! Send some of that barn wood my way! 🙂 Thanks so much for linking this up to Monday Funday!