There are certain things on the Never Ending Honey-Do-List that have taken priority over others…One of the most recent being the need to replace the flooring in one of our upstairs bathrooms. The existing vinyl flooring served its position with honor and dignity for the first nineteen years of our houses existence.
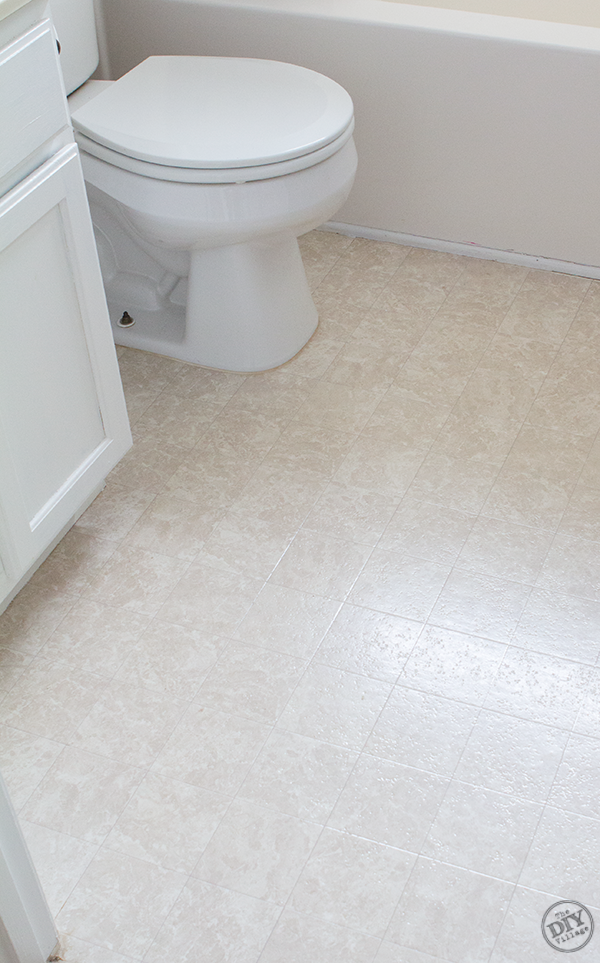
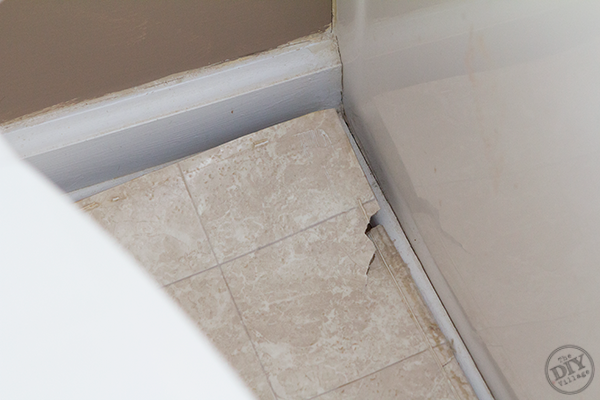
But the last few years had taken its toll on the old floor.
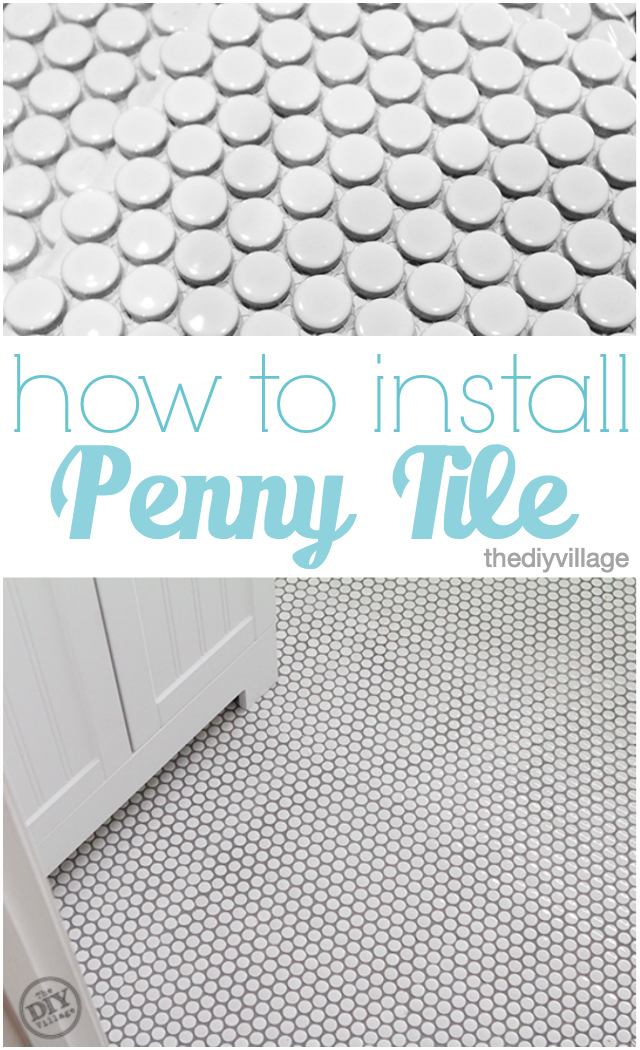
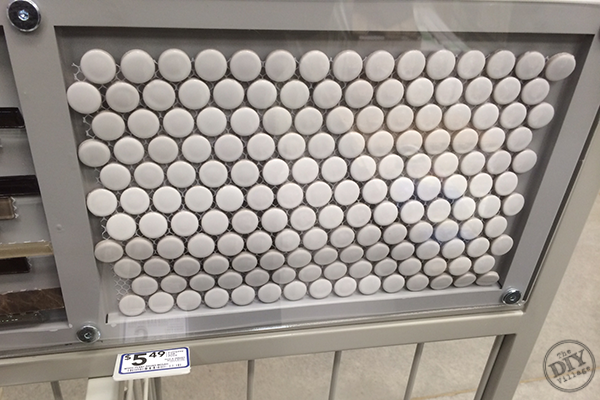
So it was time to come up with a plan for a new and improved flooring. So we followed our standard operating procedure for making home based decisions…Jacque told me what she wanted! And this time, she we came up with the idea of installing penny tile!
When you’re dealing with flooring replacement, the best place to start is to measure the space you’ll be working in. To find the square footage of the space, measure the rooms length multiplied by the rooms width. In our case the room measured roughly 5′ x 5′ plus a closet that measured out at 2′ x 3′, so our overall square footage was 31 square feet. We included the area under the vanity in our measurements because part of our plan for this bathroom involved the installation of a new vanity. If you’d prefer to not tile underneath your vanity, just subtract its square footage from your overall total.
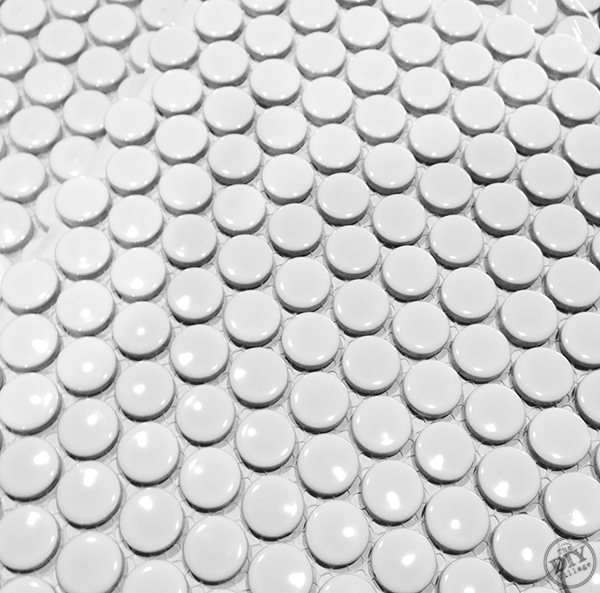
With measurements in hand, I headed to Lowe’s to special order the penny tile. (It previously had not been a stock item) But as luck would have it, Lowe’s had just refreshed the tile designs that they carry at the store and white penny tile just happened to be one of the new tiles!
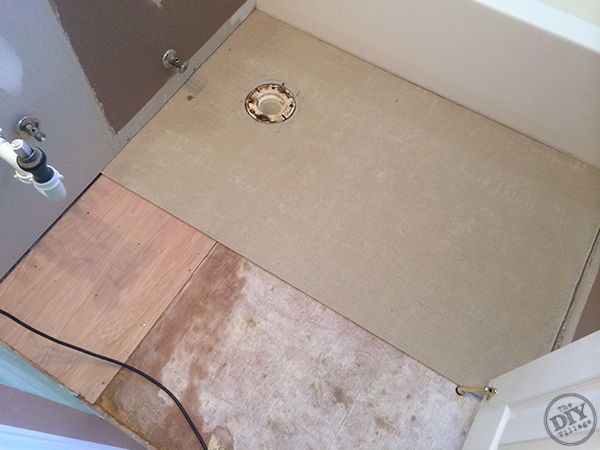
If you’re dealing with a slab subfloor, you won’t need this next step. But for those of you with a plywood subfloor, in any areas that will come in direct contact with water, it’s super important to install a layer of hardie board. It’s a crazy durable bulding material that protects against moisture damage and mold growth. (Plus, it’s crazy durable and reinforces your subfloor!)
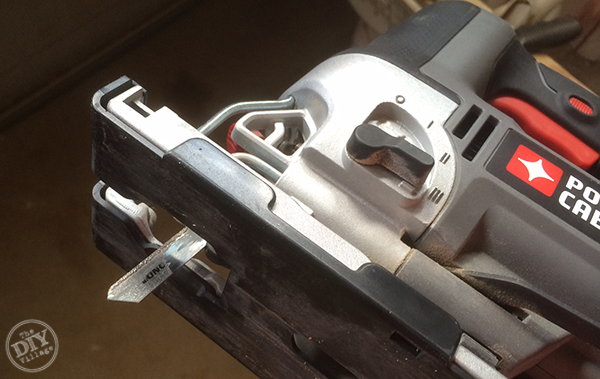
For any round cuts you need to make in the hardie board, (i.e. the toilet flange) use a jig saw with a diamond grit blade.
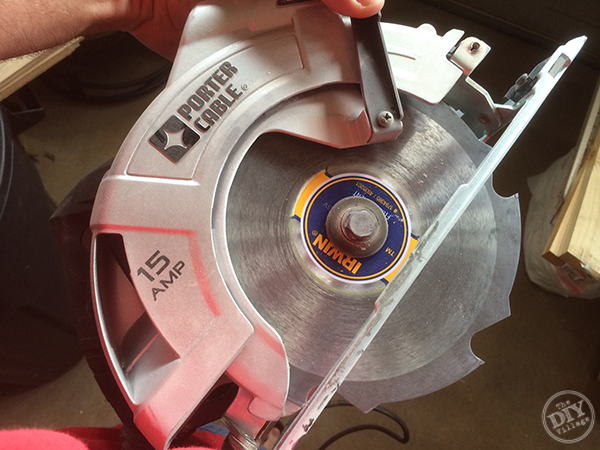
If you need to make straight cuts, consider spending $20 for a cement fiber board blade for your circular saw. It makes easy work of ripping the boards down to size.
Most manufactures recommend putting a layer of unmodified acrylic or latex thinset between your plywood subfloor and the hardie board. It’s purpose is not adhesion, it’s to act as a filler for any gaps. Using a square notch trowel, layout a thin layer of thinset.

Next, lay the hardie board into place.
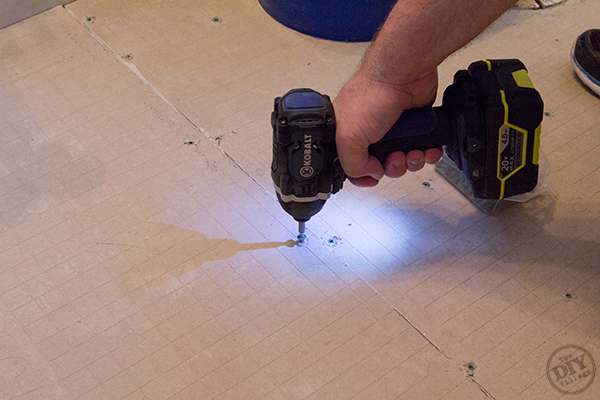
Secure the hardie board in place with cement board screws. I’ve found that a regular drill won’t always have enough power to countersink the screws flush with the top of the hardie board, so I recommend using an impact driver. (If you’re in need of one or any other cordless power tool, for that matter, take a look at the Kobalt 20V power tool line. They’ve not let me down yet!)
You’ll need to wait a full 24 hours to let the thinset cure before moving on to the rest of the tile installation.
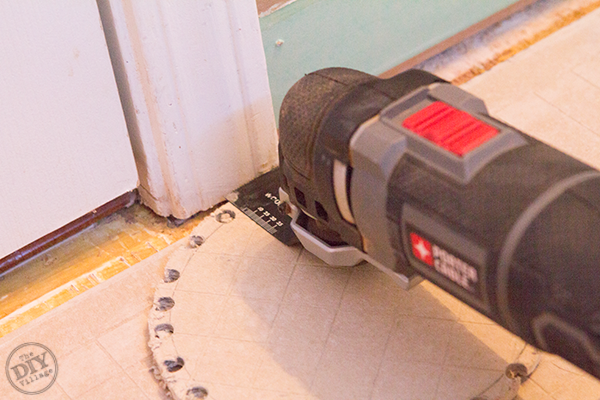
Because of the thickness of the hardie board and the tile, you’ll need to under cut the door jamb. Use something the same thickness as the tile to build up the surface to the correct height, then undercut the jamb using an oscillating tool.
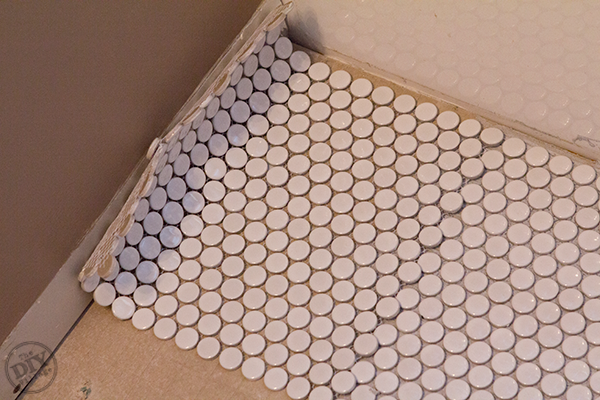
Normally , when installing tile you’d find the center of the room and begin laying tiles on either side, making sure that the layout is symmetrical. But, since penny tile doesn’t really have seam lines, you don’t have to worry about starting in the center of the room. I chose to start in the corner up against the bathtub.
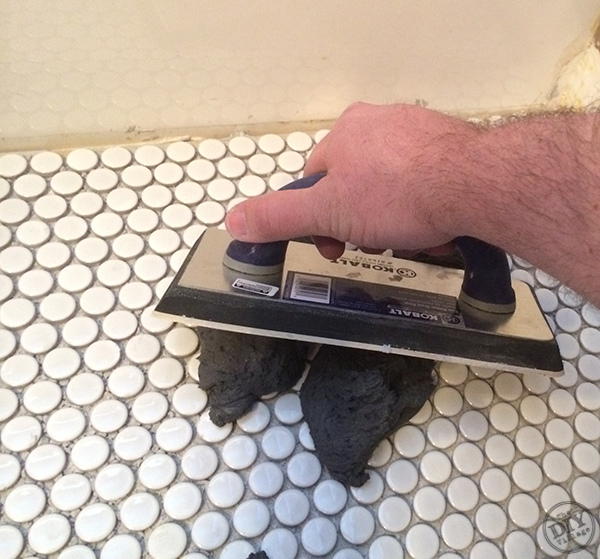
Using a V Notch trowel, put a thin layer of thinset down, then lay out a sheet of penny tile, setting it by pressing down over the sheet with a tile float.
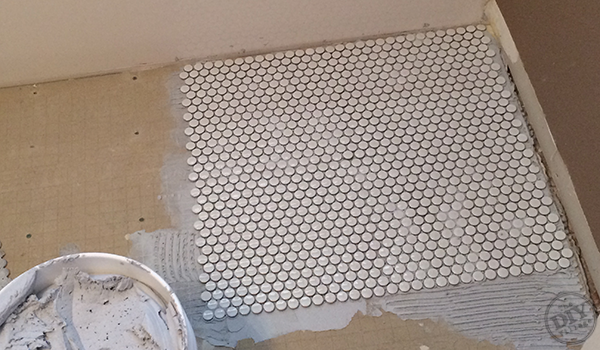
One thing you’ll find about working with a tile that has mesh backing is that it’s really easy to cut. When it comes time to cut around the toilet flange or to trim the sheet of tile to fit up against the wall, all you’ll need is a utility knife. Lay the tile sheet in place and determine where you need to trim off excess, then using a utility knife, cut the mesh backing.
Give the thinset 24 hours to cure before starting on the grout.
When mixing grout, follow the manufacturers recommendations to achieve the correct consistency. Lay out an ample amount of grout, then using a rubber float at a 45° angle, work it into the crevices.
Change up the direction in which you are spreading the grout to guarantee a consistent application.
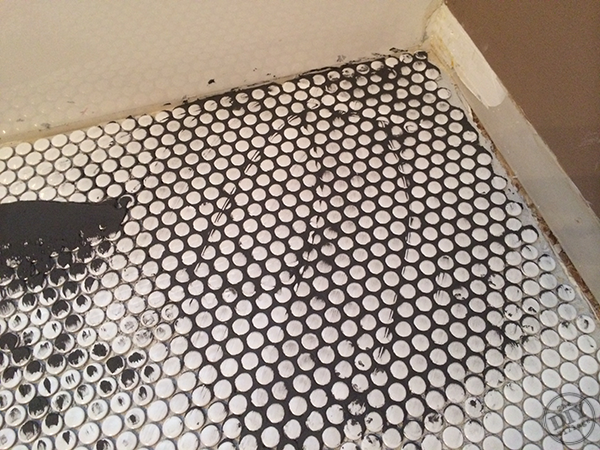
Allow about 20-30 minutes for the grout to set up before you clean the tile surface. It will look messy, but trust me, it will clean up easily with a lightly damp sponge. (This is probably the most tedious part of the job, but the more thorough you are with the clean up, the better the job will look!)
With this tiled surface being in your bathroom, it’s important to seal the grout. Dupont makes a sprayable sealer that is quick and easy to apply.
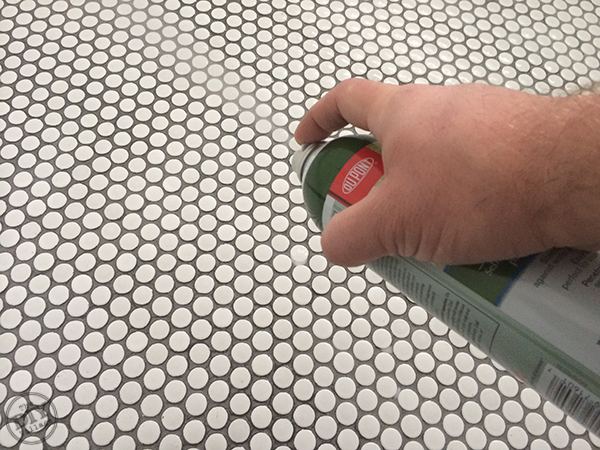
Wait about 10-15 minutes for the sealer to dry, then remove any excess using a dry cloth. Add a second application about an hour later, repeat the cleaning process, then allow 24-32 hours to fully set.
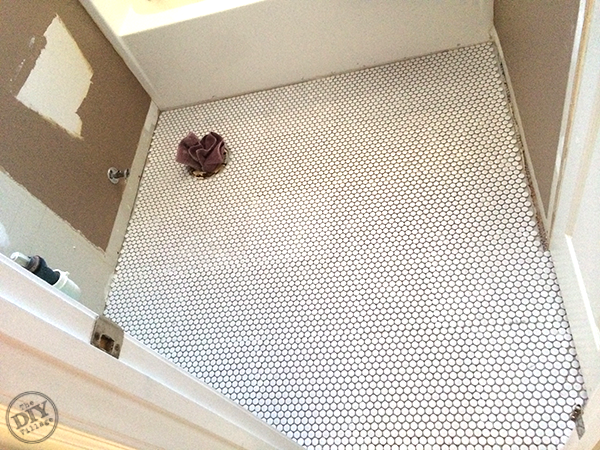
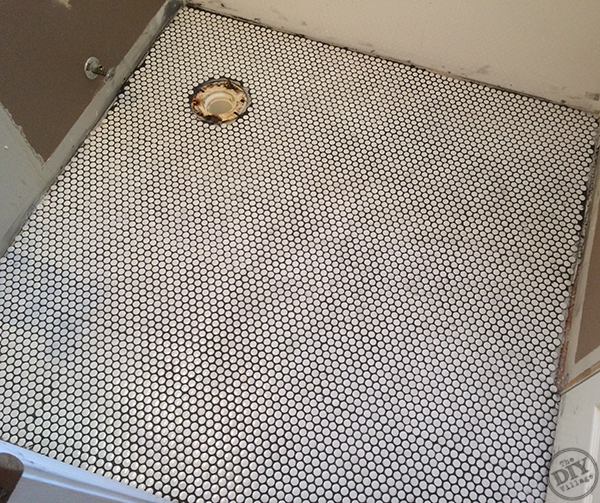
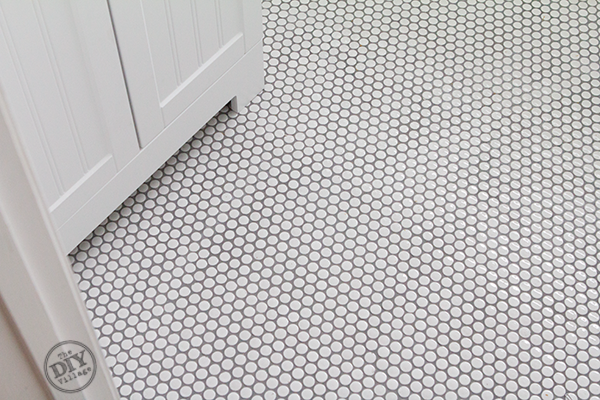
I can officially mark another project off of the Never Ending Honey-Do-List! If you’re interested in seeing what other changes we’ve made to the bathroom, keep an eye out for our full reveal! In the meantime, here’s a look at how the penny tile turned out!
If you haven’t been into your local Lowe’s to see their new beautiful flooring options, take a minute this weekend and check them out!
UPDATE: The grout color is MAPEI Pearl Gray
Also be sure to check out the rest of the amazing Lowe’s Creators & Influencers!
![]()
If you’re an iPad or iPhone user, be sure to download the Lowe’s Creative Ideas App to see some unique seasonal project ideas!
![]()
And if you need even more inspiration, follow Lowe’s Home Improvement on Pinterest, Facebook, and Instagram
Disclosure: As a Lowe’s Creative Ideas Handyman, I was provided a gift card to cover the cost of materials for my project, but I was not told what to write. All the ideas and words found here within are honest and my own
Oh my gosh y’all it is just wonderfully gorgeously little white tiled perfection!!!!!
I love it.
Really.
Nice job!!
Now I want new tile.
Wow! The final look is incredible! And, you make everything look so easy! Great look and way to update your bathroom floor!
Matt you are my hero!
I absolutely LOVE those pretty little white tiles! Even though I’ve never tiled a thing in my life, your tutorial is SO thorough that I’m pretty sure I could give it a go!
You guys! It looks fabulous 🙂 I adore penny tile.
This is fantastic, Jacque! Love penny tile and I pinned it! xo
Thanks so much Claire! Matt did a great job, I think my contribution was mainly saying, “This is what I want” 🙂
LOOOOOVE that floor!
LOVE what you guys did with the penny tile!!!
This is GORGEOUS. Such a quick (kinda!) change yet a huge difference.
It looks great! I bet the Honey Do list is getting shorter 😉
Debbie
Haha you do know that list is never ending right?
Wow!! You guys have outdone yourselves, although I think that with every project you do! Absolutely LOVE how beautiful this flooring is!
Love it! I have always wanted penny tile. Will pin this for when we do our bathroom remodel.
This is so cool! Looks awesome!
I love this! May I ask what color grout you used? it’s the exact look I am trying to achieve
I want to know the same!!!
The color is Pearl Gray made by MAPEI
Looks great! I am doing the same to my bathroom and cannot decide between the gray or charcoal grout! Can you share what you used in your bathroom?
This looks great! I love penny tile. What color grout is that? I like how it is darker but doesn’t look too dark. Lit looks lighter than a charcoal, is it?
the color is Pearl Gray 🙂
OK, I realize that this is from a year ago, but I just have to tell you that that floor looks amazing. AND no tile saw required! Love that part!
Stopping by from The Makers Link party, never knew it was called penny tile. Love that looks! Wish I was as handy as you.
LOVE the penny tile!!! Looks so good!
I’ve got a question about the sealer – How did it hold up? I’ve been told you shouldn’t put sealer on top of the porcelain tiles because they will get cloudy, and the sealer will peal off?
But I don’t want to sit there and dab sealer on every grout line, avoiding each individual little tile!
Your advice is appreciated. Going for a penny tile floor, starting today actually!
Hey Nicole, The sealer has held up spendidly! No cloudy haze or peeling on any of the tile. This floor is in the bathroom that we use to bathe our daughter, so it definitely has been put to the test! So far it has passed with flying colors! Good luck on the tile job!
This came out looking great! I always love the way penny tiles look in a bathroom. Thanks for sharing this guide!
Hey all, I am going through a similar project and right now I have the tile setting pre-grout. I noticed that before placing the grout down you can see (slightly) the lines where the tiles meet one another. Does that become less prominent when the grout is laid or should I go through and create a little more space between the seams so you can’t see the lines. I think the main issue is that the seams are just a little closer together than the penny’s inside the tile. Any advice you have is welcome.
We had this issue as well. The best we could do was to find a spacer that was the same distance as the attached penny tiles were. We did end up with a spot that was slightly further apart and it did create a line. Pretty much only visible to us. I wasn’t super concerned about this because I knew that is where the bathmat would live. I would say if you use a lighter grout it would be less noticeable, but since we have yet to try that I am not 100% sure.
This is very well done. And I love the transparency with your relationship with Lowe’s. Do you have any suggestions on how to get the glued on laminate floor off the plywood subfloor? Do I just have to chisel it away?
Great tutorial. I’m renovating a 1924 house & love the penny tile but concerned about them being layed unevenly by my tiler. Larger hex are more forgiving but I keep going back to the penny tile.
Matt,.
You have singlehandedly restores my faith in penny tile floor installation. I just returned home from a tile shop where the installer said he would charge anyone wanting penny tile three times his normal going rate because it is darn near impossible to have this type of floor not look “wavy” because the tile does not line up from sheet to sheet. ?!@%#$!
Do you work in Michigan, by chance??? Apparently it CAN be done. Awesome work!
Nice and excellent tips with some awesome images. It is so simple and easy to understand. Thanks for sharing.
Lovely post!!
Thanks for sharing this post here with us