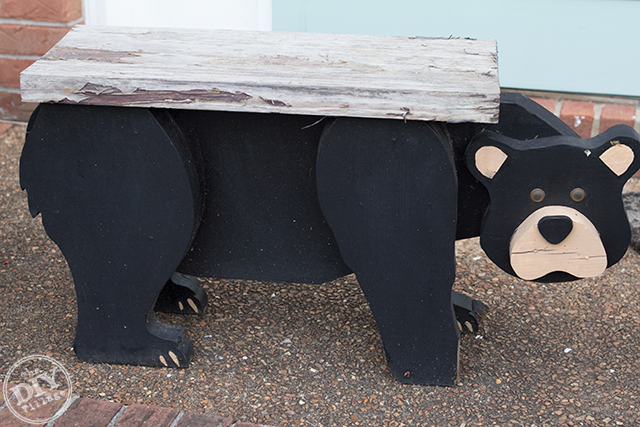
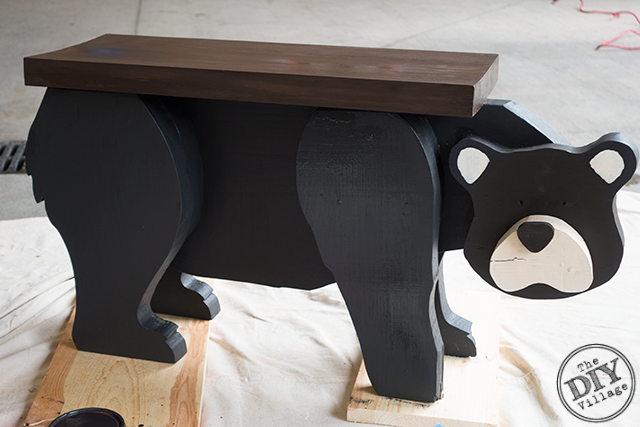
 When my grandfather (Pops) was alive he loved making things with wood. He would build bird houses, wine holders, even giant hand painted cut outs. Everyone has a 4′ tall turkey and a 6′ Mr. and Mrs. Clause right? It was one of his hobbies his other one was playing cards specifically poker and 21! In fact as soon as us grandkids could count we were shouting out hit me, stand, double down, and my favorite Black Jack! Pops was a good man with an incredible sense of humor and a huge heart. There isn’t a day that goes by that I don’t miss him dearly! About 10 years ago I was lucky to have him build me a bear stool. One friend loved mine so much she asked him to make her mother one! It’s funny because Pops was a huge lover of all animals but where he got the idea for the bear stool is beyond me. In our last home the stool was protected by a small covered porch. Our current home, well not so much. Poor Mr. Bear is fully exposed to all of the elements. Three years ago I noticed that the top of the stool was in need of some love so I did a quick sanding and gave it a coat of polyurethane to seal the wood. Unfortunately that was not enough for the stool and he is once again in need of some love, and a foot repair. Today we will be teaching you how to revitalize your outdoor wood furniture without breaking the bank or your back!
MATERIALS:
Sandpaper – 80 Grit and 220 Grit
Solid Stain – Olympic Maximum in Ebony & Almond
Semi-Transparent Stain – Olympic Maximum in Oxford Brown
Stain Brushes
Rags
Palm Sander
Before you get started you will want to wipe your outdoor wood furniture down with a damp rag. If it is exposed to the elements you are abound to have some debris or grime on there.
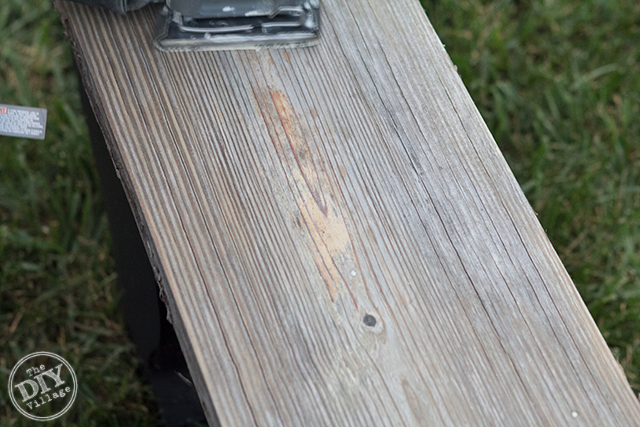
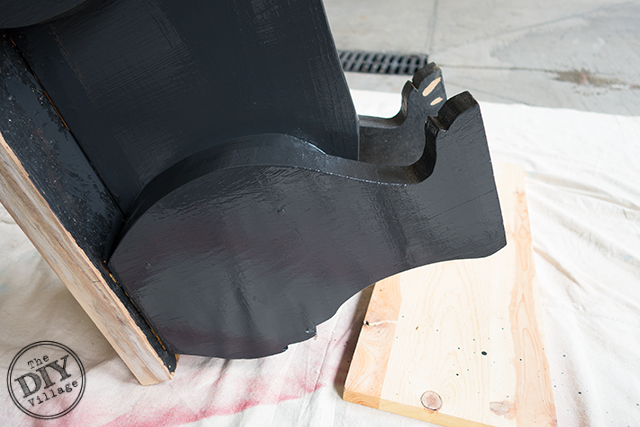
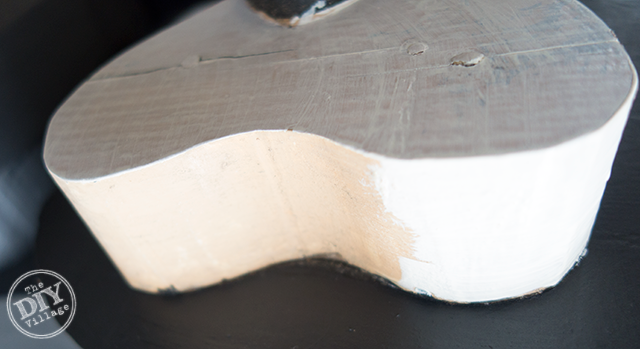
Start by removing the old finish by sanding. Use a palm sander with an 80 grit sand paper. Sand until the raw wood is uncovered. This will help to ensure even coverage of the stain on the top.
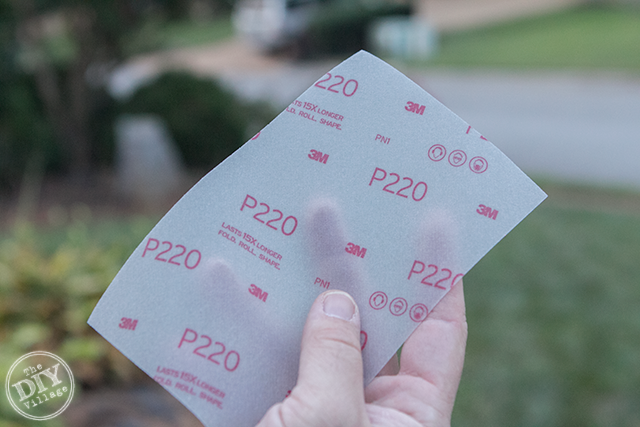
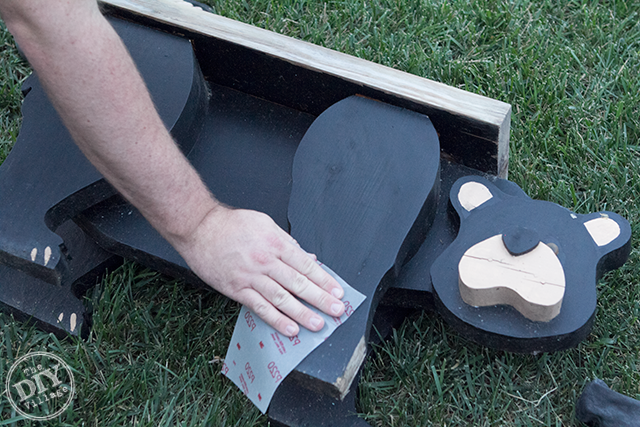
Use a 220 Grit SandBlaster Pro sanding sheet by 3M (Exclusively available at Lowe’s) to lightly scuff up the base. Since we are just sprucing up the color there is no need for anything other than hand sanding. The backing of the sandpaper is slightly tacky and very flexible it really makes it easy to get into the tight spaces on this stool.
For surfaces that will need a more complete coverage, begin by painting with Olympic Maximum Solid Stain and let dry. (Repeat coats as necessary)
The solid stain can be tinted for a number of different colors, so you’re not limited to more traditional stain colors!

For those areas that require more of a luminous appearance, consider using Olympic Maximum Semi-Transparent Stain!
Since Olympic Maximum Stain includes a sealant, there’s no need for any additional finish coats. Simply apply stain coats until the desired look has been achieved.
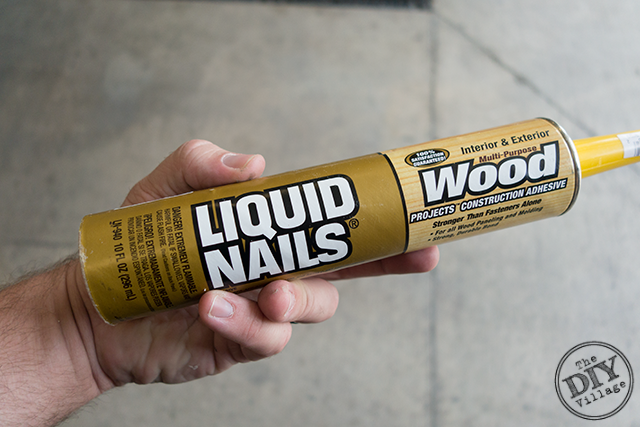
Lastly, for any small appliques or repair work, choose an adhesive that is material appropriate, like this Liquid Nail.
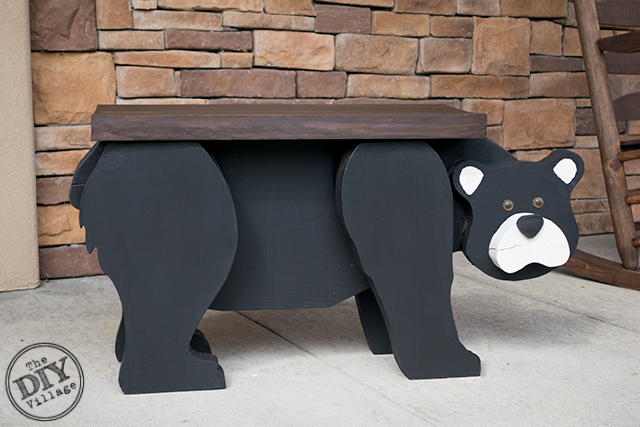
Revitalizing outdoor wood furniture is super easy and is a much better option than replacing it! I don’t know about you but, I would much rather get a few (hopefully 10 or more) years out of Mr. Bear or a park bench than just junking them. It’s amazing what a little TLC can do.
Looking for other furniture upkeep inspiration? Be sure to check out what the rest of the amazing DIY experts with the Lowe’s Creators & Influencers have come up with!

If you’re an iPad or iPhone user, be sure to download the Lowe’s Creative Ideas App to see some unique seasonal project ideas!

And if you need even more inspiration, follow Lowe’s Home Improvement on Pinterest, Facebook, and Instagram
Disclosure: As a Lowe’s Creative Ideas Handyman, I was provided a gift card to cover the cost of materials for my project, but I was not told what to write. All the ideas and words found here within are honest and my own!
We also had the 3-D reindeer for Christmas – I kinda miss them from time to time 🙂 Love that you gave this little guy an update so he’s around for a while longer!
Haha! The bear design is completely awesome, I’m loving these designs – practical and cute.
Oh my goodness, that is so insanely cute!!! I love it!! Great job with the revitalizing!!
That’s a cute little bear right there. I look forward to photoshoots with Mr. Bear and baby Joss!
That is the sweetest thing! Grandaddy’s are just the most special people on earth. I miss both of mine everyday!
Oh my gosh, that stool is too cute! I love how you cleaned it up, perfect for Joss!
I love what happens when you take care of items. I am sure that your bear bench will last at least another 5-10 years. Sometimes it seems better to just throw things out but, I would much rather refinish them like you did. We have a lot of wooden furniture that could use some sandblasting and refinishing. Hopefully it turns out as well as your project. Thanks for sharing.
Thank for sharing . That great idea to make a cute bear . 🙂
That’s awesome! I love it. I always did it when I was a child with my dad. However, now in the modern technology, we use palm sanders for effectiveness and efficiency.
Really An Amazing Article.