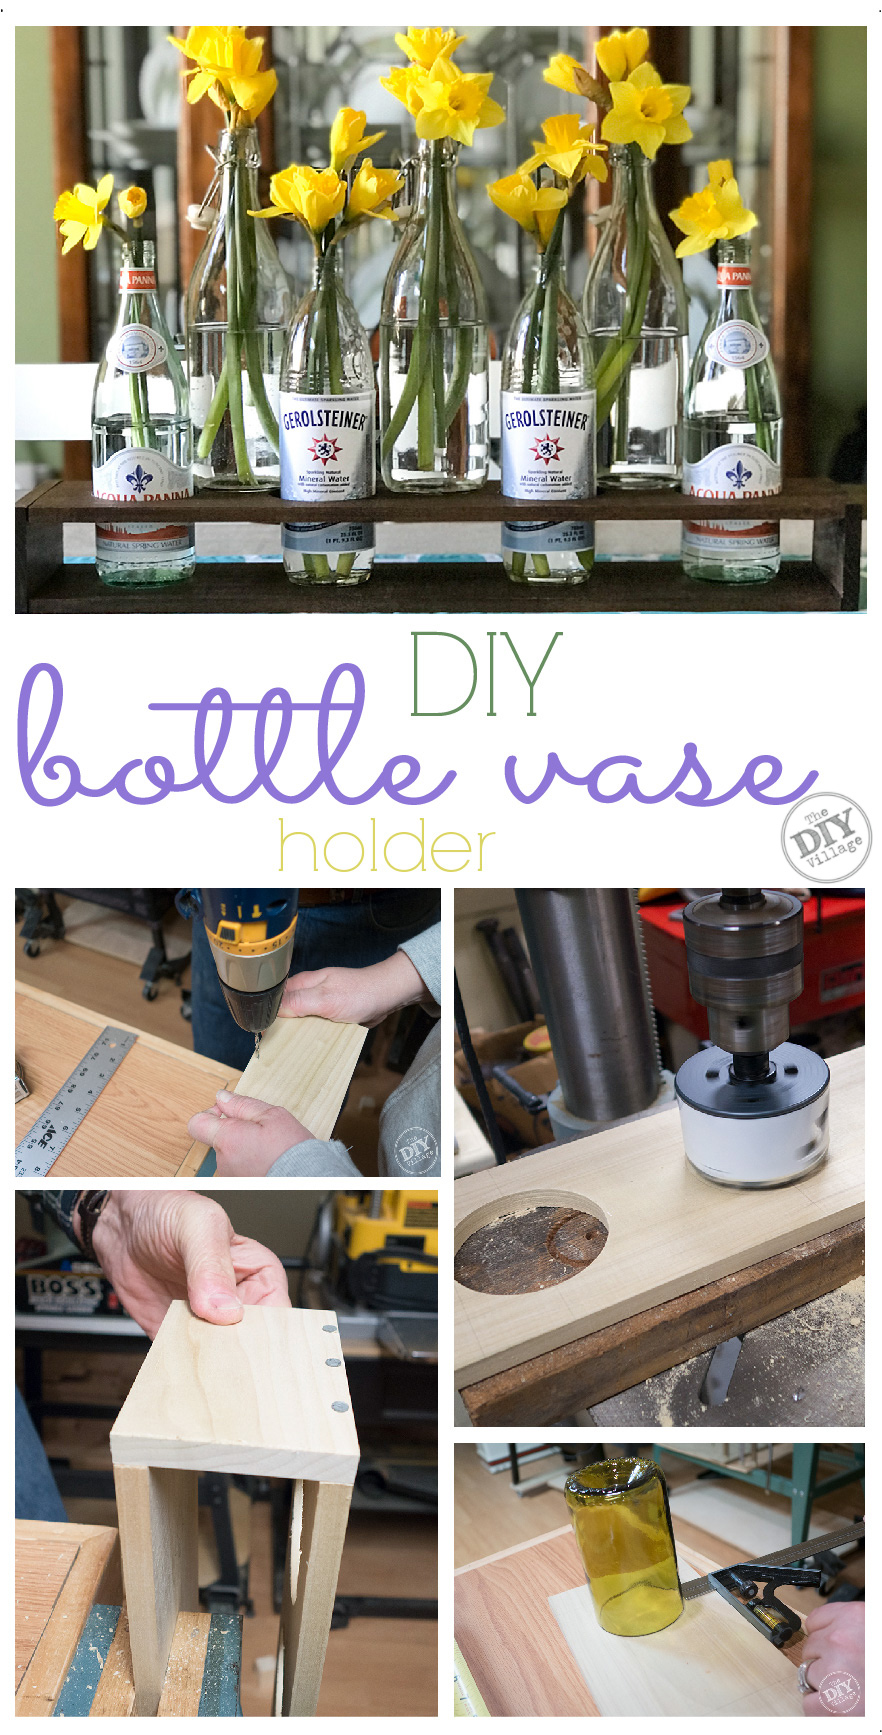
 I was given a gift of some really cool drinking glasses made out of old wine bottles. We don’t use the glasses as much as I would like so I wanted to find a way to use them as something more than a drinking glass. After some thought I decided to create a bottle vase holder that would hold not only my “wine” glasses but also wine bottles for flowers.
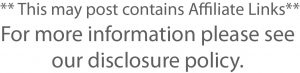
MATERIALS:
- 1/2″ x 5.5″ x 6′ Poplar Board (cut into 2- 24″ lengths & 2 – 3.5″ lengths)
- 12 – 8 Penny Nails (Truss Hanger Nails)
- 1/8″ Drill Bit
- Drill Gun
- 3 1/2″ Hole Saw
- Clamp
- Sandpaper
- Drill Press
- Straight Edge (Speed Square)
- Sliding Rule Square
- Walnut Gel Stain
- Foam Brush
- Paper Towels
- Pencil
INSTRUCTIONS:
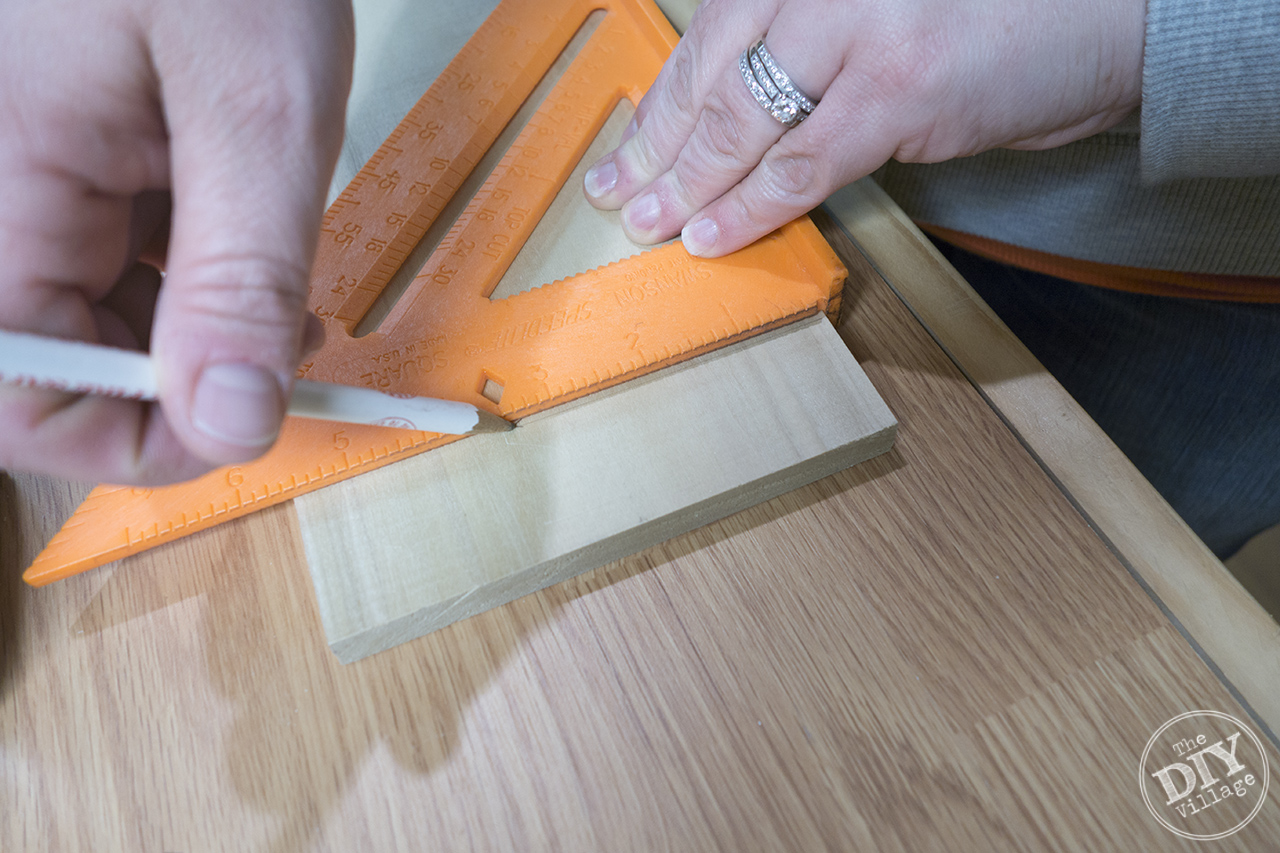 Start by cutting the board into a 24″ length and then cut the board in half. Measure over 1.5″ and mark a line using the speed square.
 This will leave 21″ in the open area. To find the position of the center openings measure over 7″ from the outside mark, use the speed square and mark a line. Do this on the opposite side of the board. These will be the center points of your middle openings.
 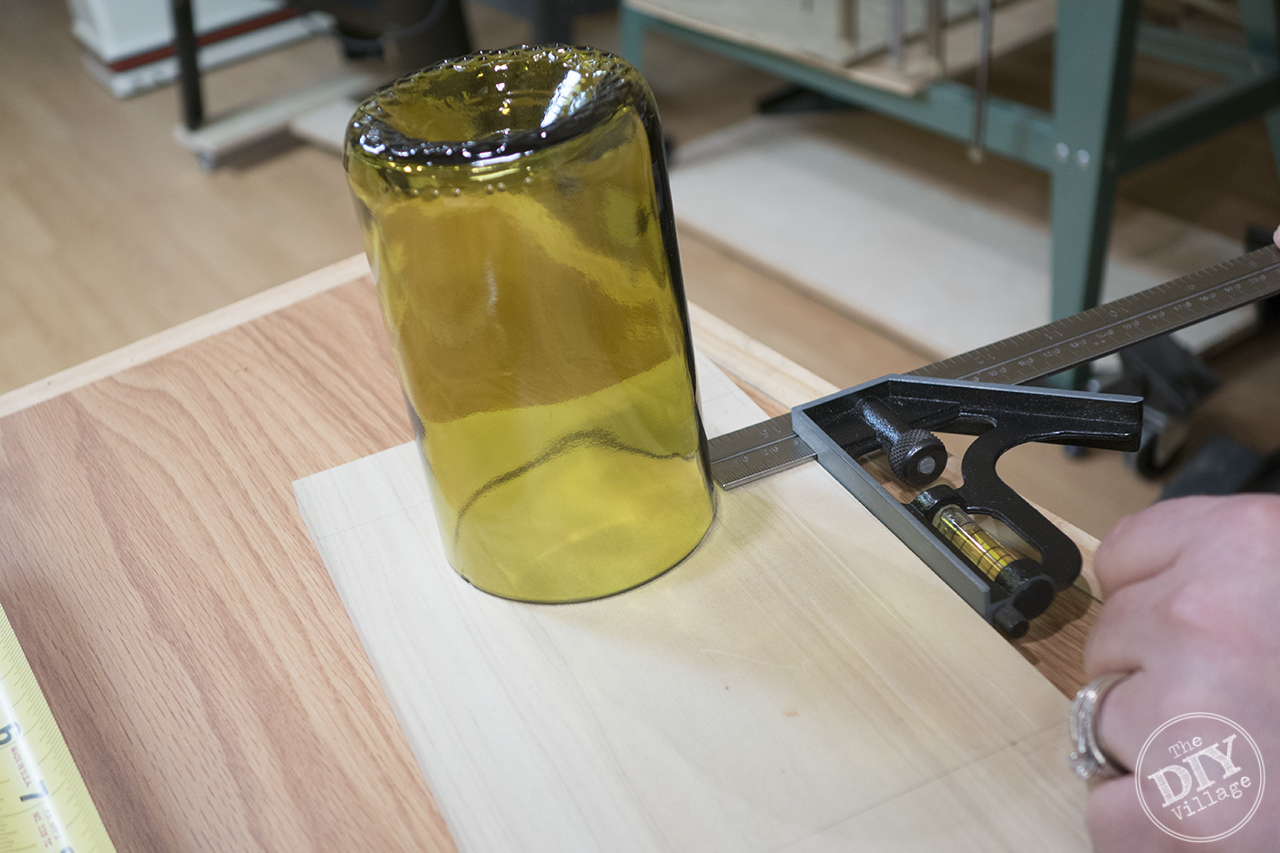 Use the wine bottle glass as a guide to help find center. Set the sliding rule square so that the glasses will be straight across the rest of the board. Using a pencil mark round the outside edge of the glass, repeat on all bottles.
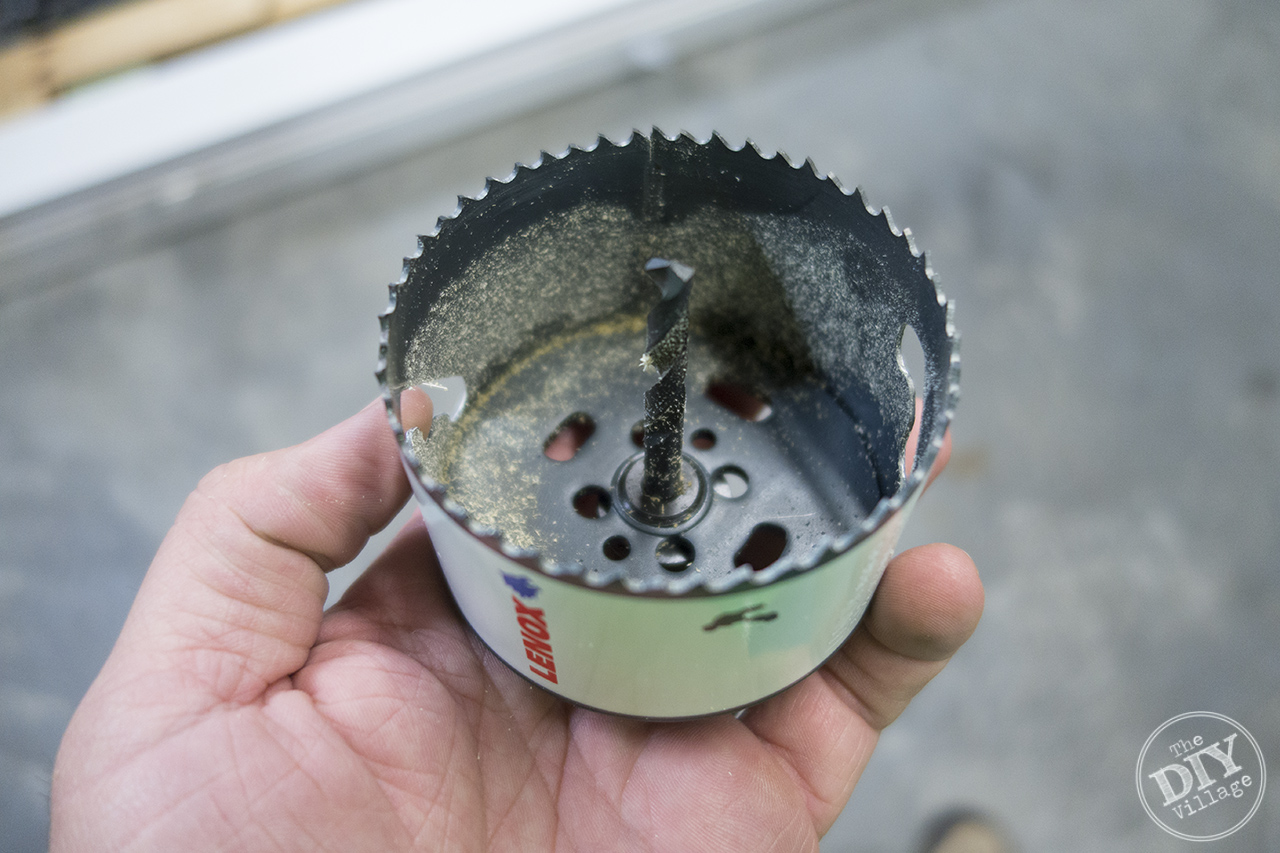 Install the 3 1/2″ hole saw onto the drill press. (You could possibly use a hand drill to do this but the torque from the teeth cutting into the wood is rough and not recommended). Clamp the board to the drill press.
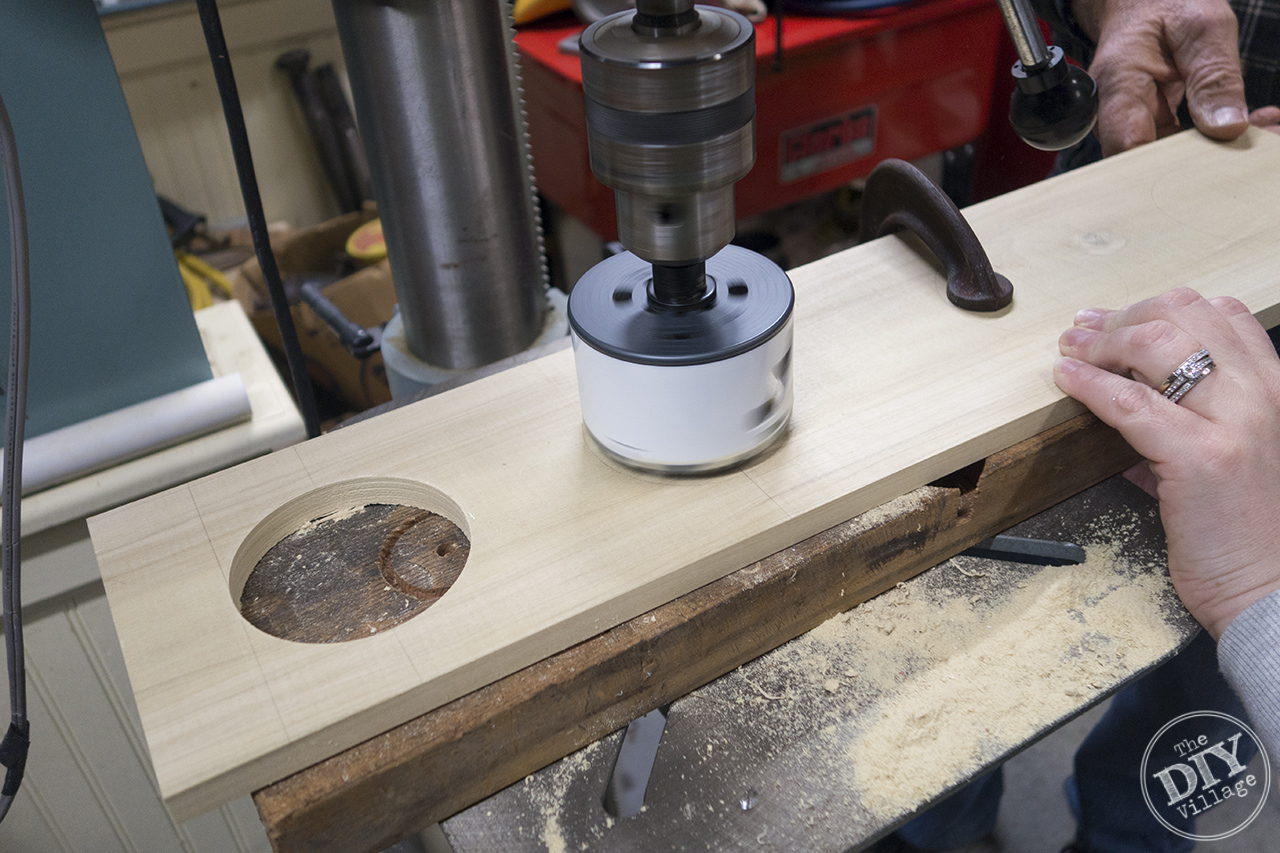 For the outside holes line the outside edge of the hole saw up with the pencil mark and drill. For the inside holes line the drill bit in the center of the hole saw up with the two center pencil marks and drill. If you are able to have a second set of hands available to hold the board as the teeth of the hole saw begin to grip the wood.
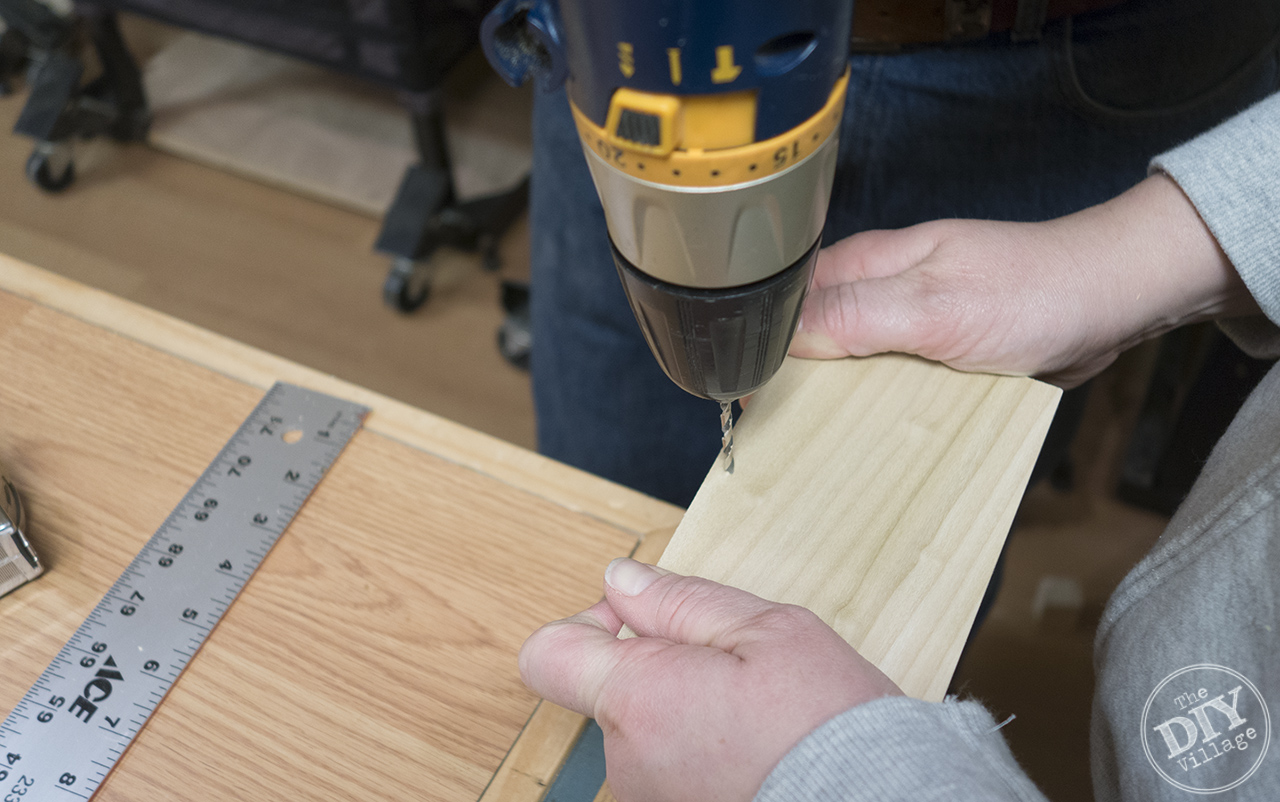
For assembly of the bottle vase holder; On the two end pieces measure down 1/4″, mark a line using the speed square. From the outside edge measure 2.75″ making a mark on the 1/4″ line to find center. For the remaining nail locations measure out 1 5/8″ each direction from the center mark. Pre-drill your nail holes using the 1/8″ drill bit.
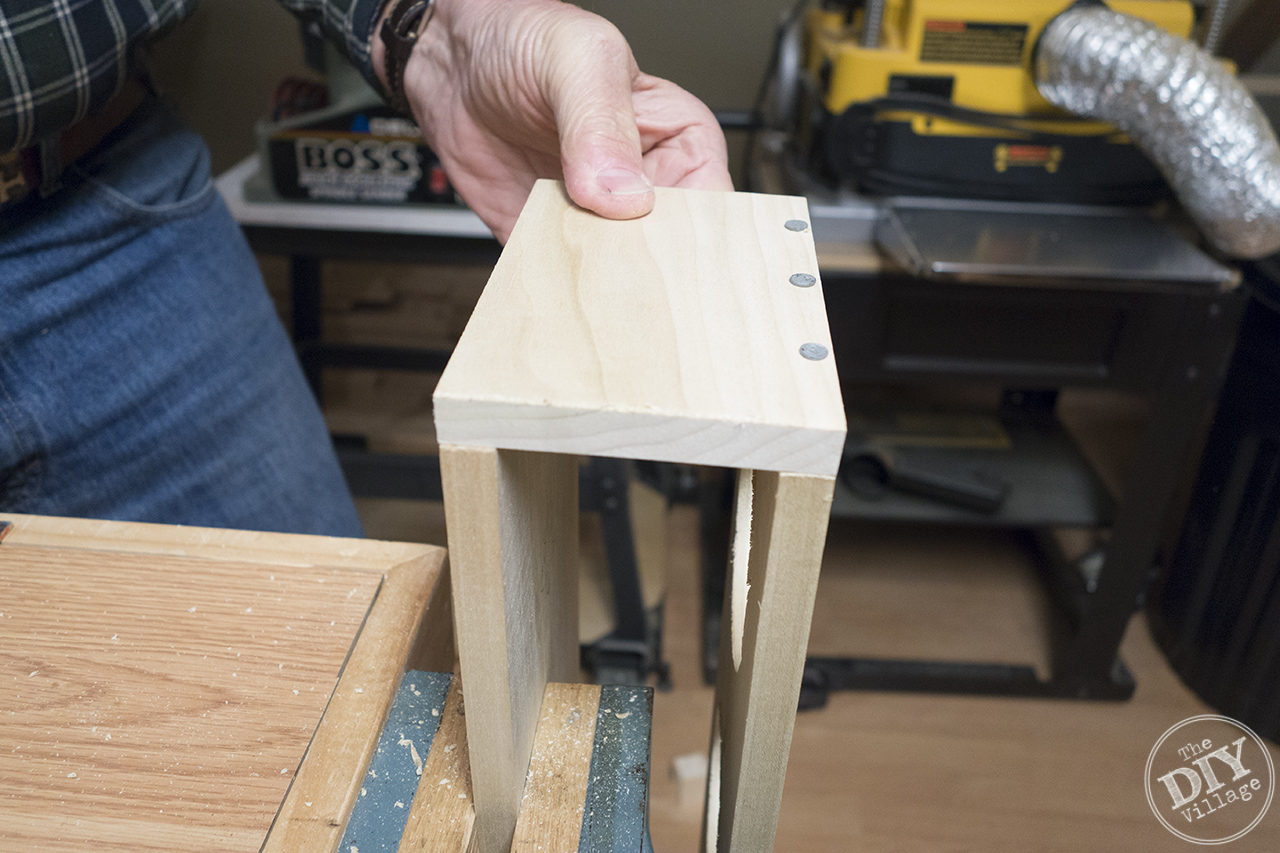 Hammer in nails. Repeat this process on the remaining 3 sides of the wine bottle holder.
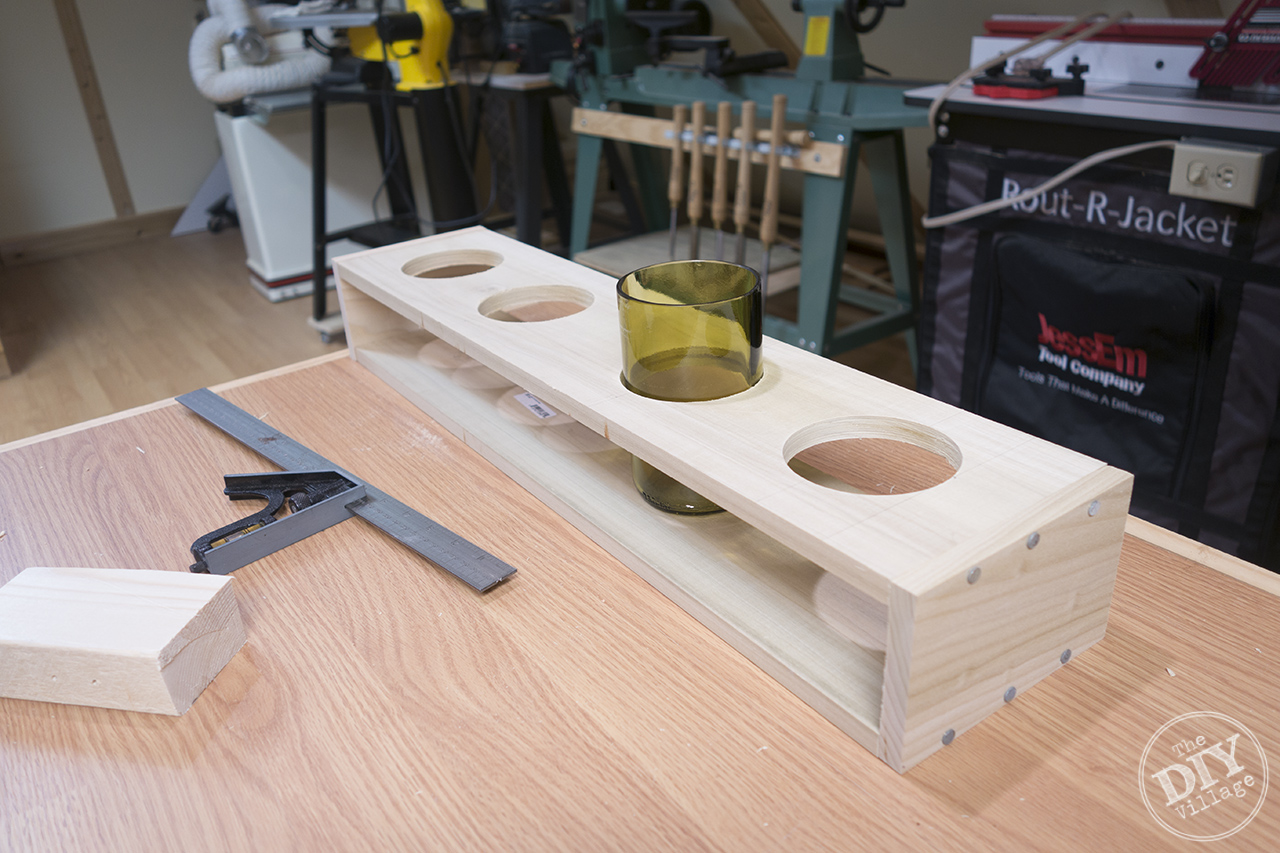 At this point the holder will look like the above image. Sand any rough edges or wood splinters caused by the hole saw.
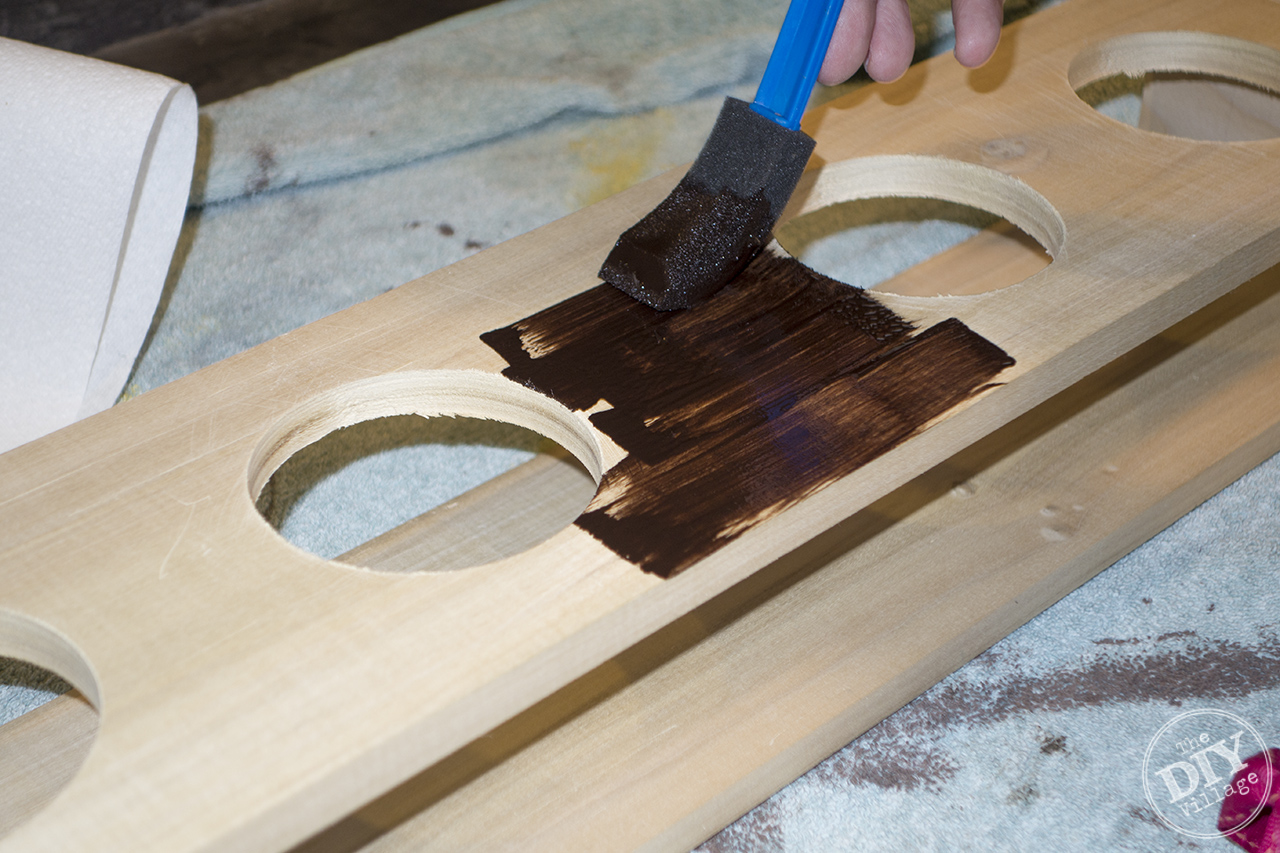 Wipe the surface of the bottle vase holder down with a slightly damp cloth to remove any sawdust or debris. Using the foam brush apply the GelStain and let set for approximately 5 minutes. Make sure to work the stain in well around the nail heads. Once the stain has set wipe all excess stain off with a paper towel or clean rag.
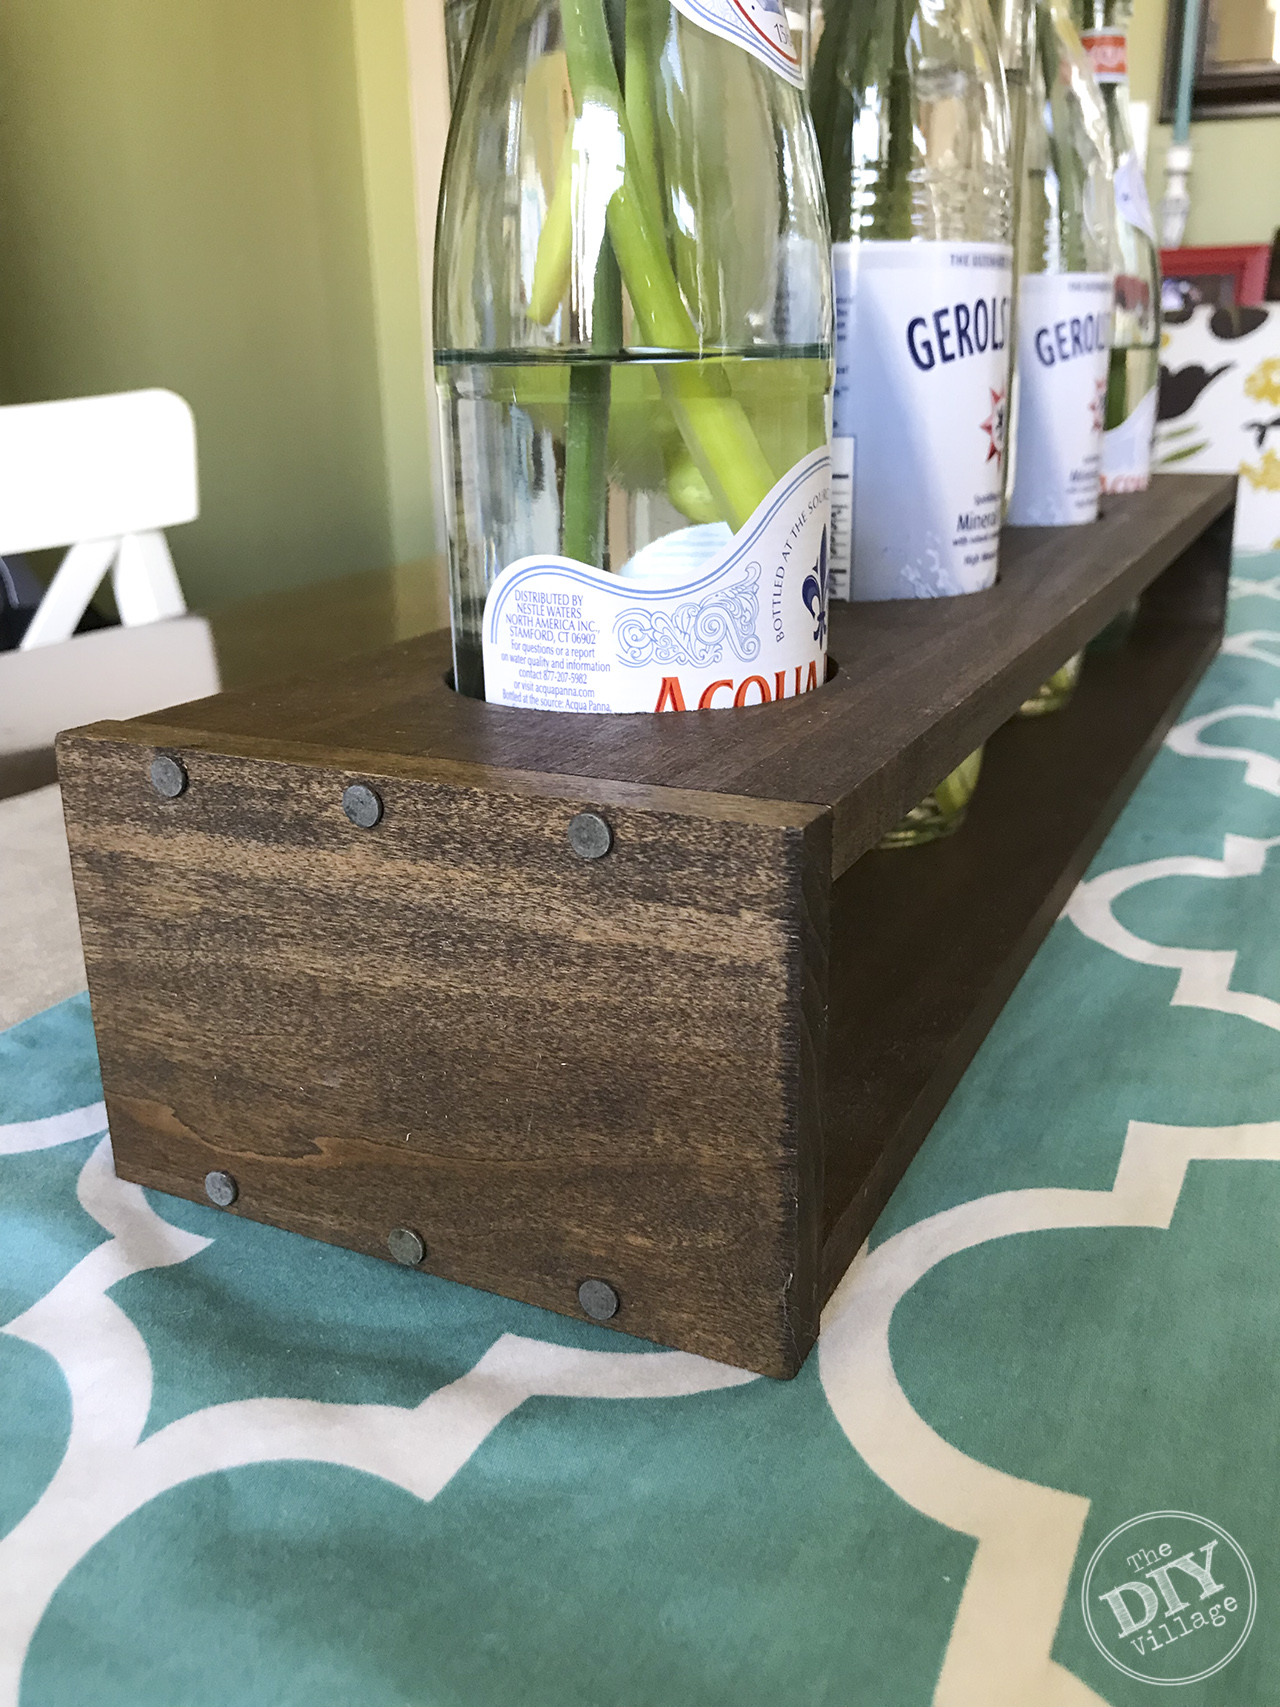 If you like a coat of polyurethane can be added to the centerpiece but since ours won’t be getting a lot of wear from use we left the wood un-finished.
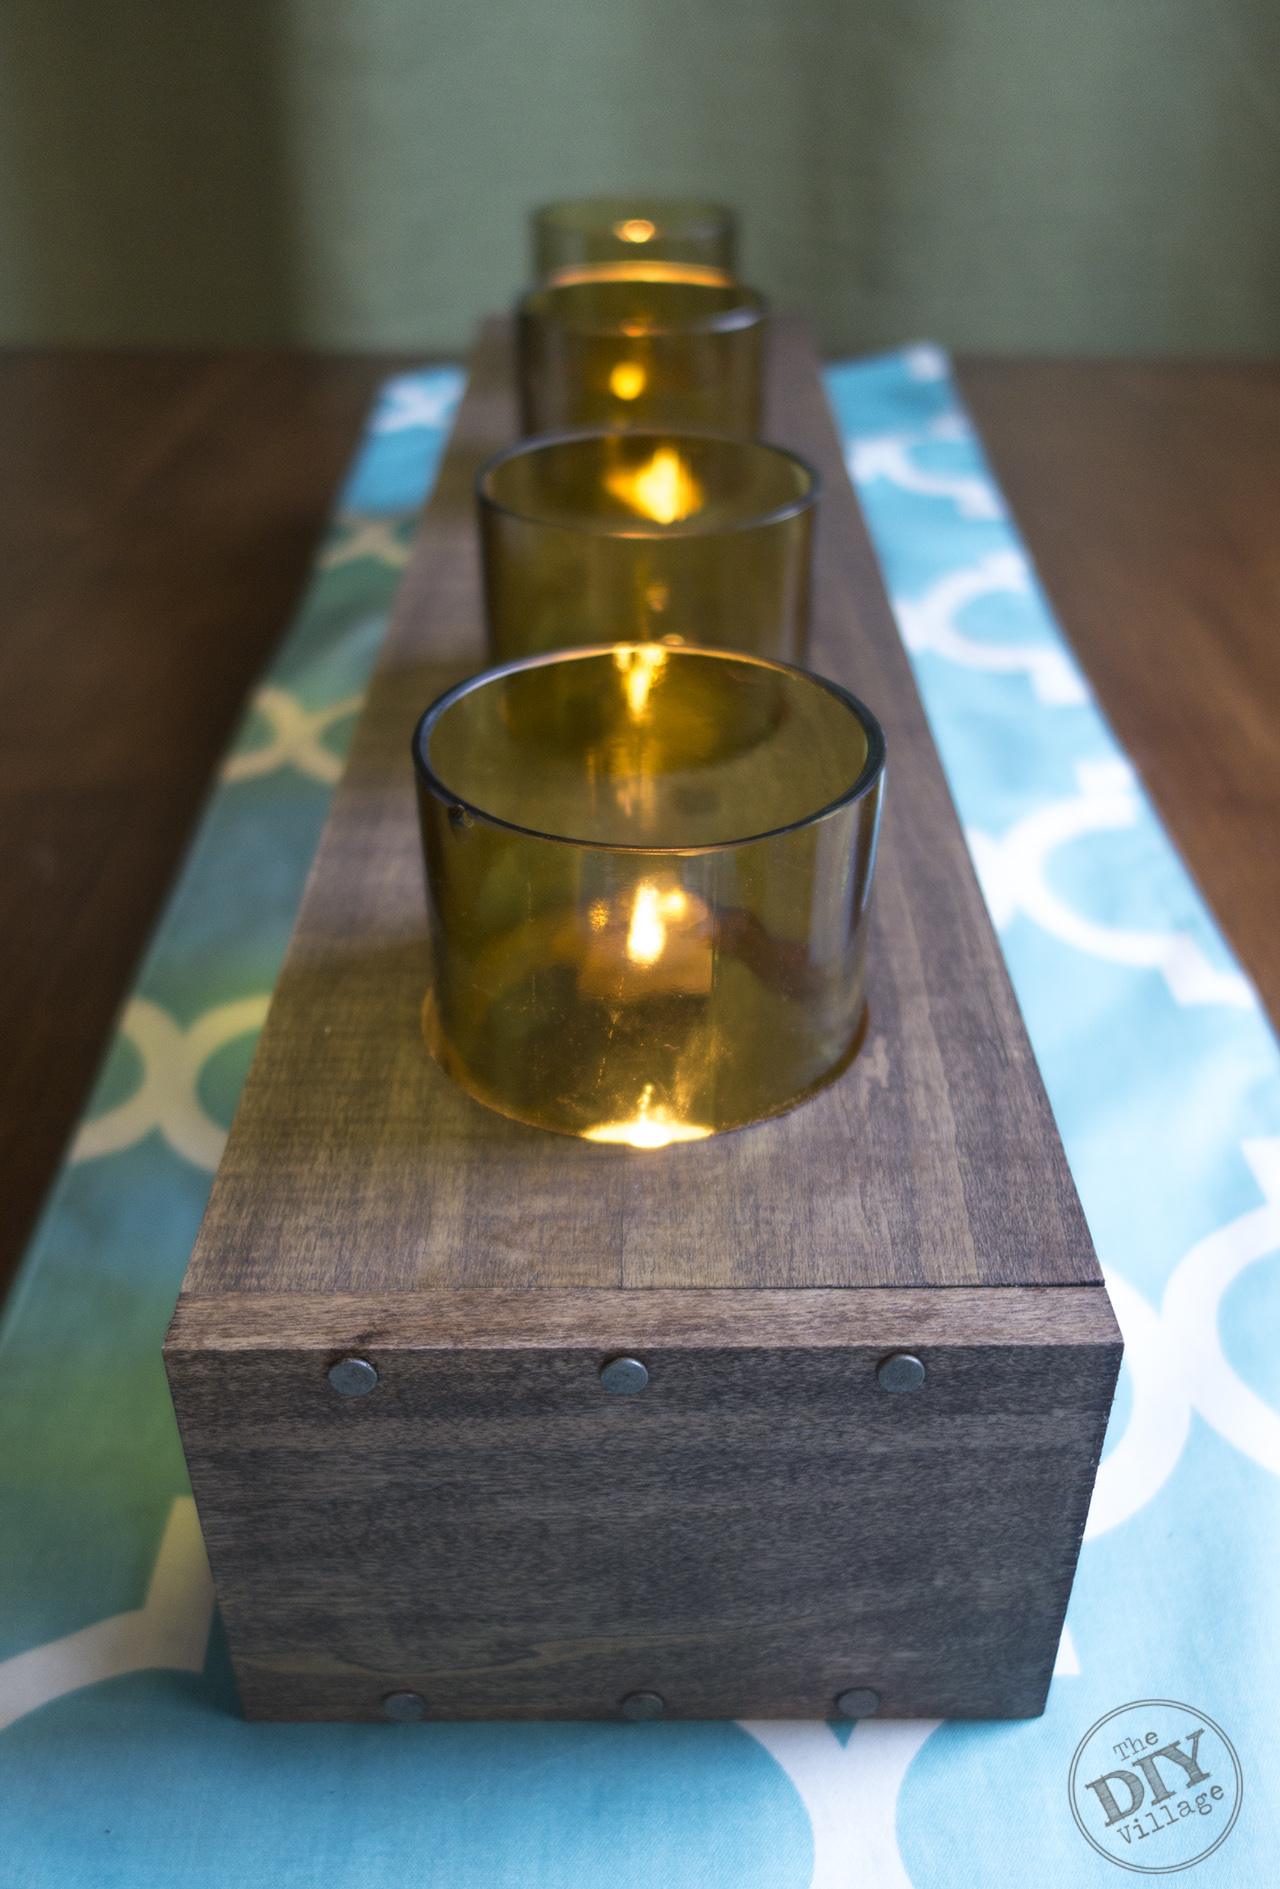
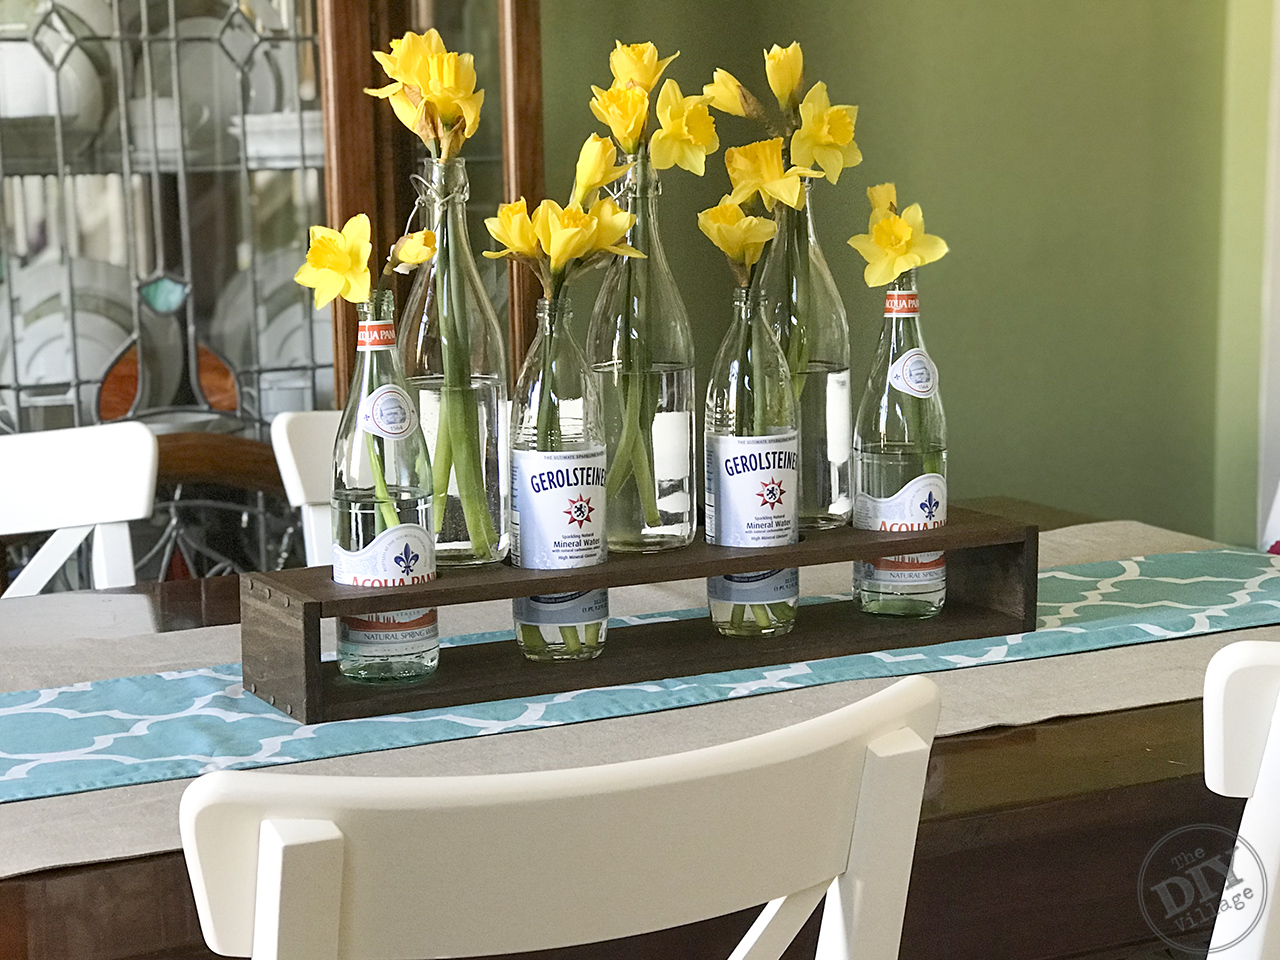 The bottle vase holder can be used a couple of different ways; a vase holder, tea light holder, or even hold utensils for parties.
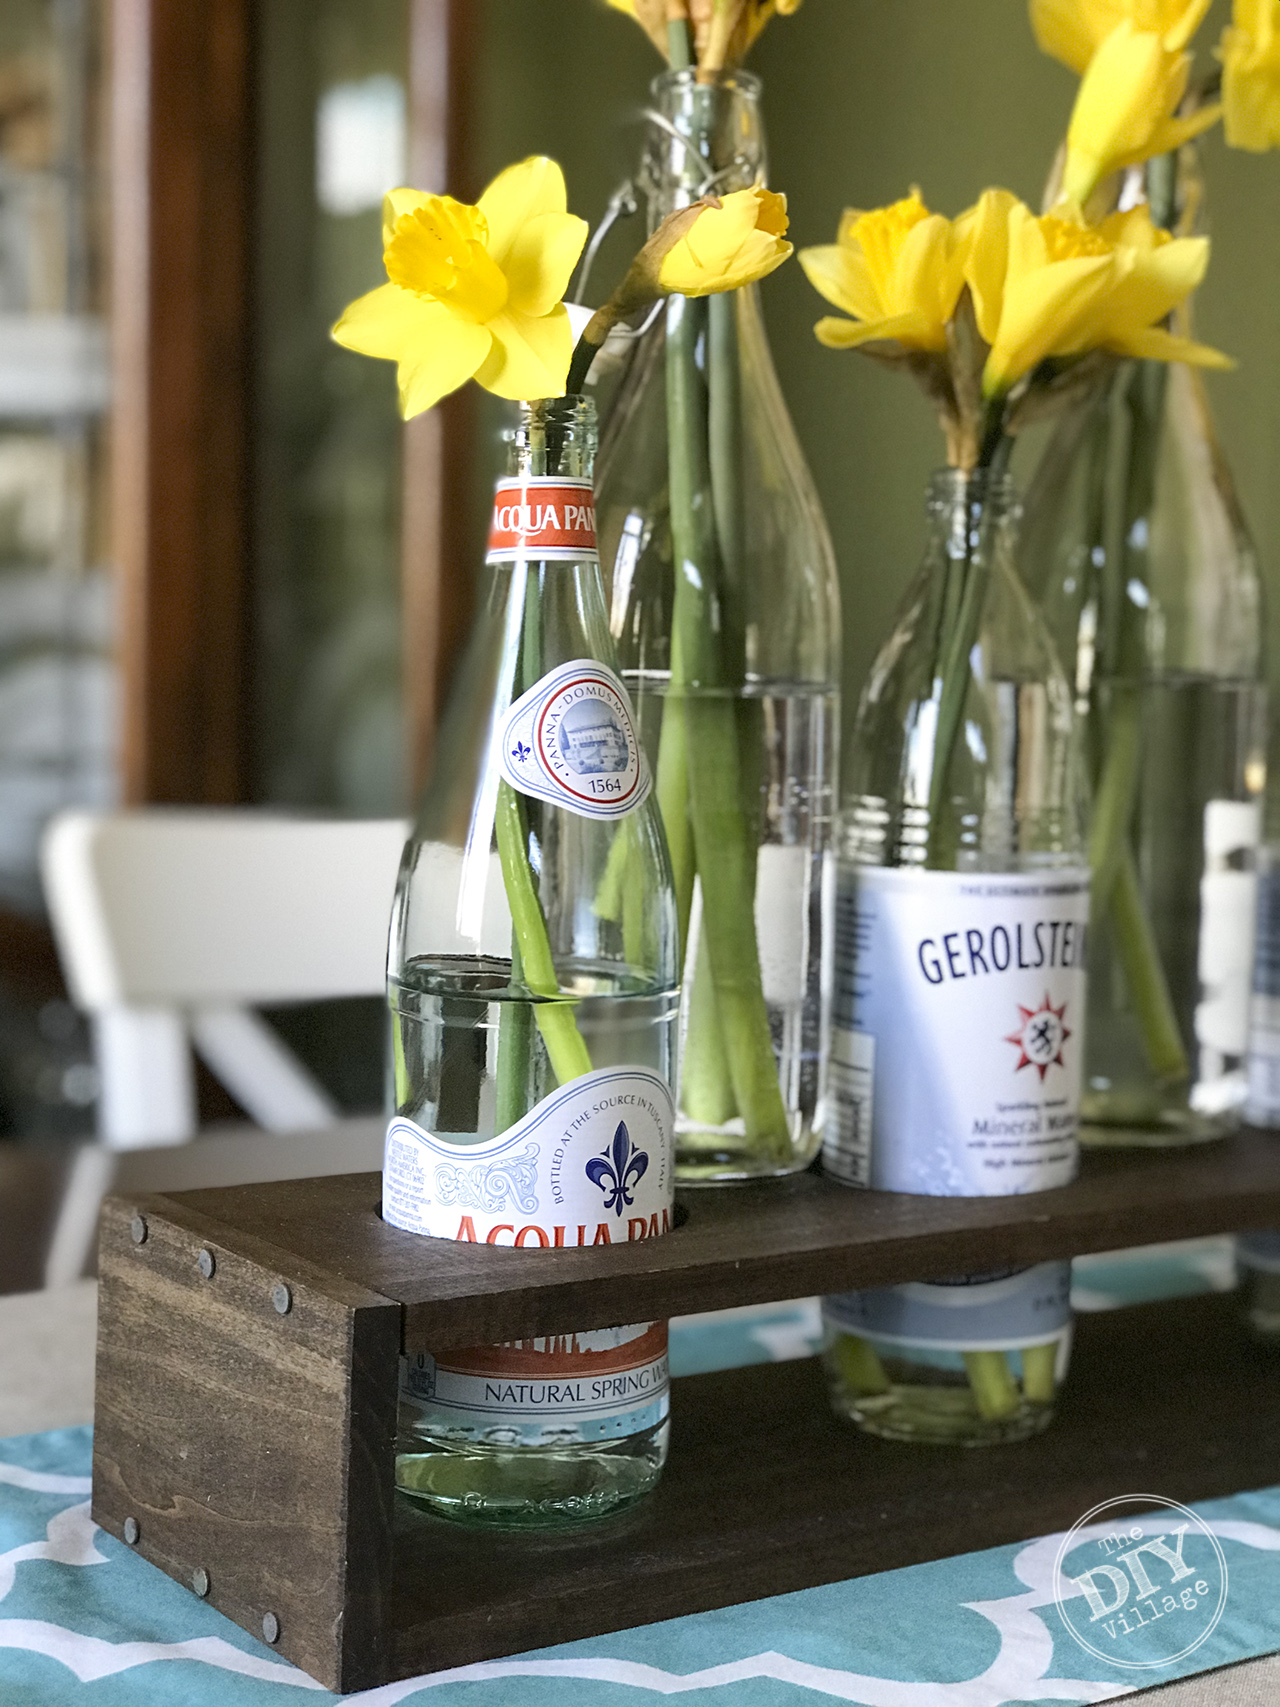 In the summer I plan on using some wine glass glasses I have with tea lights on our patio.
 For more one board projects from the Power Tool Challenge Team check out the posts below!
Create and Babble – How to Make Simple Wood Frames
The DIY Village – Bottle Vase Holder
Designed Decor – Faux Tin Tiles
H2OBungalow – DIY Large Wood Name Cut Out
The Kim Six Fix – Easy Umbrella Stand
My Repurposed Life – Baseball Grow Chart
Just The Woods – How to Build a Tobacco Kiln for Curing Tobacco
I love it! I like how you can change out the bottles too! I think I am needing one.
I absolutely love this for spring! How fun. I’d love to have one of these for the North House when the spring flowers bloom. Super project, pinned 🙂
This makes a lovely centerpiece for your table. Love it!
Ohhh Jacque! I love your bottle vase project. How I wish I had a drill press . . . someday soon I hope!
The NAILS make this project (in my opinion). They look fabulous!
pinned!
gail