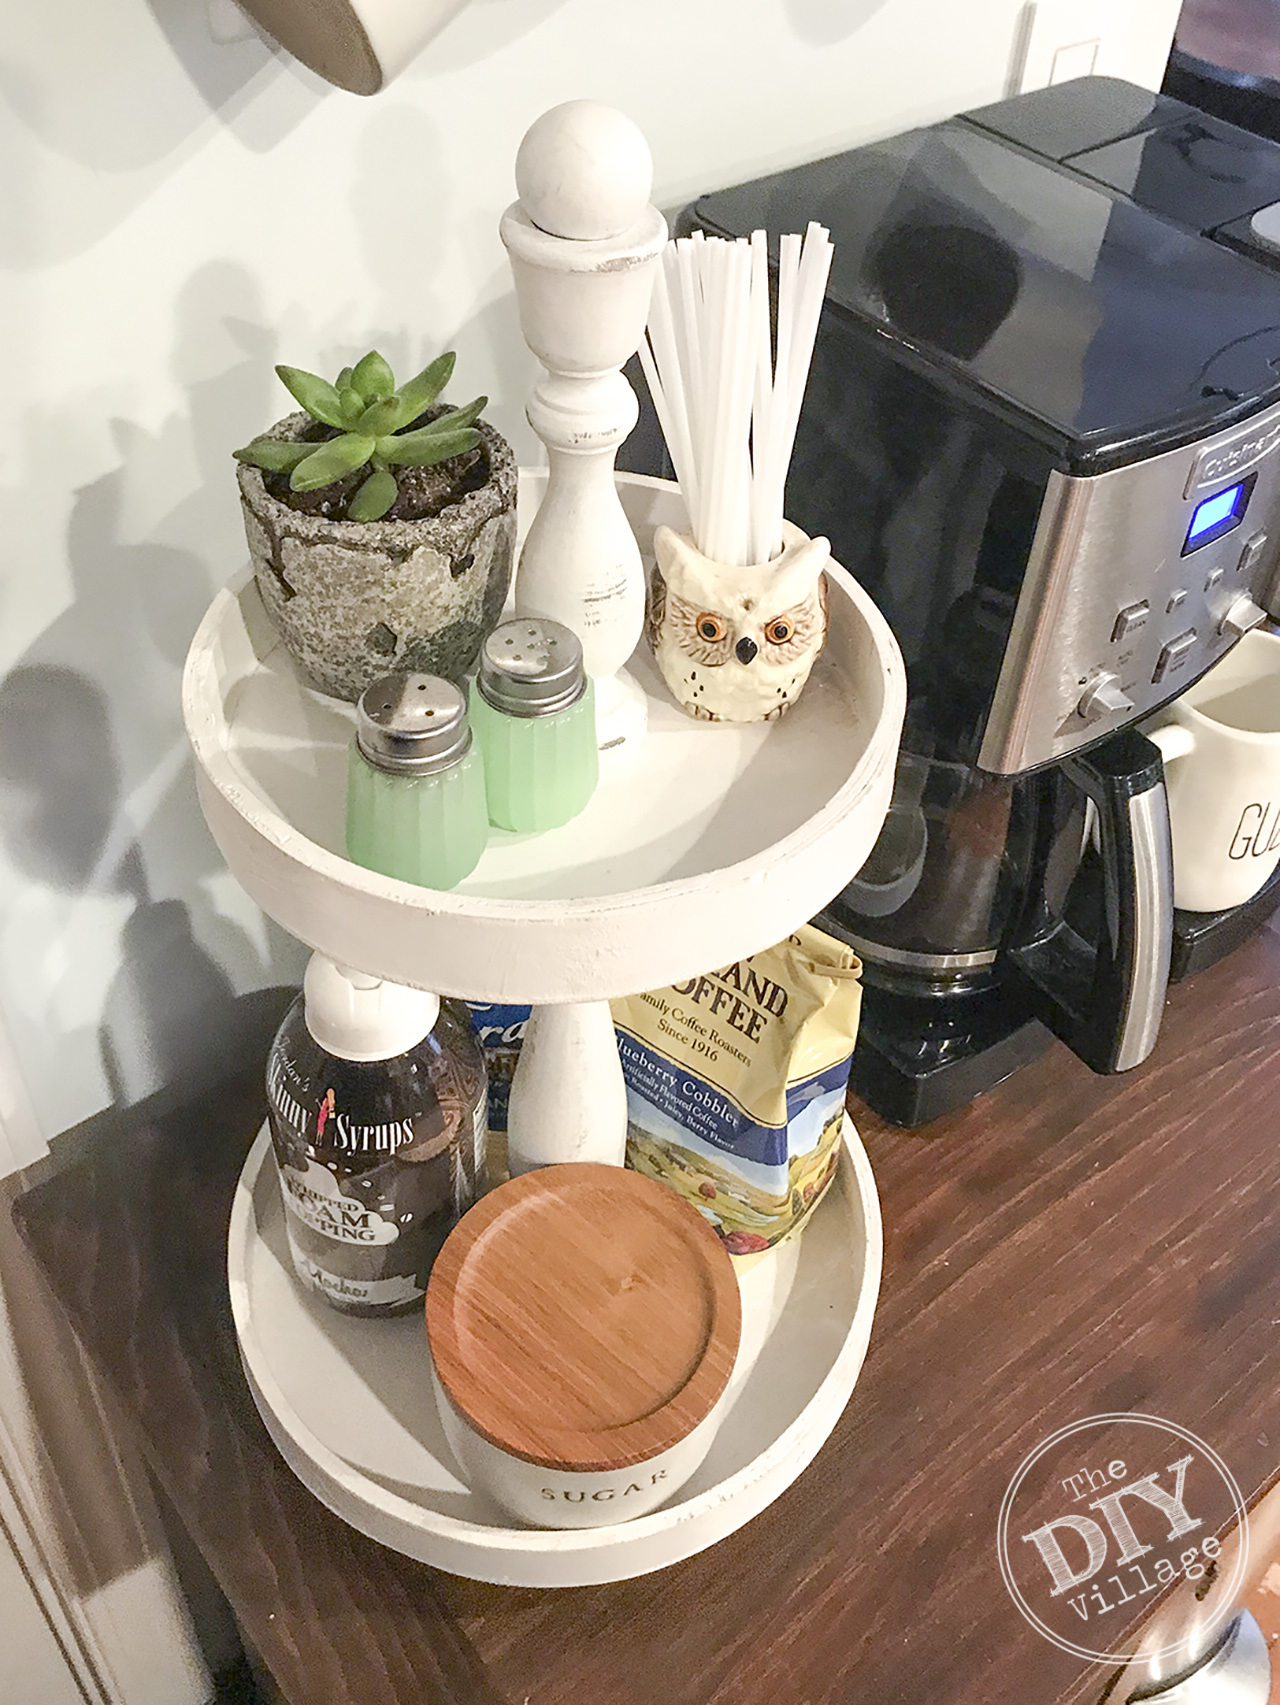
 For a long time I have had a problem in our kitchen organizing my coffee goodies. I wasn’t 100% sold on having a full fledged coffee station but after some time and years I decided it was go time. The biggest issue I faced was the space where I wanted to put one. Way back when my dad had made a replica wood ice box that now houses our booze and travel coffee mugs. On top is where our coffee maker lives. I’m not in any hurry to part with this piece but with the size of our coffee pot all of the kitchen caddies available online and in stores were too wide at the base. Plus I wasn’t a huge fan of the price tag of many of these. What does a girl do when she has a need for something but can’t find it in the stores do? She makes it, and that is exactly what I did and now I can show you how to make your own DIY Kitchen Caddy.
MATERIALS
Candle Sticks – Found HERE & HERE
Wood Trays – Found HERE
Wood Rounds – Found HERE
Wood Glue – Found HERE
Stain – Found HERE
Paint – Found HERE
Brushes – Found HERE
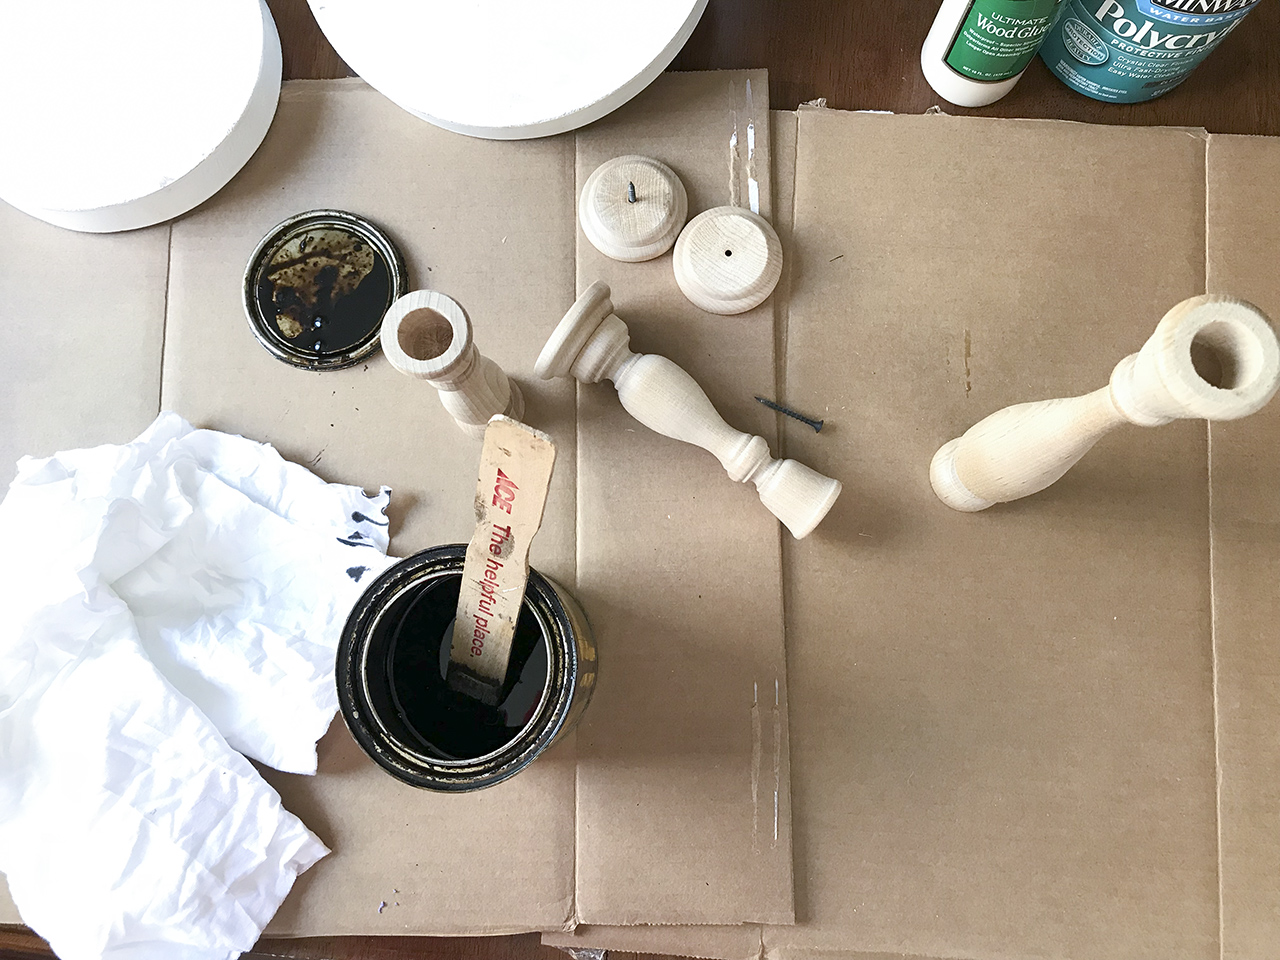
Start by unscrewing the bases of the candlesticks from the candlestick stems.
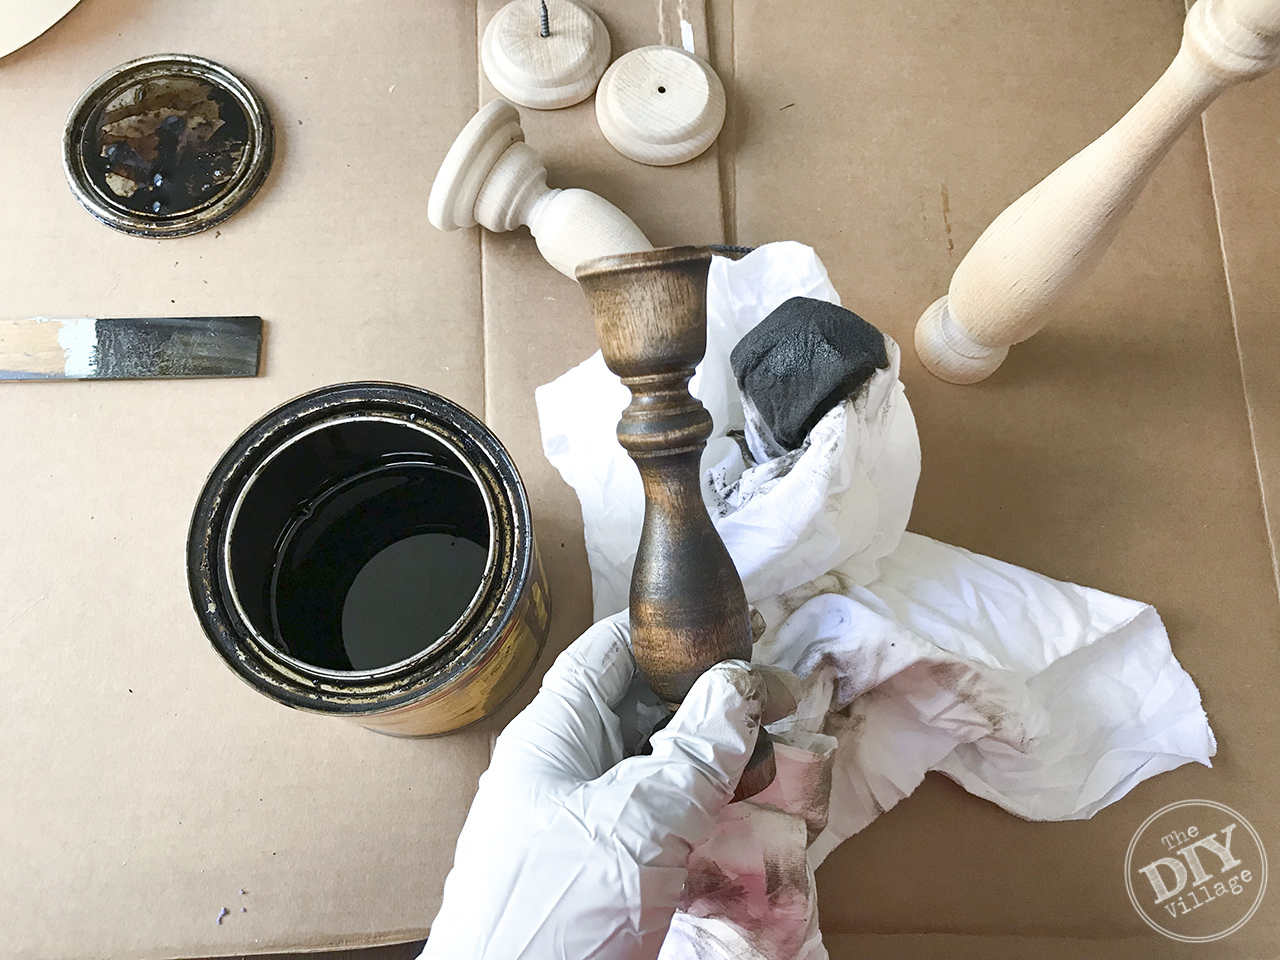
To achieve a more antique look stain the candlesticks with a dark stain. Wipe off stain excess and set aside to dry.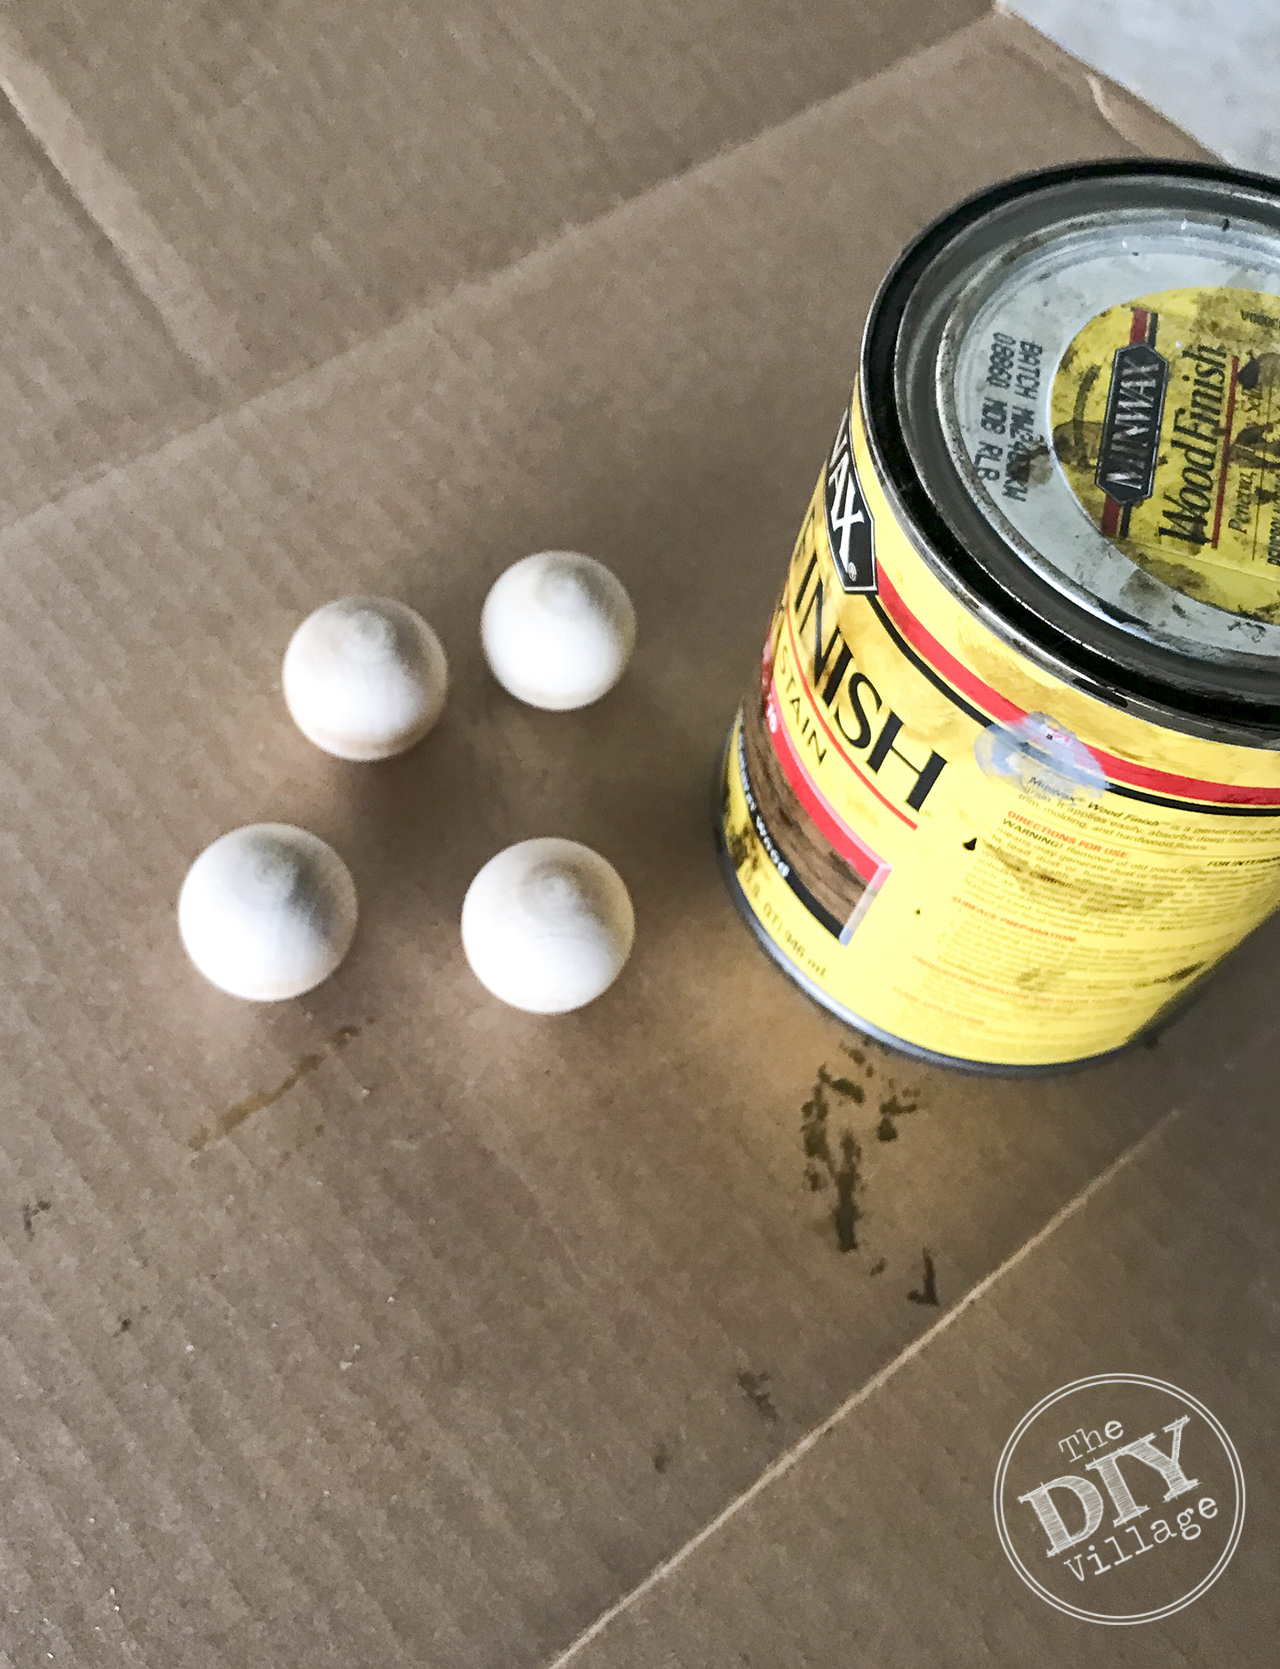 While the candlesticks are drying go ahead and stain the rounds.
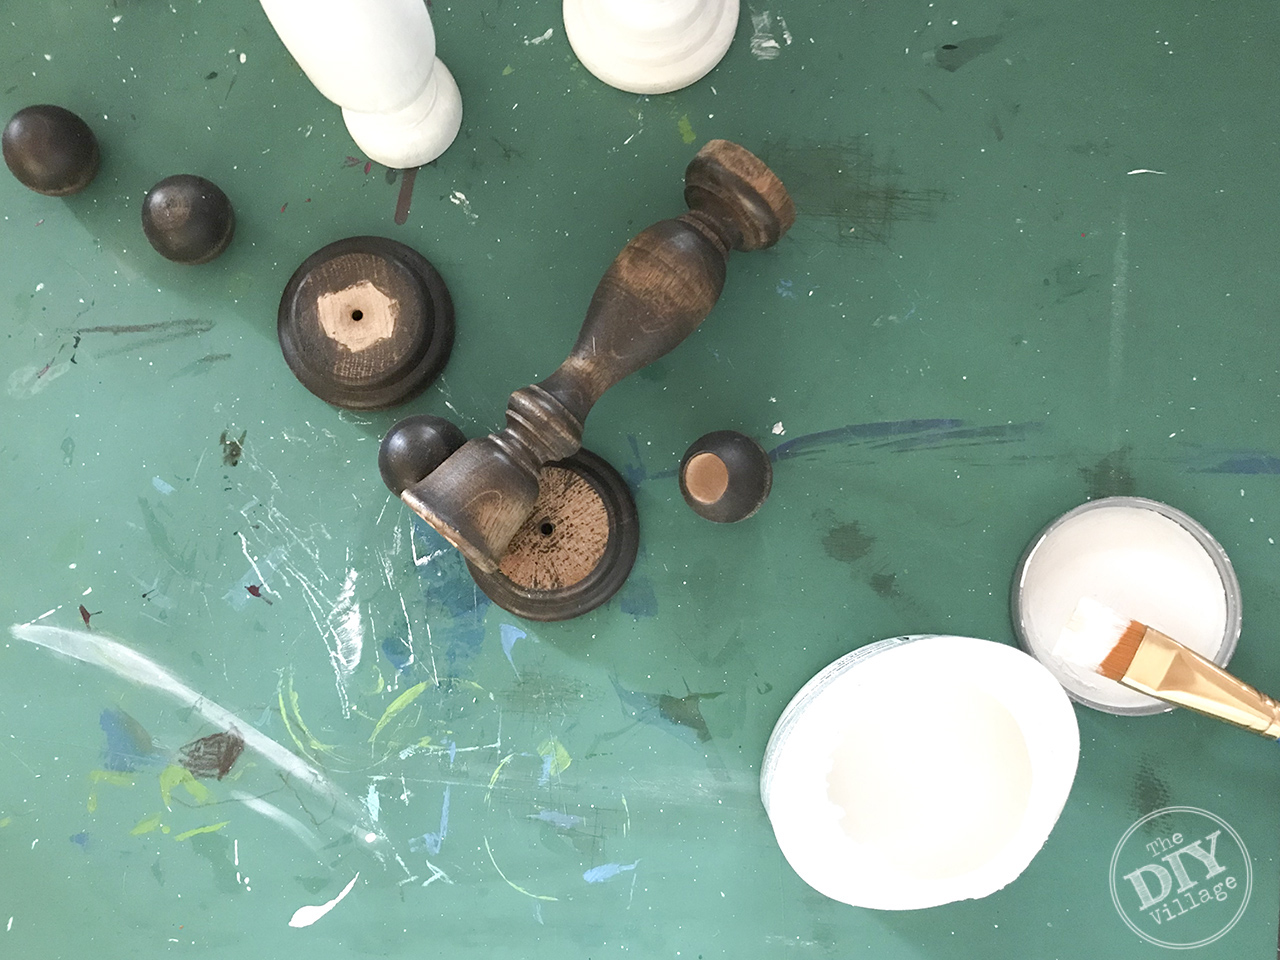
After the stain has had a chance to dry you are ready for your white paint. Paint all of the rounds and candlesticks with a coat of white paint. Let the paint dry and lightly sand the raised places on the candlesticks.
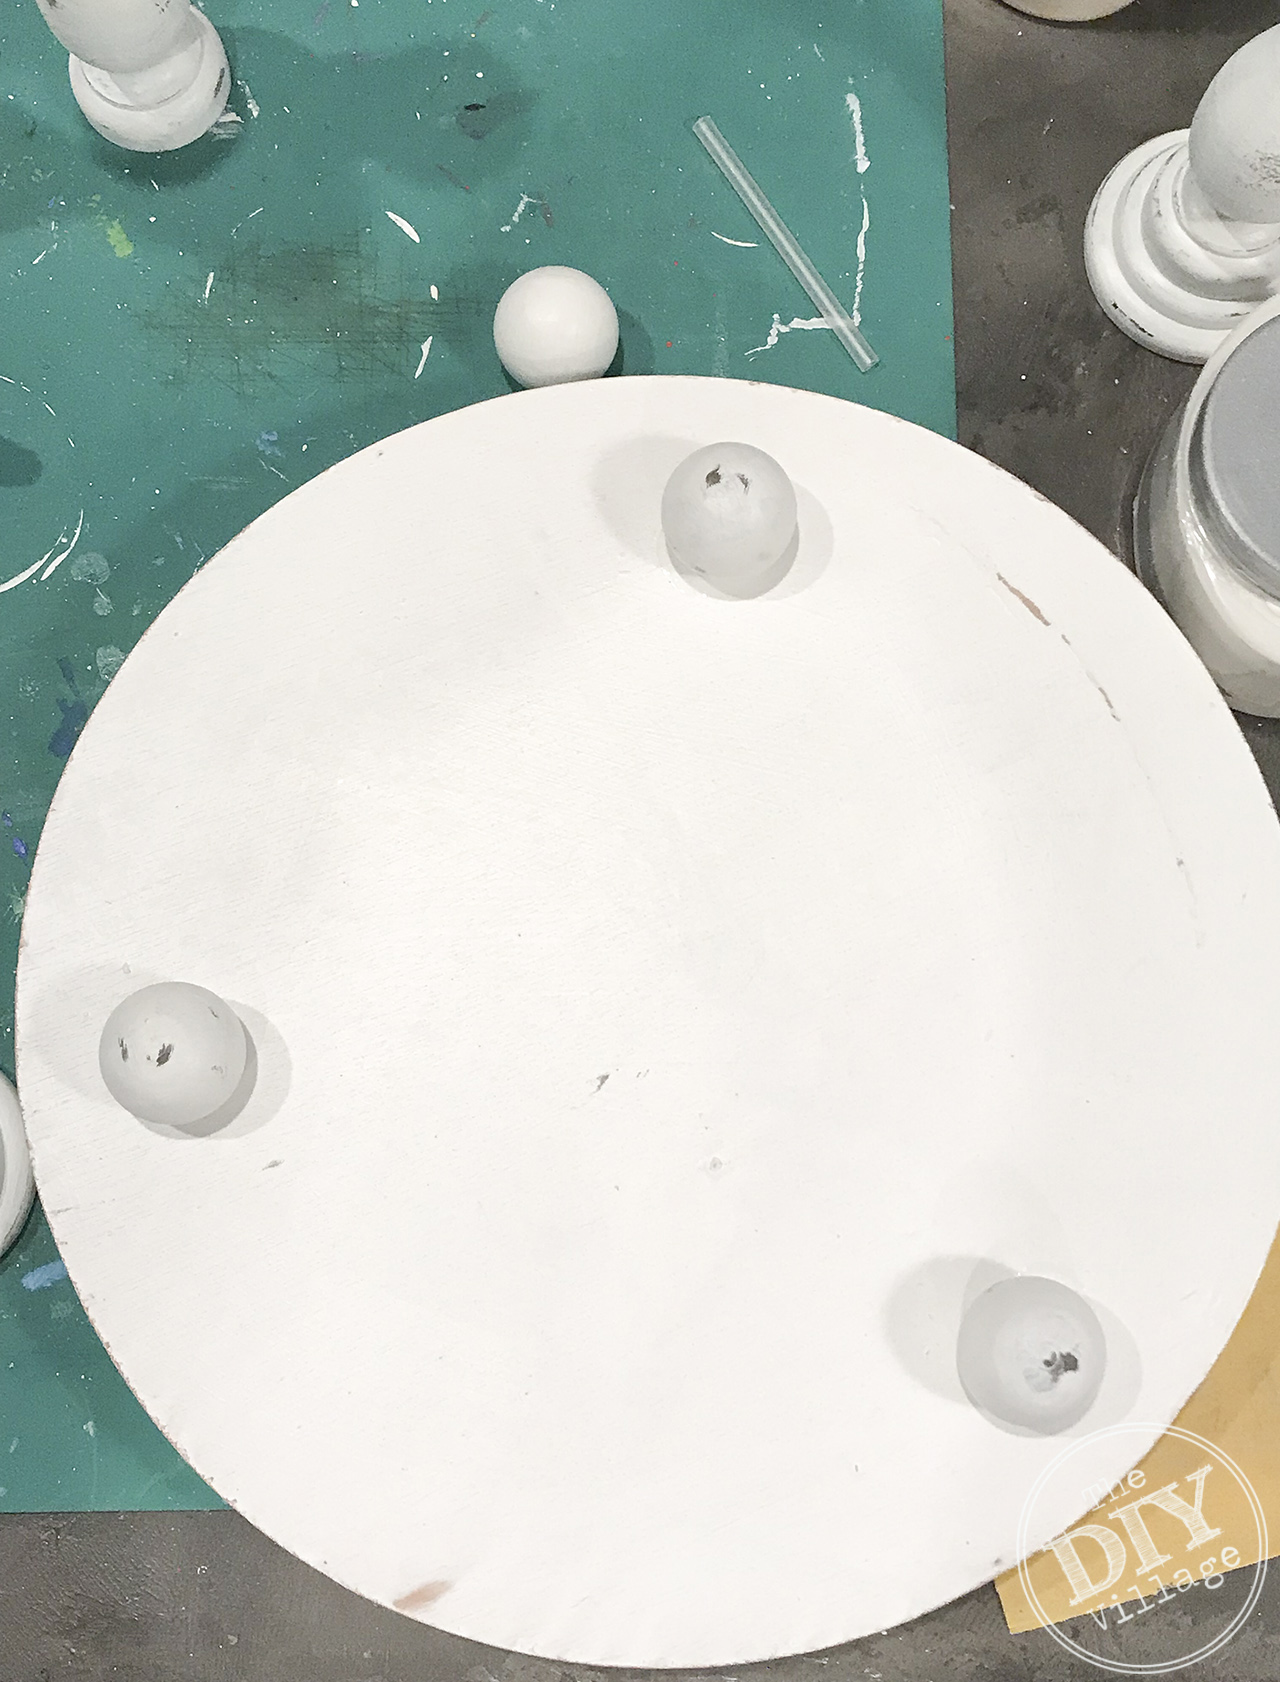 You’re ready for assembly. Make sure your glue is ready. Start by placing the feet on the base piece in the shape of a triangle. If you like you can add 4 rounds but I prefer the this type of base support.
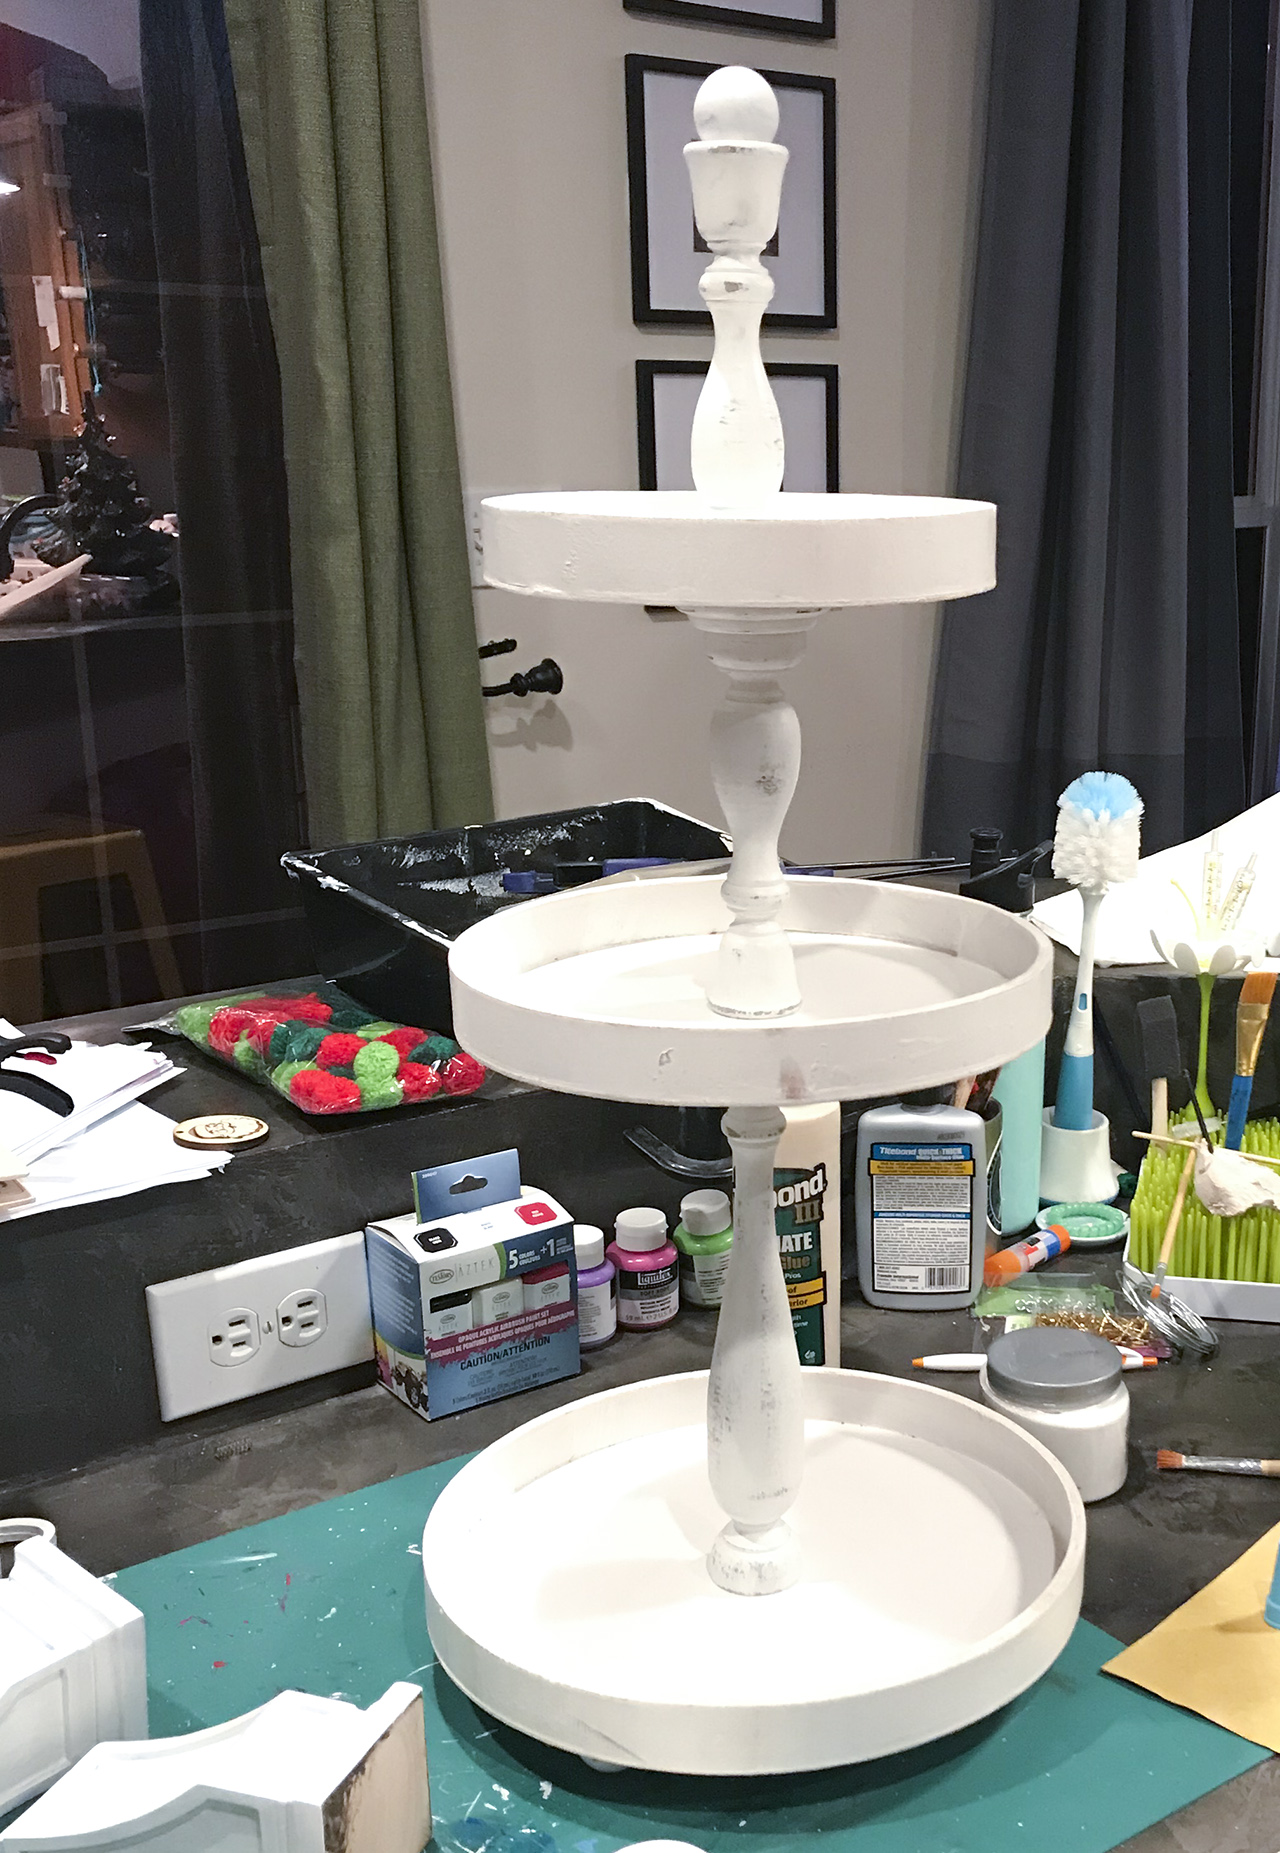
The trays come in a set of 3 so you will want to experiment with how tall you would like it to be. I decided mine was best like with two tiers only.
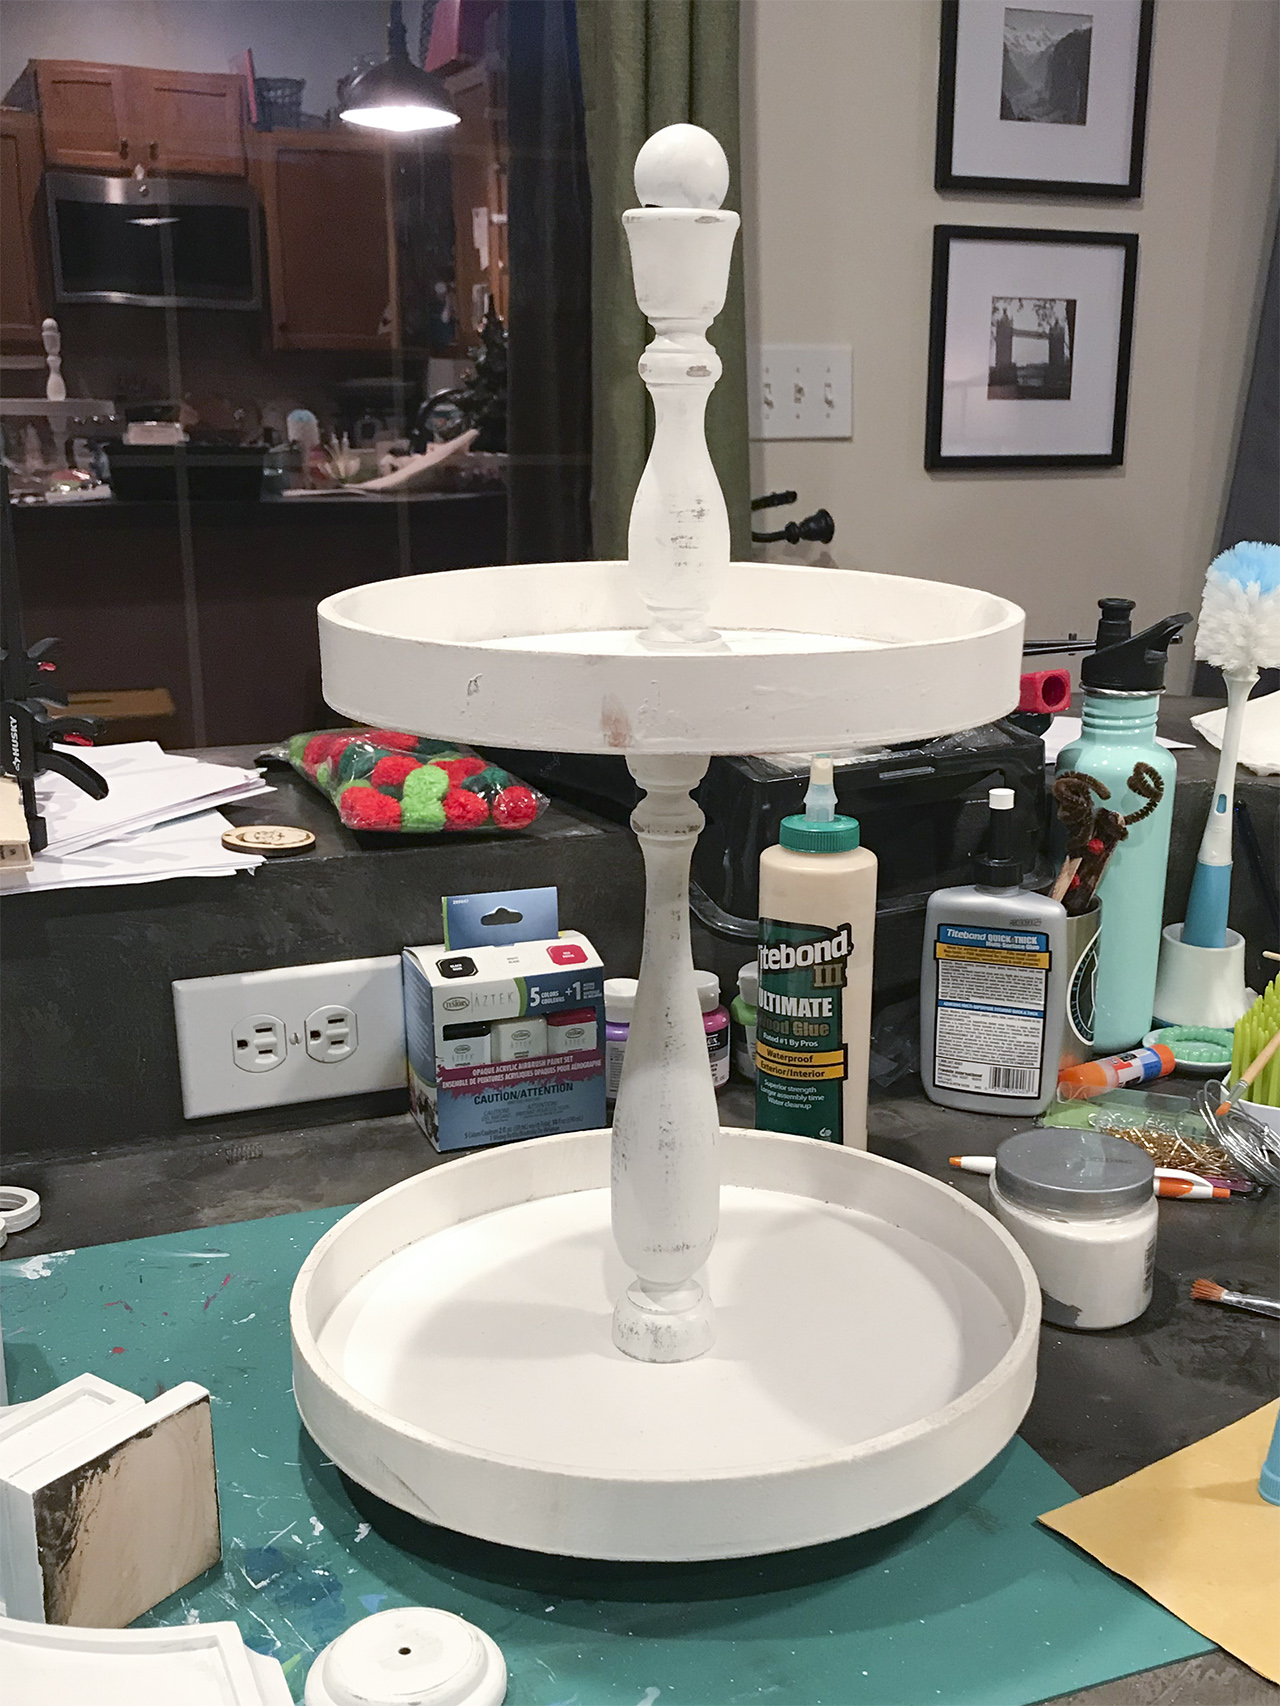 Once you figure out your configuration find center on your trays and glue the candlesticks in place. Glue your last 4th round onto the top of the shorter candlestick. I ended up leaving the base pieces off of both candlesticks to allow for more storage space.
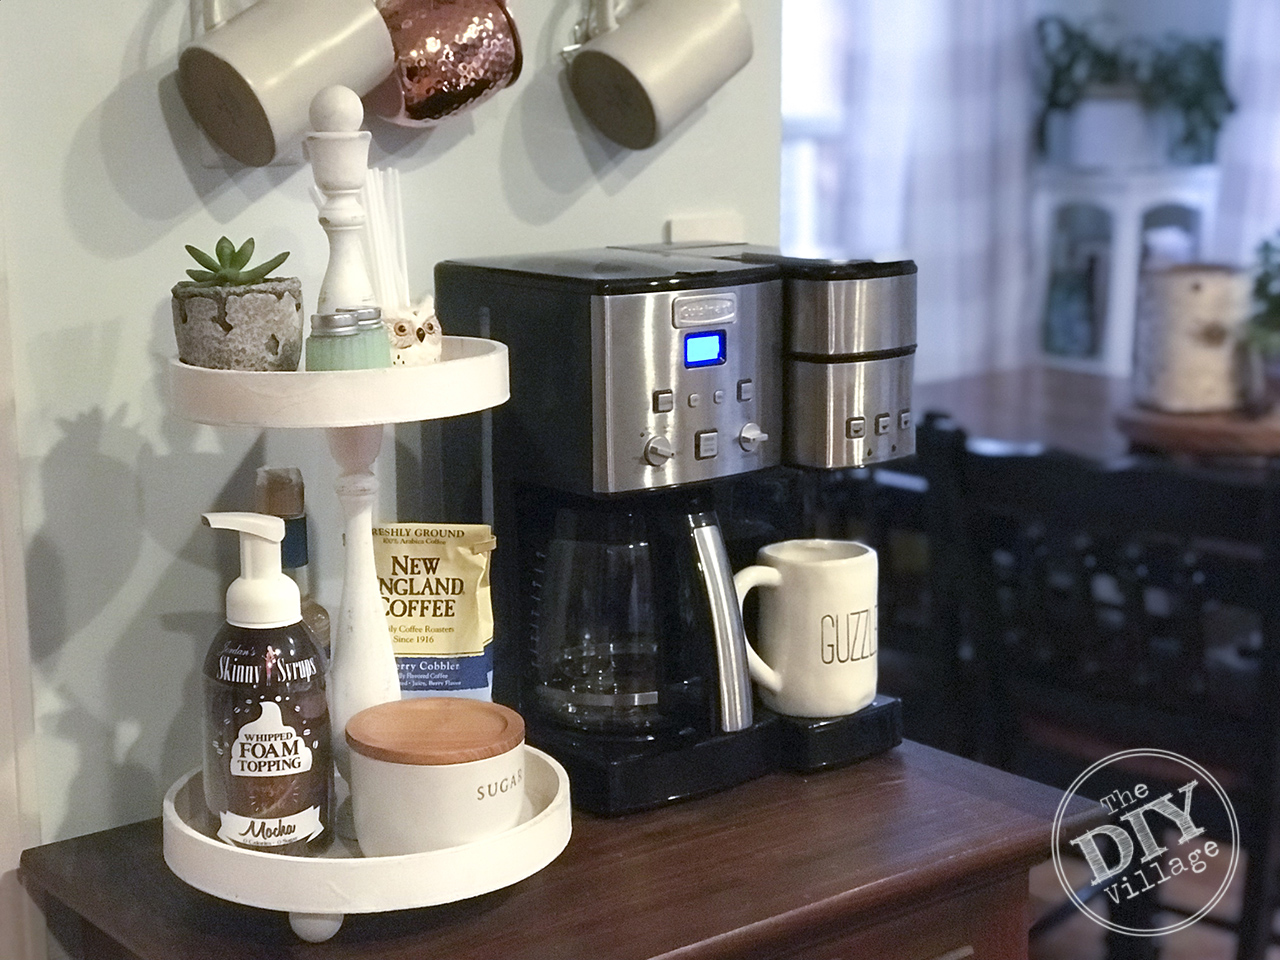
The caddy has been a wonderful addition to our kitchen. I love having everything in one place.
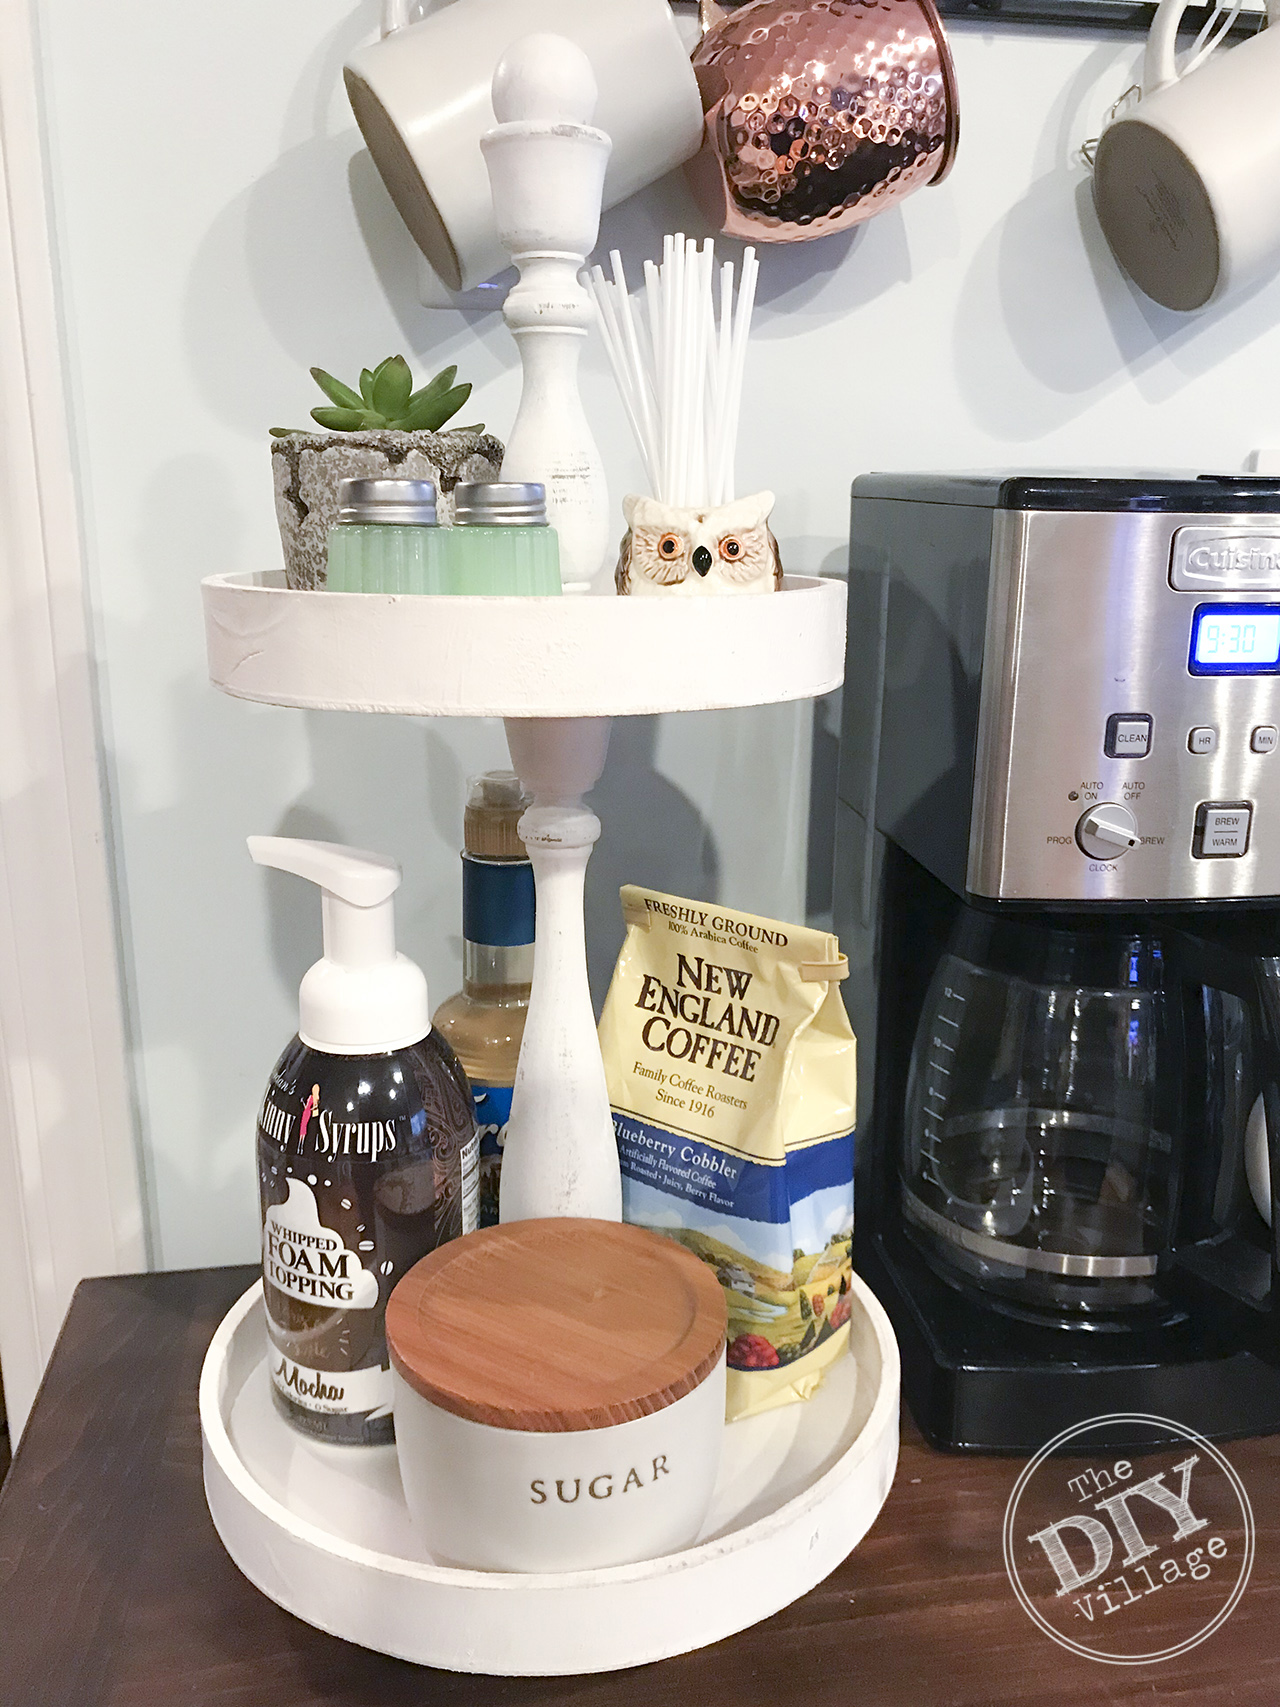 I’ve had to add the salt and pepper to the top of the tray to keep my salt loving 5 year old from going into sodium shock during meals.
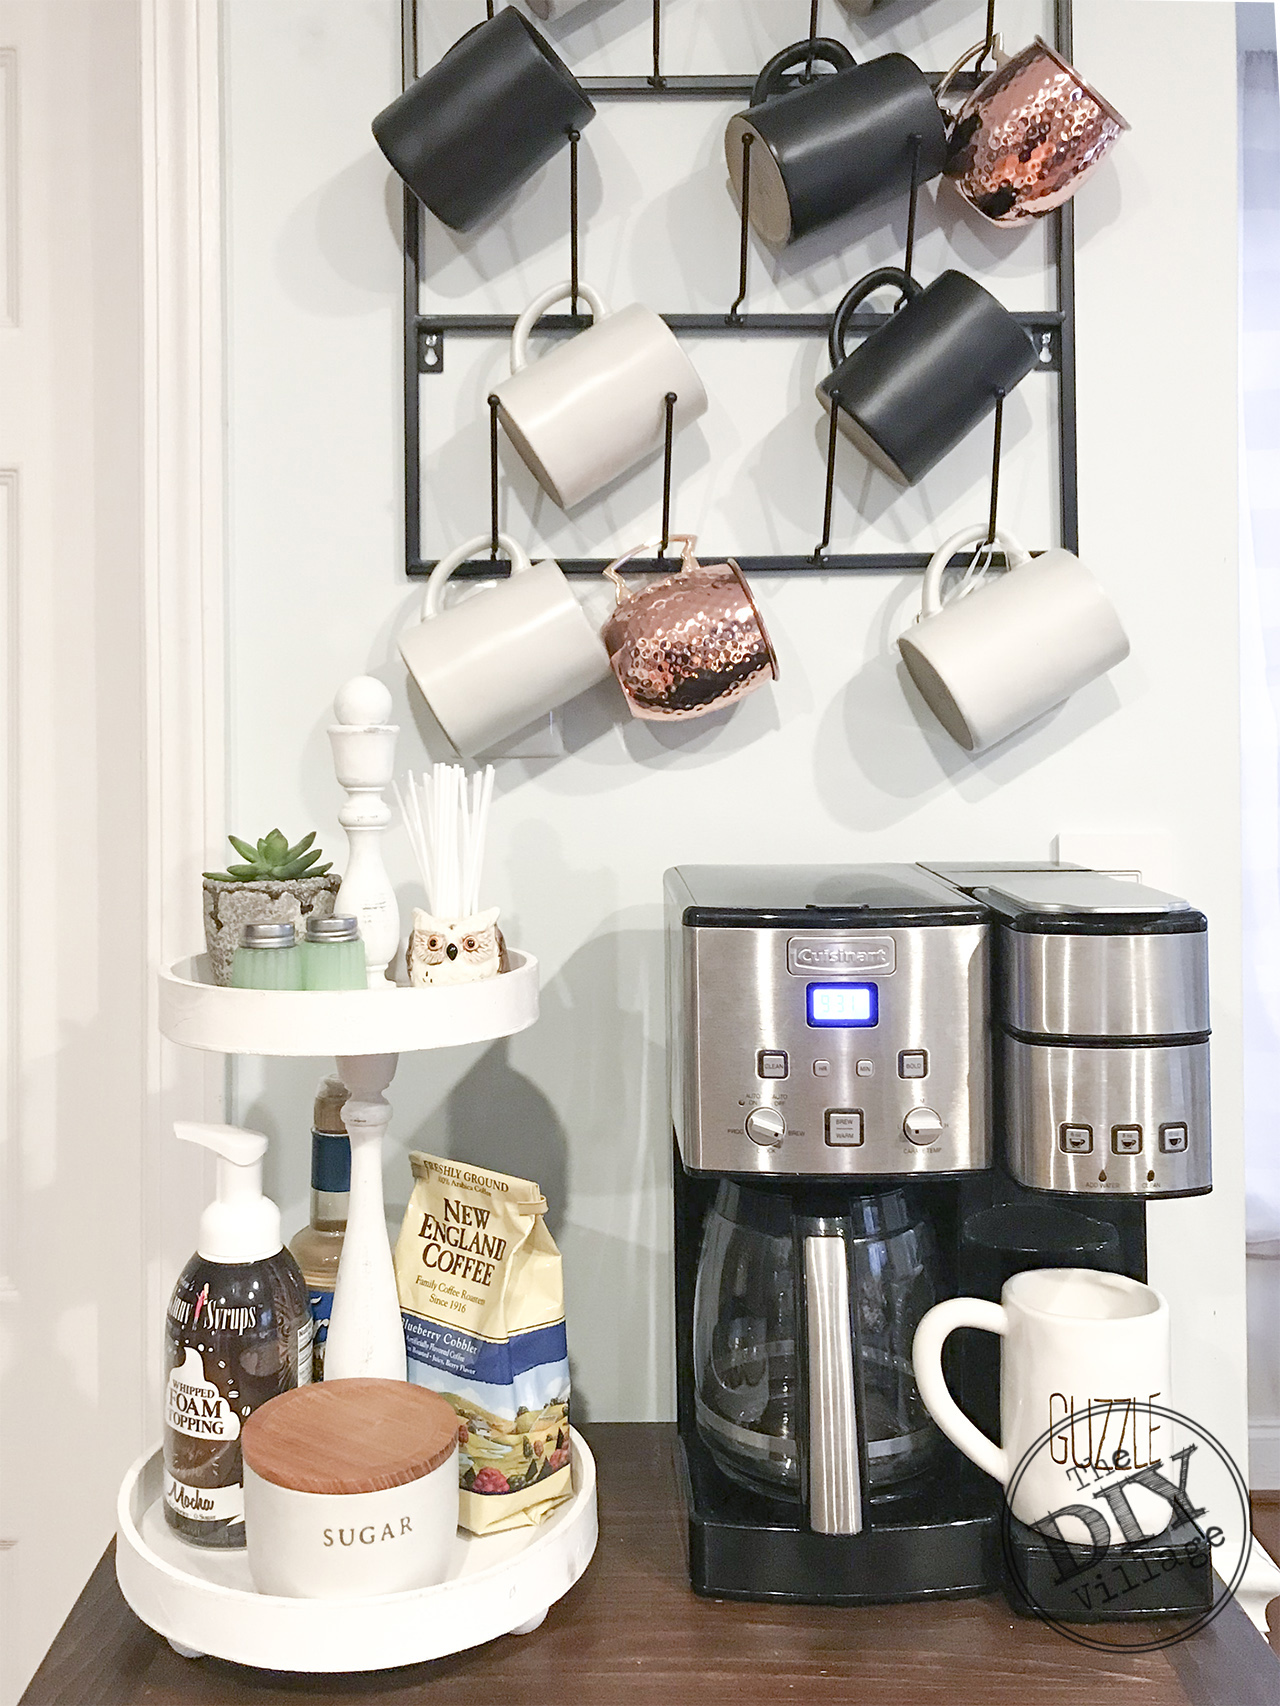
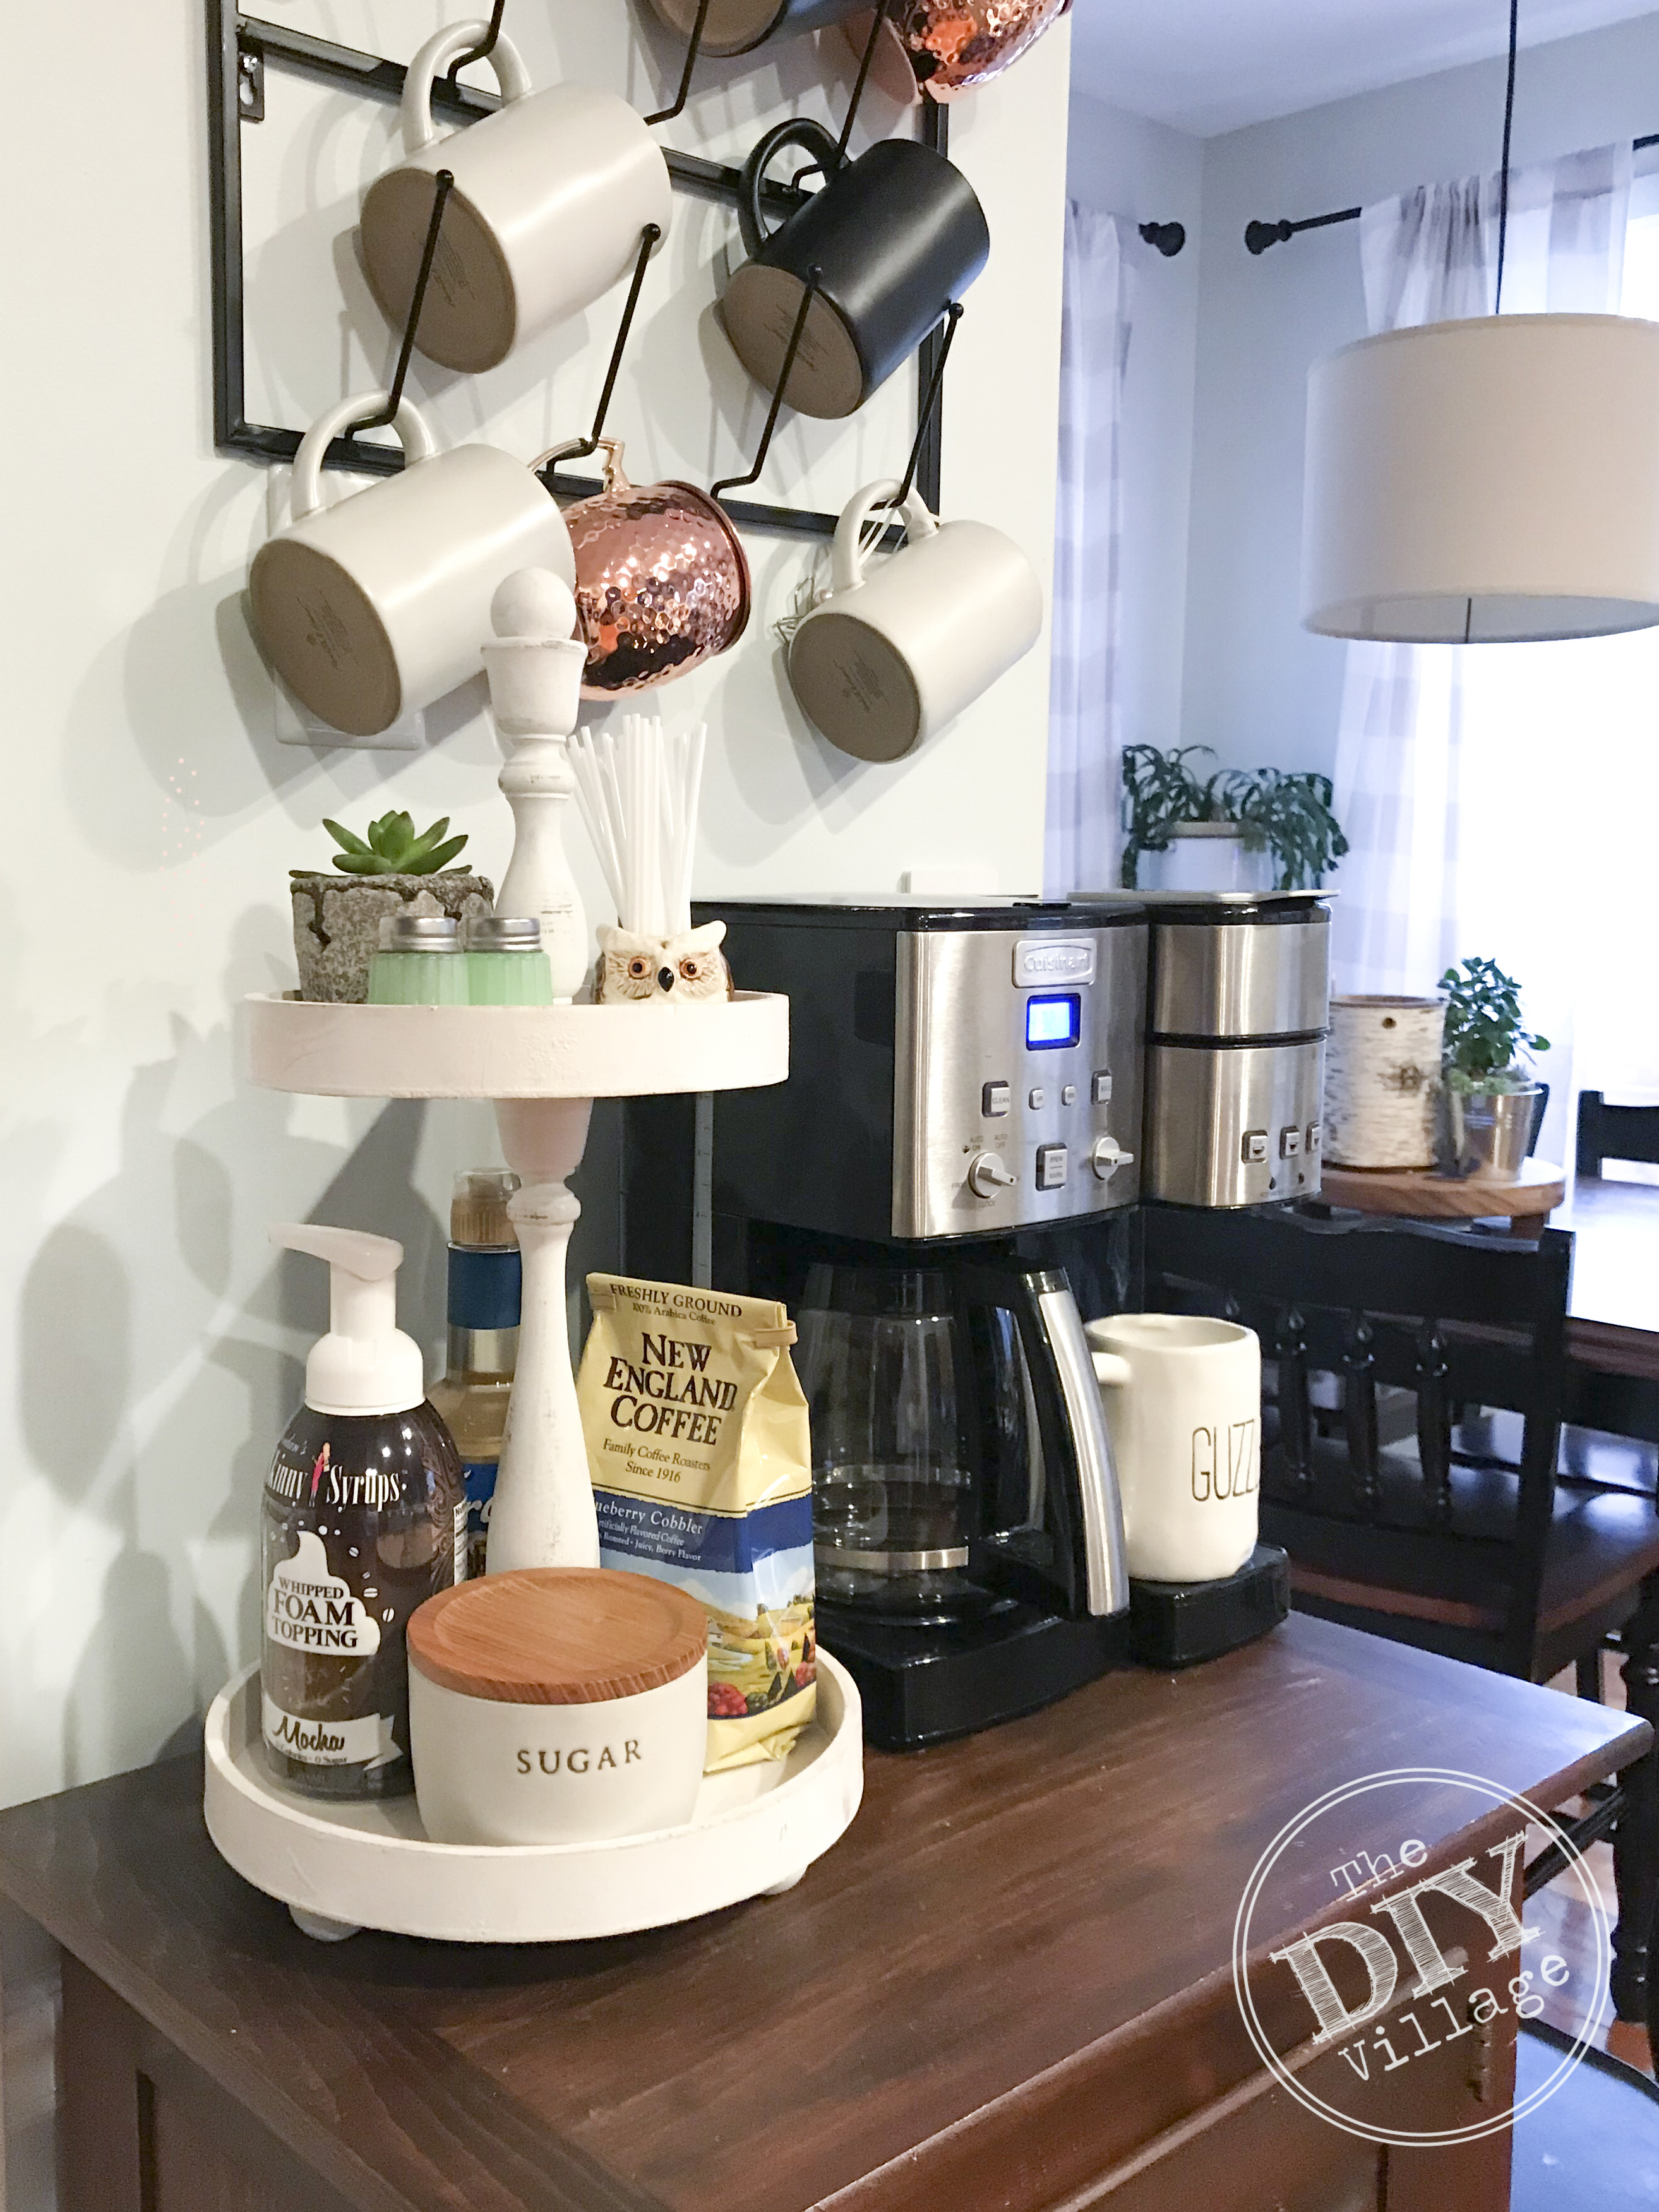 We officially have a coffee station and the best part of the location of our station, the adult beverages are right there too. Anyone up for some coffee and Baileys?
This was in collaboration with 40 other bloggers as part of a AT HOME DIY Challenge. This months topic, “Build To Organize” Please make sure to check out all the other amazing projects linked up in this challenge!

oh man we are about to do a coffee bar and this would be PERFECT! awesome job, friend! happy to be blog hopping with you!
Absolutely darling idea! Love the spindles and the farmhouse feel. Perfect for any gathering or everyday use. Thanks for the tutorial.
I love that you made your own , it looks great. I need a better fruit bowl for my counter and I might have to copy your project 😄😉
Oh Jacque!! The kitchen caddy is perfect!!! I want one for my counter!!
This caddy looks fantastic, it’s a beautiful little coffee station.
This is fantastic! I have been looking for something similar (on a slightly smaller scale) for my bathroom. Now that I’ve seen this, maybe I’ll just make one myself. 🙂 Thanks for sharing!
Cute project, I could see it being useful anywhere you need to increase vertical space in a way that looks nice too 🙂
The Caddy turned out great!
Your organization project is such a great idea and I love that you made it yourself. I need this for my coffee items.
I love this! It’s so pretty and practical!
That’s a great way to clear up some counter space.
This turned out beautiful! Very creative!
Such a great project and it looks so cute too. A coffee station is a must for me too!
Love this idea! Our coffee supplies are cluttering up the cabinet and countertop, so this would be a great way to keep it all together!
What a great way to make the most out of that small space. Super cute – I love this idea!