I’m a firm believer that one can never have enough storage within their home! Especially, when you’re talking about a craft room! When we purchased our current house, my husband and I agreed would convert one of the bedrooms into a room where I could let my craft “freak” flag fly. Looking back on that decision, I still wonder what he was thinking, but nonetheless, fast forward three years. I have accumulated quite the inventory of supplies and came to the conclusion that the only storage solution would be the addition of matching built-in bookcases.
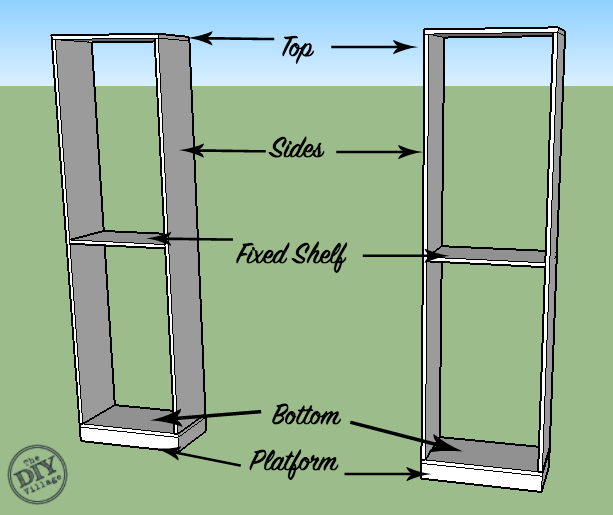
First off, let’s take a quick look at the basic structure that will make up the bookcase. (I won’t be including any dimensions, as you’ll need to work within the spatial constraints of your own home) The basic frame of the bookcase can be built using 1×12’s, along with a small platform that is made from 1×3. I have a large double window in this room so the best place to install the bookcases is on either side of the window, flanking the window.
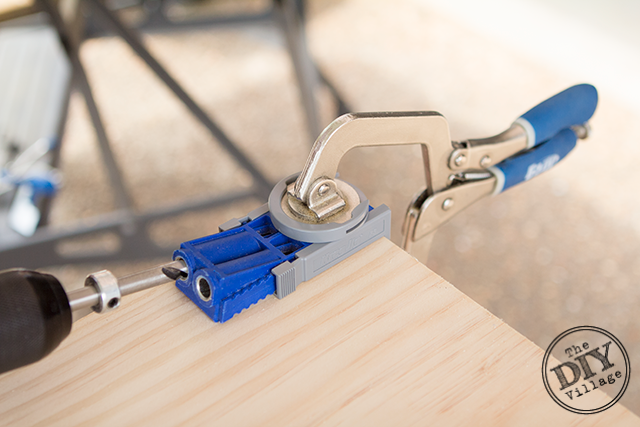
One of the easiest ways to assemble your bookcase frames is by using pocketholes.
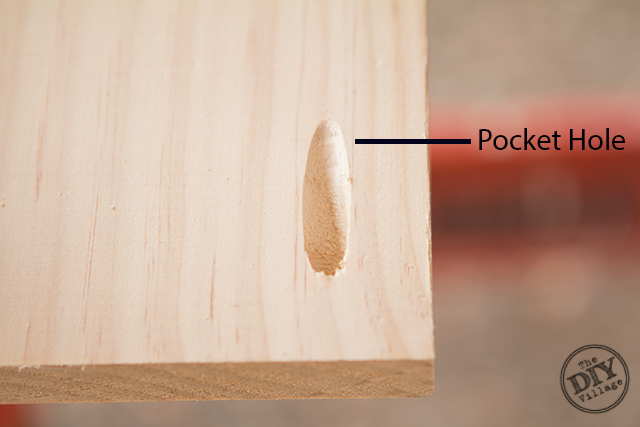
Using a pockethole jig will make easy work of your assembly. With all of your lumber cut to length, you’ll need to drill pocketholes at the top and bottom of each side.
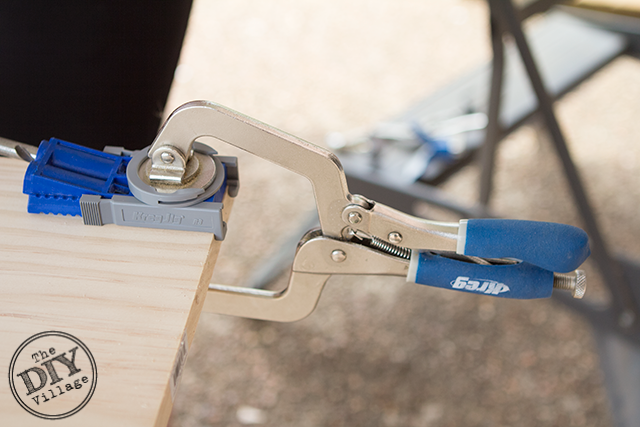
Position and secure the jig in place using a clamp, then using the supplied drill bit, go ahead and drill your pocket holes.
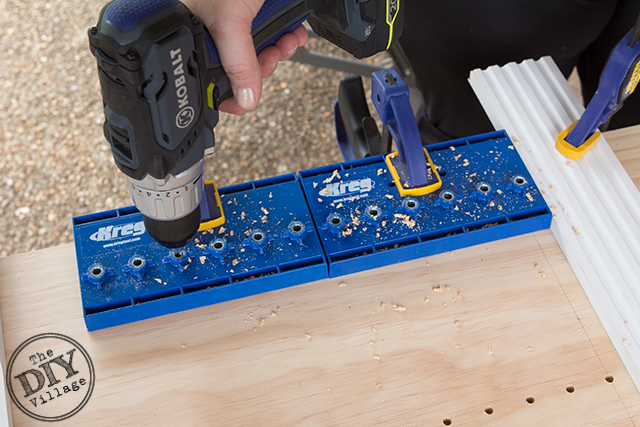
Now decide how many adjustable shelves you want above and below the fixed shelf, and utilizing a shelf pin jig, go ahead and drill the holes for your shelf pins.
Since you’re about ready to install the frame, now would be a good time to prime as much of your bookcase as you can.
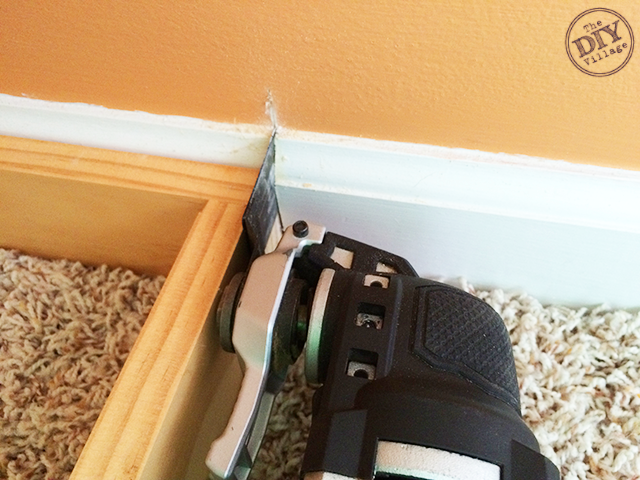
With the basic structure of your bookcase assembled, it’s time to prep the area where you’ll be installing them. You may need to cut out the existing baseboard in order to install the bookcase flush against the wall. If your space requires this kind of prep, consider using an oscillating cutting tool. It will make light of the work and will help with the custom built in look.
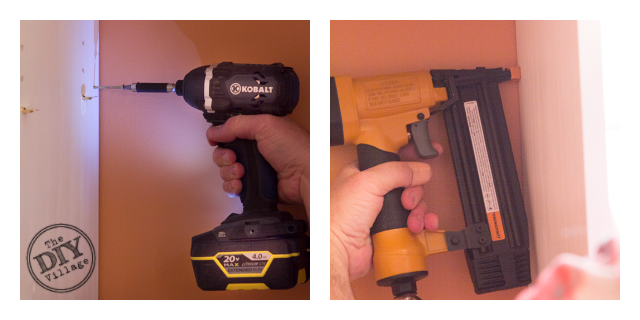
Next, position your platform in place and secure it to the wall, preferably into a stud. Then, place the bookcase frame on the platform and secure it as well. (In my configuration, I was able to secure one side to the wall using screws and had to secure the opposite side to the window casing using nails.)
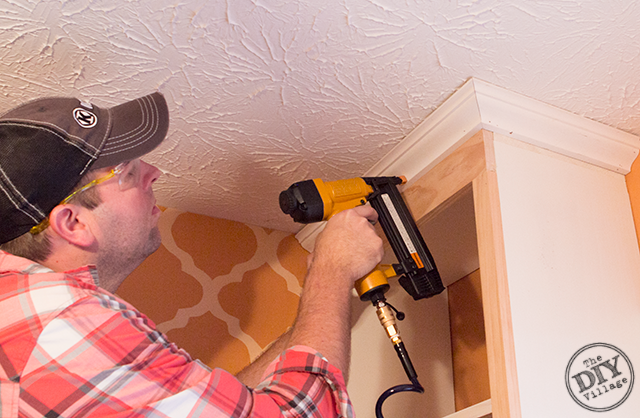
 In order to give the bookcase frame a built-in look, you’ll need beef it up a bit by adding 1×2 facing strips, baseboard, and crown molding.
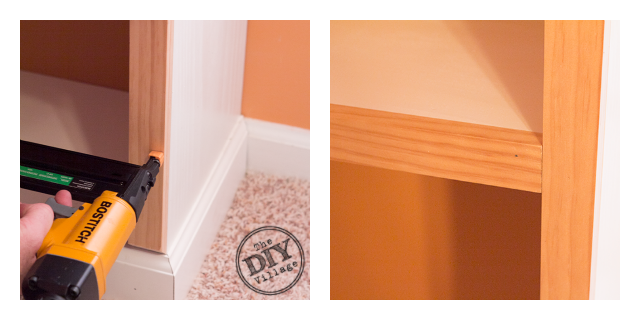 At the top of the bookcase, bridge the gap from the top of the bookcase frame and the ceiling with a piece of 1×6 ripped to the appropriate width.
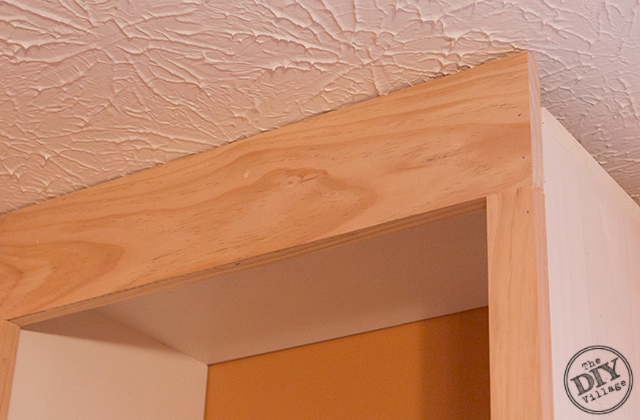
(This will allow for more surface area to nail in your crown molding)
Now would be a great time to add a few coats of paint!
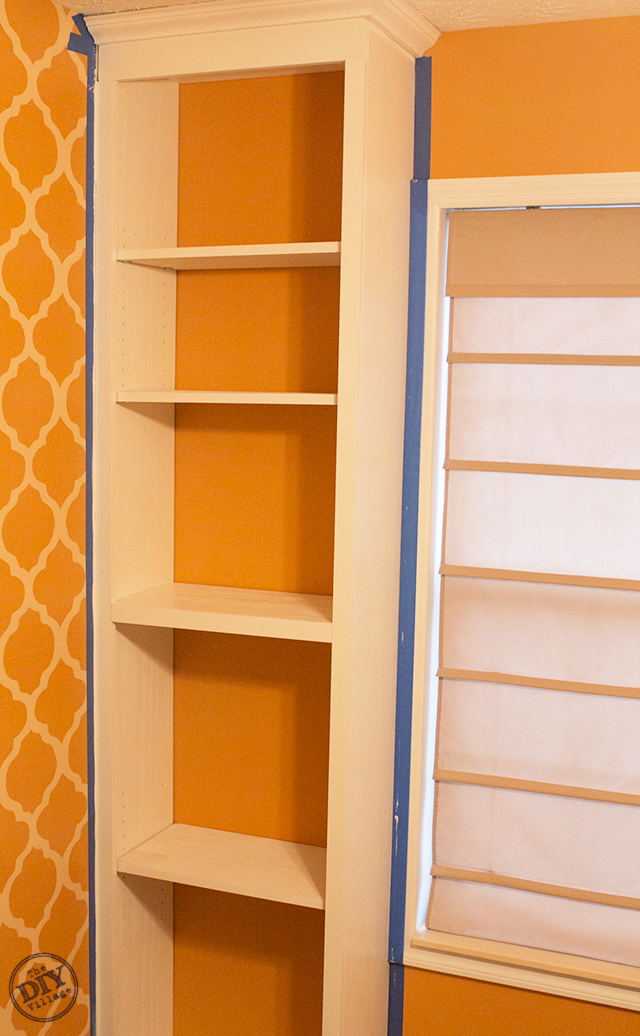
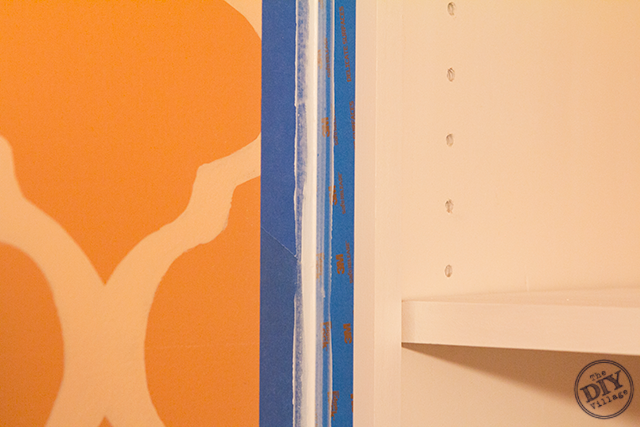
Lastly, you’ll need to caulk any gaps. I find that taping off on both sides of the area you’re caulking will result in a much cleaner caulk line.
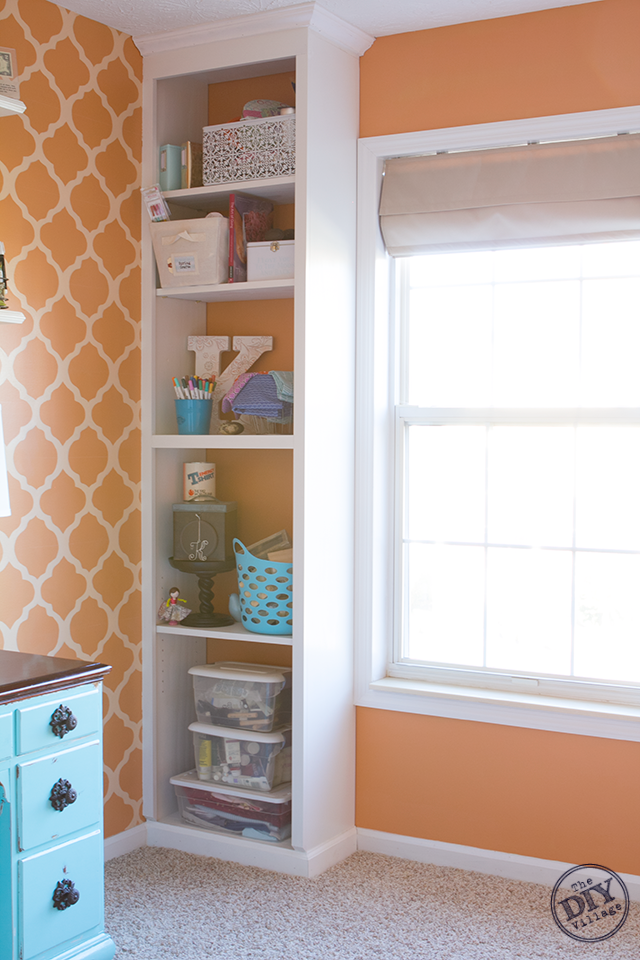
With the custom built-in bookcases complete, the only thing left to do is to turn the room back over to the owner and let them fill up those shelves!
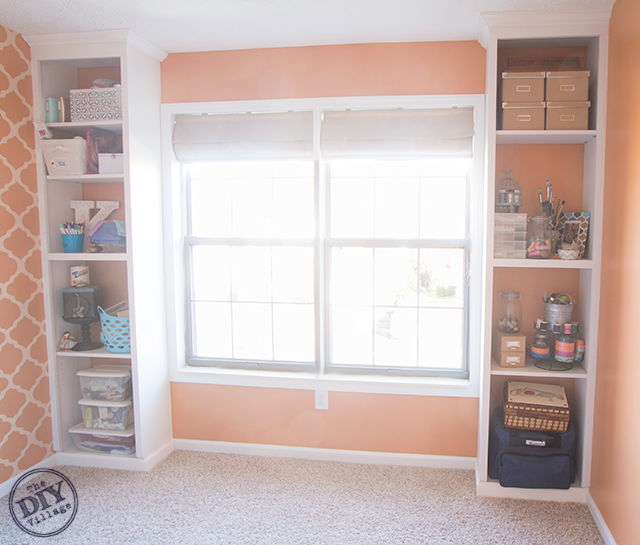
In this case I had them filled up in no time flat and was already deciding how many extra shelves I need. Eventually we would like to complete this area by installing a window seat with even more storage!
Leave a Reply