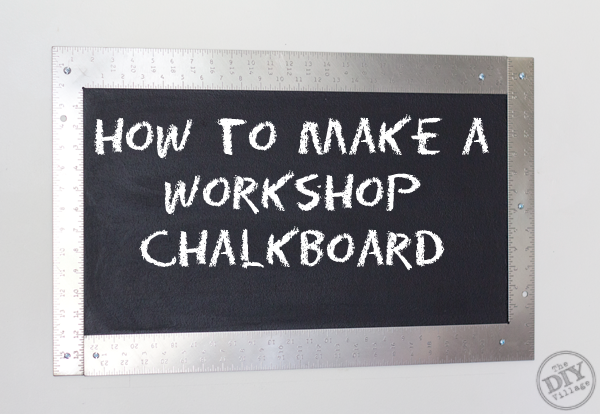
 Have you ever found yourself working on a project out in your workshop needing to write a measurement down, only to find your pencil and paper missing in action? Well, that happens to
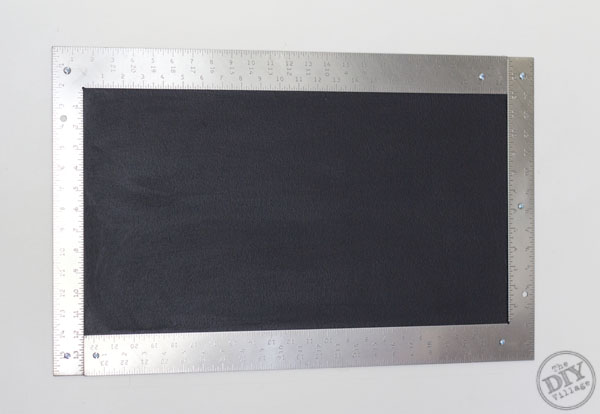
 me Jacque all the time! I wanted to come up with an idea that would alleviate that problem, but also add a little character to our workspace. The idea of a workshop chalkboard seemed like a cool option, but I wanted to find something that made it unique! So, looking for inspiration, I headed to Lowe’s! It wasn’t long before inspiration hit. I ran across a carpenters square and came up with the idea of using two of them as a frame for my workshop chalkboard! With carpenters squares in hand, I grabbed a quart of Valspar Chalkboard Paint and made my way home!
Here’s a Quick List of Materials You’ll Need to Make Your Own Workshop Chalkboard:
- Carpenter Square x2
- Valspar Chalkboard Paint
- Foam Paint Roller
- ScotchBlue Painters Tape
- Chalk
- Drill
- 11/64″ Drill Bit
- Wall Anchors
- 1-1/2″ Screws
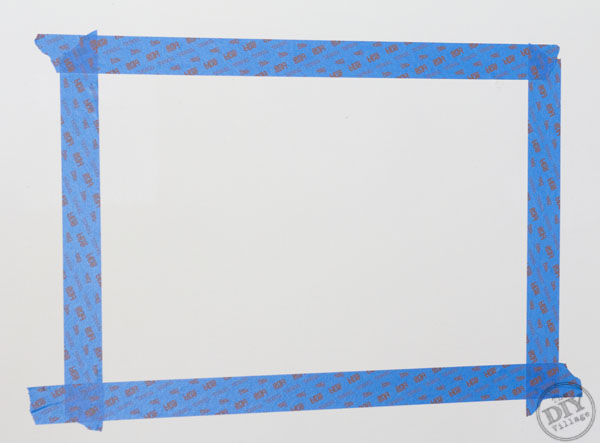
Using the ScotchBlue painters tape, mask off an area measuring 16″ x 26″.
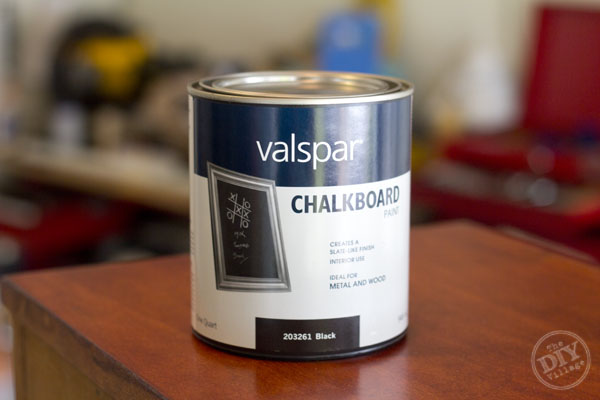
Mix the Valspar Chalkboard Paint before painting onto the masked off surface.
Using a foam roller apply at least two coats of the Valspar Chalkboard Paint, allowing an hour between coats.
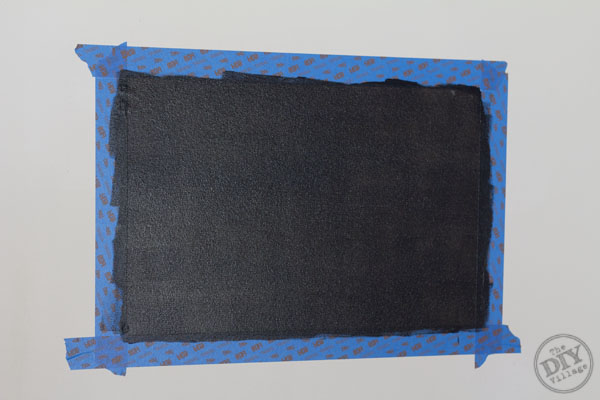
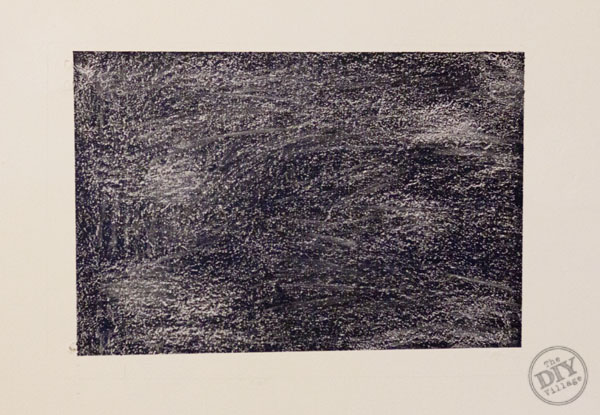
After allowing the chalkboard paint to cure for 24 hours, you’ll need to “season” the painted area before using it. To do this, simply rub a piece of chalk (on it’s side) onto the painted area, making sure to fully cover the chalkboard.
Now you’ll need to drill a few holes into both of the carpenter squares using an 11/64″ drill bit.
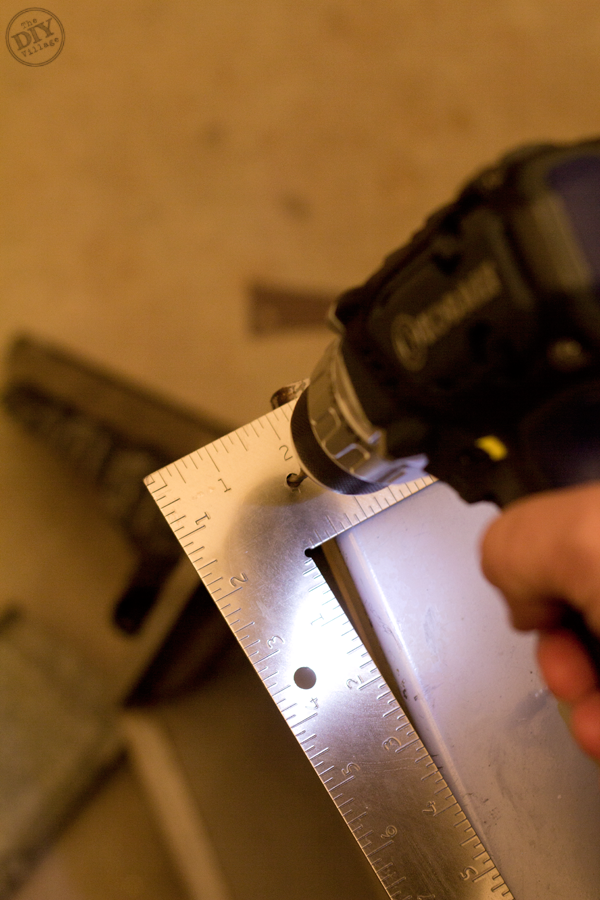
Hold each of the carpenter squares in place and using a pencil, mark the locations where the wall anchors will need to be installed.
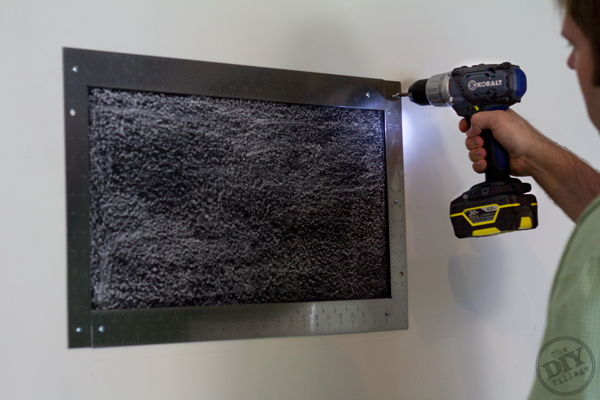
Once you’ve installed the wall anchors, attach the carpenter squares to the wall using 1-1/2 ” screws.
Lastly, go ahead and remove the chalk dusting from the “seasoning” using a dry cloth.
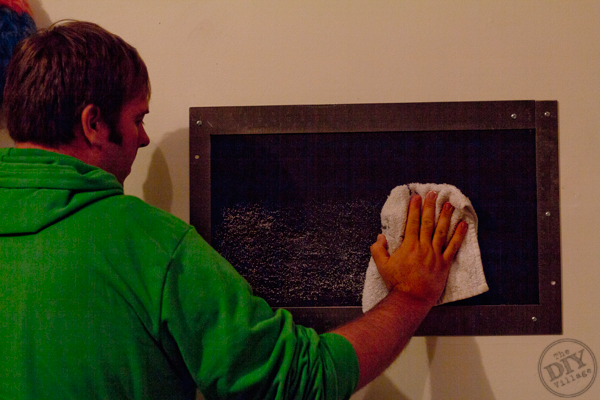
No more scavenging for pencils and paper! The next time you need to make a note or write down a measurement, just step over to your workshop chalkboard and jot it down!
While I was working on my workshop chalkboard, I decided to add a few other items to my shop to help make things a bit more organized. If you’re not familiar with the Kobalt K-rail Storage System, you’re missing out! The K-rail attaches to the wall and has an impressive number of accessories that easily slide onto the K-rail making storing your tools “no hassle! ”
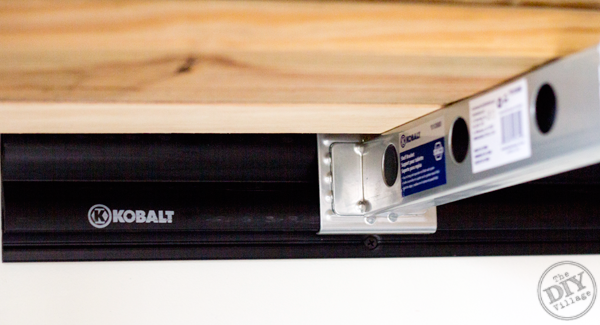
Here’s a quick look at some my Kobalt K-rail System!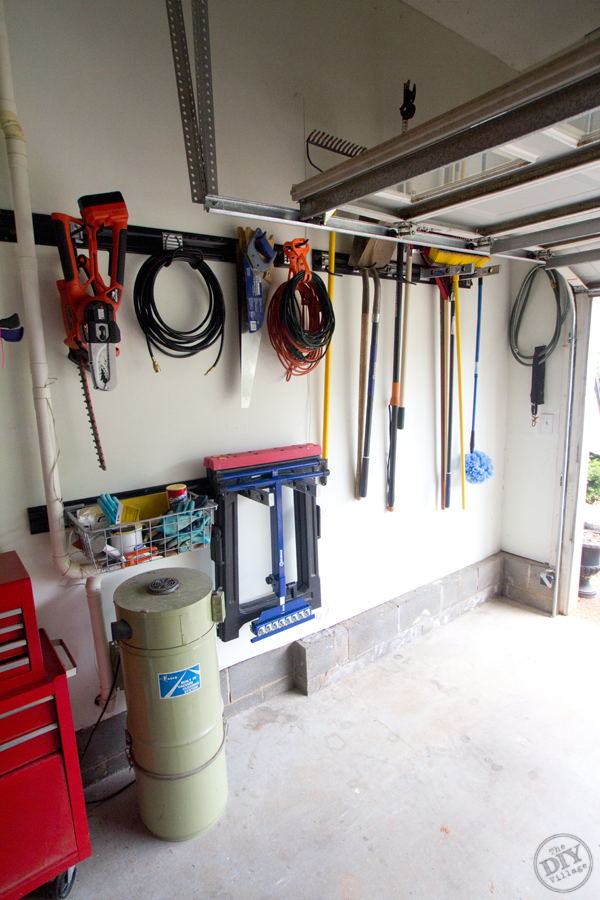
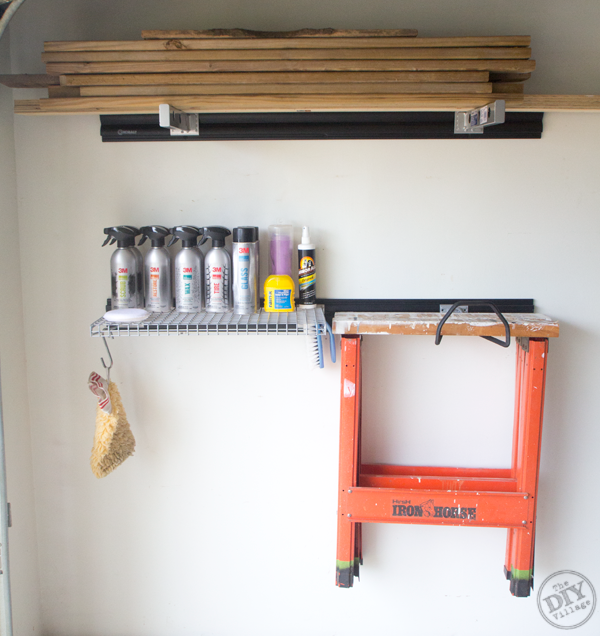
If you’re looking for more inspiration for organizing your garage or workshop, Jeff from Home Repair Tutor has a great write up on Garage Organization Ideas using the K-rail system, where he even provides the steps for its installation.
Looking for some other creative ideas to add character to your home? Be sure to check out Lowe’s Creative Ideas! You can even signup to receive a free Lowe’s Creative Ideas Magazine or follow Lowe’s on Pinterest!

Very original use of the squares! I’d not seem anything like it before. Nice work.
Thanks John! I think the squares helped add a “workshop” touch the chalkboard!
I love this too! Ages ago, while I was in Lowes buying chalkboard panel, I struck up a conversation with an older gentlemen. He mentioned how he needed one in his garage too. They are so handy for jotting down measurements when you are in the middle of a project. Yours is much cooler though, I think I’m going that route! Thanks!
And I need like a hundred of those K-rails! I love all my Kobalt products!
Your garage is SO DREAMY… jealous!
Thanks Beth! Ha ha , I think you’re the first person to say that! It’s come a long way from when we first moved in, but we’re pretty happy with it!
love it!!! I’ about to do a major garage overhaul, and this is a great project for that, I’ve never tried chalkboard paint before!
Thanks Melissa! You’ve GOT to try the chalkboard paint out! It runs $10.00 a quart over at Lowe’s and it is SO worth it!
We are getting ready to move my craft room out so the boys & hubs can have a man cave (well, a man room!) and this would be perfect for their new space!
Keri, Whoa! Trading out your craft room for a man cave?!!! Wow, those are some lucky guys!
Sweet project Matt!!!! I definitely like the use of the squares on the wall, way cool.
We’re loving our K Rails as well. Now we can find all the kid stuff without it taking 20 minutes and some tears. Haha.
Hey Jeff! Thanks man! The best part about the project was getting to add 2 more squares to my tool cache! Those K-rail Systems are awesome and you did an awesome job on your installation tutorial!
Now that is an awesome idea! I need one in the kitchen.
Great idea and wow what a tidy garage!! Pinned!