There’s one special room in our home that we’ve anxiously been waiting to overhaul. Josslyn’s nursery! It had stayed almost completely empty since we moved in back in 2011. The only thing we’d done in there was give it a fresh coat of paint and installed a ceiling fan.
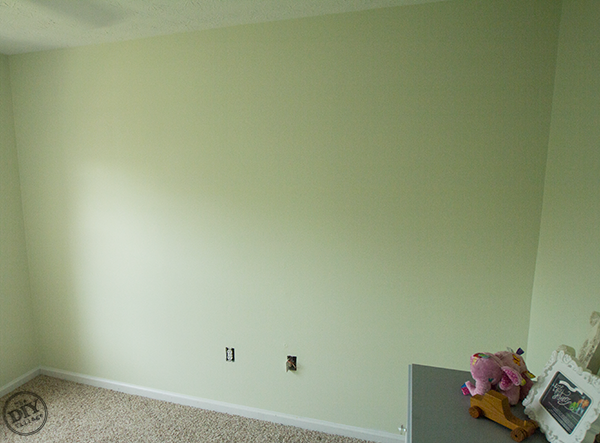
Jacque and I both agreed that even with the fresh coat of paint, the nursery felt a bit too plain. We spent a lot of time talking about how we’d like to spruce it up and finally came to the agreement that we’d try our hand at installing a nursery plank wall.
Jacque’s Dad introduced her to PureBond plywood, a really beautiful quality plywood that he’s used on some of his DIY projects. She suggested that we use PureBond for the plank wall. I looked into the company a little closer and was pleasantly surprised to find that there products are “family-friendly” as they are formaldehyde-free. That fact alone made me confident that we were using the right quality wood! So we purchased three sheets of 1/4″ 4’x8′ Oak Hardwood. This was my first time using PureBond Plywood…And all I can say is WOW!!! I’m kicking myself for not using it sooner. This wood is absolutely gorgeous. And what really surprised me was how affordable it is!
In our research, we’ve seen a lot of homeowners install plank walls, but not many used 8″ wood planks. Most of what I found was 6″ planks or less. We like the look of the wider 8″ boards, as around East Tennessee, that’s what a lot of the old barns use! We ripped down the 4’x8′ sheets using a table saw.
Next, we needed to prep the wall. Using a stud finder, we marked the location of the studs across the wall.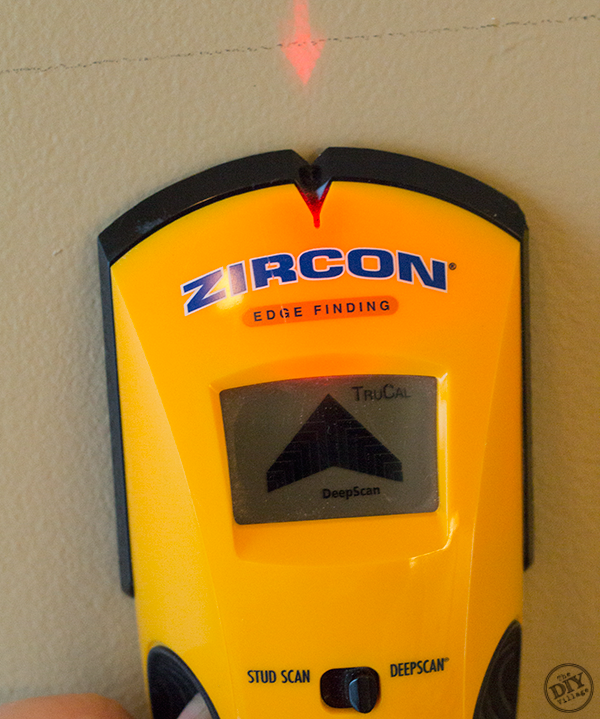
Our goal was to make as few cuts as necessary, so we came up with a layout that would maximize full 8′ planks. Since our wall measures 10′-11″, we chose to make each horizontal row a combination of an 8′ plank along with a 34-1/2″ plank. (That left roughly 1/2″ of play.) With each new row, we’d alternate the side where the 8′ plank would be placed. Here’s an illustration of the layout.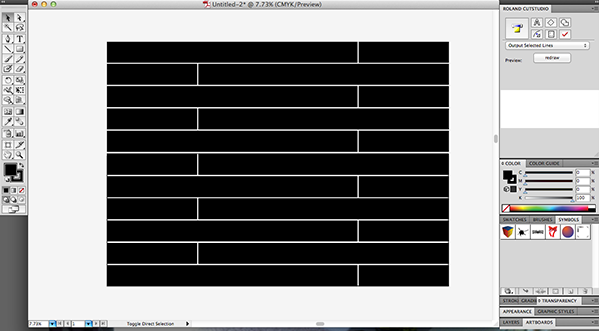
This was the perfect project to try out the newest addition to our tool cache, the Ryobi 18V Brad Nailer. (If you haven’t had a chance to get your hands on one, you’re missing out! Plus, using it meant not having to lug an air compressor, hose, and a nail gun upstairs)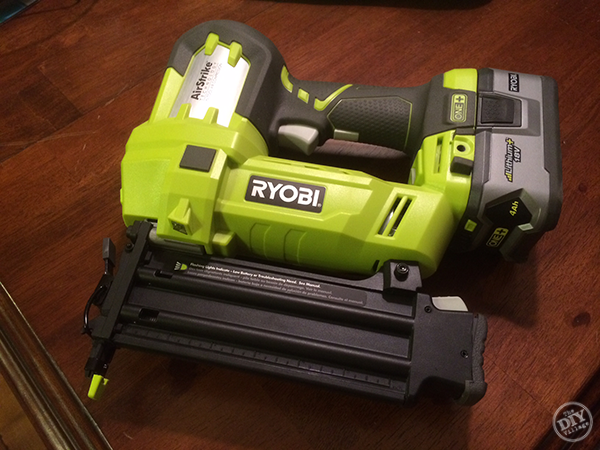
We started with the first 8′ plank against the left corner of the wall about a 1/4″ up from the baseboard, double checked that it was level, and secured it in place with a nail. Then we placed the 34-1/2″ piece next to it, finishing off the first row.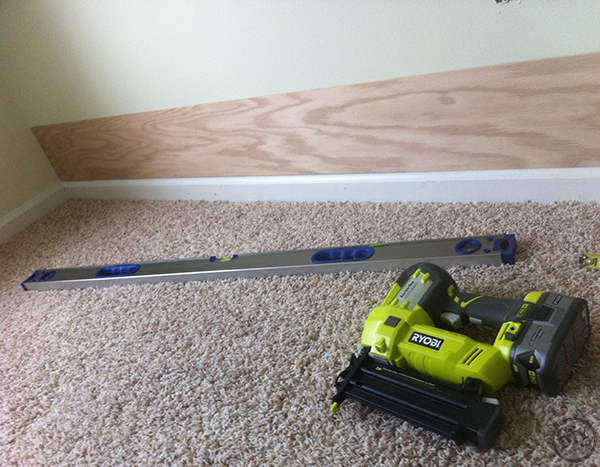
As we started on the second row we had to work around an 2 different outlets. With the plank held in place, we marked the location of the box and notched the plank using our Ryobi Job Plus Tool.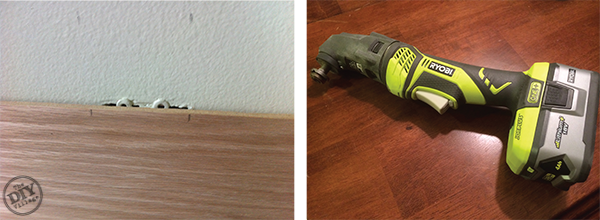
We continued installing rows, alternating sides with the 8′ planks. 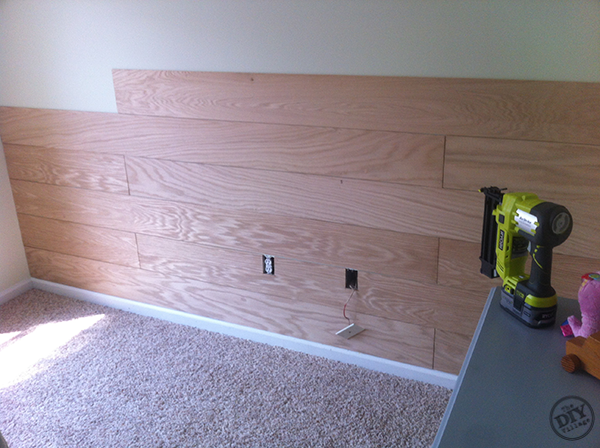
Once all of the planks had been installed, we filled the nail holes with wood filler, let them setup, and then sanded them smooth. (To reduce the sanding dust, we used 3M’s Clean Sander System. It has a vacuum attachment and impressively reduces the sanding remnants.)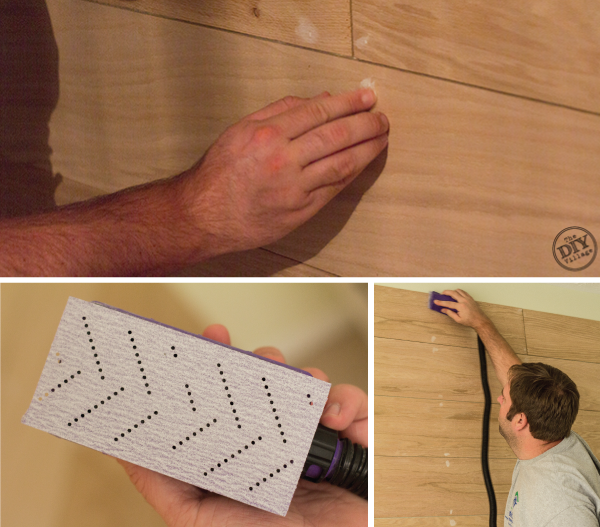
Lastly, we painted the plank wall with a Valspar Paint and Primer 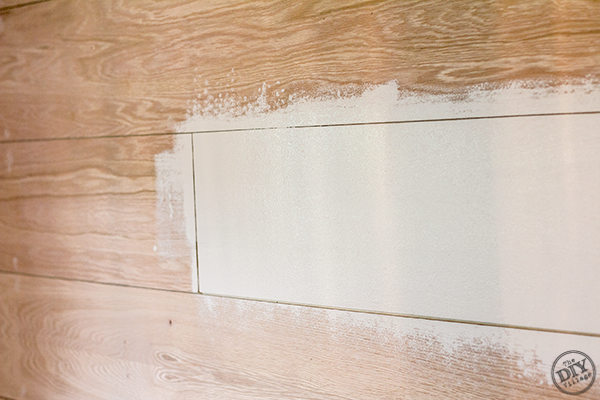
And here’s the nursery plank wall fully painted! We love the farmhouse feel that the planks add!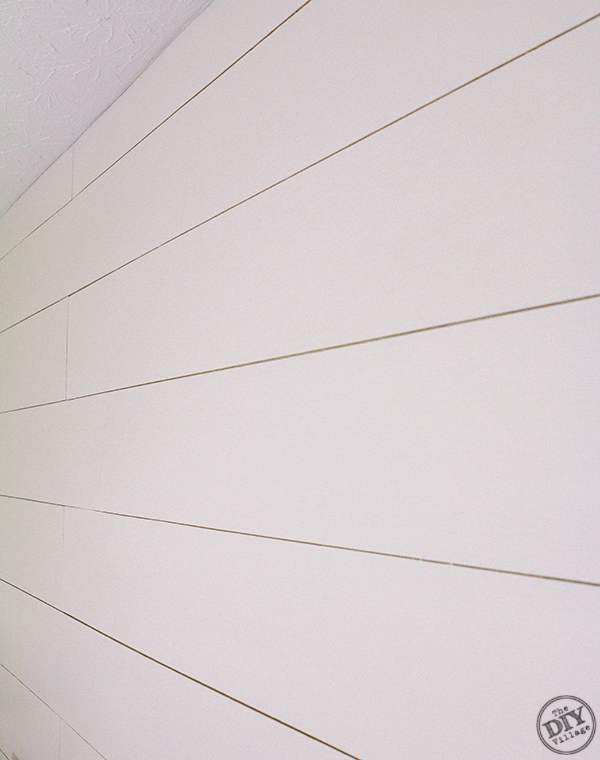 Now, we don’t want to share too much! Over the next few weeks we’ll be revealing more of the work we’ve been doing in the nursery, so be sure to check back to see what we’ve been up to!
I could not love that wall more and it looks easy enough to tackle, too! We have a diagonally planked wall in our living room that I would love to replace and this could be just the tutorial!!
Hey Keri! You’re right, this project couldn’t have been more easy! Especially with the cordless nailer! That thing is amazing!
I love the look of the new wall! I’ve never heard of this Pure Bond plywood, but it sure sounds like the perfect wood to use in a home. I’ll have to keep an eye out for it, see if it’s available up here, since I have a project in mind.
Debbie 🙂
Thanks Debbie! PureBond’s quality of product is pretty incredible! It was hard to paint over it, as the raw wood could make a beautiful wall all by itself!
I was just telling Jeremy last night that I so want to make this happen in Garrett’s room! We made his bathroom over and now his bedroom is blah! SO, this is at the top of my list for 2014! I’m excited now, after seeing how easy this is! Purebond to the rescue, huh?
Beth you and Jeremy could SO do this! I had most of the wall up in one day before Jacque was home from work! And yes, DEFINITELY take a look at the PureBond plywood. It sands beautifully and the grain in crazy beautiful. Couple that with the cordless nailer and you’ll be like me, wanting to add planks to the rest of your house!
The room is going to be so cute! I can’t wait to see it all. Exciting!!
That looks amazing!!! I can’t wait to see more of the nursery. That nailer is definitely on my list-along with about every other tool you mentioned!
What a fun project. I’m with you Matt; it would be super tough to paint that wood. It looks great! I like that sanded too. Neat tool.
LOVE how the plank wall turned out and LOVE using PureBond!!!
Oh my goodness you guys, it turned out so great, I love it!!!
I love this so much! You think Josslyn would mind if I move in with her?!
I was just wondering if I could use plywood to plank my walls instead of buying those overpriced, too skinny planks. I love this, thanks so much for the post! Perfect timing!
Oh guys. I’ts so pretty. Jim and I were talking about plywood for something the other day, I’ll have him see if they have this brand at our local lumber yard! I like the chemical free aspect for sure. I so hear you on the hauling the hoses up from the shop to the house for nailing projects. I so want a Ryobi nailer for in the house. The air compressor makes me nervous. I always make Jim turn it on and set it for me.
I love the look of the PureBond plank wall, but my walls are plaster over concrete block. Have you had any experience with gluing these planks?
I would think that any type of construction adhesive would be more than capable of holding up the planks, the difficult part would be securing them in place while the adhesive cures or dries. Depending on the size of the wall that you’re looking to plank, you may want to consider some of Scotch’s Extreme Fasteners or their Extreme Mounting Tape. They might be a more user friendly solution to securing your planks onto your particular wall!
We are in the middle of this project now. Can you please let me know… Did you sand before priming? Did you sand between each coat? And how many coats of each did you use?
Thank you in advance!
We lightly sanded the wood, then Paint & Primer in one paint. Lightly sanded and painted again. I believe we ended up with two coats of paint total. Good luck!
So you laid each board directly on the top of the other? No gap, correct?
I believe we used a penny as a spacer, to give a shadow.