
Remember back a month or so ago when I shared my craft room makeover with everyone?
If you didn’t get a chance to check it out head on over HERE to see what all the fuss is about.
Since we have had such a great response to the room I’m sharing with you the ‘How To’ of the fabulous wall treatment we did.
I found this great post by Ainhoa with A Little Bit of Everything on how to take a plain IKEA rug and turn it into this awesome custom Trellis rug. For some reason I got this insane brilliant idea to take this to the walls of my craft room!
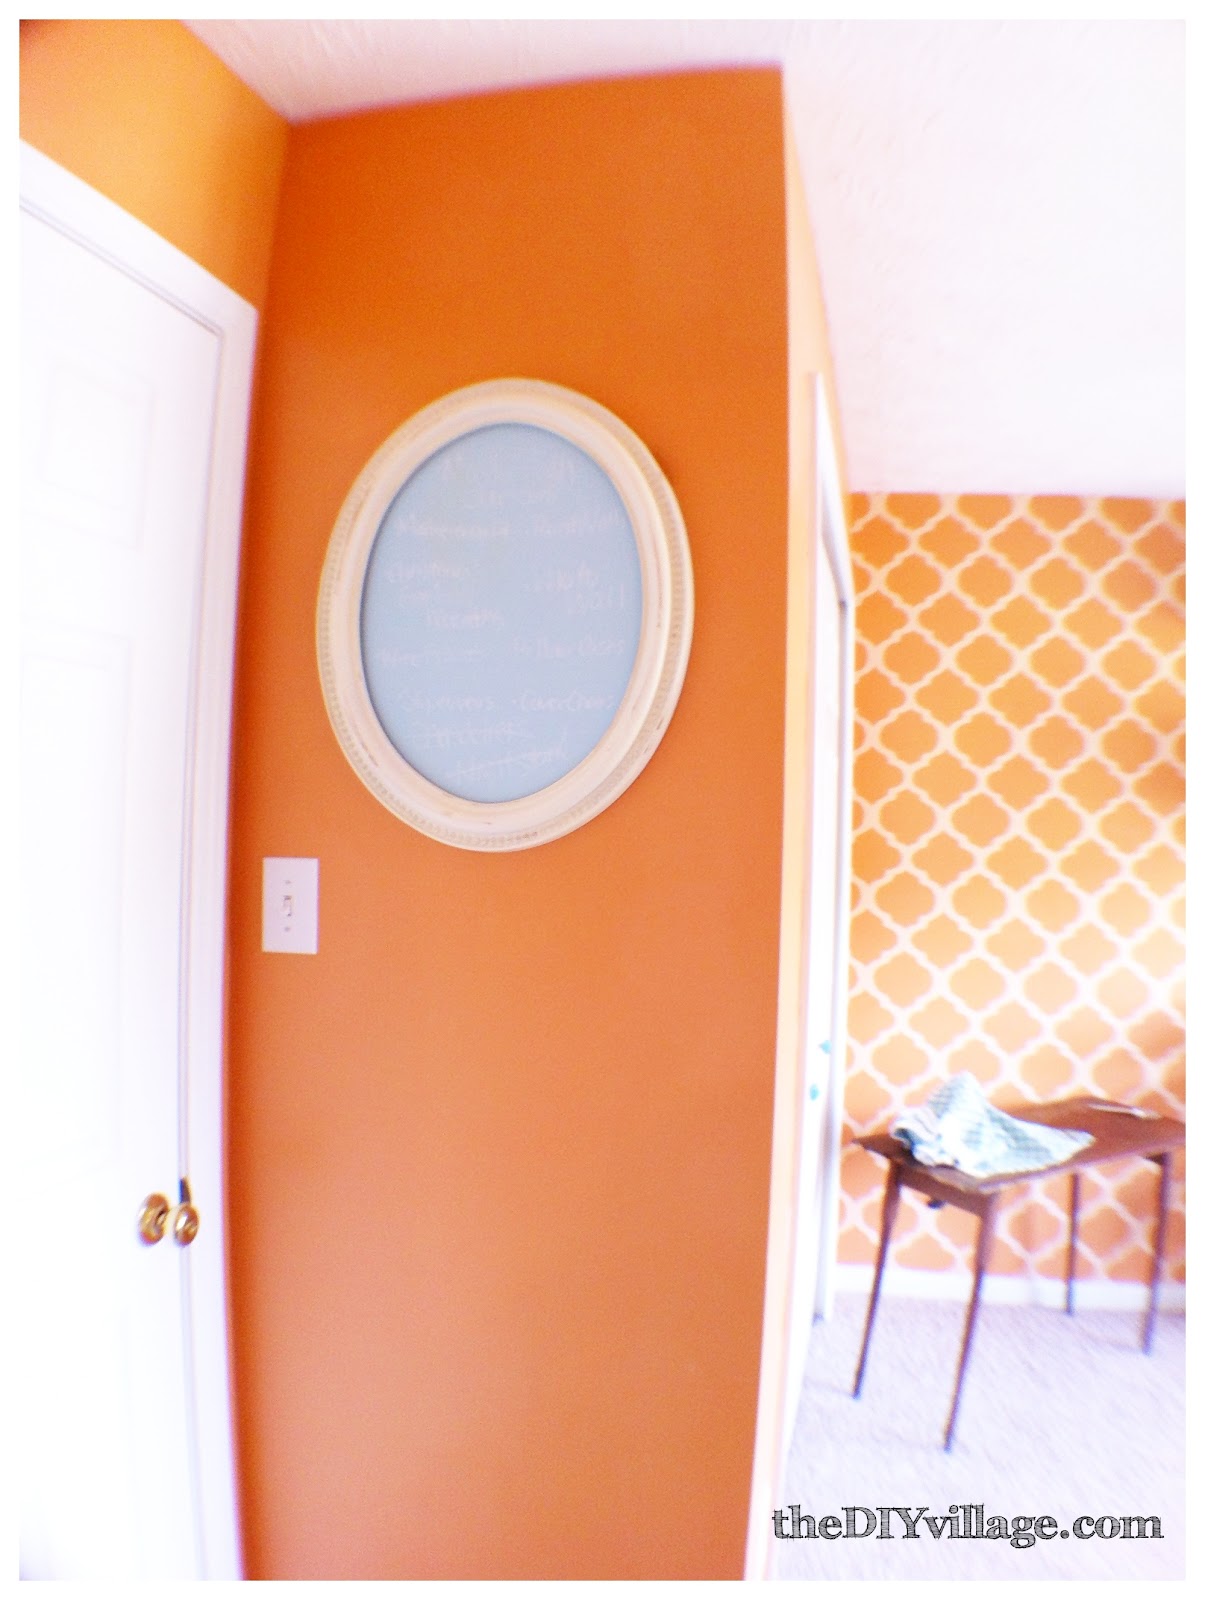
I fell in love with a pumpkin spice orange color and decided the treatment would be in a orange sherbet color.
Originally I had considered Orange and white but decided against it.
Don’t get me wrong being a UT fan I love me some orange and white but I did feel like it would be too much of a contrast and since it was orange I really wanted something a little more subtle.
So here we go strap on your seat belts folks and I will share with you how you can can create your own trellis feature wall!
First you need to start off with a blank slate & then paint your over all color in this case it was Orange …

Once you have the wall painted you are going to want to get your level, measuring tape, and something to mark on the wall with.
If you have a chalk line I suggest using this, we did not have one so we used a white water soluble pencil used for sewing.
Easy wipe off with a damp rag!
Measure the height of your stencil and then you have the distance your lines we need to be apart on the wall.
The next step is super important – the Stencil!
I printed off Ainhoa’s image and blew it up on a copier till I got the size I had in mind.

Matt placed the image under the stencil plastic and traced the image onto the plastic.
He then used an X-acto knife to cut the design out.
Since then I have purchased a stencil cutter that I will admit is worth every penny.
Cuts the plastic like buttah! Use a 40% off coupon at your favorite craft store and they are only 8 bucks!

After your stencil is made you can head onto the next step transferring it to the wall.
In our case it involved tracing the stencil over and over and over again till your entire wall is full. Matt made us two stencils and alternated which area we worked on so the process would go faster.
**Remember to line up the top and bottom of the stencil with your chalk lines **
It is also very important to make sure and overlap your stencil when tracing it, this is how you get the seamless flow of he pattern
In all this took about 16 man hours (2 people one 8 hour day).
It will look a little something like this …

Now you are ready for PAINT!!!!
My weapons of choice a plastic cup and a wide flat painters brush …

Excited yet?
Hope so because you are going to need a lot of patience to complete this process.
It was taking a long time for me to get through this so Matt started helping me by out lining the area to be painted in with a small round painters brush!
And in no time the wall went from this –

To THIS!
Okay that is a lie, Matt outlined everything for me took him about 6 hours.
My part on the other hand took a tad bit longer …

Seriously it stayed like this for a very very very very long time, months in fact. I would avoid walking into this room, the guilt of not completing it killed me.
But as with all good things, eventually they come to an end …
I finally got the motivation to complete the project.
Matt had to take a picture to prove I was really working on it, funny funny man!

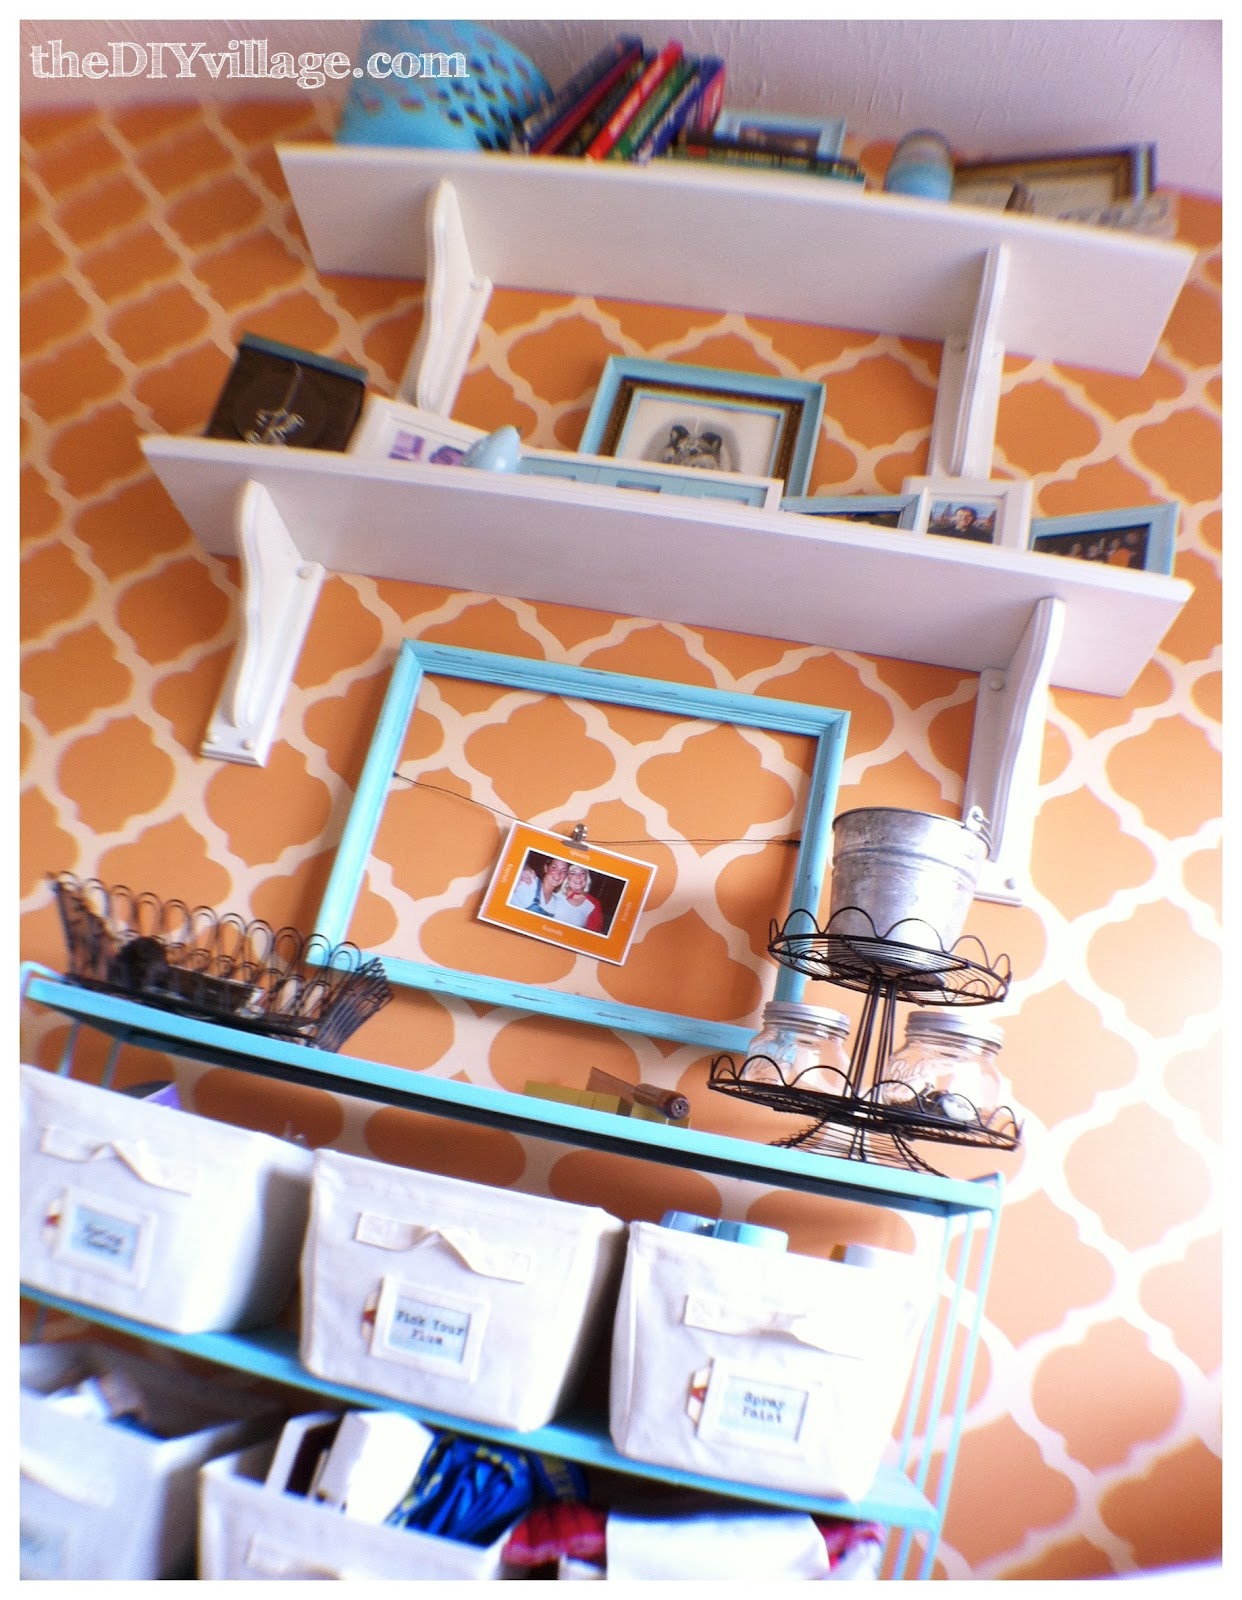
And here you have it my hand painted trellis wallpaper is complete and even though it was a lot more work than I thought it was going to be I could not be happier with the results.
The room is a show stopper for sure!

In all this project took us about 8 months to complete.
I tend to get distracted by shiny objects or projects that look more fun!
This project SHOULD have taken about 4 or 5 – 8 hour days to complete.
It really is a labor of love and I highly suggest others try something like this.
Even if it is on a smaller scale I can promise you will love it!
Much Love,
Jacque
FEATURED BY:


I have been dying for a vinyl cutter…DYING I SAY!! I am also dying for a craft room like yours. Oh my goodness! You and Matt make quite the team! What brand/size/style/stuff is your vinyl cutter? Do you LOVE LOVE it or just LOVE it? I can't think of any good reason hubs could buy me one any time soon but I'm sure I can think of something 😉 Again, loved this room since the first time I saw it! I hope I'll get to see it in person some day! Maybe before we go to the brazilian steakhouse?! Haven in June! I'm so excited!!
… and rambling. I'm sorry. I better go!
XOXO,
Rachel
And I just re-read your post and you said STENCIL cutter… not vinyl. Fail.
You are so funny! We actually do have a vinyl cutter. It is a professional grade Roland GX-24, it's a big daddy that cuts vinyl up to 24″ wide. So far Matt is the only one that can use it with ease. We have MAC computers and this particular model works best with windows based computers, so we have to use plug in's and well basically that is where i get lost in the process! Matt talks about it a little bit in this post here (http://www.thediyvillage.com/2012/01/things-weve-made-using-our-vinyl-cutter.html) – it may convince your hubs that there is more to using a cutter like this than you might think! The options are endless. I really want a Silhouette Cameo that looks about my speed! I would love it forever and ever and ever! You are always welcome to come visit us here anytime you like!
Much Love,
Jacque
You rock girl. This looks awesome! Very creative indeed. Thanks for sharing your inspiration with the newbie party.
Thank you Debbie you are too kind!
Wow this is awesome!! I've been wanting to stencil some of our walls, but we've got textured walls:( The room looks amazing!! Love the color too!
Thank you Amy!
Love the stencil….and the color is fantastic!
Thank you Jen! I love it too!
Wow! This turned out so incredible! The work was well worth it!
Thanks for sharing it!
–Katie
@ Creatively Living
Thank you Katie! And thank you for featuring this on your blog with all of those great other ideas!
I'm exhausted just reading this post. Wow! I am stencil-challenged but truly admire your steady hand and patience …
🙂
Linda
Hahaha thanks Linda I'm sure there was a much easier way to do this but unfortunately I did not realize it till was half way through … lol
I love that pattern! You rocked it! Seriously, I am so jealous!
Visiting from newbie party!
Thank you Nelly and Thanks for visiting!
Gorgeous!! I have to find somewhere to do this at my house (and the patience to follow through and finish it!). The color you picked it beautiful and you did such a nice job. I found you through Skip to My Lou's link up. Thanks for sharing this!!
Holly @ http://www.abakershouse.com
Thanks for stopping in Holly, can't wait to where you try this! Come back and link it up!
Wow, that looks great. I am so impressed. I found you via Debbie's party. I am your latest follower. Hope you will stop by.
Thanks for stopping by Judy! I saw you just featured my friend Rachels kitchen from ThriftyInspirations! That girl is a force, so jealous of that kitchen.
Amazing! You did an absolutely amazing job on this! I wish that I had the patience to attempt something like this! 🙂
Thank you Michelle!
that looks AWESOME. I've been wanting to do this project myself where we have a wallpaper border around the top of the living room wall.
Love it, great job. I laughed out loud when I read the bit about getting distracted with projects that look more fun…….. me too!
So good to know I'm not he only one Kerstie – our house has half finished projects everywhere!
I love it, I had to read it twice! Love the color, love the pattern and love that you didn't give up! I would have a solid orange wall, if it had been me 🙂
Debbie
Haha don't think for a minute there weren't a few times that I strongly considered panting over it a few times 🙂
Hi it's me again, I can't find your email. I want to let you know that I picked you to be in the Newbie Spotlight this week! My email is refreshrestyle@gmail.com…I will be featuring you and your awesome wall on my blog tomorrow!
Debbie
Squeeee!!!!!!! Thank you so much Debbie! I am truly honored!
WOW! I found you through refreshrestyle! Great job! You deserve the “golden arm”. ; ) Love, Me http://www.youaretalkingtoomuch.com
Thank you, It was a true labor of love and seriously probably could have been done a much easier way lol
-Jacque
Popping over from Refresh Restyle. That wall is absolutely beautiful! I can't imagine painting all of that….you did an amazing job with it.
Thank you Gina!
Wow. You rocked it with this room. Or should I say you Rocky Topped it! Love the pattern, the orange and white (Vols alum here), and the pops of turquoise are great. I've been wanting to paint our craft room in these colors and now I'm inspired to go ahead and do it. Mine will probably take 8 months to finish too!
Found you through refresh restyle. Following you now. Go VOLS!
Angie
Woohoo GO VOLS!!! So you totally know why I was nervous about the Orange and White combo in Knoxville I don't want to be one of 'those people' haha … if you ever start just make sure it's a room you have to see often it makes a lot harder to ignore lol
8 months – and some very steady hands! This is amazing and a real statement! Can you move into my house for 8 months and do one for me!?
Kelly
Haha sure I'll come paint one for you … as long as I don't have to cook I'm in!
Visiting via refresh restyle blog! Loving the fresh look and the very pretty color combo.
Thank you!
Your wall is beautiful!
Thank you Marilyn!
WOW! the wall is fabulous and love your colors!
Thank you Cassie, I love your blog!!!
WOW! Unbelievable…and awesome too! Great job!
Thank you Diane I really appreciate the kind words!
This is just stunning! I love your color choices. You are hard-core making your own template. Definitely worth all you hard work!
Visiting from the Newbie Party,
Lynn
Thank you so much for stopping by Lynn! I have popped in and checked your blog a few times now I LOVE it! You have my dream front porch. If I could figure out how to get one on this house I totally would!
-Jacque
Gorgeous! I love the pumpkiny orange color! (I'm also big into the trellis pattern lately.) What a labor of love, but it turned out wonderfully. 🙂
Stopping by from Debbiedoo's Newbie Link Party. 🙂
What is the paint you used!? Its perfect.
It was Longhorn Orange by Valspar