 I can’t believe it our bathroom is finally completed, well for now anyway. It no longer even remotely resembles anything from the previous owners. Not that there was anything wrong with their taste, it just wasn’t, well, our taste.
 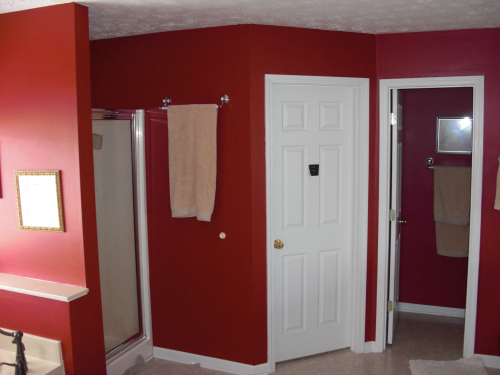 This what the bathroom looked like when we did the final walk-thru before closing. See that towel bar WAYYY up high, yeah not very practical. Or the one only inches from you while you are using the toilet? Yeah, no thanks!
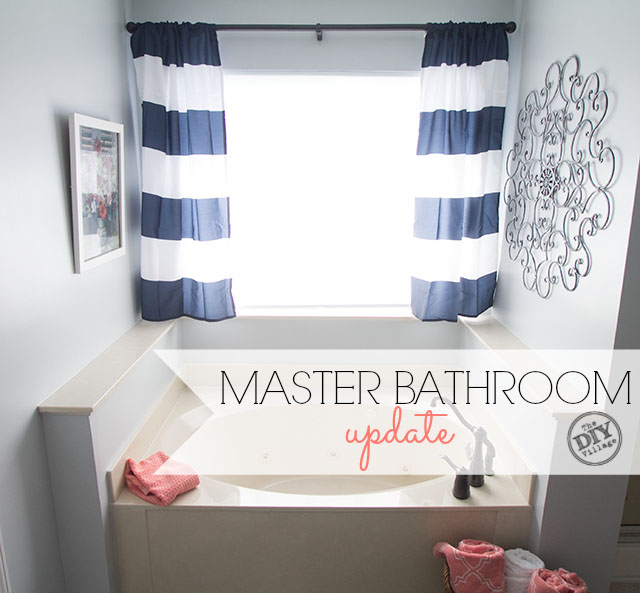
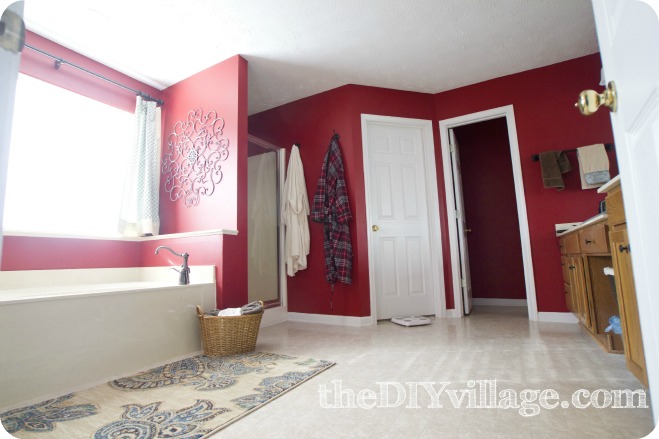 This is the bathroom after we made some minor changes. Changed out the window treatment, took down that ridiculous towel bar and added cute hooks, and of course my new rug.
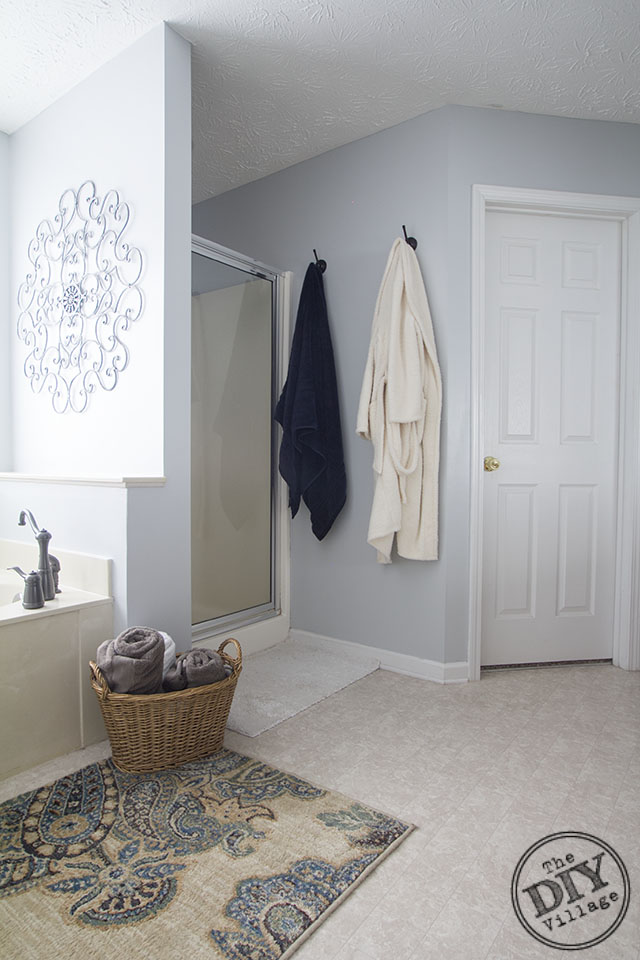 And then a few months ago we were lucky enough to put Olympic ONE Paint + Primer up to the test and see how it would fair against the overbearing red walls! But sadly the bathroom didn’t feel done yet, so I made a few more changes.
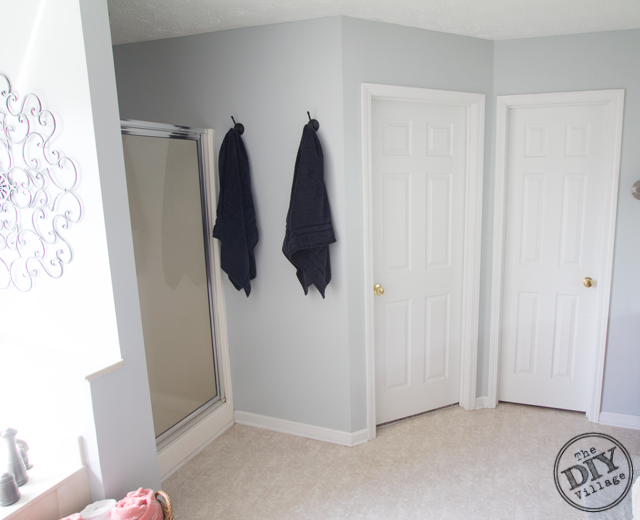 I picked up some new navy and coral towels.
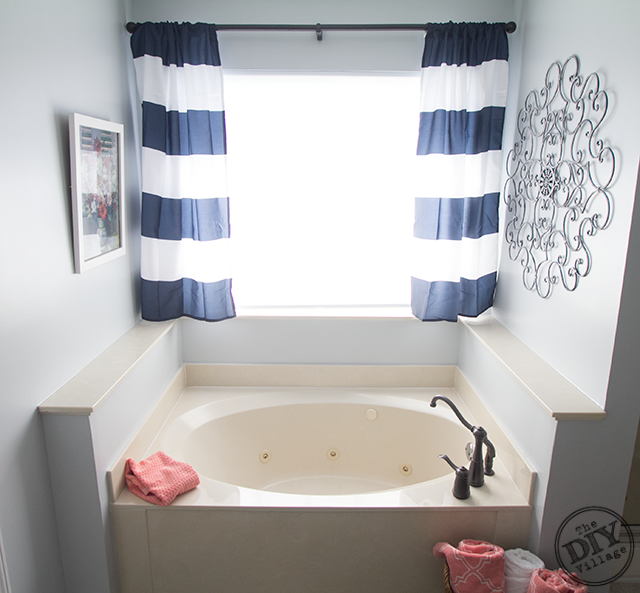 And made new window treatments out of a shower curtain … with a hot glue gun. But that’s a whole other story in itself!
 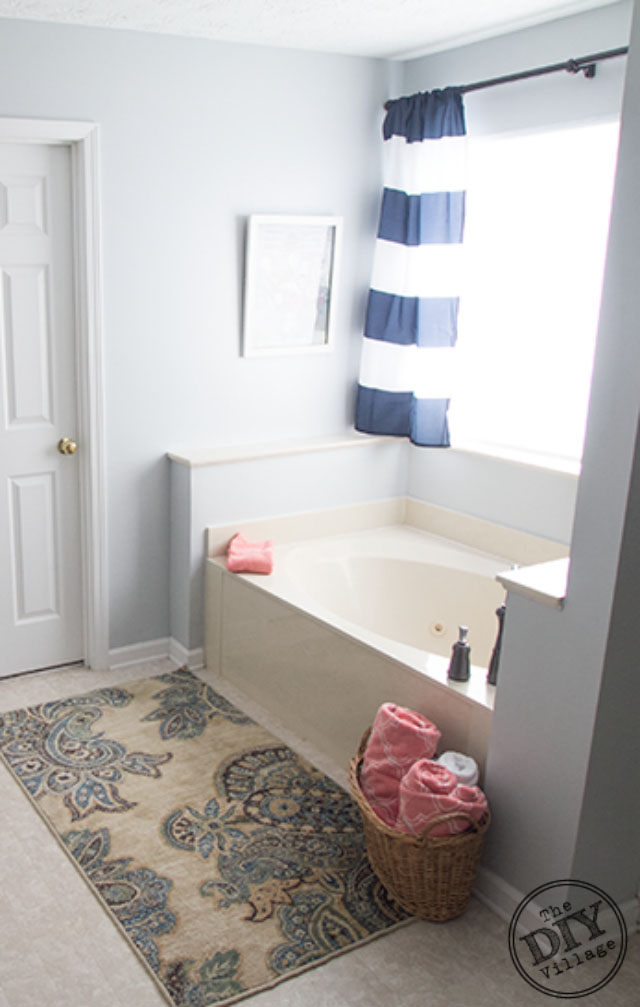 The best part of this whole bathroom makeover was the paint. I cannot even begin to express to you how much I love our new bathroom color. The red seemed to suck the life out of the room and washed everything out! The color Cold Steel is perfect and I love walking into our bathroom every morning.
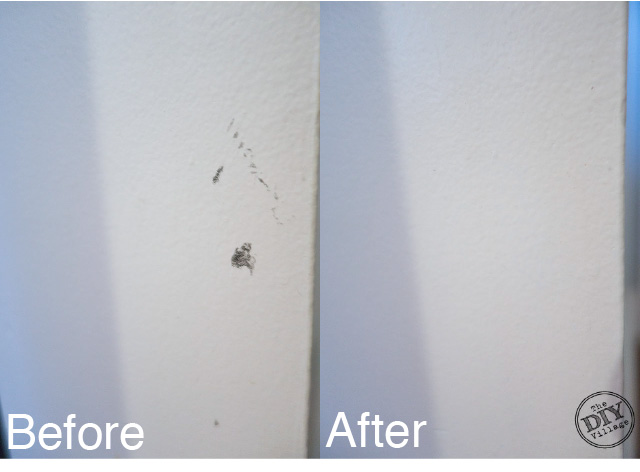 We have done our best to keep the bathroom in good condition but the other day when I was taking the baby’s pack and play out of the bathroom I bumped the walls. Resulting in the above scuff. I took a wet rag and was able to remove most of the scuff and a magic eraser to the rest away in seconds. I was so relieved to get his off of the walls so easily!
 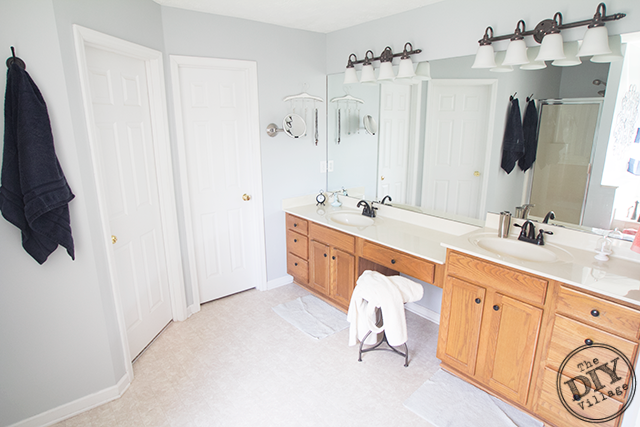 Another awesome thing about the ONE paint is that the red NEVER bleed through. I cannot believe it never did, but it didn’t. I mentioned our past experiences with high end primers and red bleeding through the new colors. With every shower we took and the bathroom filled with steam I held my breath. And every time the paint held fast!
We did our best to put the ONE paint up to the test and it passed with flying colors! The best part of the bathroom makeover is the fact that we were able to totally transform the bathroom for under $100.00. That is what I call a win, it’s amazing what a little paint can do! Up next I think I’m going to be painting the vanity, now I just have to decide what color to use!
Love the color . I’m looking to re-do our bathroom. You gave me an idea thank you.
No problem! So glad you like it!!!