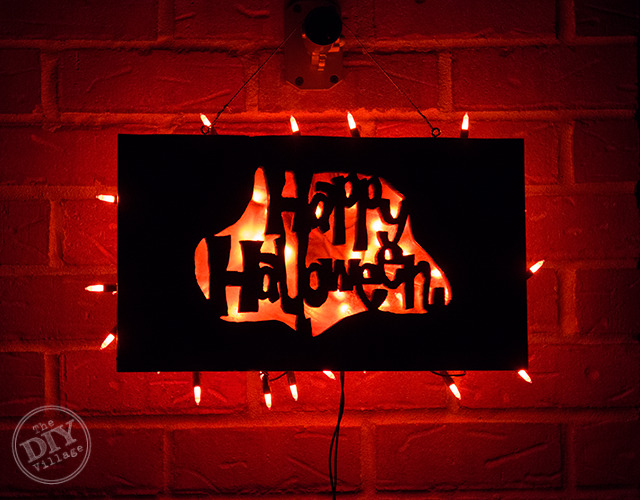
If you’re familiar with some of our previous projects, you may know that I’m a sucker for all things light! This rings especially true if I’m given a chance to combine my love of lights with my love of wood working! If you don’t believe me, check out my daughter’s Custom LED Night Light! As luck would have it, while scouring the internet for pumpkin carving ideas, I stumbled upon the perfect stencil for my latest Halloween project! But instead of carving it into a pumpkin, I decided to create a Lighted Halloween Sign.
 **This post has been sponsored by the amazing team at Rockwell! They supplied the Bladerunner X2 for this project. As always, the opinions and words found here within are my own. **
Here’s what you’ll need!
- A Piece of Wood Cut to Approximately 10″ x 12
- A Printed Halloween Pattern
- Stencil Paper
- Pen
- Pencil
- Painters Tape
- Drill and Drill Bits
- Rockwell BladeRunner X2
- 3M Sandpaper
- Black Spray Paint
- Staple Gun and Staples
- Strand of Halloween lights
- (2) Screw Eyes
- 12″ of Picture Hanging Wire
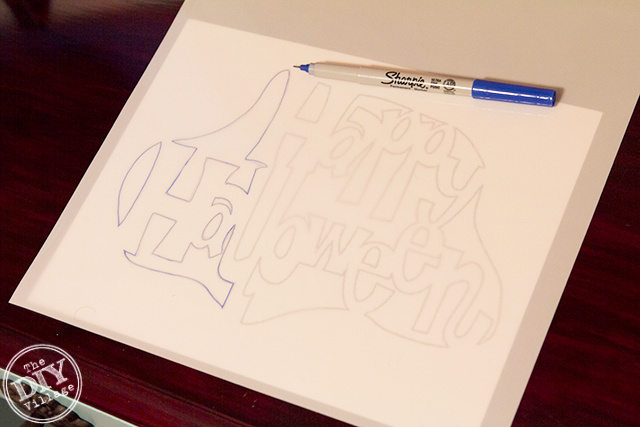
Print your Halloween pattern onto an 8.5″ x 11″ sheet of paper
Lay a piece of stencil paper on top of the printed design and trace the pattern with a permanent marker.
Using a utility knife, cut out the pattern to create a reusable stencil.
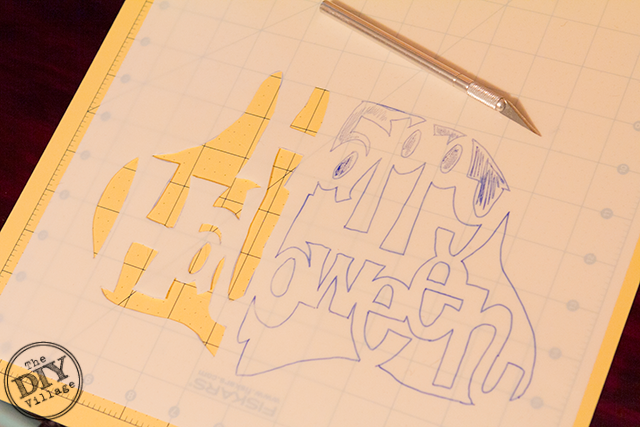
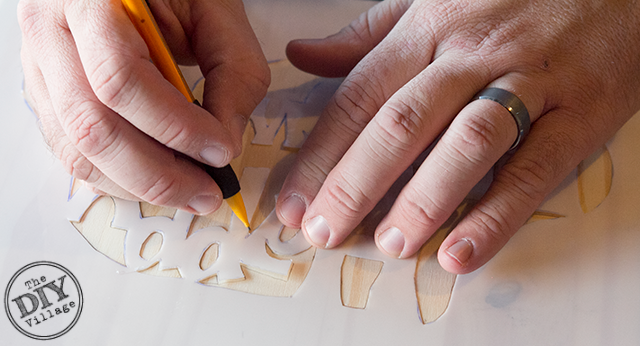
Next, secure the stencil in place using painter’s tape, then trace the pattern onto your sign’s front.
Because of how intricate this pattern is, I thought it would be the perfect opportunity to try out my new Rockwell BladeRunner X2. It’s a multi-purpose saw that can be used for making rip cuts, cross cuts, and even intricate detail cuts that you’d normally need a dedicated scroll saw for.
To start off, I had to use a drill to create a pilot hole for the blade of the blade runner to slide through before I could make any cuts.
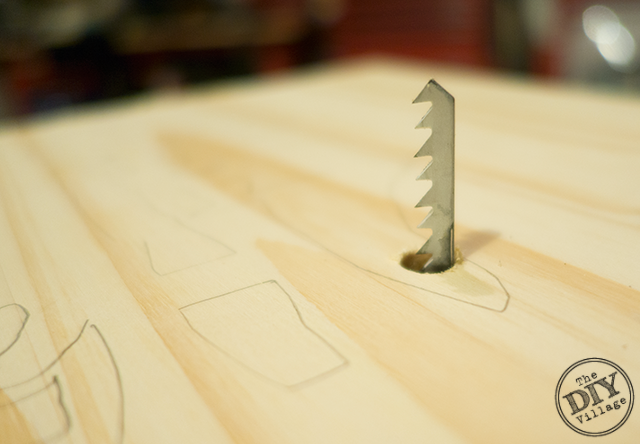
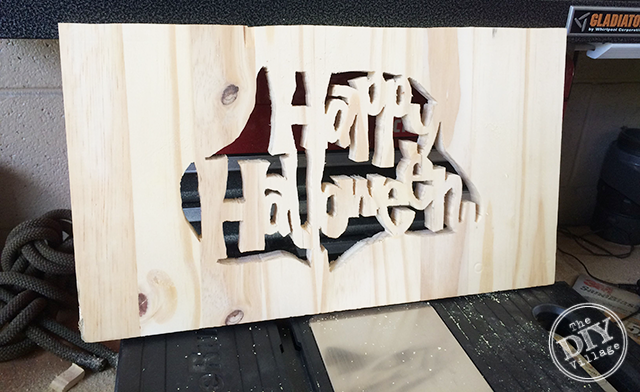
Then with the guard tightened down in place, it became a matter of simply following my drawn on stencil!
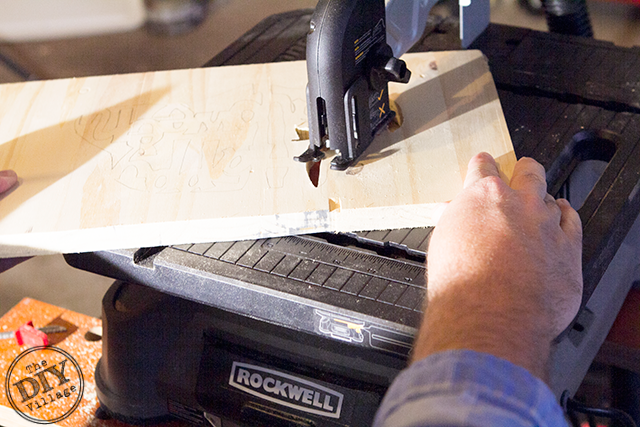
I was really surprised how the BladeRunner made easy work of all the complicated cuts!
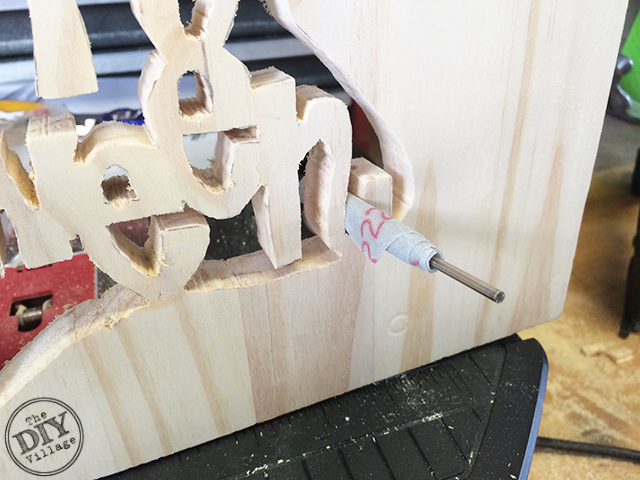
Once I had finished cutting out the pattern, I used some 3M Ultra Flexible Sandpaper wrapped around a drill bit to sand in between the intricate details.
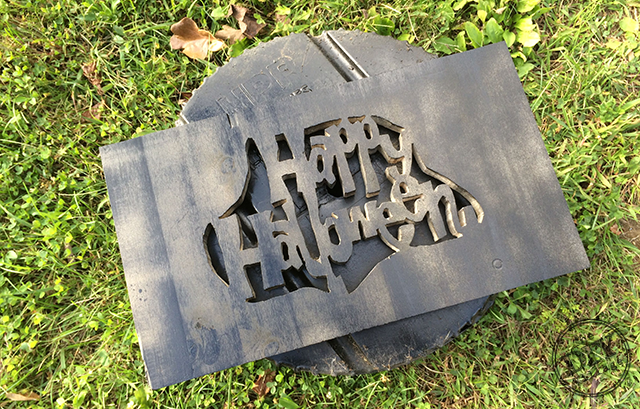
Since I really wanted the cutout “Happy Halloween” to be the focus of the sign, I gave the front and sides of the wood a quick once over with some black spray paint.
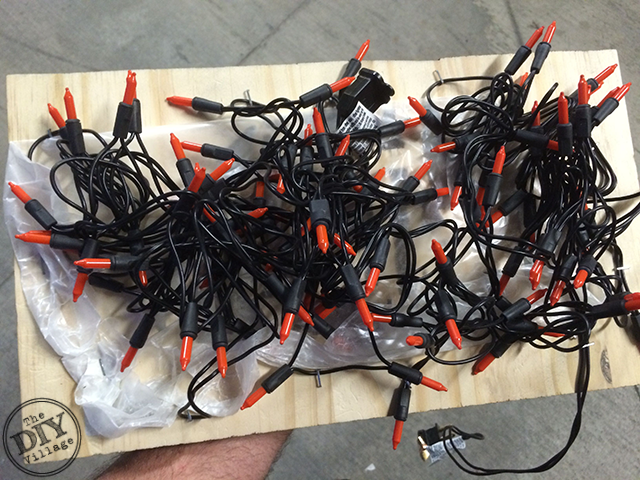
With the paint dry, I flipped the sign over and crumpled up some wax paper and stapled it onto the backside of my cutout. Then, I took the strand of Halloween lights and stapled them onto the wood in clumped bunches. The wax paper helps diffuse the orange glow from the halloween lights and makes it easier to see the cutout design.
Lastly, I used some picture hanging wire and two screw-in eyes to allow for easy installation.
This is the perfect way to welcome of our trick or treaters as they make their way to our front door!
Thanks to how this Halloween sign turned out, I can hardly wait to get my Bladerunner X2 back out and get started on some new decorations for Thanksgiving and Christmas!
As Jacque and I are introduced to new tools that impact our projects, we love to pay it forward! We’ve teamed up with Rockwell to give you a chance to win a Bladerunner X2 of your own!
a Rafflecopter giveaway
Now I’ll need to find orange lights…
What a great tool this would be to add to my collection!
Matt picked these up at Target!
This would be awesome!!
Now I know what I want for Christmas! Really cool project…well done!
OMG, what WOULDN’T I use that bladerunner for!!! I have a bajillion ideas already, what an awesome giveaway!
Oohhh, I would LOVE that tool!!!
What a great machine, I would love to have one. I will put it on my wish list.
I love your sign! You two have the best ideas. I would use the blade runner to make wall hangings, signs, and tons of different things.
I would use this Rockwell Bladerunner x2 to make a decorative sign for the holidays for my front door.
I would make name plates
I’d make some type of
Thanksgiving sign!
Carla from Utah
I’ll be making Christmas sign next. Love these tools.
Looks so fun!
I would make tons of stuff, signs ornaments and so on
I’d use the Bladerunner X2 for everything the Bladerunner X2 does.
Oh my gosh, where do I begin 🙂 That would be amazing to have & I’d love to start making personalized signs, decor, etc!!! Thanks for this & fingers crossed!!!
What an awesome tool. My husband would love this. I want to make a cityscape headboard for my son’s superhero bedroom that I saw on Pinterest. I would get busy making signs too. I want to cut out a mermaid sign for my daughter’s room.
I can’t believe I forgot about frames! I would have to make picture frames.
I would cut tiles to make patterns in vases and other outdoor items
A few small projects in my apartment, boxes and frames, before I leave in January to go to woodworking school.
I would love to create a Frozen Pumpkin for my kids!!!
I would love for my husband to make this great Halloween light, and some holiday decorations too!
I would make some cute signs for my house.
Really need it for my son’s headboard
what was your scientic process for grouping those lights? not gonna lie, i laughed a bit! hahah but seriously, it looks awesome!!!
My husband and I want to start making art out of reclaimed materials, this would be amazing!