![]() Early this Spring we found out I was pregnant and expecting our 2nd child in December. Before we found out the gender I had decided that if it was a girl she would share a room with Josslyn. If it was a boy, the guests were going to have to sleep on the couch! Kidding! In all seriousness we had no clue what we were going to do with guests. We talked about turning the downstairs office into a guest room and even the living room. But both were quickly nixed since we only have a half bath on the main, kinda rude to ask your guests to track upstairs and down a hall to get to the bath. The last option was to get rid of my beloved craft room and turn it into a guest room. That’s when I started crying … I did not want to give up that room at all! And considering that we only have company a few times a year, dedicating an entire room to them when we have space we need seemed wasteful.
Early this Spring we found out I was pregnant and expecting our 2nd child in December. Before we found out the gender I had decided that if it was a girl she would share a room with Josslyn. If it was a boy, the guests were going to have to sleep on the couch! Kidding! In all seriousness we had no clue what we were going to do with guests. We talked about turning the downstairs office into a guest room and even the living room. But both were quickly nixed since we only have a half bath on the main, kinda rude to ask your guests to track upstairs and down a hall to get to the bath. The last option was to get rid of my beloved craft room and turn it into a guest room. That’s when I started crying … I did not want to give up that room at all! And considering that we only have company a few times a year, dedicating an entire room to them when we have space we need seemed wasteful.
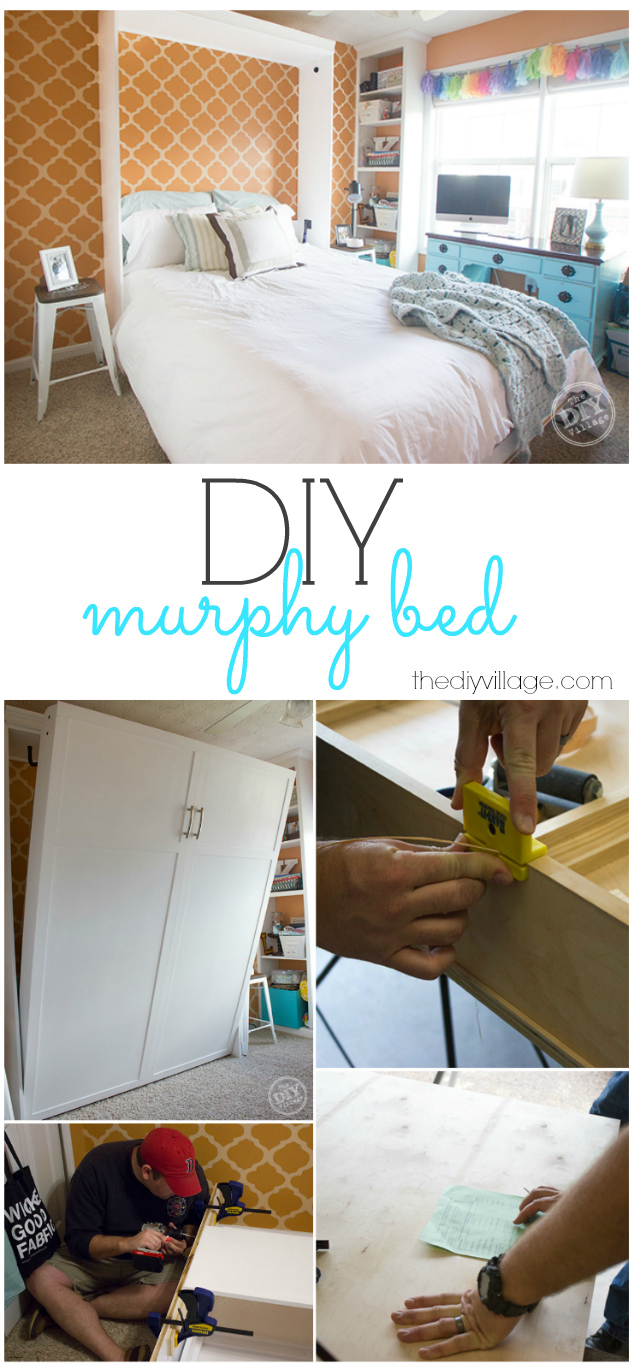
Fast forward a few months and we found out I was having a BOY! So the room sharing was out and I started more research to figure out what would be a good solution to our problem. The craft room wasn’t going anywhere but I didn’t a big queen sized bed hogging the entire room. We looked at futons, sleeper sofas, and then finally on the Rockler website I found the Deluxe Murphy Bed hardware kit, (found HERE). It was like the cloudy skies cleared and the angels were singing. I had found our solution. Not only could I keep the craft room, I could also keep the space I need to get projects done by having a wall bed.
My next obstacle was to convince Matt that we HAD to do this project. At the time I was barely 18 weeks pregnant so I was still going about things business as usual. I looked at the plans and they didn’t look too bad … so after some discussion he agreed that the Murphy bed was the best option! Okay at this point I was on cloud 9.
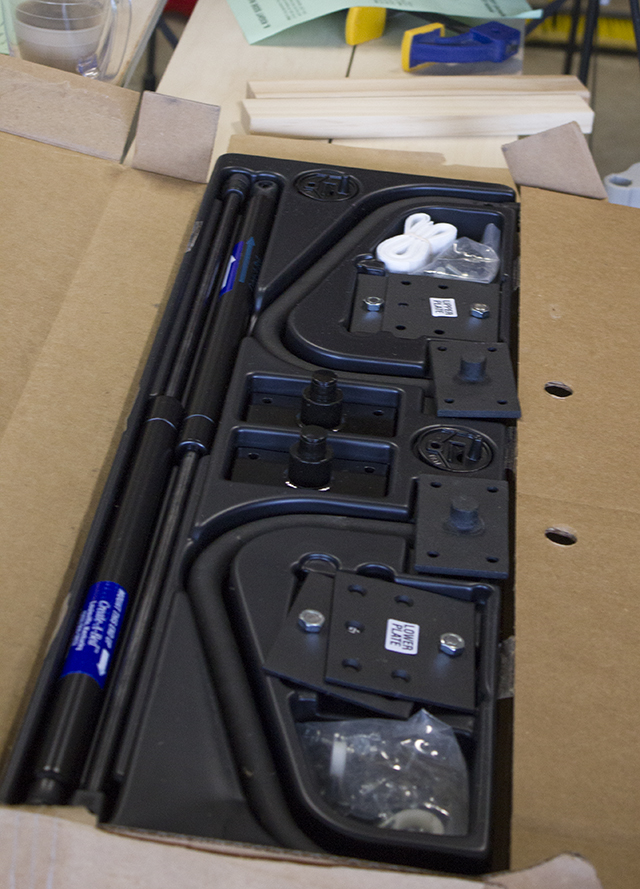 A few days later the hardware for the bed arrived. We had a whole unboxing process. By “we” I mean Matt.
 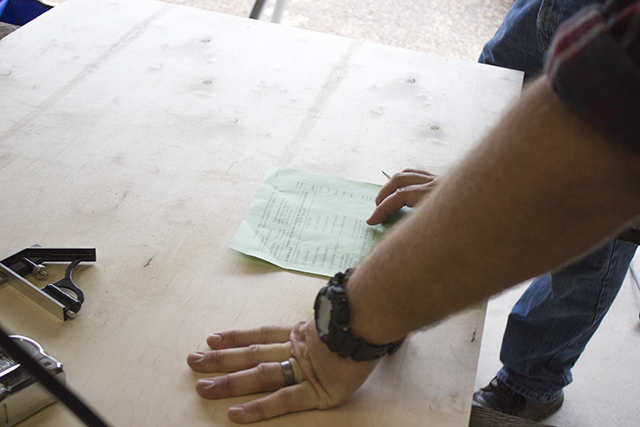 He went over everything in the box, watched the DVD, made sure he had the instructions, made lists for supplies. And well I watched Josslyn, and dealt with being pregnant and all the fun stuff that goes with that process. This is the point in the story where I bow out and stop using the term “WE” because Matt did not have a mouse in his pocket and other than my dad there to assist him through the cut list and some of the installation that two hands were needed for, this was 100% him! This is where we should all stand up and clap for him, because this was a beast of a project to tackle alone.
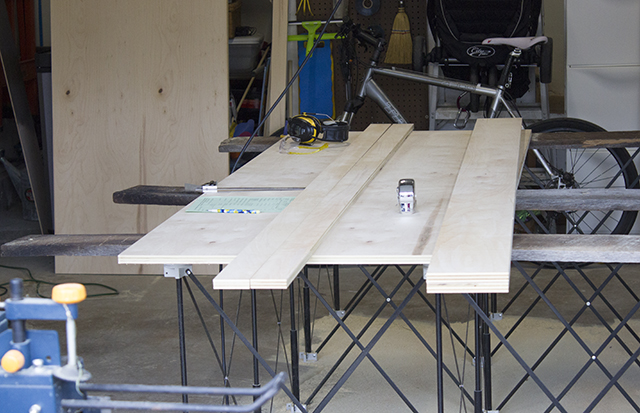 The kit includes detailed cut sheets and instructions, thank goodness that helped ease the process of building the murphy bed. We opted to use PureBond plywood for this build. It is a cabinet grade plywood that was perfect for our build. Not to mention if we had decided to stain this piece rather than paint it would have been a true stunner, the grain is amazing!
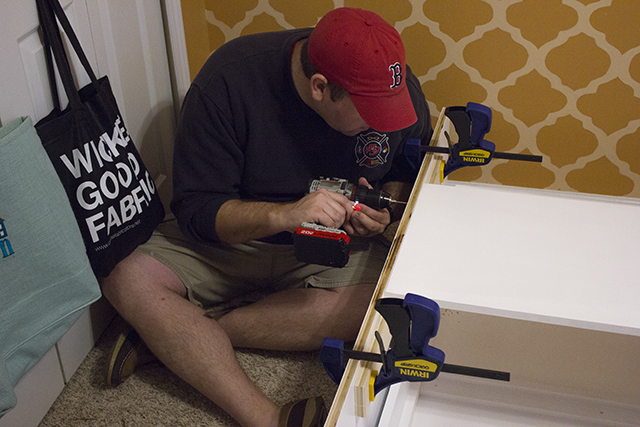
 After Matt had all of the wood cut to the specifications he started drilling holes for the placement of hydraulics and support legs.
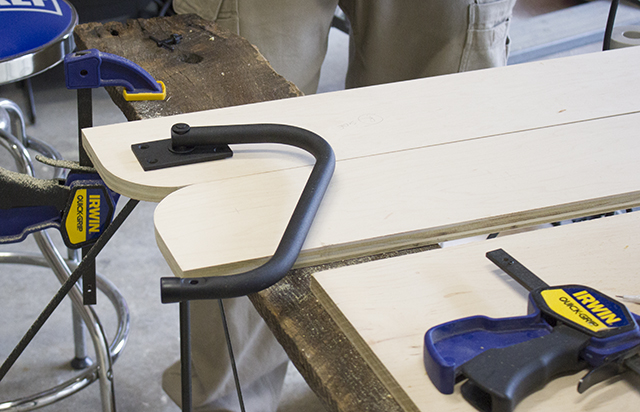 This wasn’t your typical measure twice cut/drill once installation it was more like measure 5 times and then measure one more time just to make sure you are in the right spot.
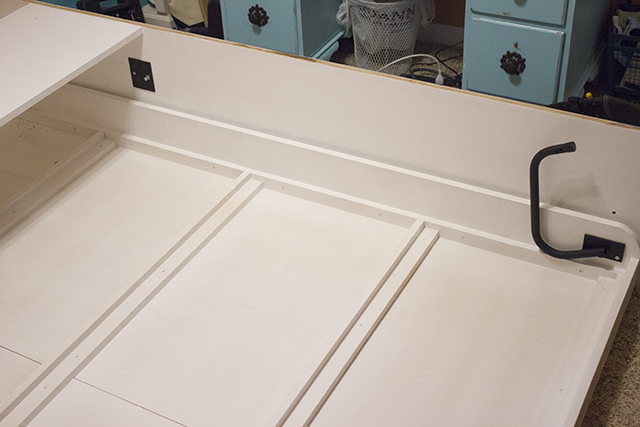
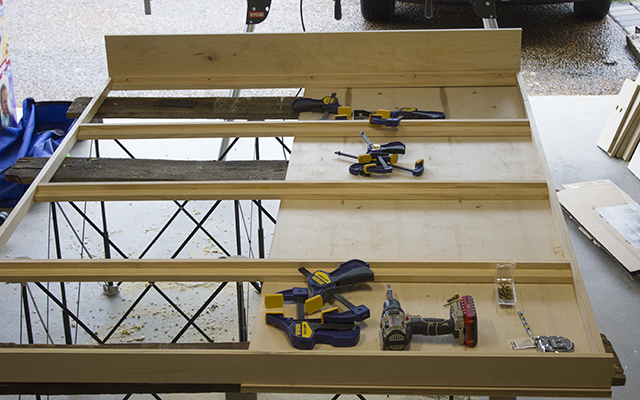 Matt was fast with this project, it seemed like he had barely finished the cutting of the wood and he was started on building the base frame that will support the mattress. I know he made it look easy because I was still stuck on page 3 of the instructions.
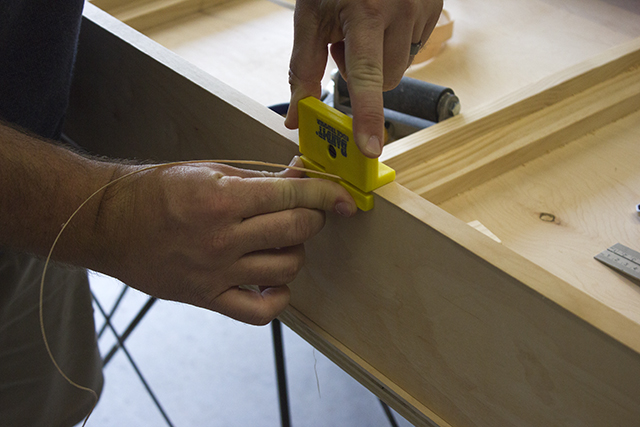
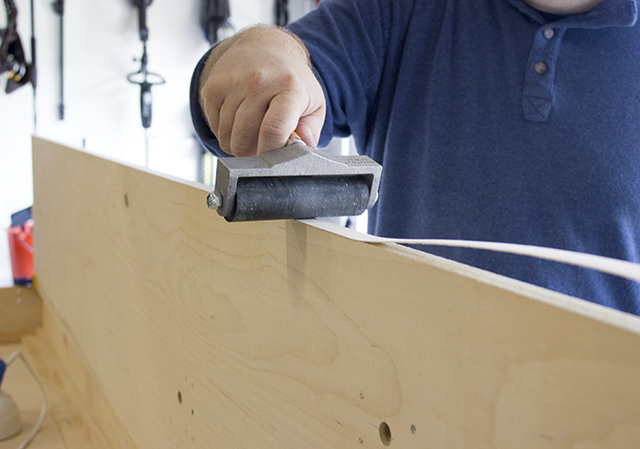 To help with the aesthetics of the piece Matt added a wood veneer trim to all of the edges that would be exposed.
 It was an awesome choice, no raw plywood edges, just smooth as silk. The wood definitely doesn’t look like plywood, that’s for sure! Okay so this is where I helped (other than having the brilliant idea to make this awesome bed) I helped paint the base and sides … well some of them. Okay, I just put one coat of paint on, but I was there for moral support as he slaved away on the rest of the bed.
 We are lucky enough to have a friend who is willing to work for trade. So we
 bribed traded him a new fancy shower head we had for helping Matt lug this giant monstrosity up a flight of stairs. It was completely worth the trade too, my back and sanity was saved in just a few short minutes.
 Once the bed base was upstairs Matt continued on with the build and the installation by completing the outside frame and attaching it to the base.
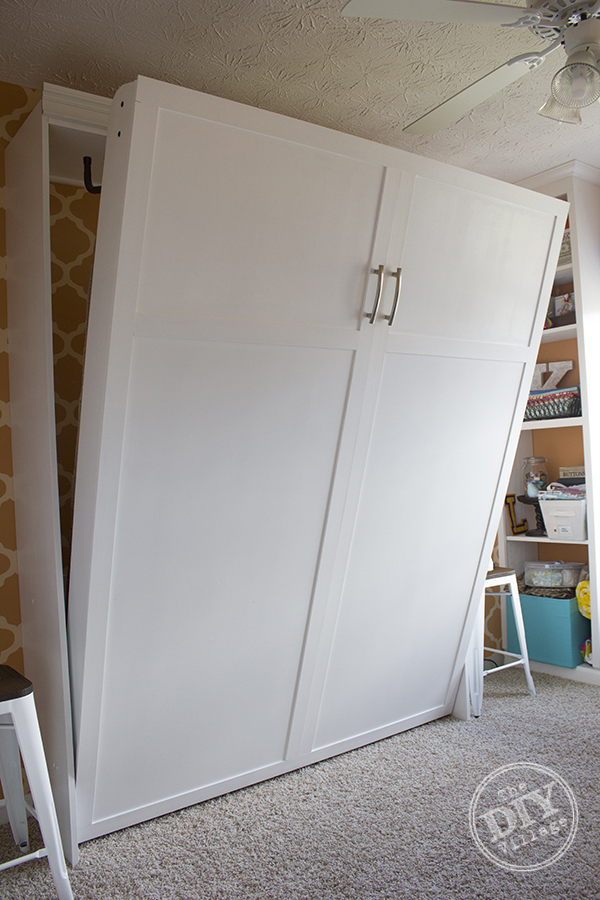
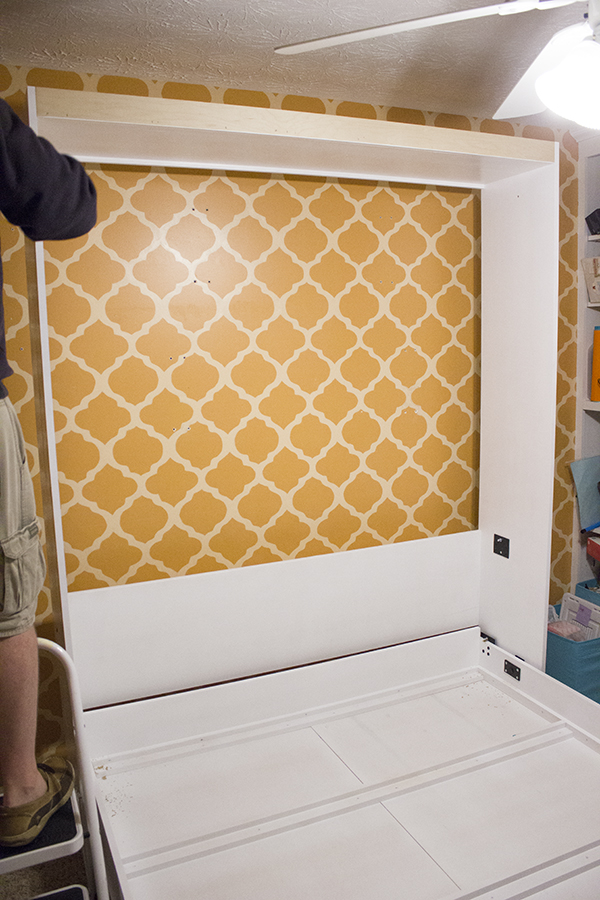 After we made sure the bed would clear our ceiling fan with no issues, Matt attached the bed to the wall, in a few places installed the hydraulics and the installation was complete! YAY!!!
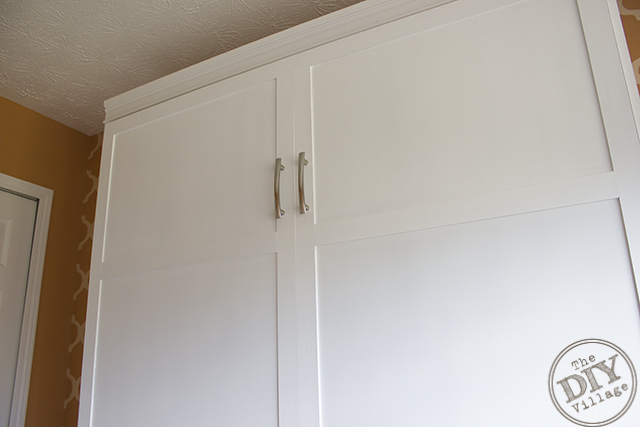 The murphy bed is amazing! The kit not only had everything Matt needed, but also the instructions were awesome.
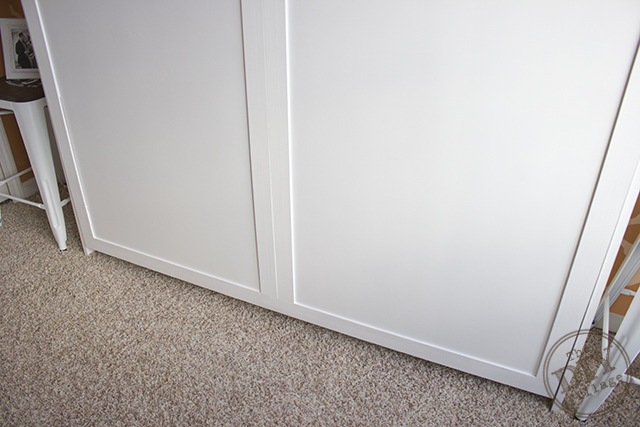
We added some trim to the front and top of the bed to give it a finished look when it’s closed up. Just a tip if you do try this for yourself make sure and add the hardware before you install the plywood base that your mattress will sit on, it could make your life a little hard if you don’t.
 The hydraulics on the bed are great too! I was able to partially open the bed and get my shot without the bed moving even an inch!
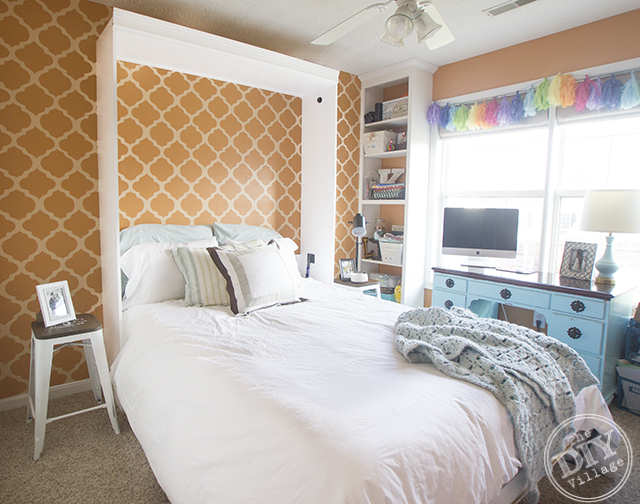
 For night stands I am using bar stools that double as seating for our work station when our guests aren’t around.
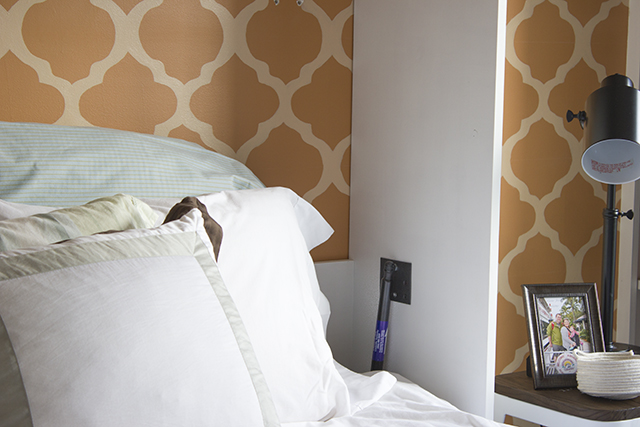 Also note that they hydraulics are close to the mattress but definitely out of the way and safe.
 All in all this project was amazing. Matt definitely does not recommend that anyone new to woodworking attempt this project, you will probably be left frustrated especially if you don’t have the tools you need to complete the murphy bed. The biggest thing is to be patient, take your TIME and make sure your measurements are correct. Having to do something over can be costly and time consuming.
So far we have had guest stay three different times between Josslyn’s birthday and the birth of Paxton. Everyone has commented that they are very comfortable. Just imagine the alternative would have been an air mattress. And even the fanciest most expensive air mattress, is still an air mattress!
If you are looking for a functional and fun way to house your guests then this is the project for you!
PRODUCT LINKS for MATERIALS:
Murphy Bed Kit – Found HERE
Track Saw – Found HERE
Band Edge Trimmer – Found HERE
Hardware – Found HERE
Love it!
Thanks, it’s been a life saver!
You highlighted Deluxe Murphy Bed but you did not make the shelves. Where are the plans for the murphy bed you made??
And Do all the wood pieces come with the mechanism kit or must they be ordered separately?
The plans came in the kit, they give an option of the bookcases if you want them. The wood was purchased separately at our local hardware store. All of the necessary mechanisms with the exception of the handles to pull down the bed are included in the kit.
Wow! You guys did an awesome job on this project! It’s definitely a great solution to the where-should-our-guests-sleep? problem. And I love the double duty the stools serve. Genius!
I’m so glad our guest love the option too! I think they are just thankful we got rid of the air mattress!
Great job, guys! Love it.
It looks amazing! And a big round of applause to Matt!
It looks amazing! Great job Matt (and great idea Jacque)!
Beautiful job, that will be so handy to have.
I love it, perfect solution!
Please post some pics of how the legs work when the bed is open. I can’t really visualize how those legs pull out and then support the front frame.
The pic of the bed open is only the top of the bed and all I can see is the top of the comforter. need to see the legs open. view from the floor.
Thanks!
It turned out beautiful! A Murphy bed is on my project list this year, and yours makes me want to build it right now!
That looks amazing! We’re redecorating my son’s room this year and I’ve been thinking of ways he’ll be able to make the most out of the space. I’m loving the idea of a Murphy bed more and more as his room is quite small, I think this is the best solution!
We just used the same kit to do 2 horizontal twin murphy beds. Directions are fantastic and I can’t wait to get the finishing touches done (paint and exterior trim)! BIG job, but totally worth it 🙂
That’s awesome! I’d love to do this project again. Next time I wont be super pregnant tho!
Wondering if you could post the cost for the kit and the materials.
Wow…..this is amazing. Good job guys. The idea is really awesome. Just love it. I wish I could make this. Thanks for sharing.
Can you share approximately how much it cost to make?
I was also wondering the cost and how it compares to buying.
Can you tell me the height of the bed in comparison to the ceiling and ceiling fan? My concern is there not being enough clearance.
Where can I buy this kit?
The kit is available through Rockler Woodworking.
What was the total cost of the project, so I have a good idea of how much.
It has been a while but I want to say it was around $400. I need to double check that with Matt though. I was pregnant at the time and my memory during that period is fuzzy to say the least 😉
It’s really amazing great post i love it
Hi,
Looking forward to building this. Can you recommend a table saw? We do not have a garage, so something portable would be best.
We love our Mikita plunge track saw – (affiliate link) http://amzn.to/2qk8ckm. We also purchased an additional guide rail for long rips (affilate link) http://amzn.to/2q0CkOQ
Thank you very much! Also, what type of primer and paint did you use? I was hoping to use Latex, but most websites say that is bad to use with plywood….
Except for the husband and the garage that could be our murphy bed building project. I love having the bed in our only extra room. It takes up a whole 9 sq ft but is ready when company needs a soft place to land for a night or two. I love the wallpaper, it’s so fun. I might wallpaper just the inside of mine for a great pop of color when it’s open.
Not sure if you are still checking your comments here, but I was just curious how you went about choosing mattress? Looks AMAZING!
Wow! I love this. I have to ask – that table he’s using the workshop, what IS that? It looks like EXACTLY what my dad needs for his space! Thanks!
It’s an expandable work surface and pretty much awesome. You can find one here >> http://amzn.to/2hfoTXr
You rock, thanks for the reply!
How much would this cost starting from scratch (including tools, hardwood, kit)?
Aloha. How long did it take to build this from scratch? It looks great!
Had we been able to work on it like we wanted it would have taken a few weekends. In reality it took us a month.
That looks great! Nice job 🙂
Can you slide something under the bed when being used? Better yet, how much clearance is under the bed, once it’s down and being used?
Thanks,
Dave