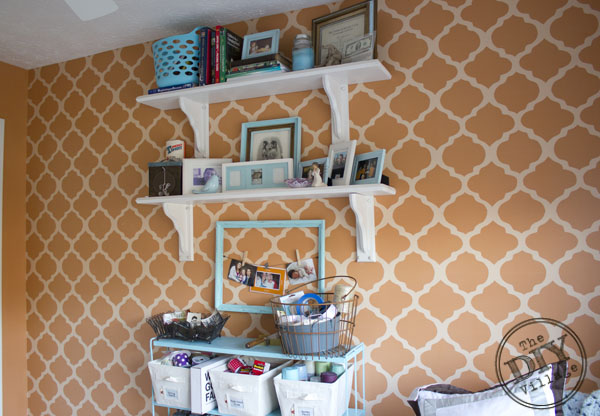
Years ago I convinced Matt it was a good idea to paint the room that would become my craft room orange. Going one step further I convinced him to create a hand painted trellis stencil on the wall. In a shade that can only be described as a Dreamsicle. We were new to blogging and I had no idea how much light the orange would suck up. Even on the brightest days the room felt dark. There was also pretty much no way I could photograph anything in that room without additional lighting. The worst part is that room gets amazing light, such a waste.
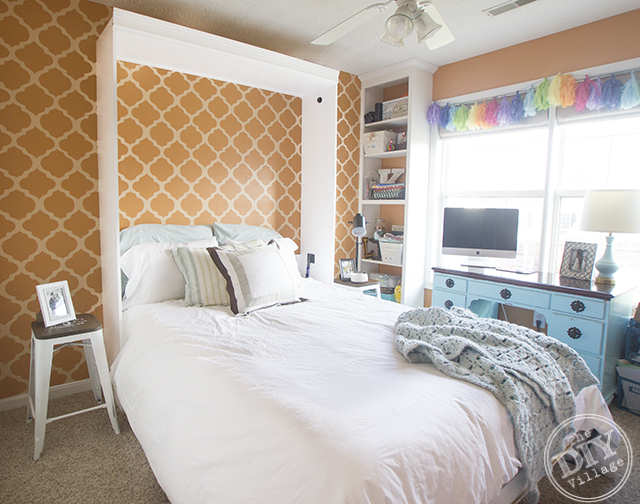
 Fast forward to 2015 with the addition of the Murphy Bed. My craft room was now a craft/guest room. Which was nice but I was expecting the room to serve double duty without me actually taking the time to weed out most of my crafts I never use. Our poor guests!
 The room was completely out of control and in major need of a refresh starting with the walls. I wanted something bright and airy that I could easily photograph in front of that would provide a neutral background without being white.
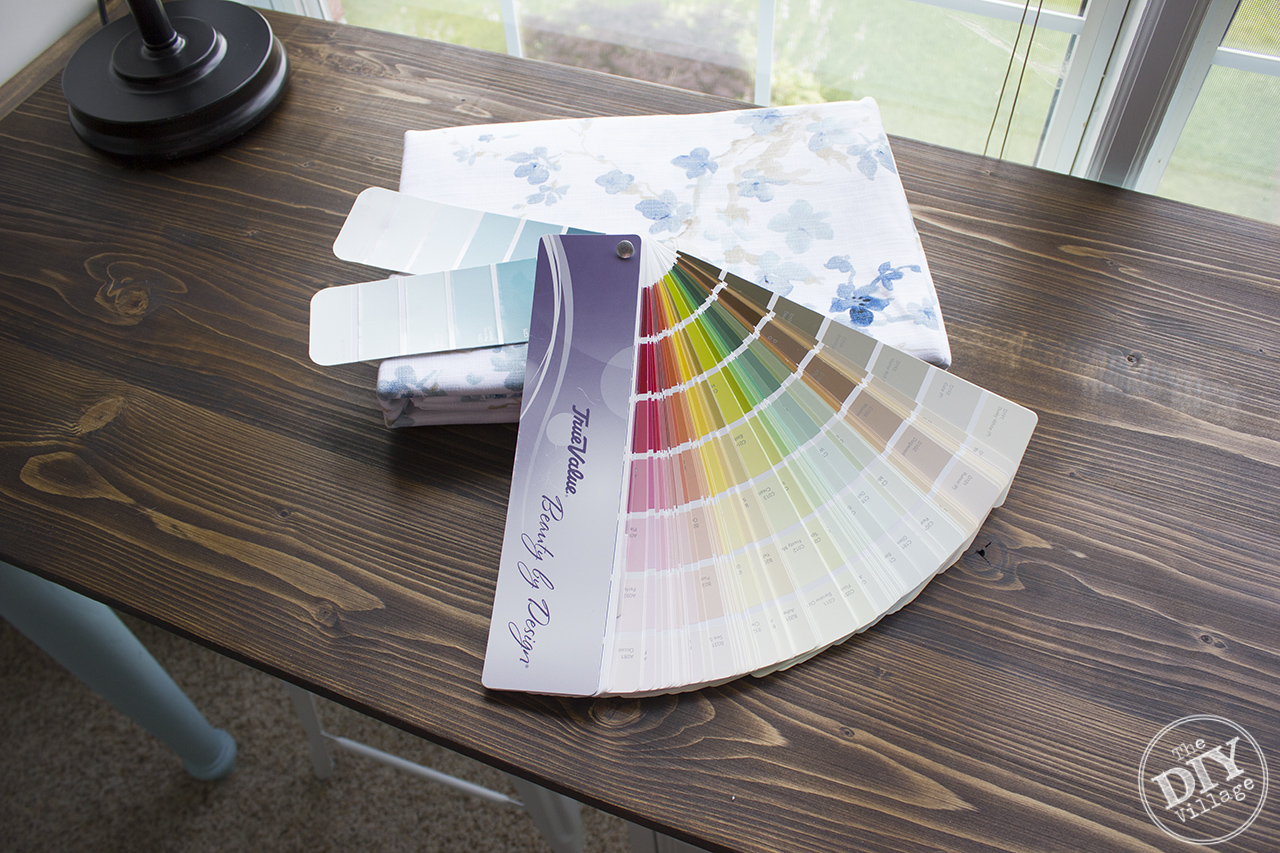
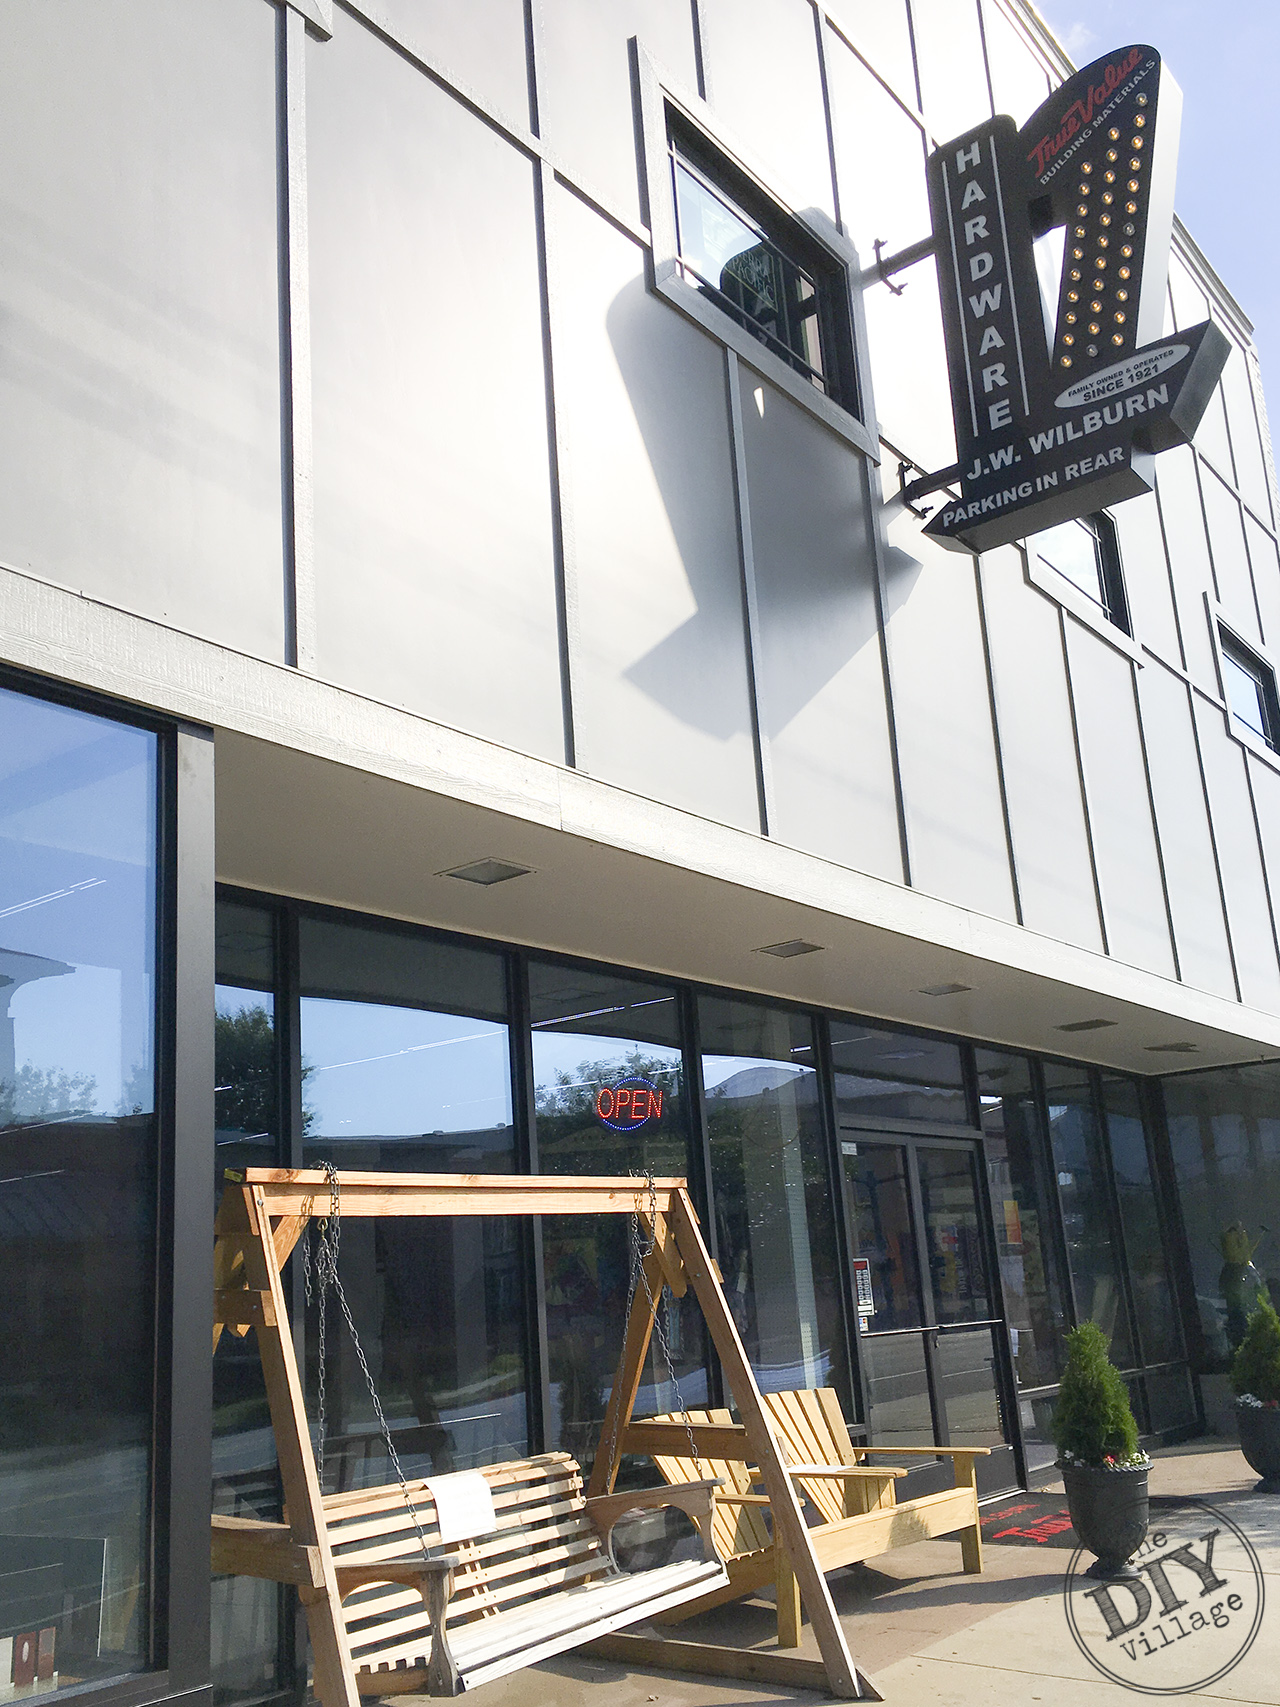 I loaded up the Matt and the kids and we headed to the local True Value to see what they had as far as paint goes. The clerk was super helpful and lead us to the EasyCare Premium Paint. EasyCare interior paint is a paint and primer in one and is 2 times more scrubbable than other paints. If you have seen how messy I can be you know this is the paint for me! I picked Morning Sky for the walls and a slightly bolder coordinating color, Aqueous Splash for the work station base.
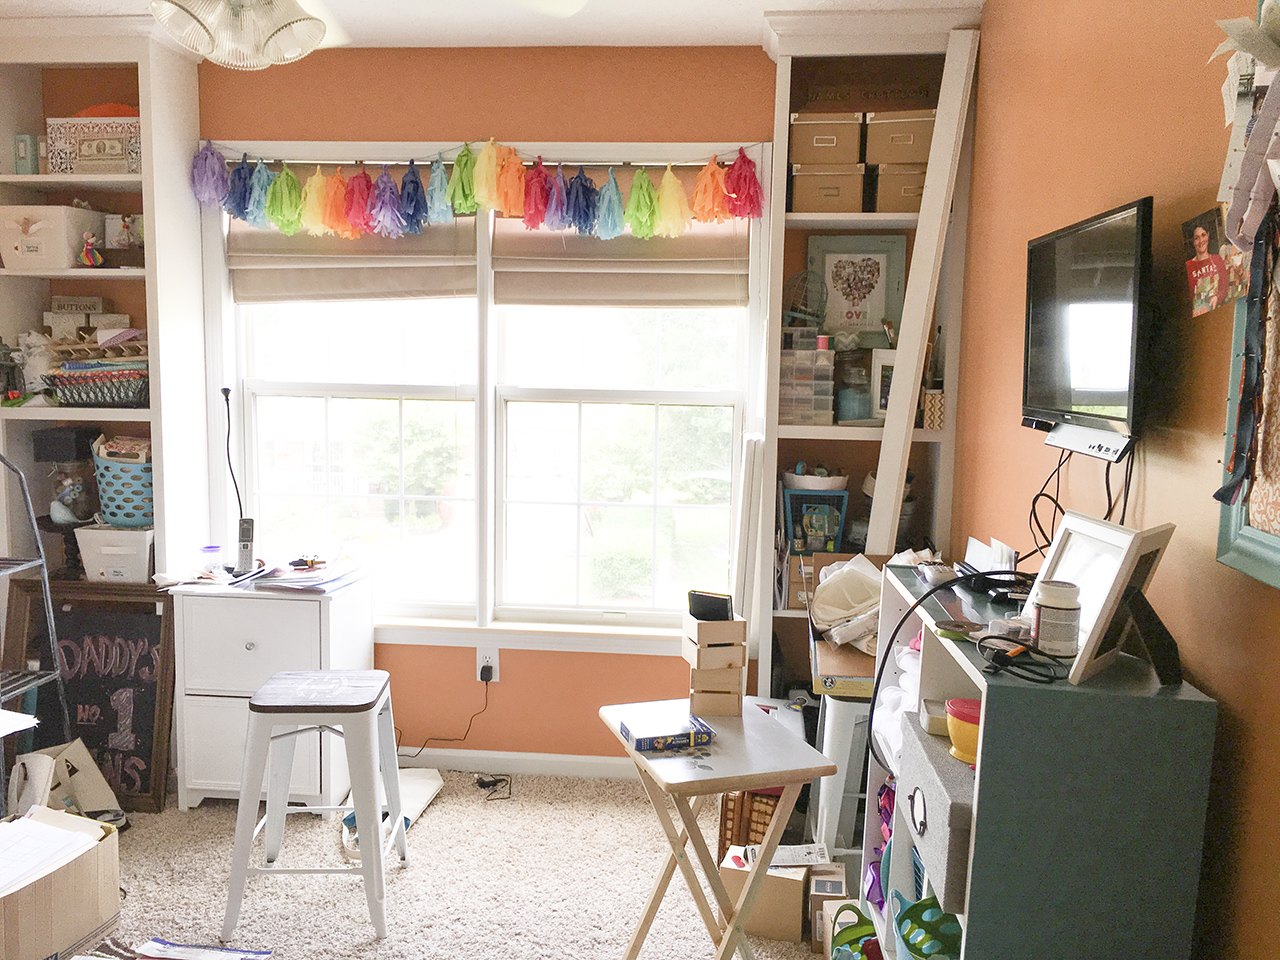 Because we are close personal friends here, haha, I thought I would give you a peek of the craft room before we started the refresh. I will be the first to admit I have a craft supply hoarding issue. I have plenty of room for storage if I didn’t have so many things I don’t need or won’t use. After a quick 2 hour removal of everything we were ready to roll. I say we because I totally roped Matt into this one. Poor guy thought we had marked this off the honey-do list years ago. Whoops!
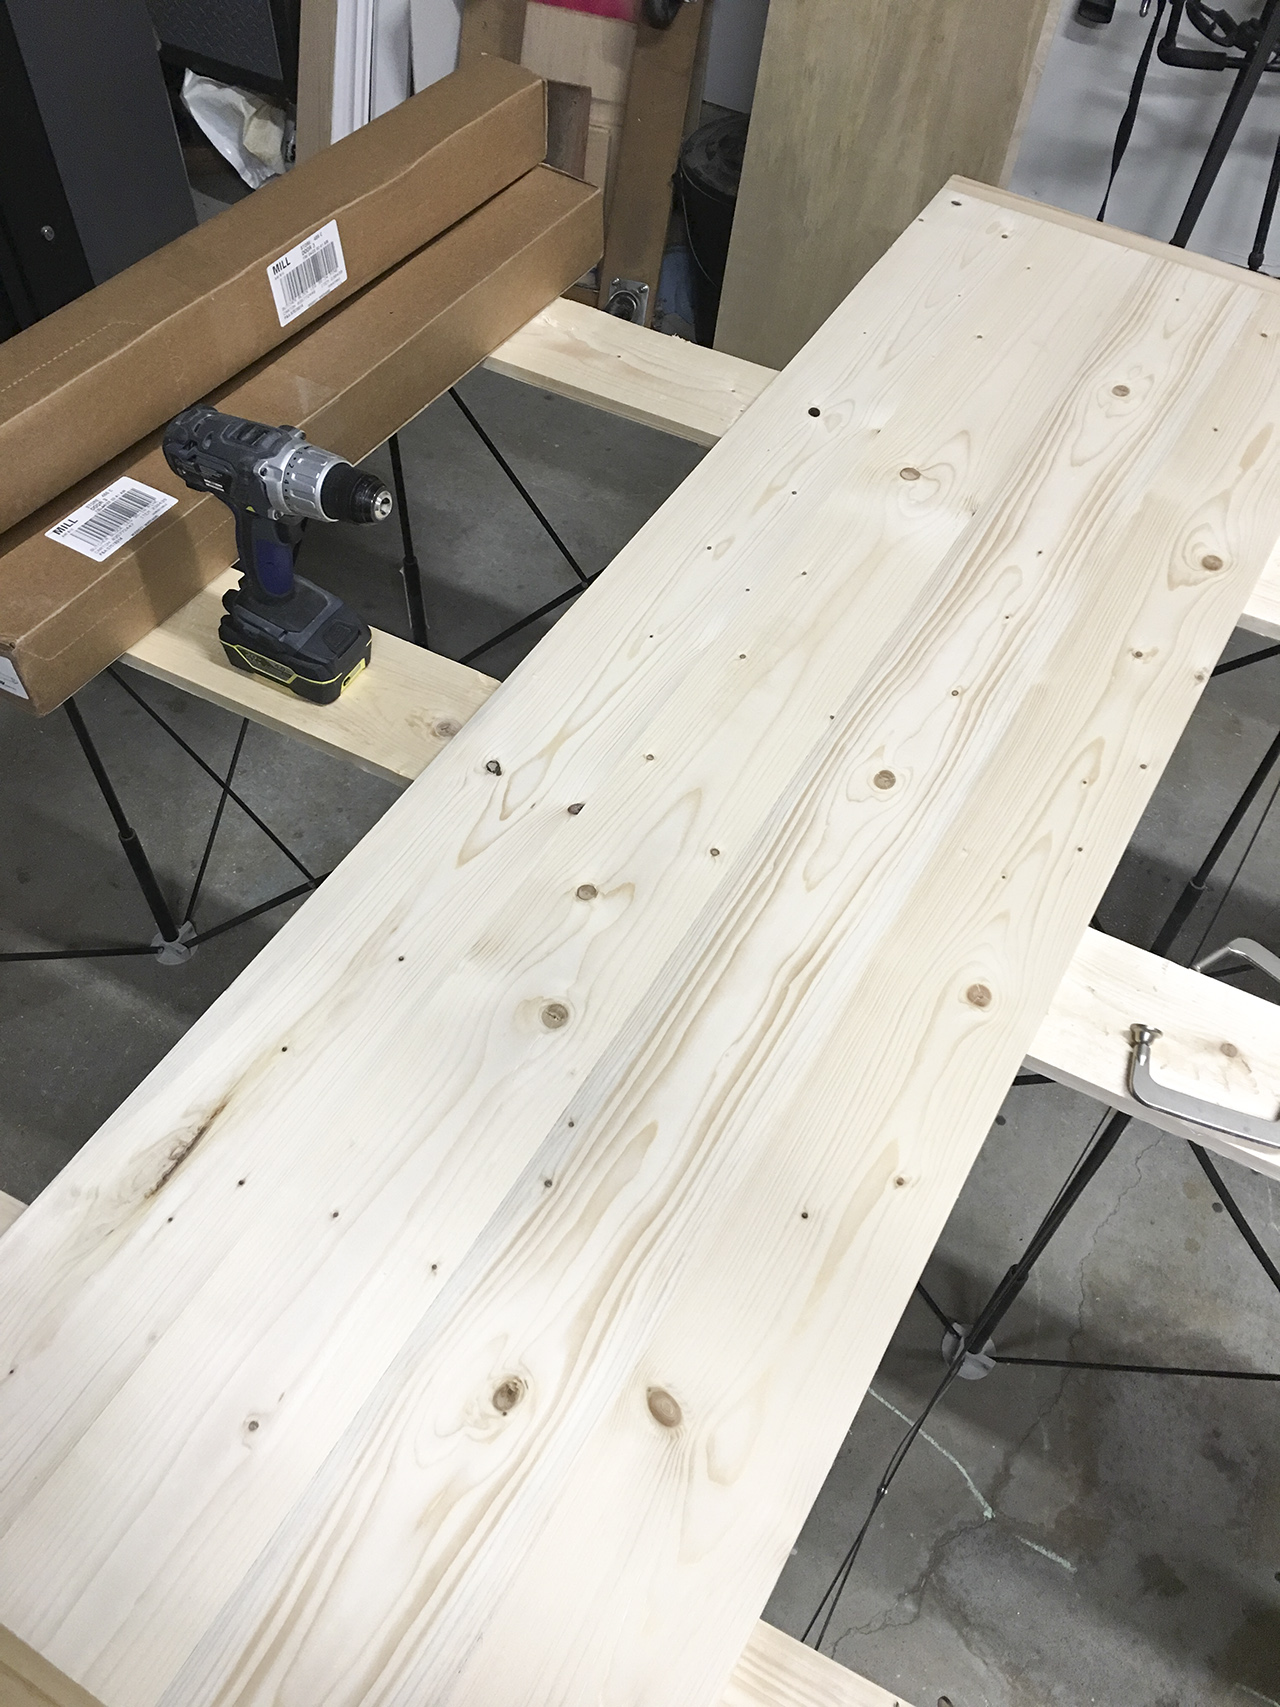 Before the painting got started we took advantage of the kiddos napping and started on the workstation. The work station was to span the length of the opening between the two built-ins. Rather than permanently attaching the tabletop to the bookcases we opted for free standing legs allowing for portability of the table. We’re talking Christmas wrapping station here folks!
 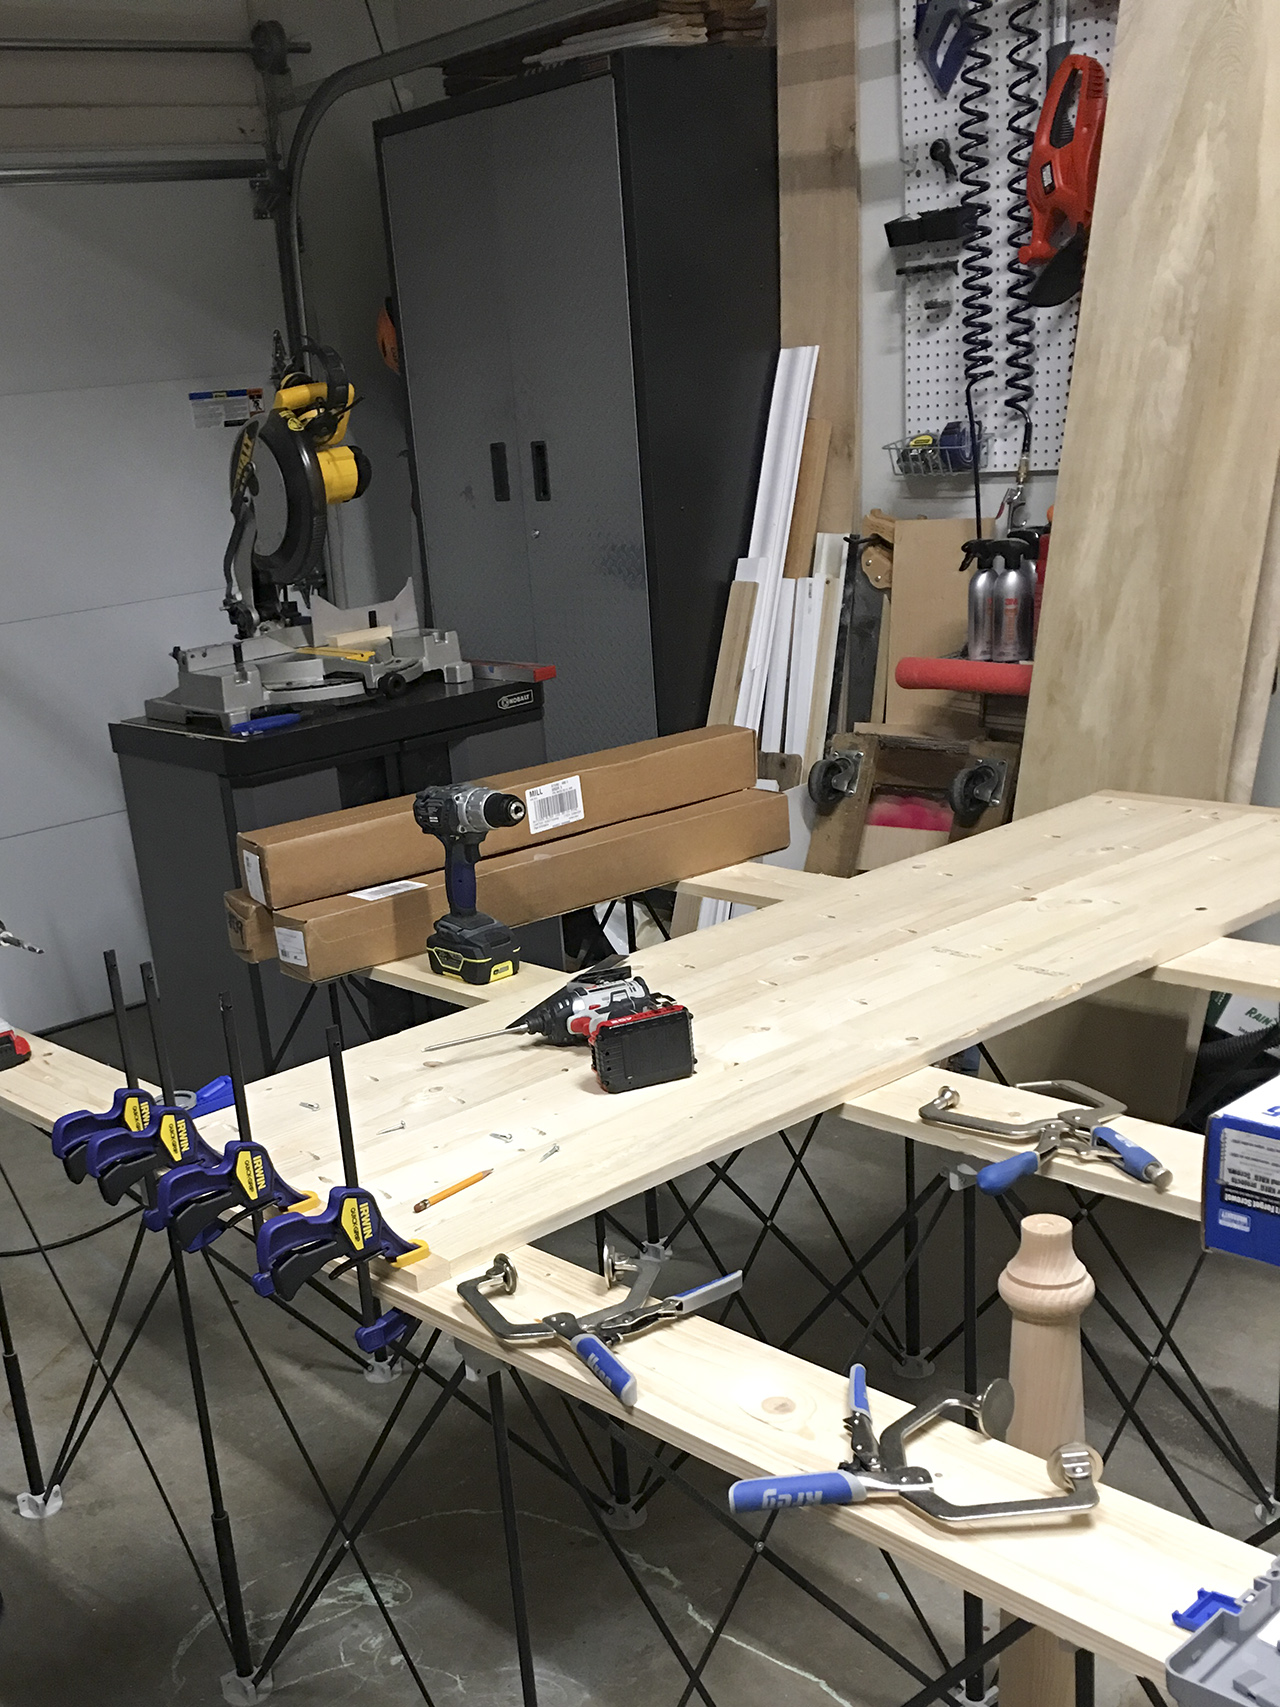 We used (6) Spruce 1 x 6 x 8 boards we also picked up at True Value and table legs that can be ordered online or in store. The surface spans 72″ x 22″. The 8′ boards were trimmed to 69″ so that we could add a 1 x 2 gingerbread edge to finish off the look of the work surface. The entire workstation was assembled using pocket joinery. If you want to learn more about that process you can read about it HERE.
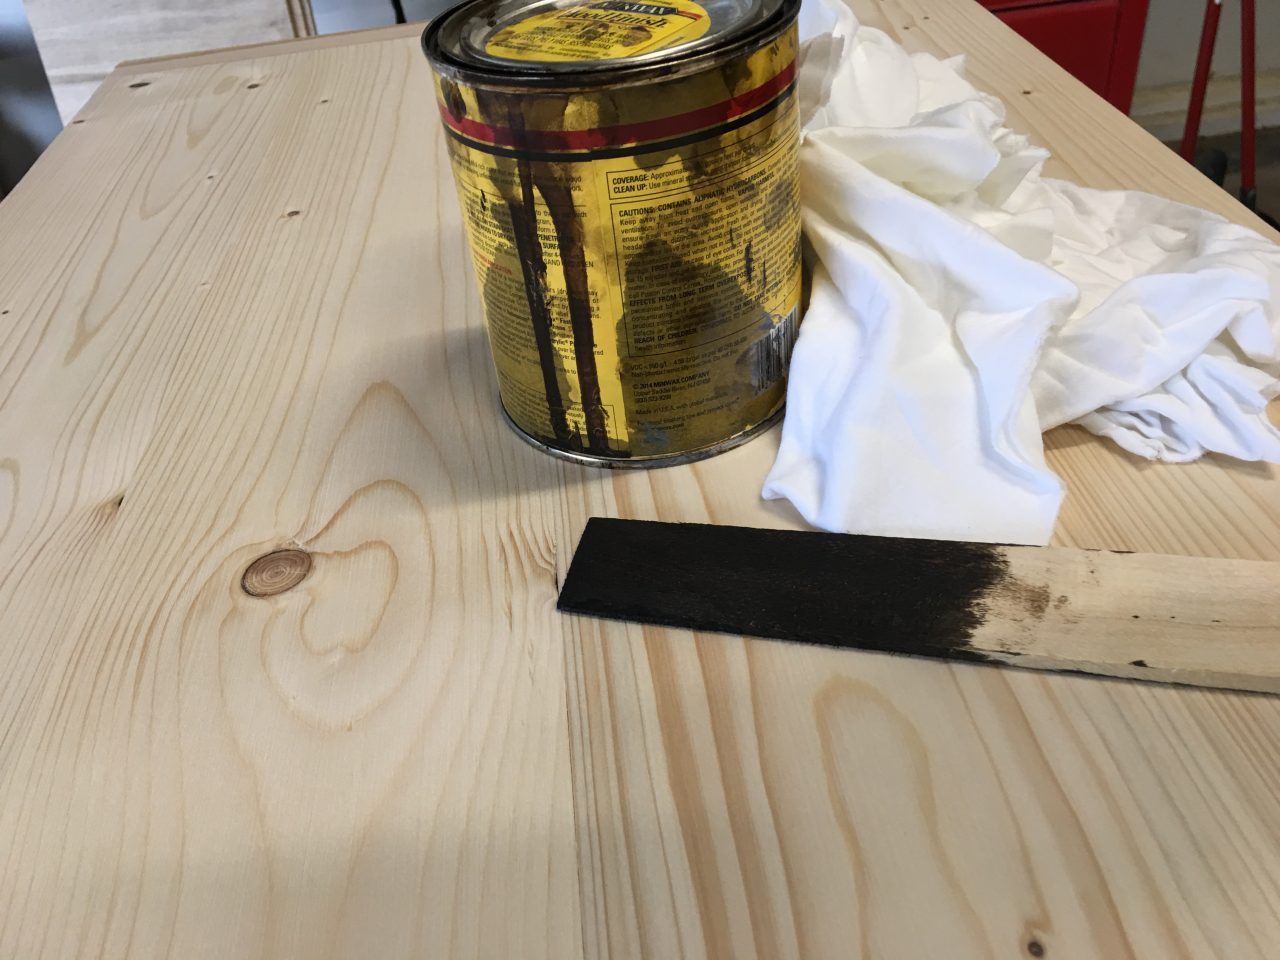 Matt ran the top through the drum sander a few times to get everything smoothed down and ready for stain. I stained the top using a dark walnut color. Just like the desk that used to be in the craft room, I am a huge fan of the contrast of a dark top and painted legs.
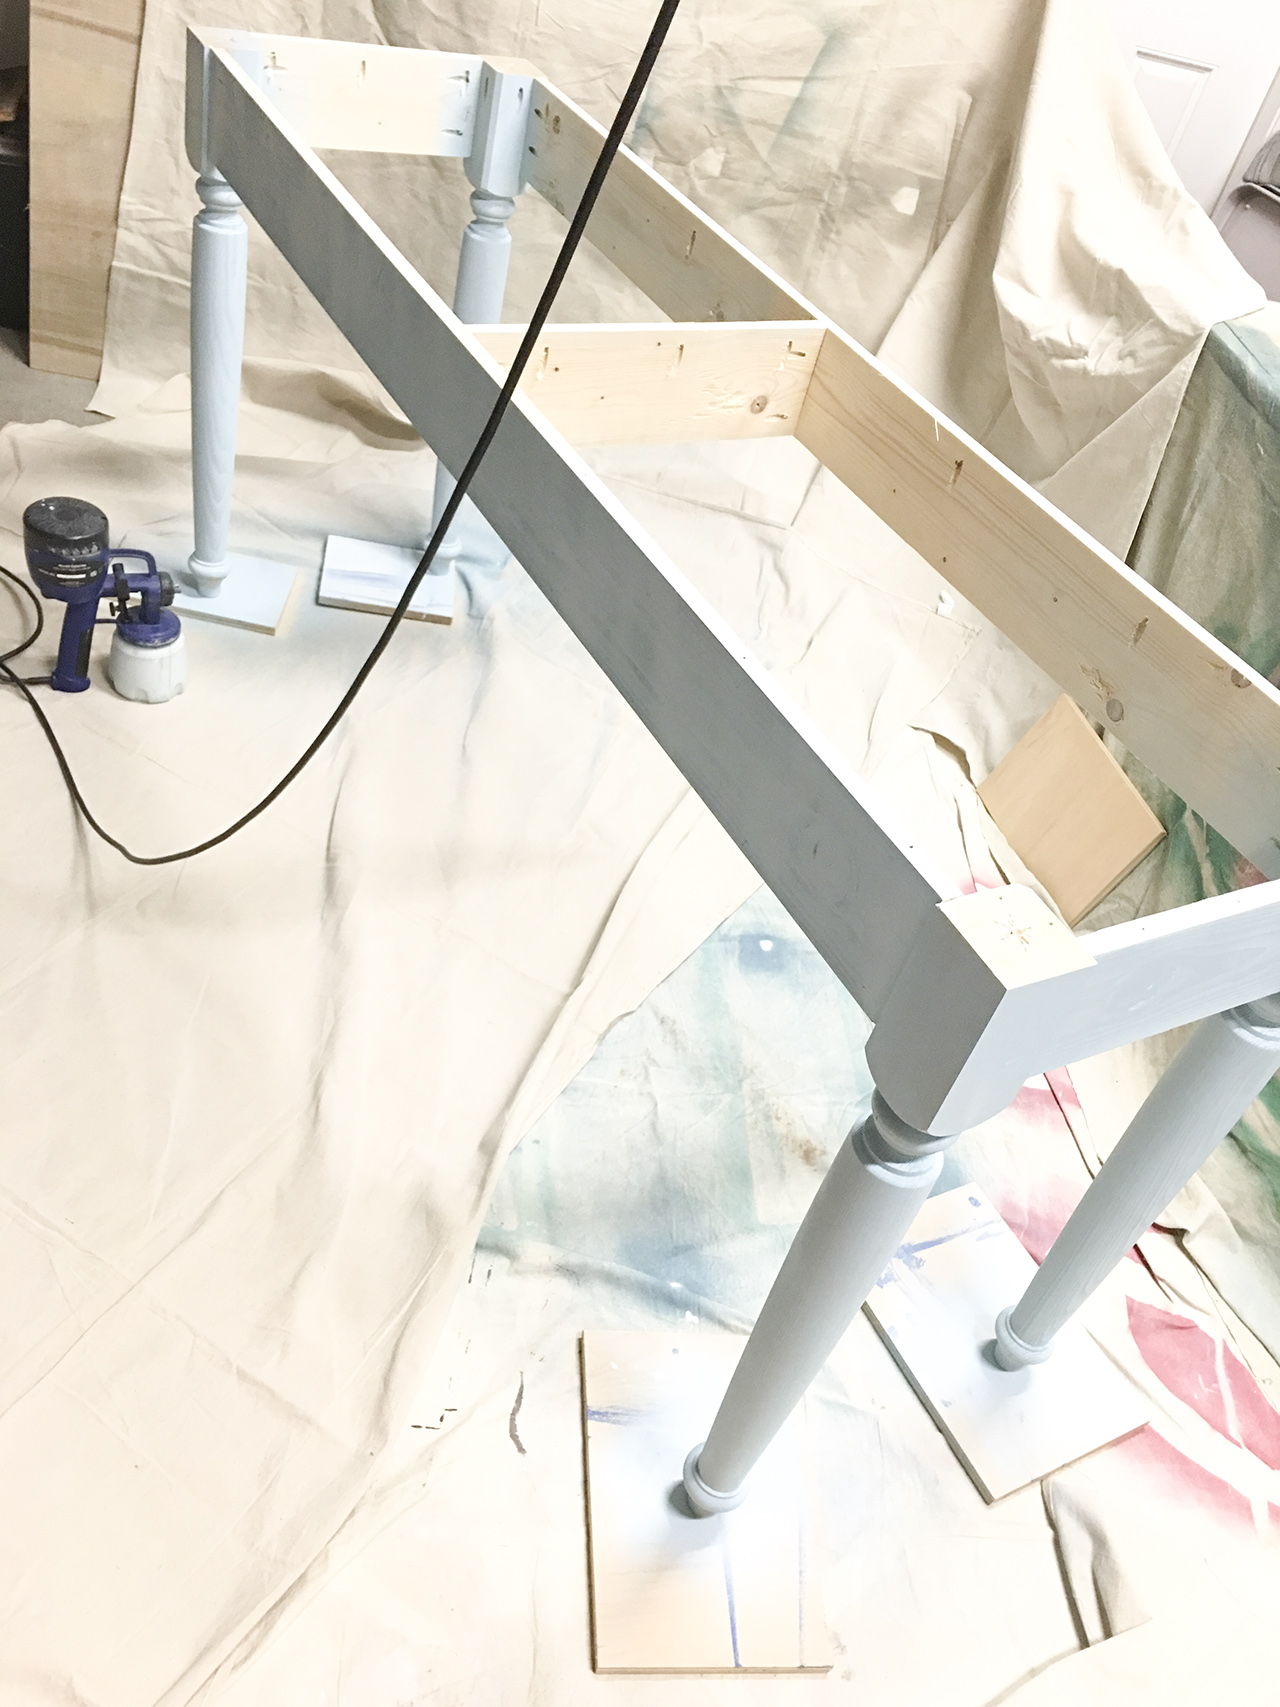 To save time and my sanity I used the HomeRight Finish Max paint sprayer to make light work of painting the base. If you have ever hand painted spindles you will understand 110%. I was able to get 3 good coats on the base in the True Value EasyCare Aqueous Splash. Had the wood not been raw I know it would have taken less time/paint. While the base was drying I sealed the top with a polyurethane.
 The work station is AMAZING and we even have a home for the custom stools that Matt did for us a few years back.
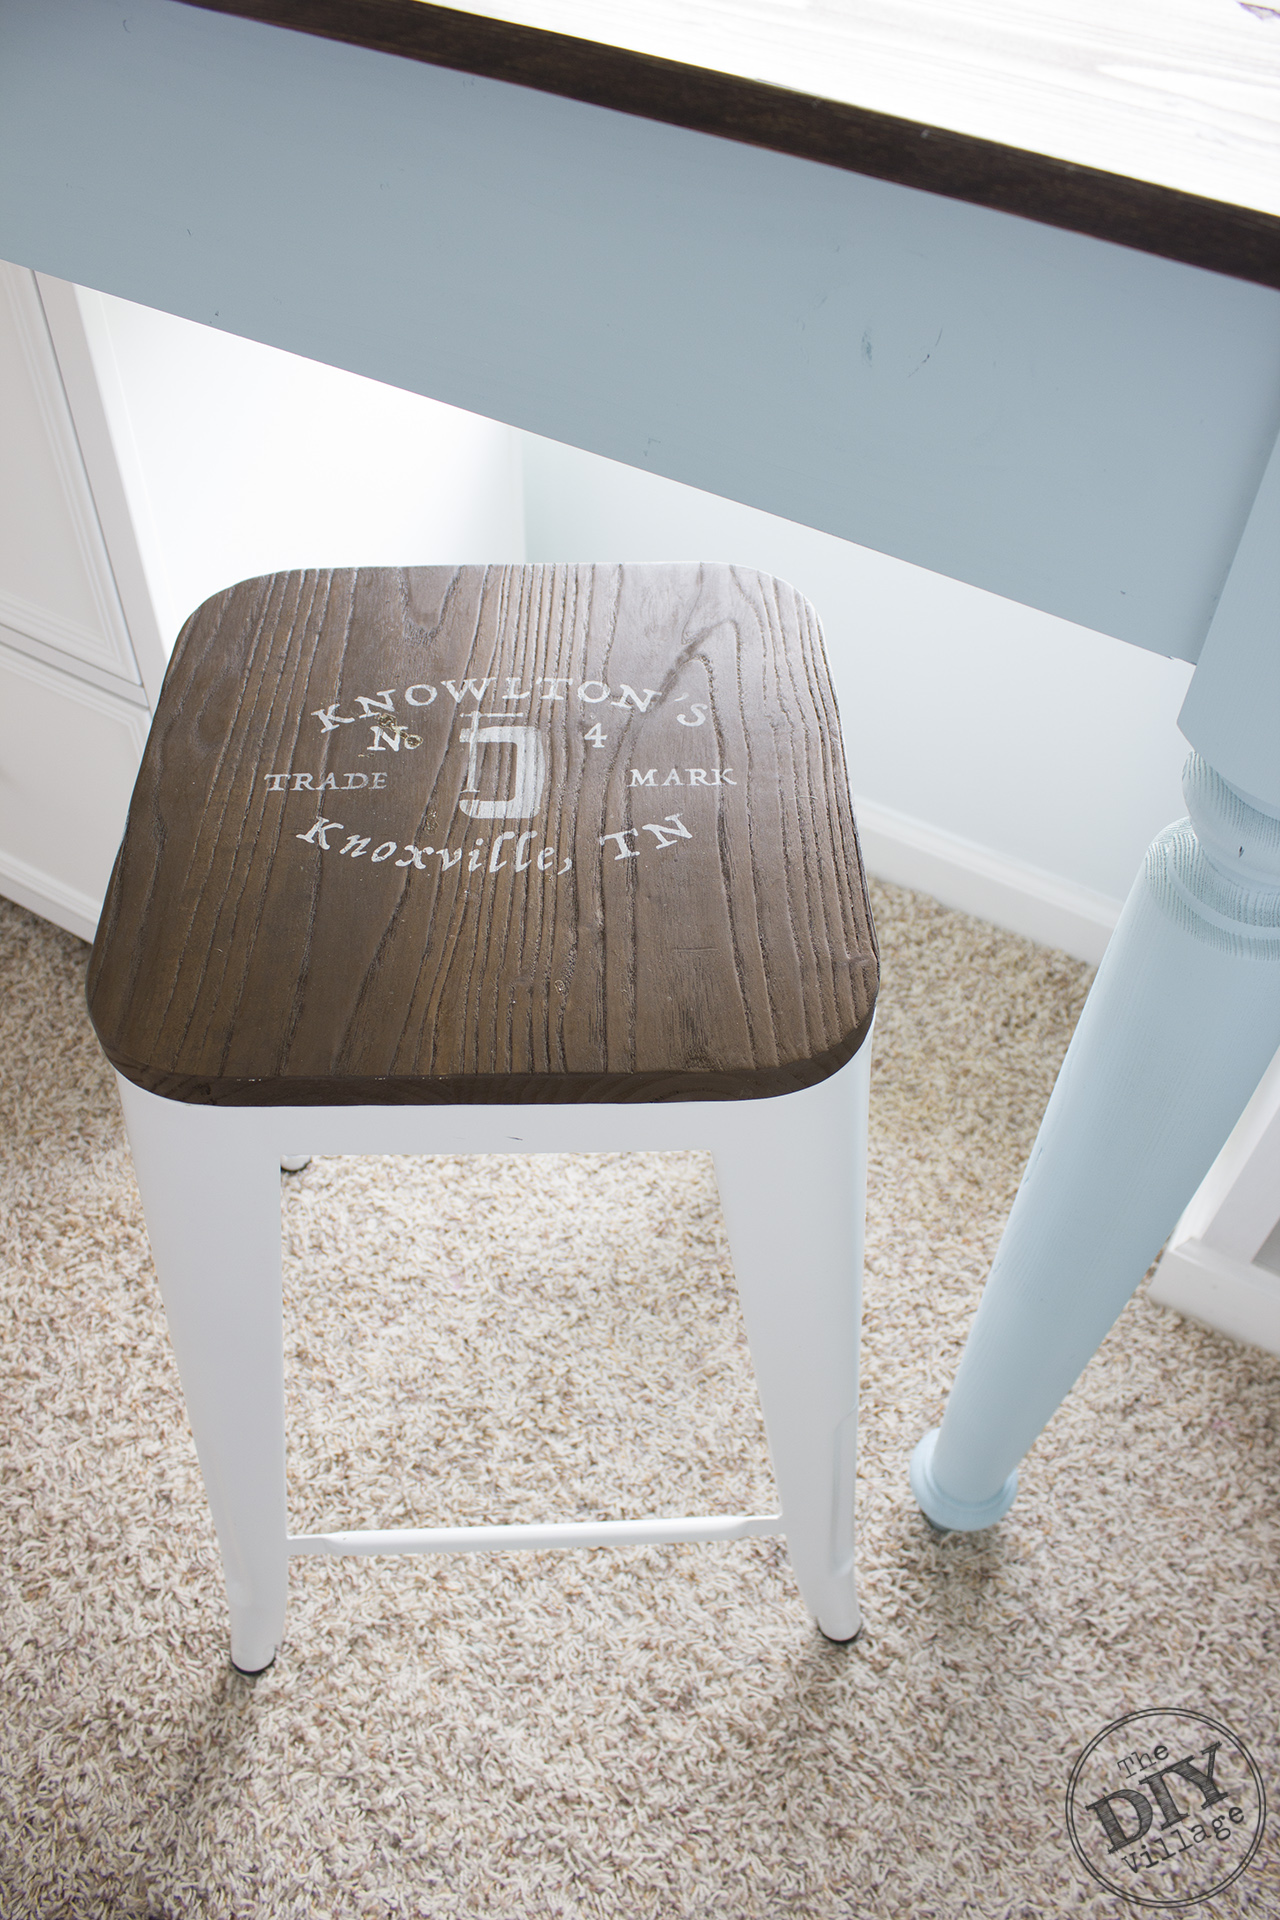 The station is counter height to account for our exisiting stools and file cabinet. Since Matt and I are both tall this is a comfortable height for us.
Enough about the stools. I hope by now you are dying to see what the room can look like, sans bright orange walls so I won’t hold you up any longer.
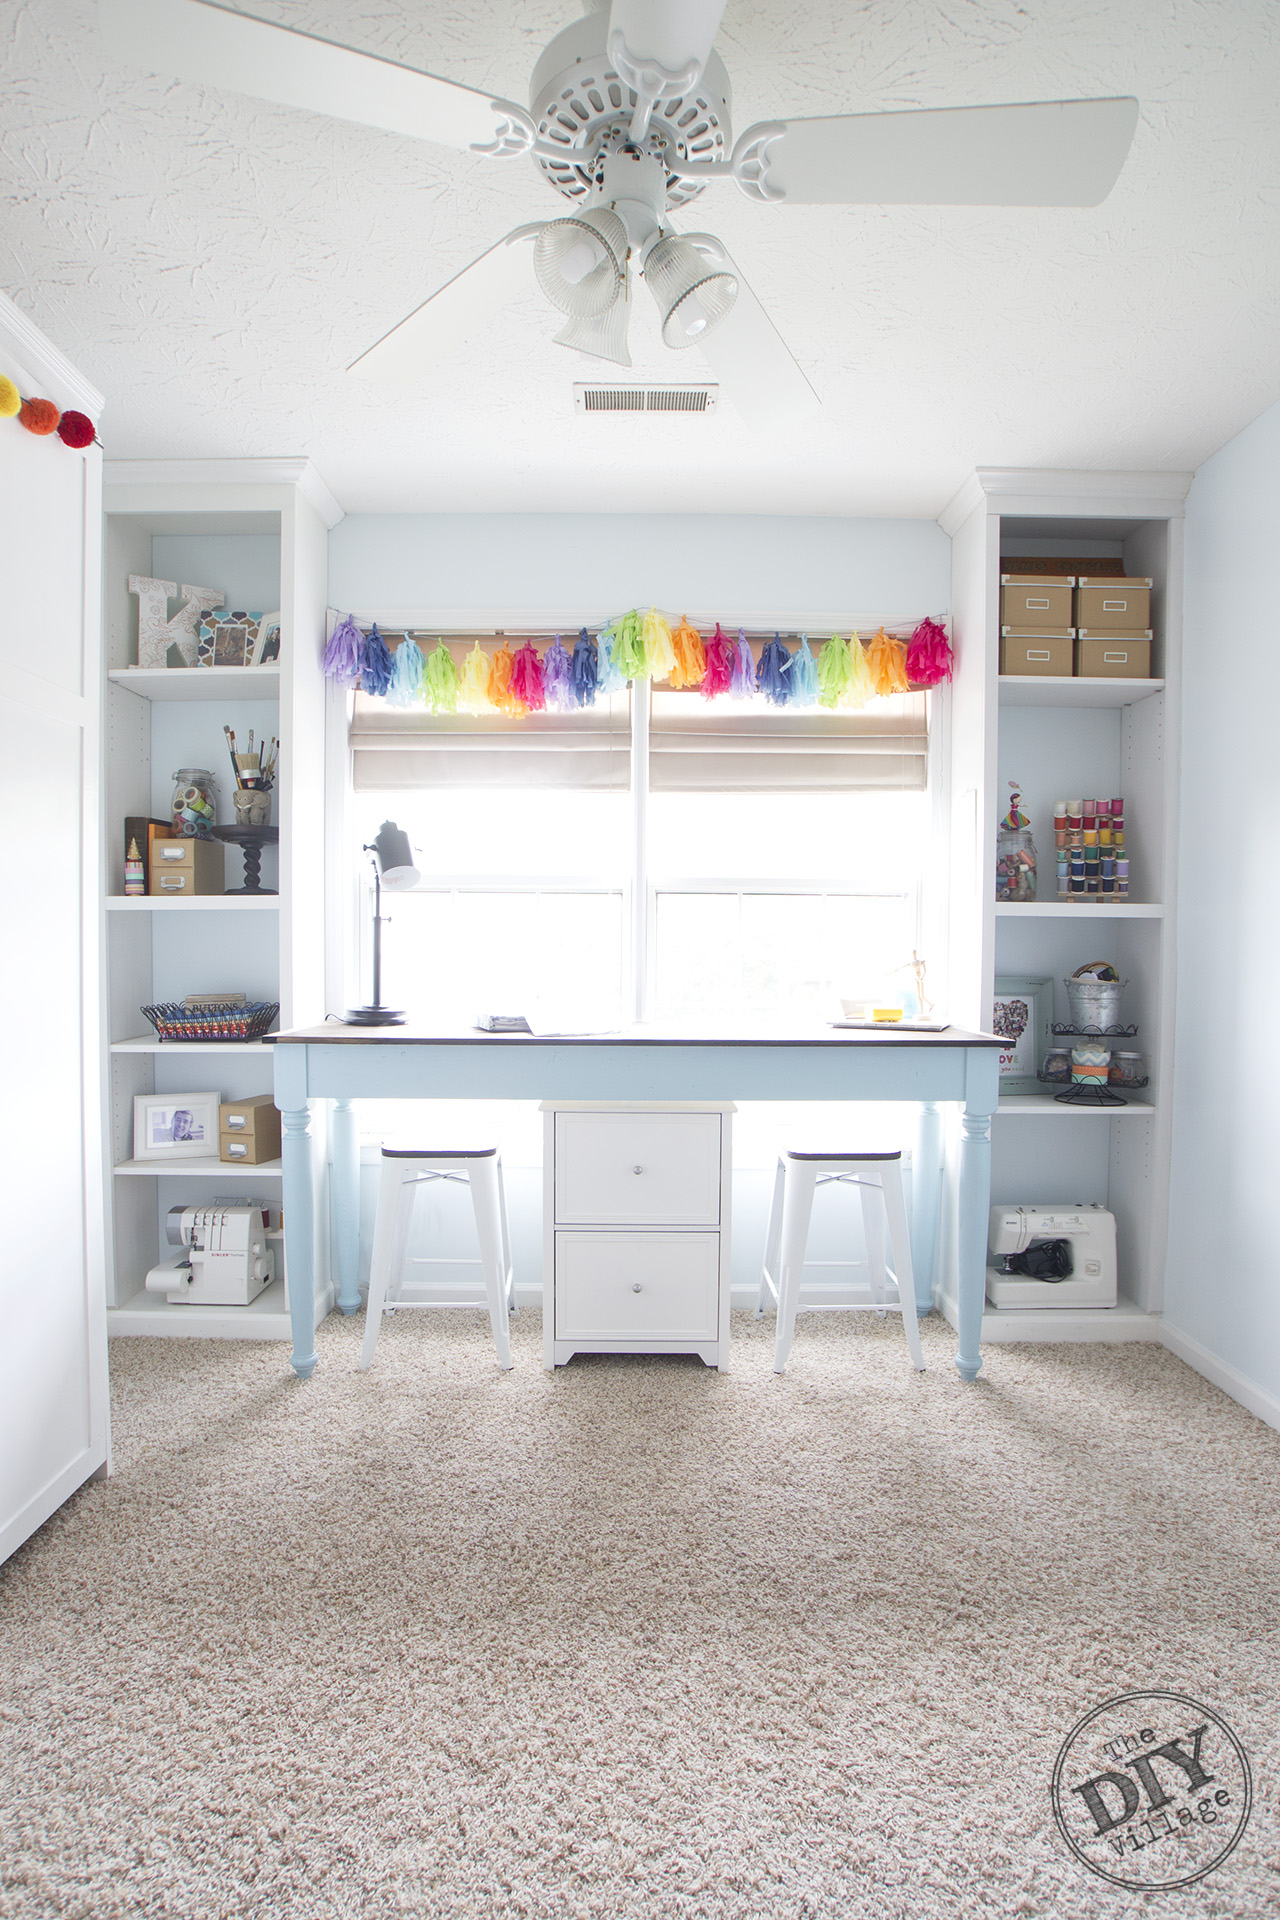 Could you just die?
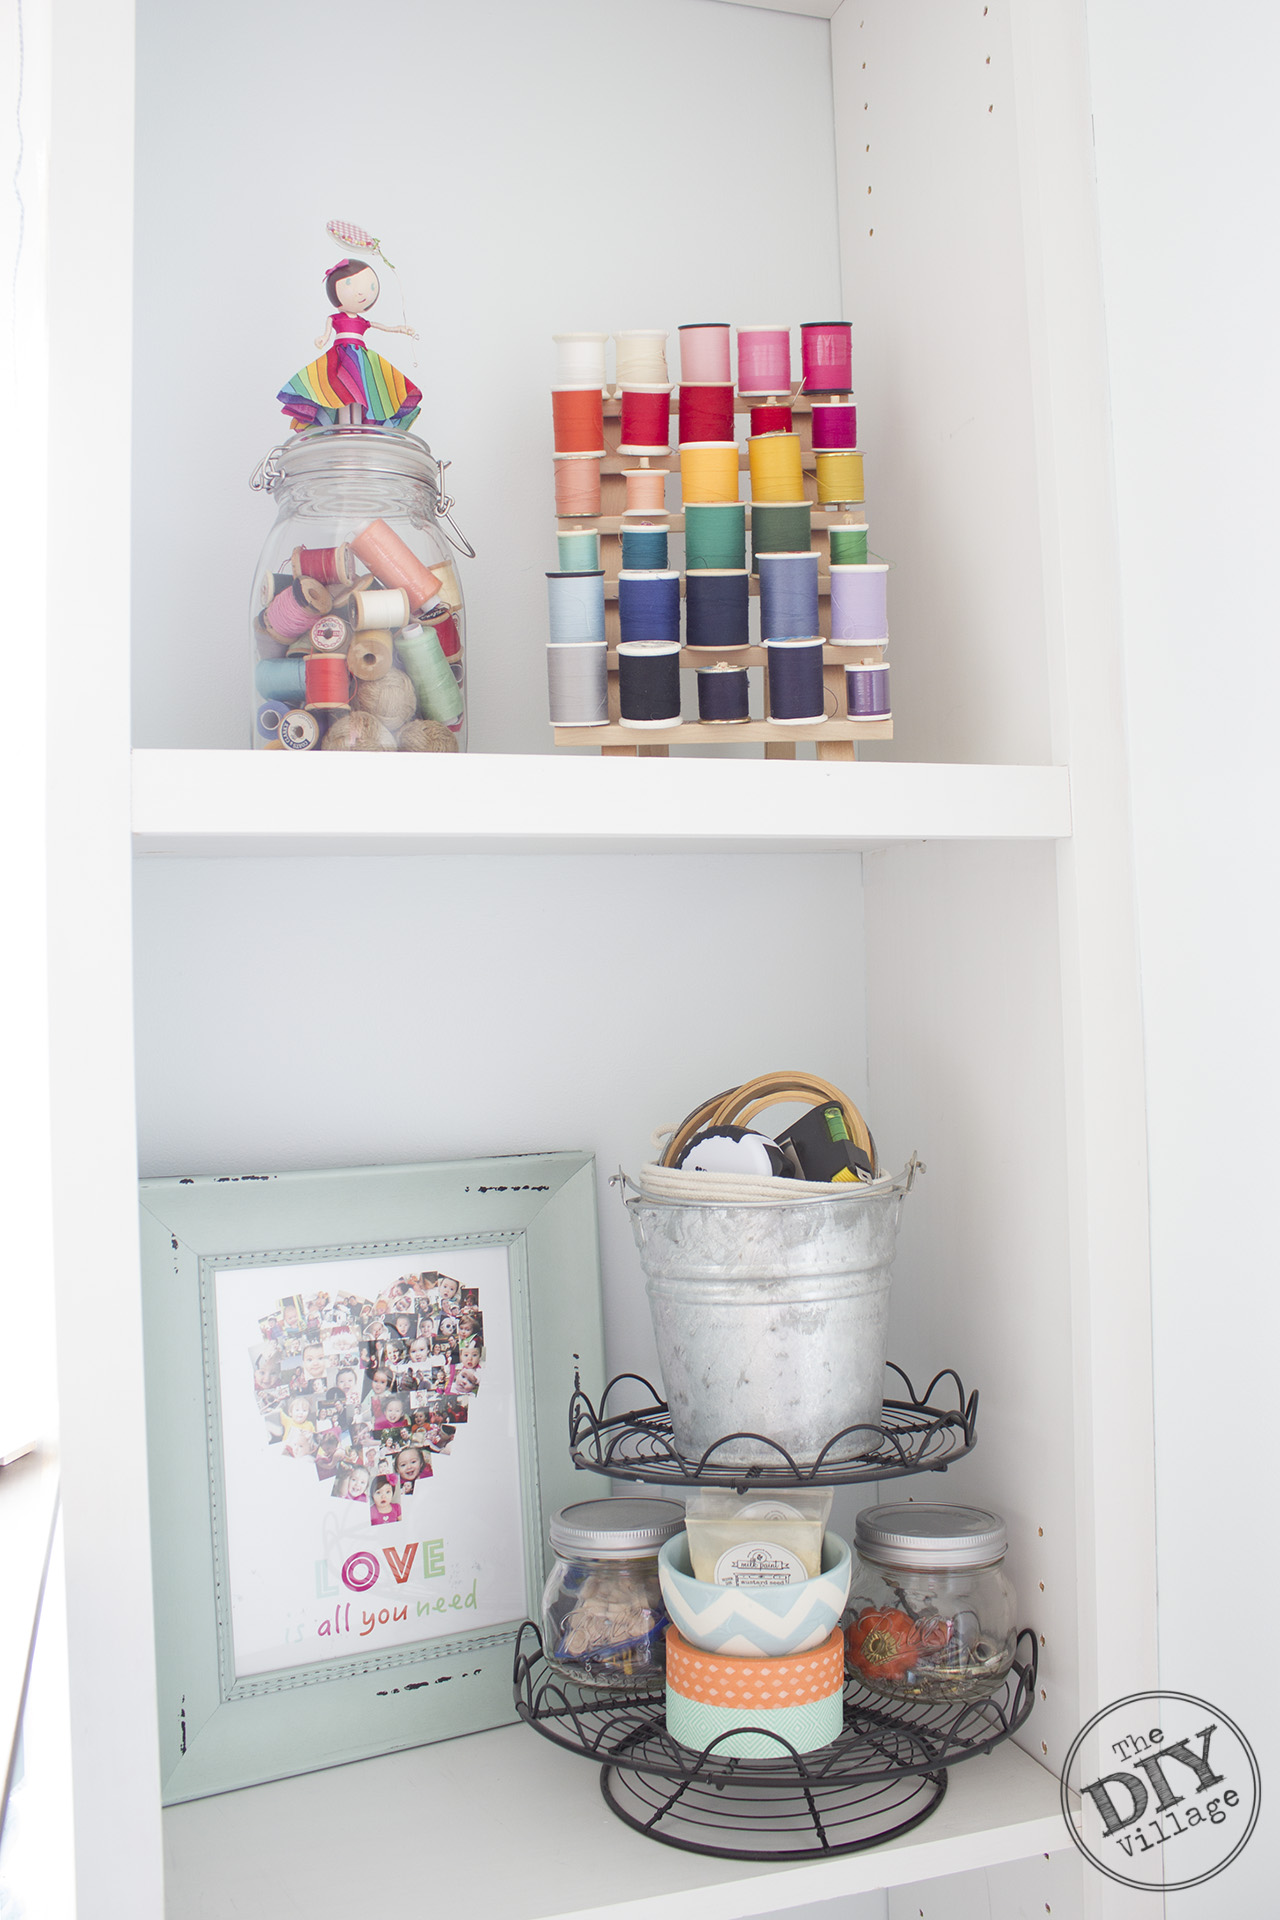 Finally a place to put all of my favorite useful crafts. You really should see the donate pile. It’s quite shocking.
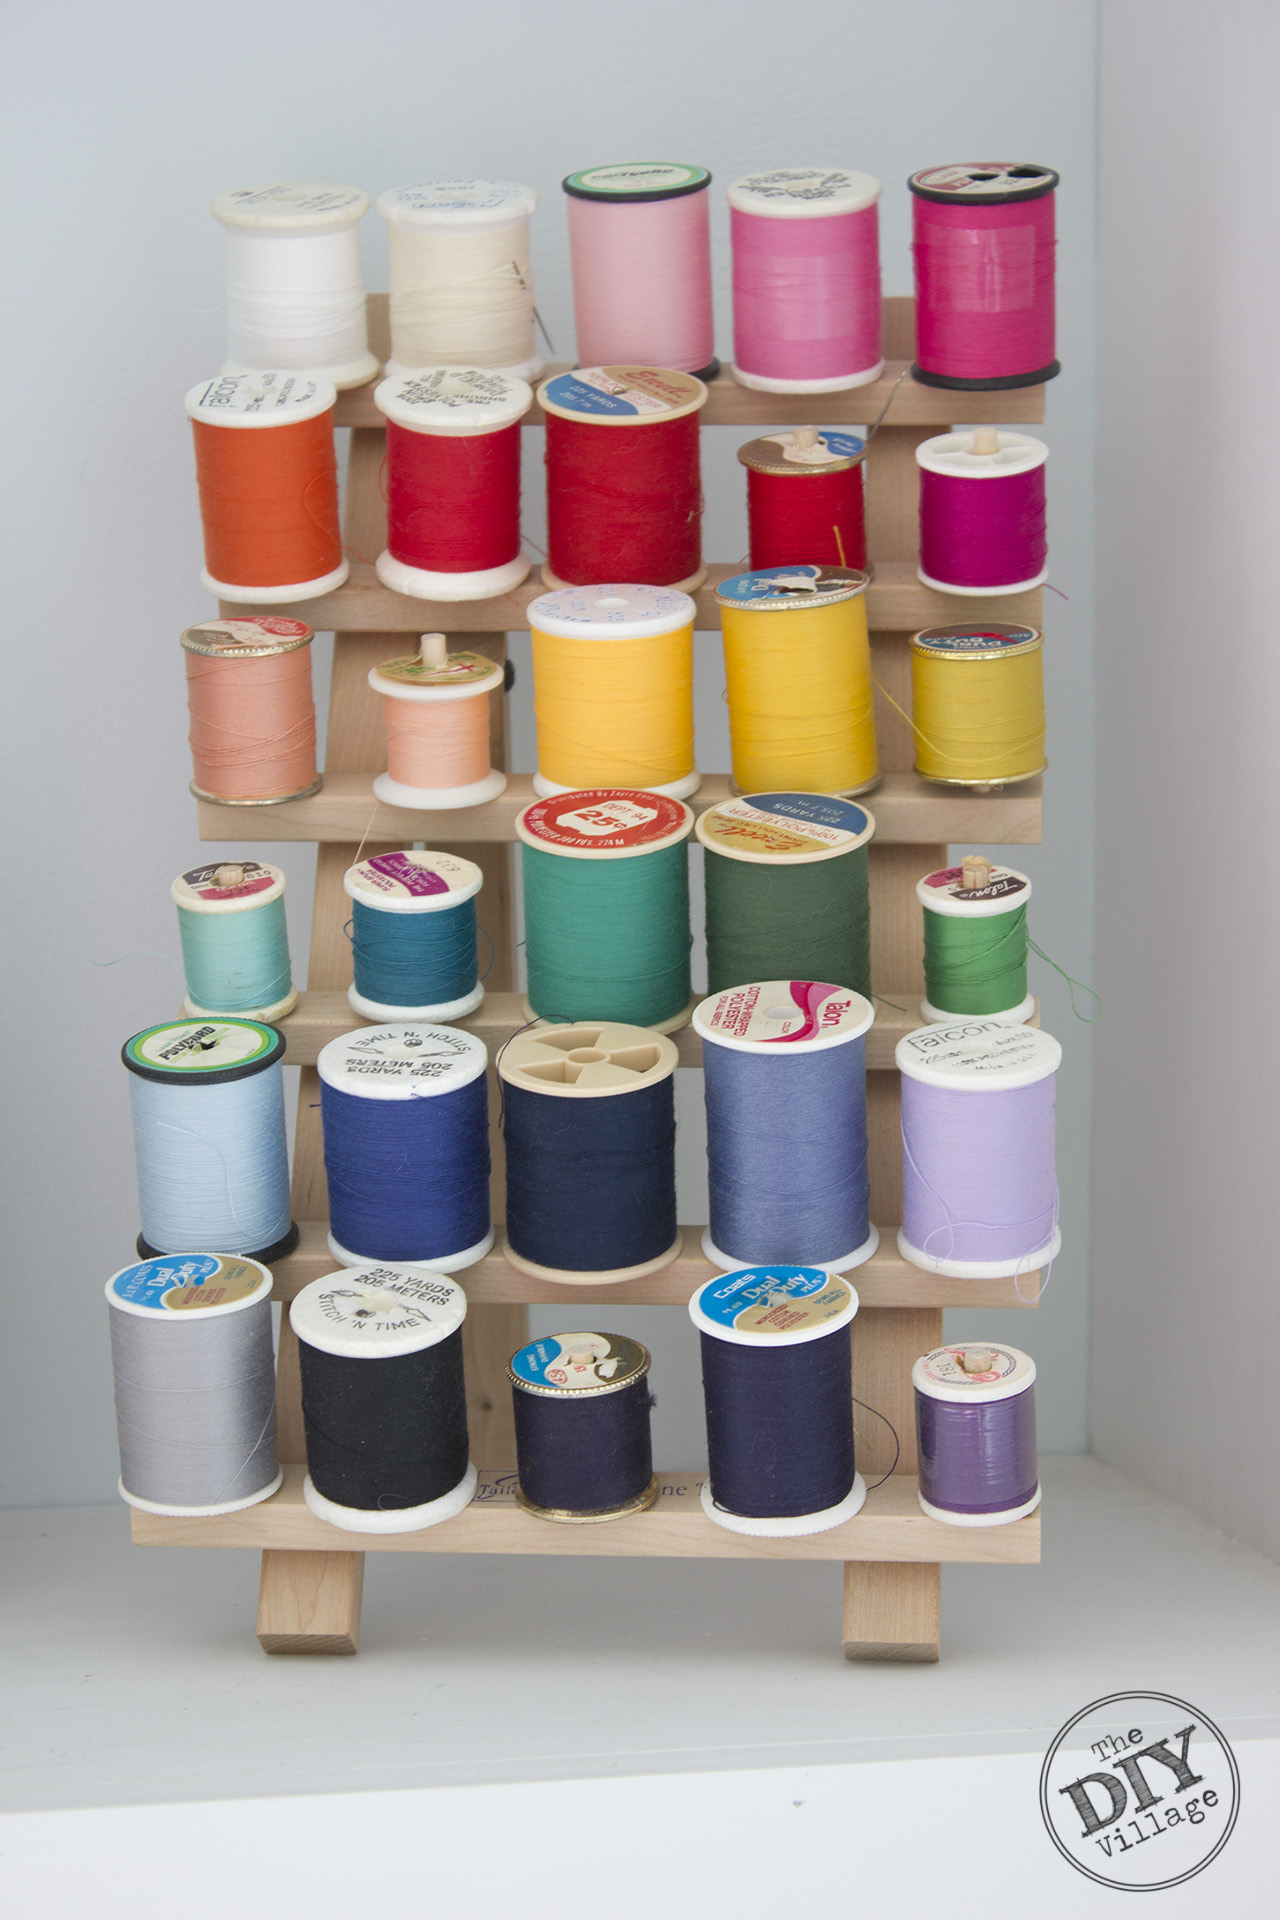 Some of my favorite threads are displayed, rainbow style of course. I could never display my colorful supplies properly with the old wall color. The Morning Sky is absolutely perfect for this room!
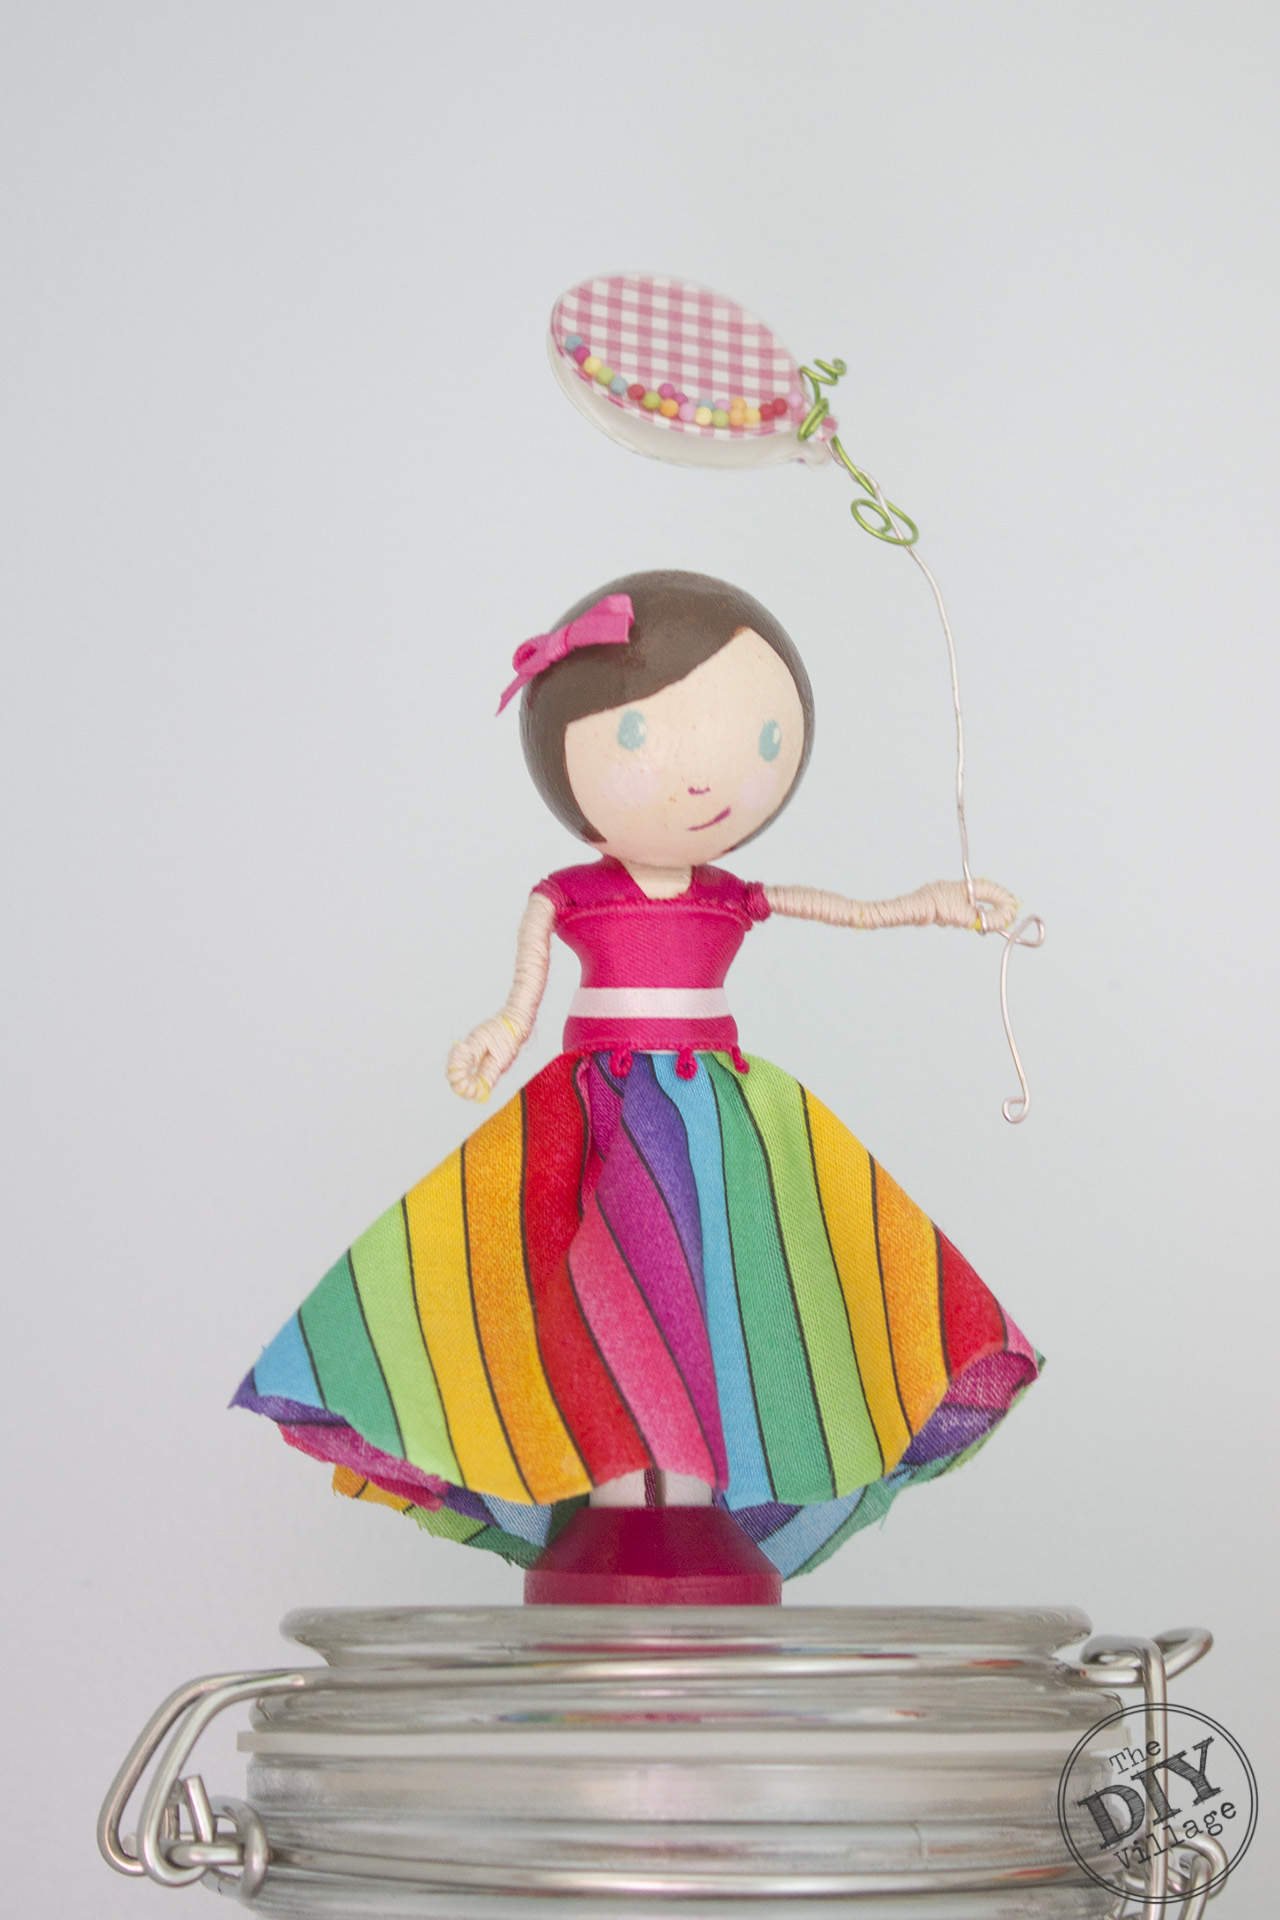 The adorable Clothes Pin doll I made as a cake topper for Joss’s 1st birthday is a perfect addition to the space as well! Hard to believe her chocolate brown eyes were so blue when she turned one.
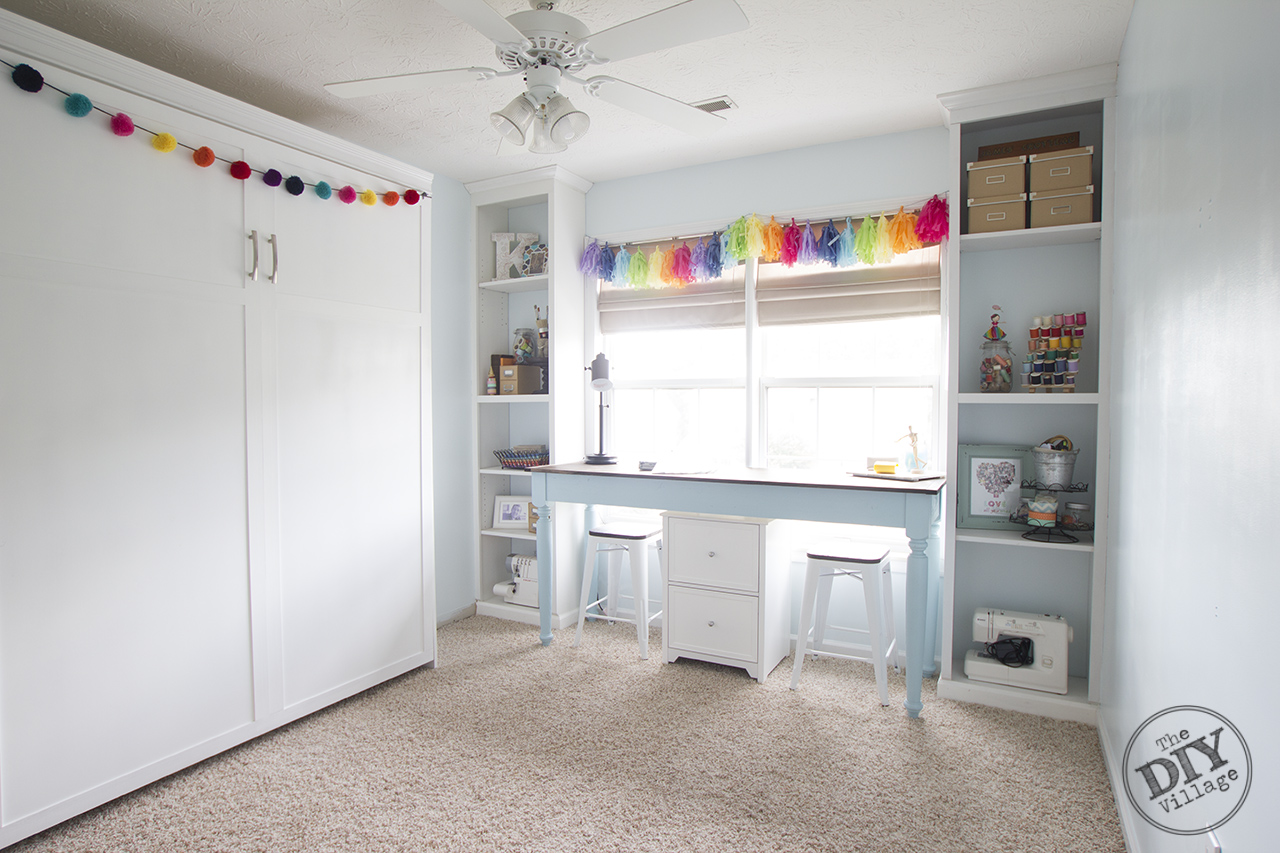 The new softer wall color beautifully accents the Murphy bed. I was concerned with how well a lighter color would change the room but I never expected the transformation to be so dramatic. Especially since the room was put together for under $250!
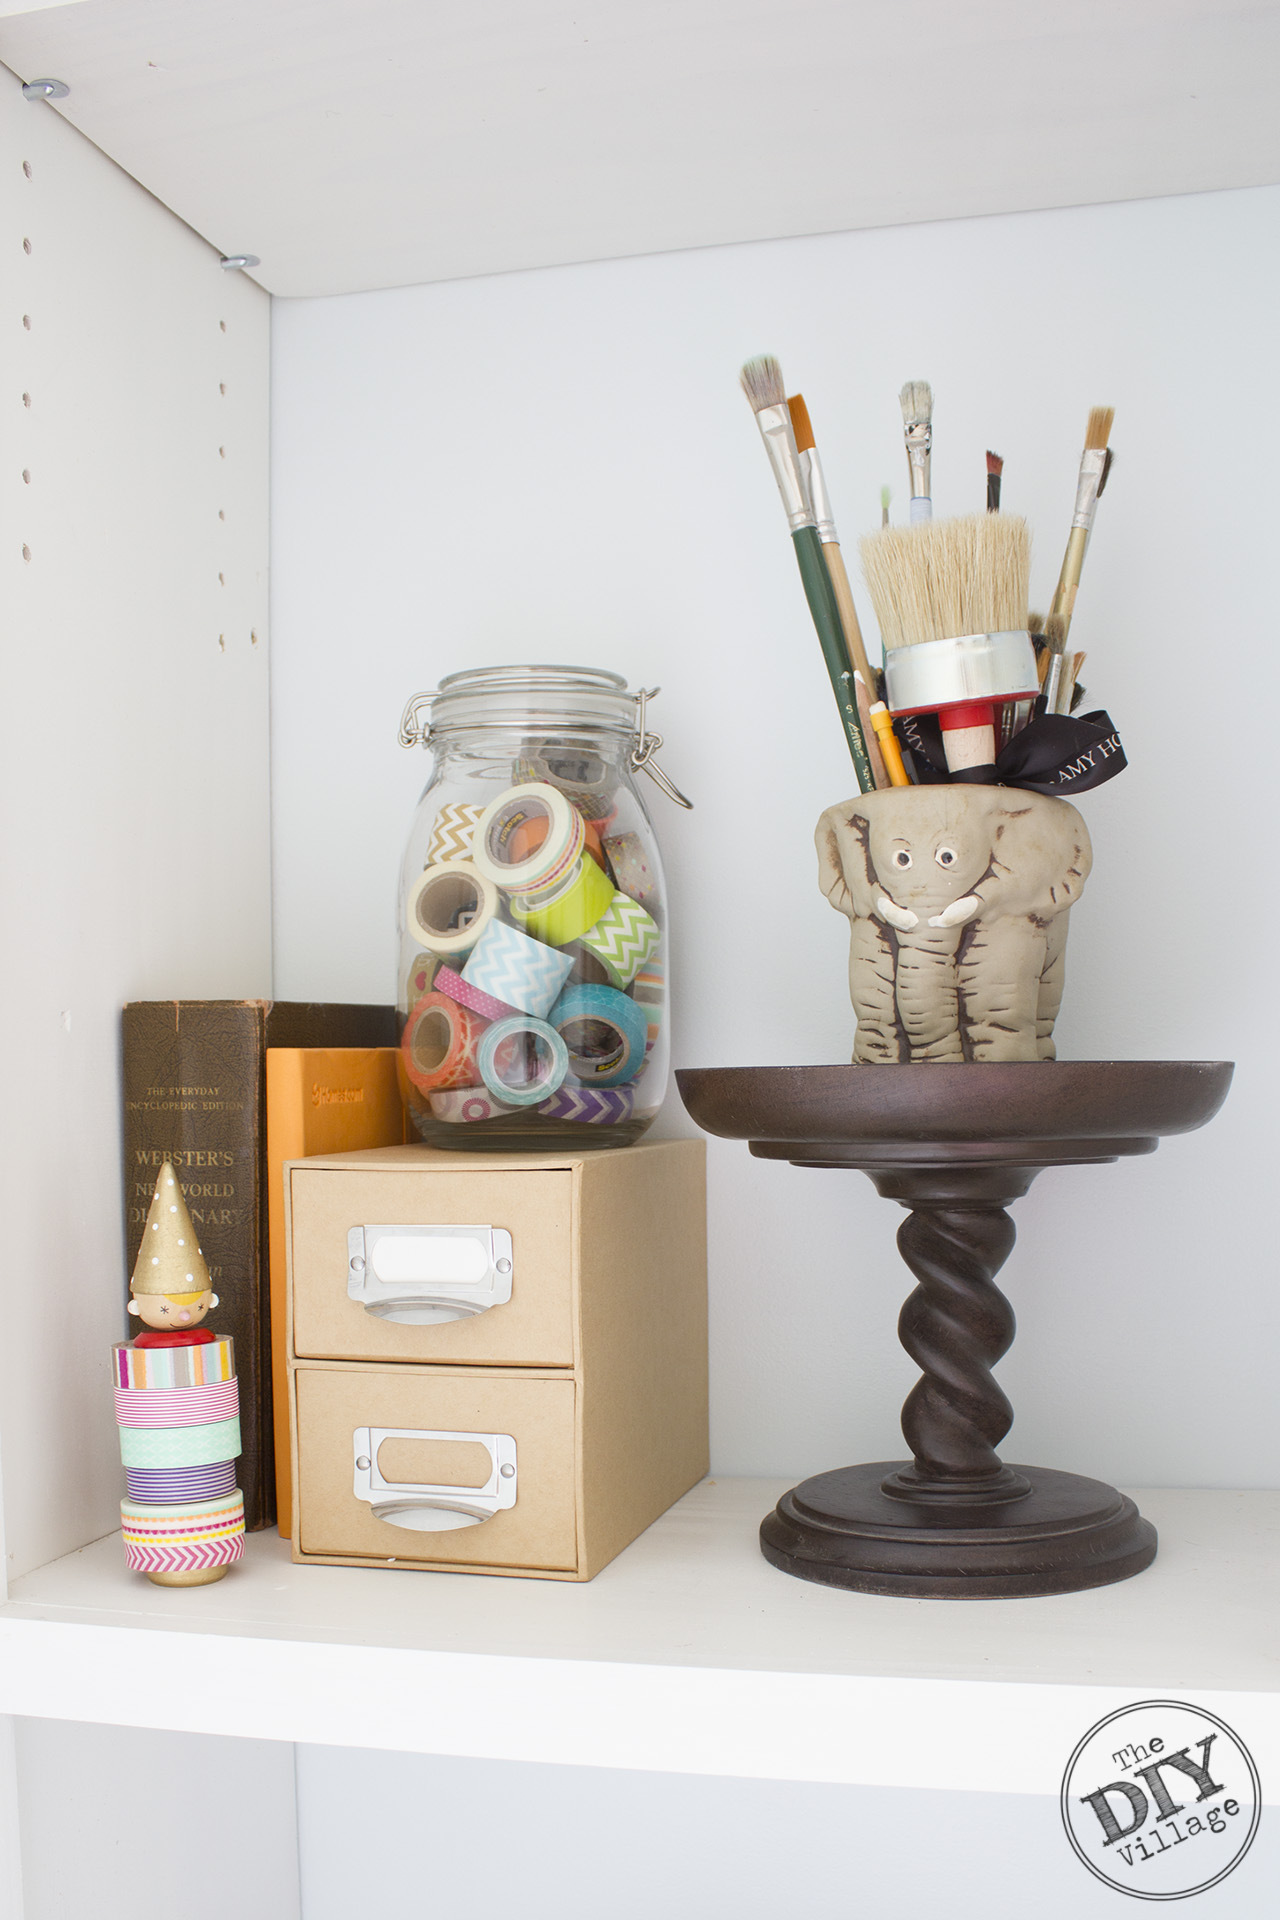 Another perk of the lighter wall color is that the room feels so much bigger than it ever did including when we first moved in. It doesn’t hurt that I purged 50% of the room as well.
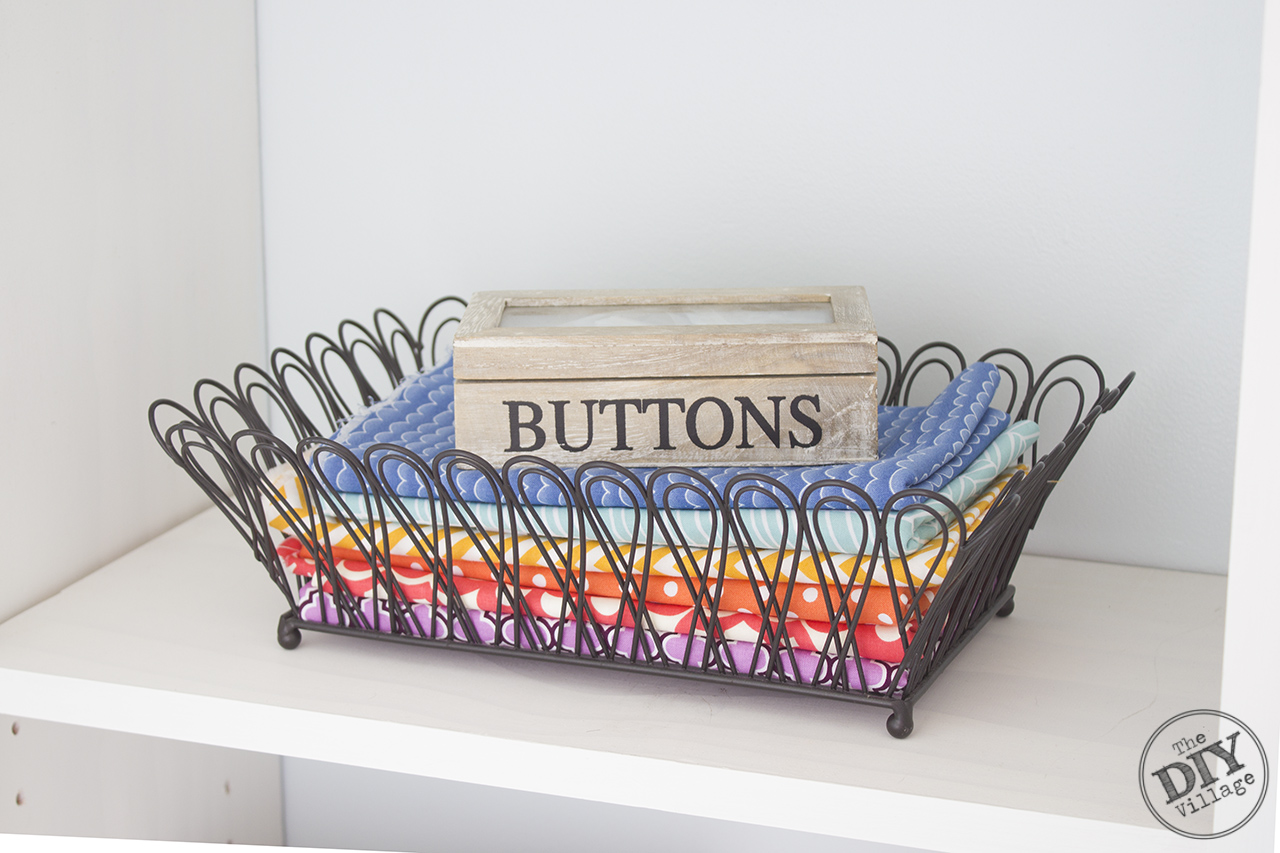 Even fabric scraps my grandmother’s old buttons look purposful with the right color backdrop.
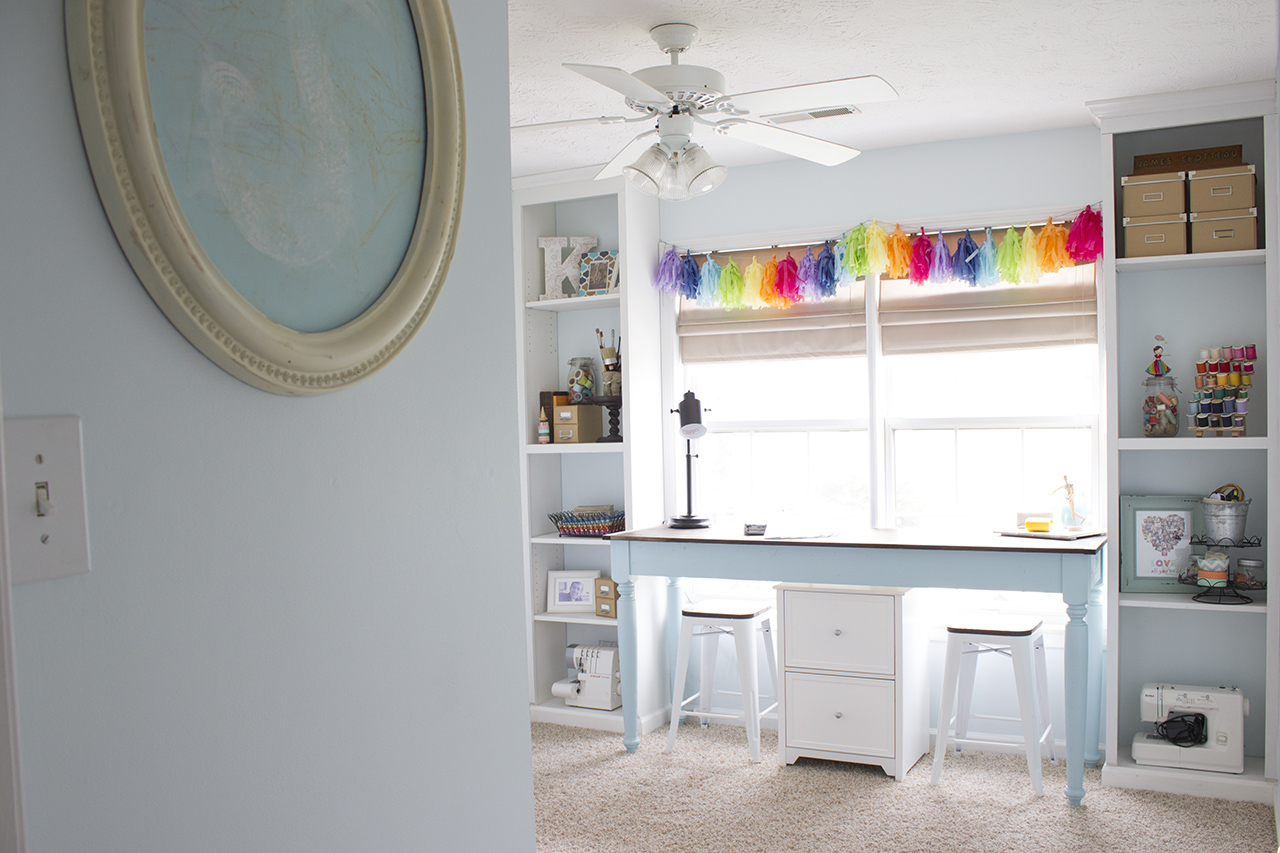 I have promised Matt to keep the craft room under control and curb my craft hoarding tendencies. Less is more right? Even though the room looks complete, I still have more plans for window treatments and art. You won’t want to miss the additional updates.
This is a sponsored conversation written by me on behalf of True Value. The opinions and text are all mine.
love it! i have a craft/guest room that suffers from the save hoarding issue. also has a murphy bed. i mean almost the twin to your setup! this inspires me to get it all back together!
Thanks! I’m still sorting through the piles … so exhausting 😉
I am in the process of thinning out my craft room, so much work! I LOVE the wide storage cabinet and the built-in bookshelves. Beautiful space to make beautiful things!
So pretty, I love it. Will incorporate these ideas into my arts and craft space.
It looks fantastic! Great job. I am impressed!
Looks good! Great job!