For years I have wanted matching nightstands for as long as I can remember. It took us a year of marriage before we got Matt a nightstand. He never complained either, such a good guy! A few years ago we started making over our master bedroom (you can find those updates HERE , HERE, and HERE). Good news is the room is getting closer to being done. The birth of my 2nd child greatly slowed down the progress. Basically a snails pace to be honest. In January of 2016 we took a quick trip to IKEA to pick up some much needed items. Including some picture frames and two dressers destined for the ever popular RAST makeover.
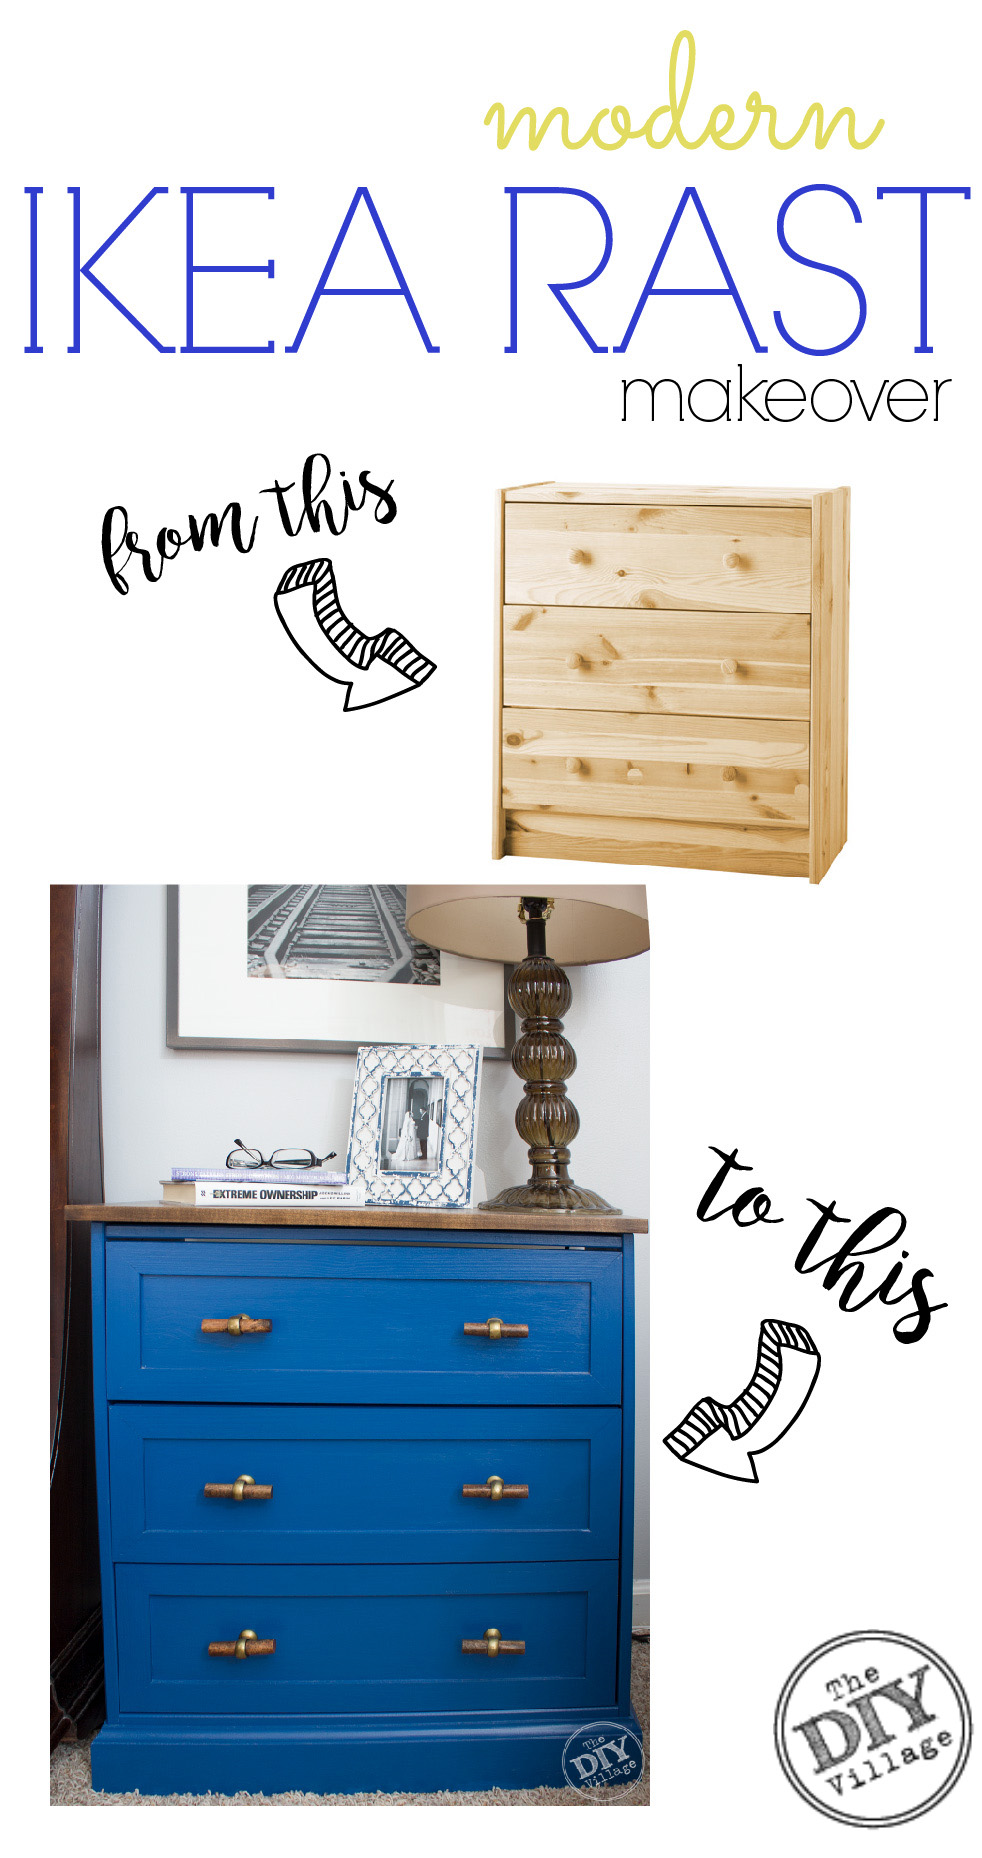

I know, I know. It seems like everyone and their brother has already given the IKEA RAST dresser a hack and turned it into an awesome nightstand. I didn’t want to be left on the sidelines so I had to attempt this myself. Thankfully Matt was more than helpful with cutting the trim and base boards for me. Because we didn’t already have matching dressers in the room I wanted to make sure that these not only matched but were something that we would like for a long time. I wanted the nightstands to be neutral but act as a pop of color so I went with the Navy and Brass combo.
MATERIALS (for one nightstand)
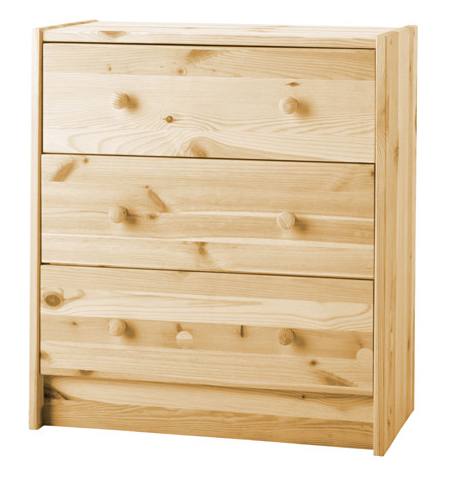
IKEA Rast 3 drawer dresser – Found HERE & HERE
Hardware – 6 pulls – Found at Hobby Lobby in store only. Similar to these HERE.
Base Molding – 4′
1.25″ x 1/4″ trim molding – 6′
Plywood or solid wood board – 12.5″ x 25.5″
Wood Veneer – 1 roll – Found HERE
Paint – Found HERE
Paint Topcoat – Found HERE
Dark Stain – Found HERE
Poly – Found HERE
Wood Glue – Found HERE
Clamps – Found HERE
Veneer Edge Banding Iron (or a regular Iron works too) – Found HERE
Veneer Edgeband Trimmer (or utility knife) –Found HERE
Paint Brush – Found HERE
Foam Brushes – Found HERE
Rags – Found HERE
Sand Paper – Found HERE
Kreg Jig R3 – Found HERE
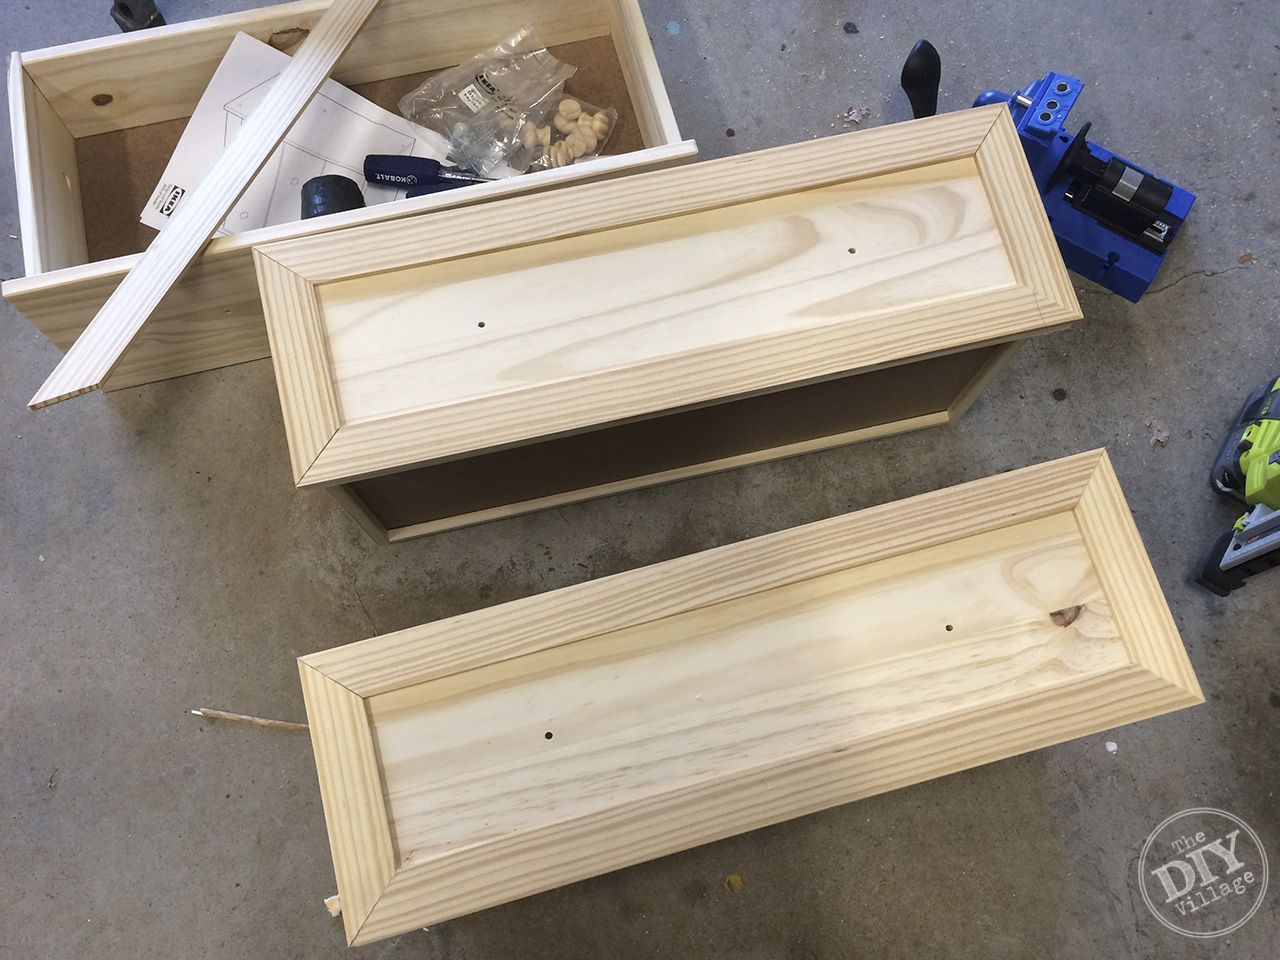
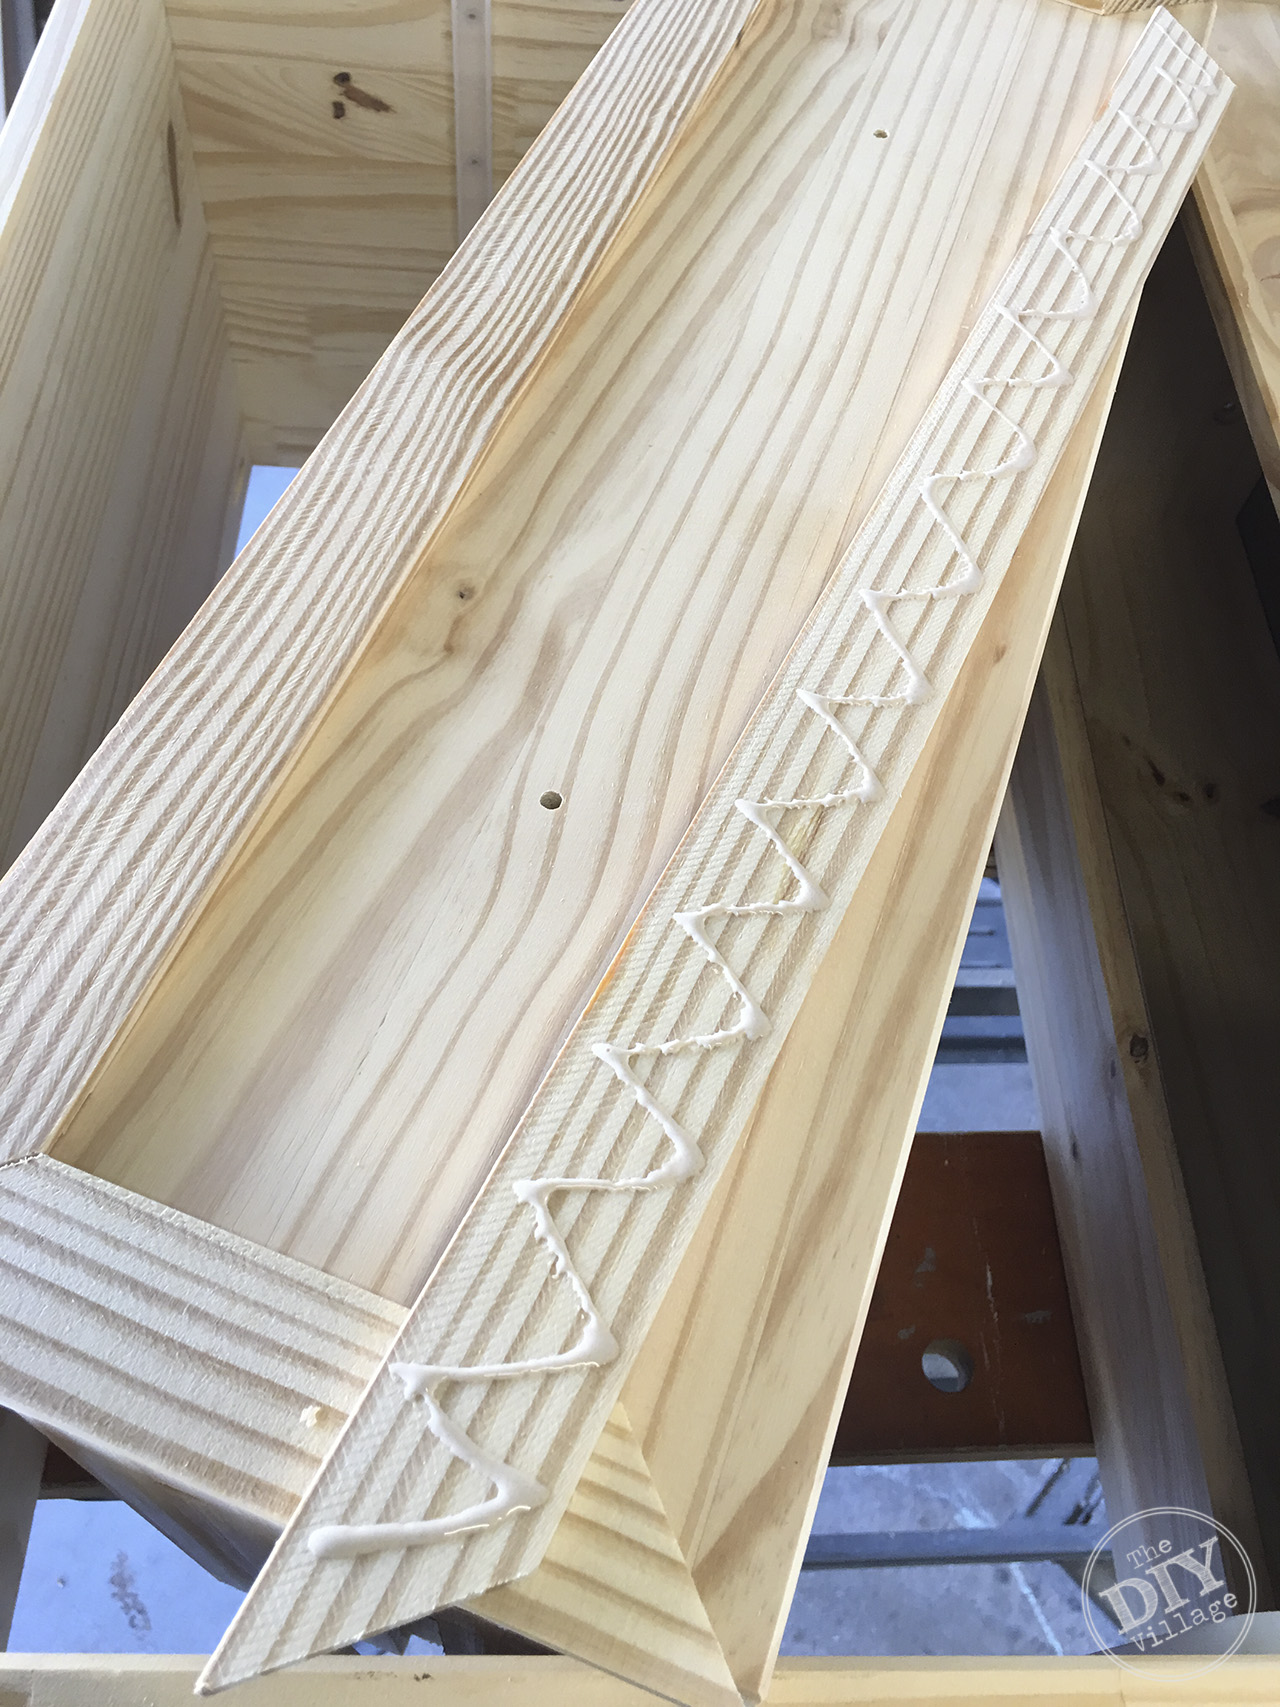 We started by cutting 1/4″ trim lathing/molding to fit the outer edge of the drawer cut on 45 degree angles. Since the drawer fronts aren’t very thick we were unable to use nails and used glue alone instead.
 While they dried, since we weren’t using staples or nails, we made sure they were held firmly in place with clamps.
 After the drawers were finished Matt worked on adding the base molding.
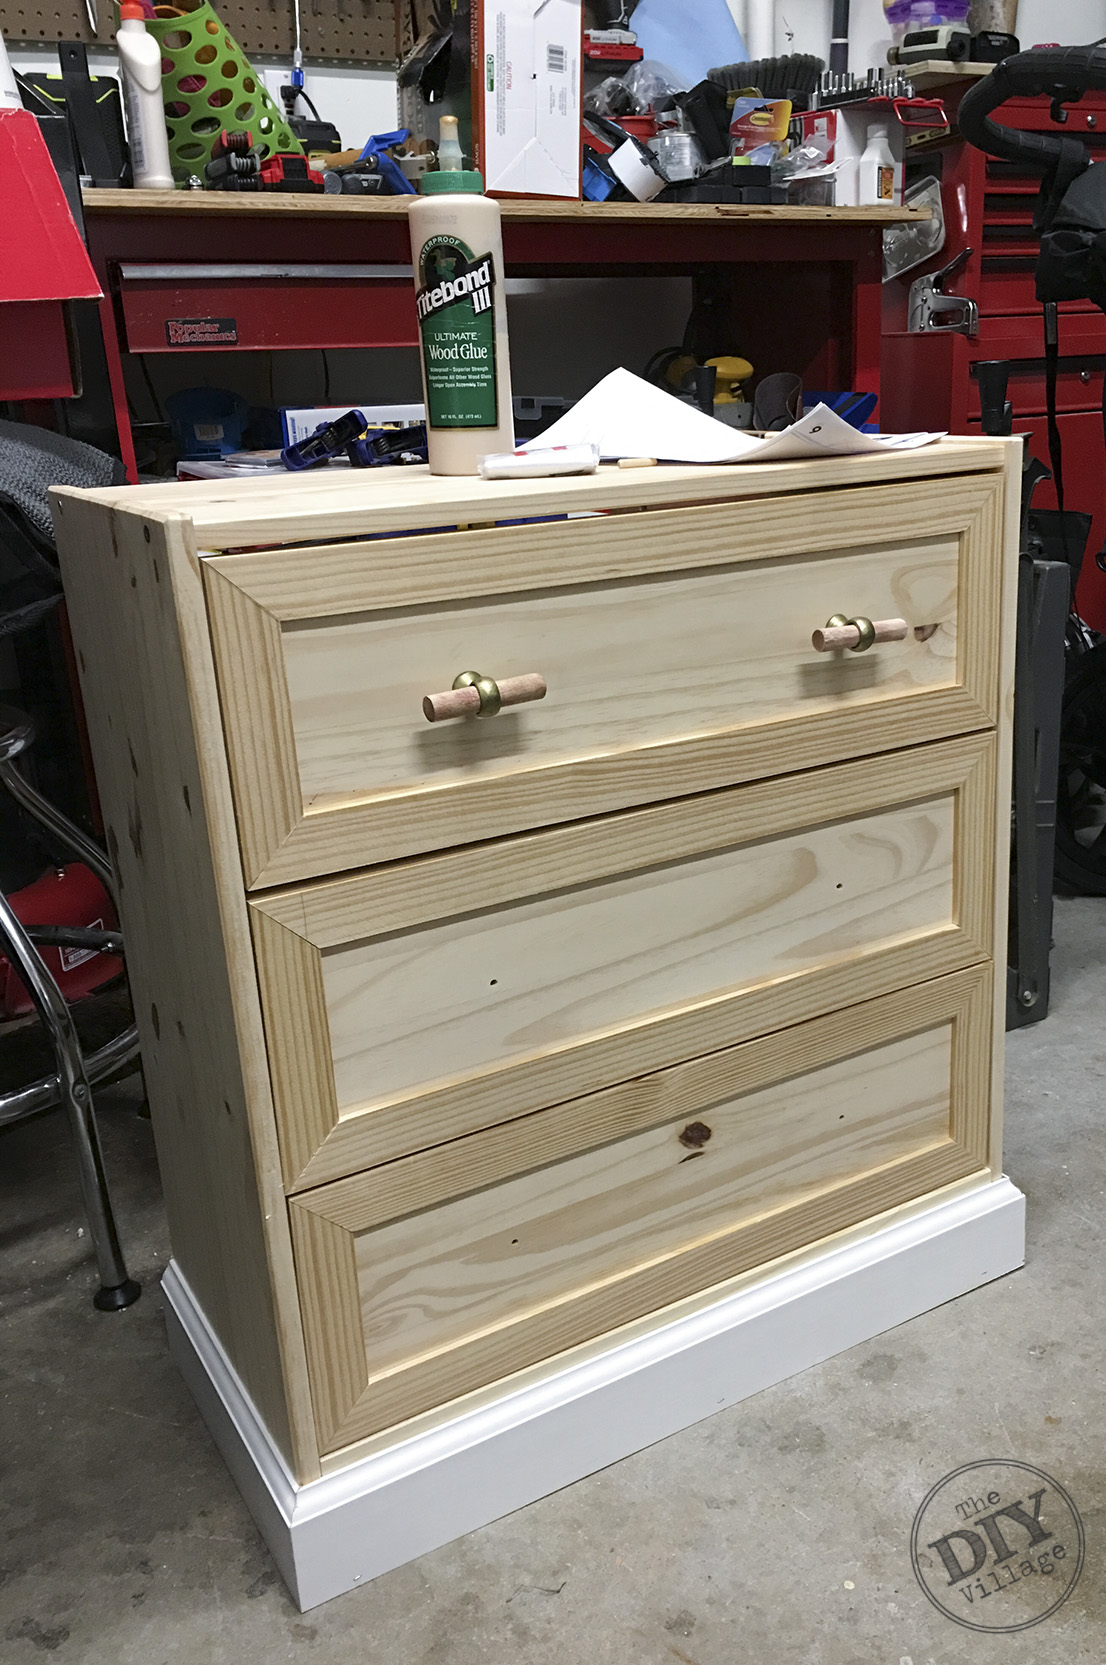 If you notice in the first drawing the toe kick on the IKEA RAST is recessed. To keep the front edge flush with the base molding Matt used the Kreg Jig (Found HERE) to move the toe kick flush with the side edges of the dresser.
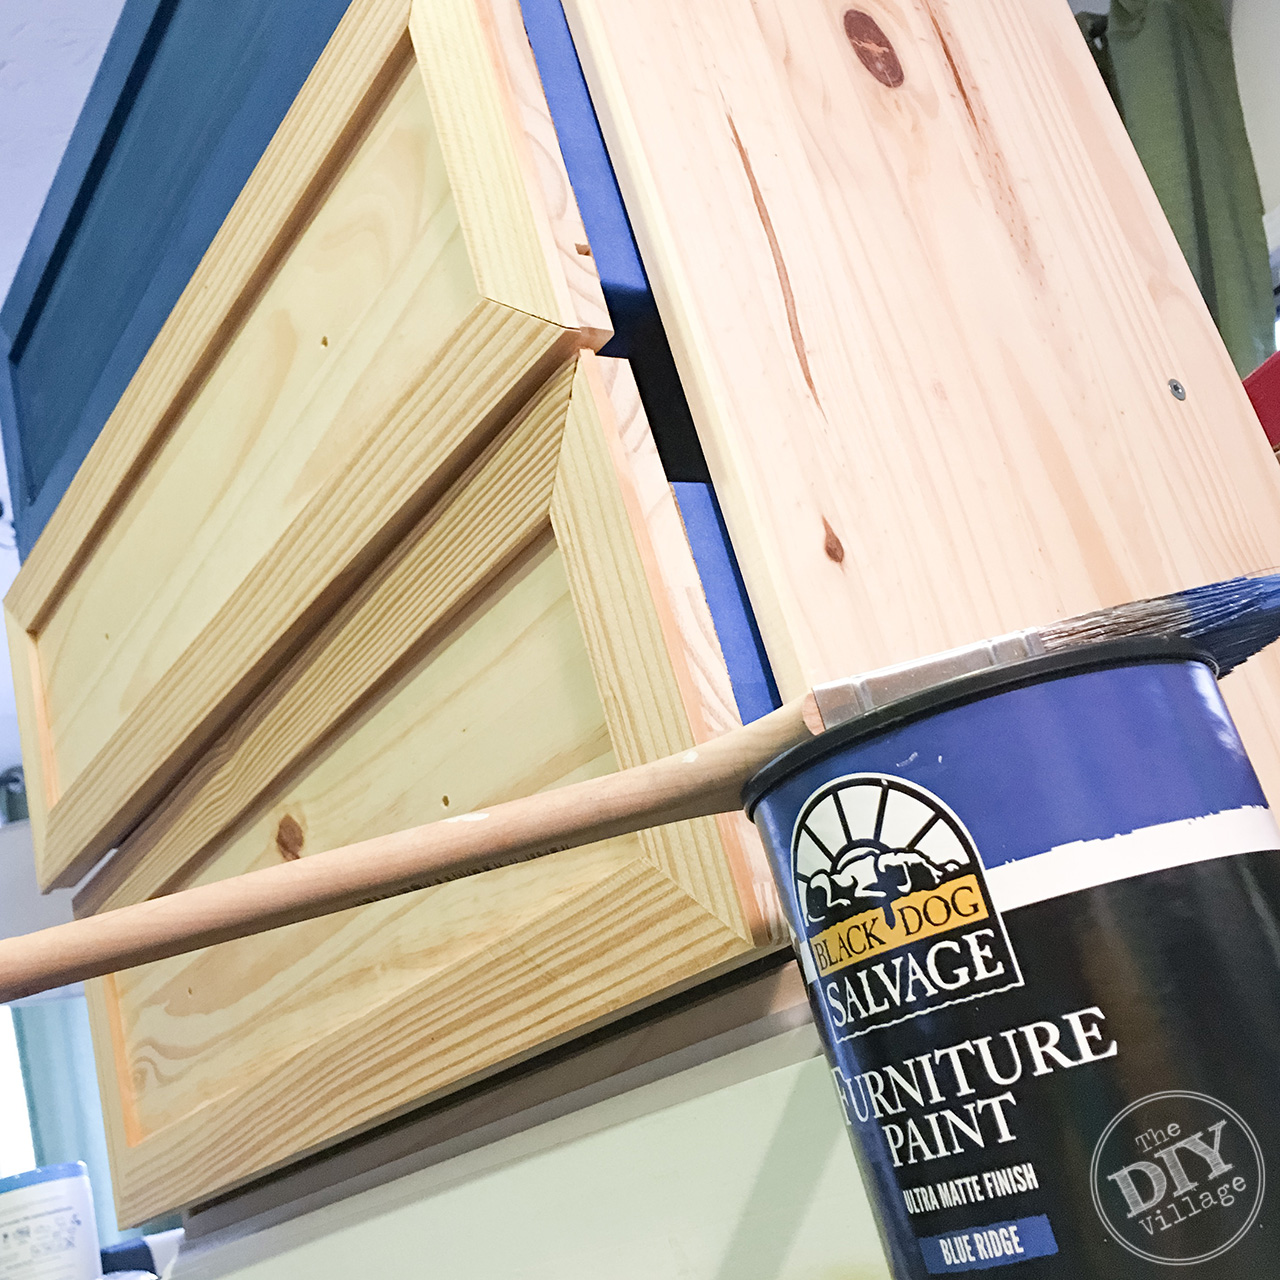 When all the glue was dry the dresser was ready for paint. I mentioned before I am slightly obsessed with Navy so I loved using the Black Dog Salvage Blue ridge color (Found HERE). So pretty and saturated, dare I say sophisticated. The paint ended up taking two coats and one coat of Topcoat (Found HERE).
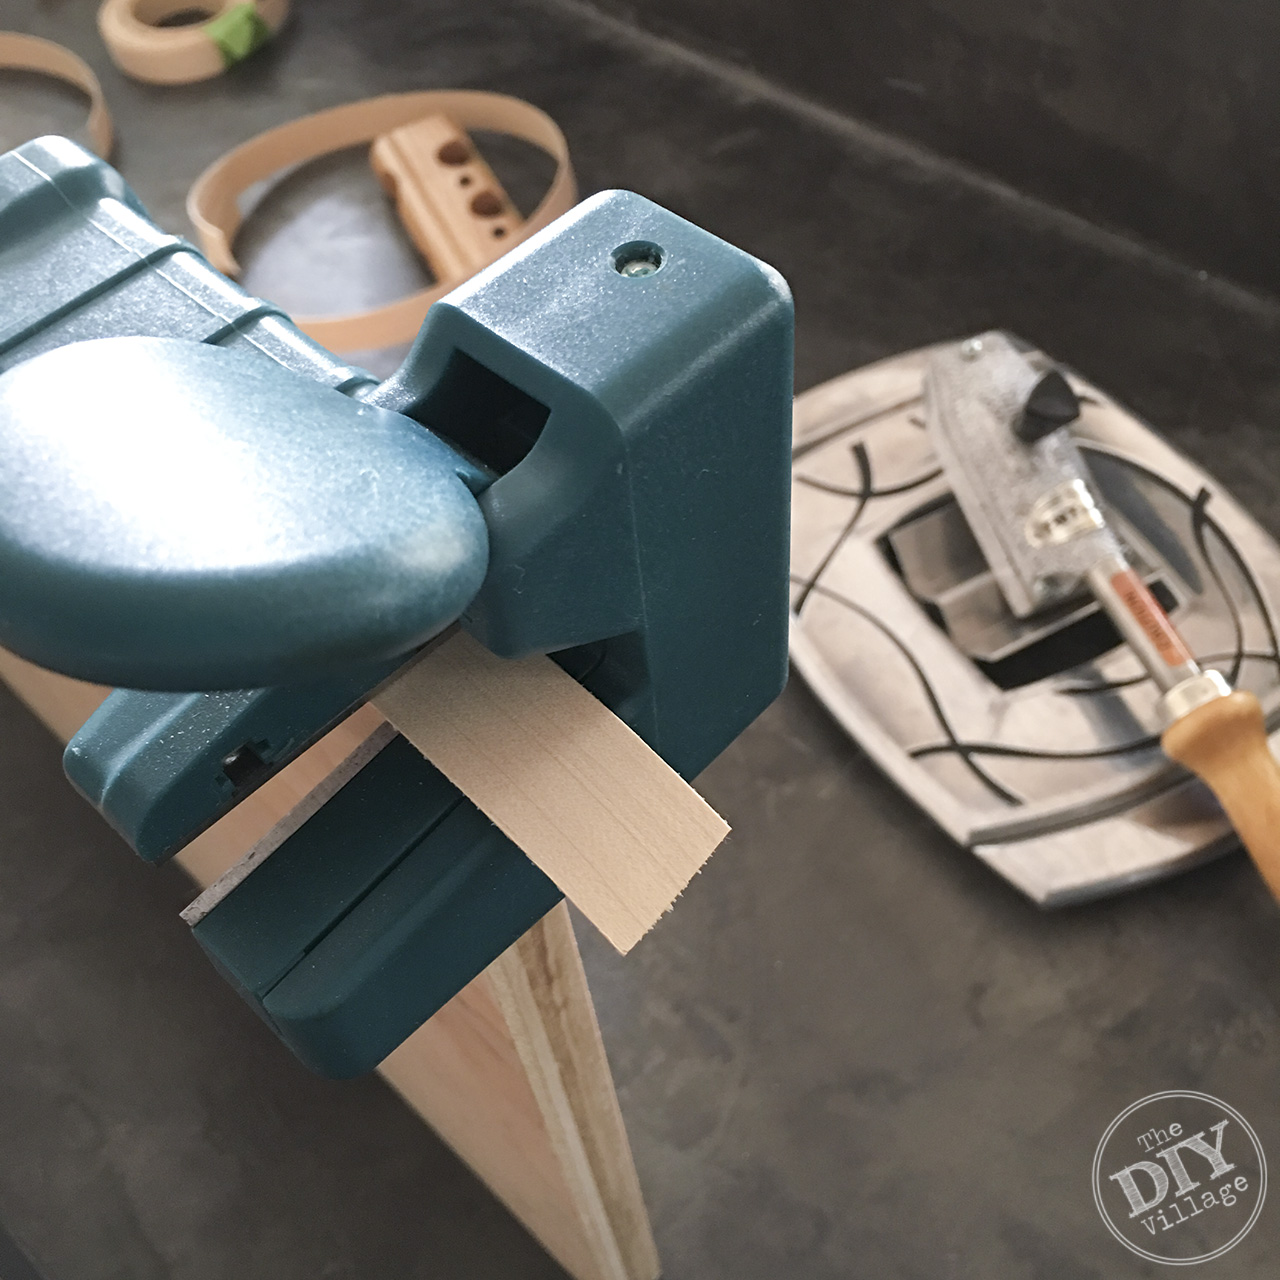 For the nightstand top I took a piece of scrap birch plywood from the Murphy Bed and ripped it down to size. To give the top a finished look I added veneer edge banding (Found HERE) using a banding iron (Found HERE)
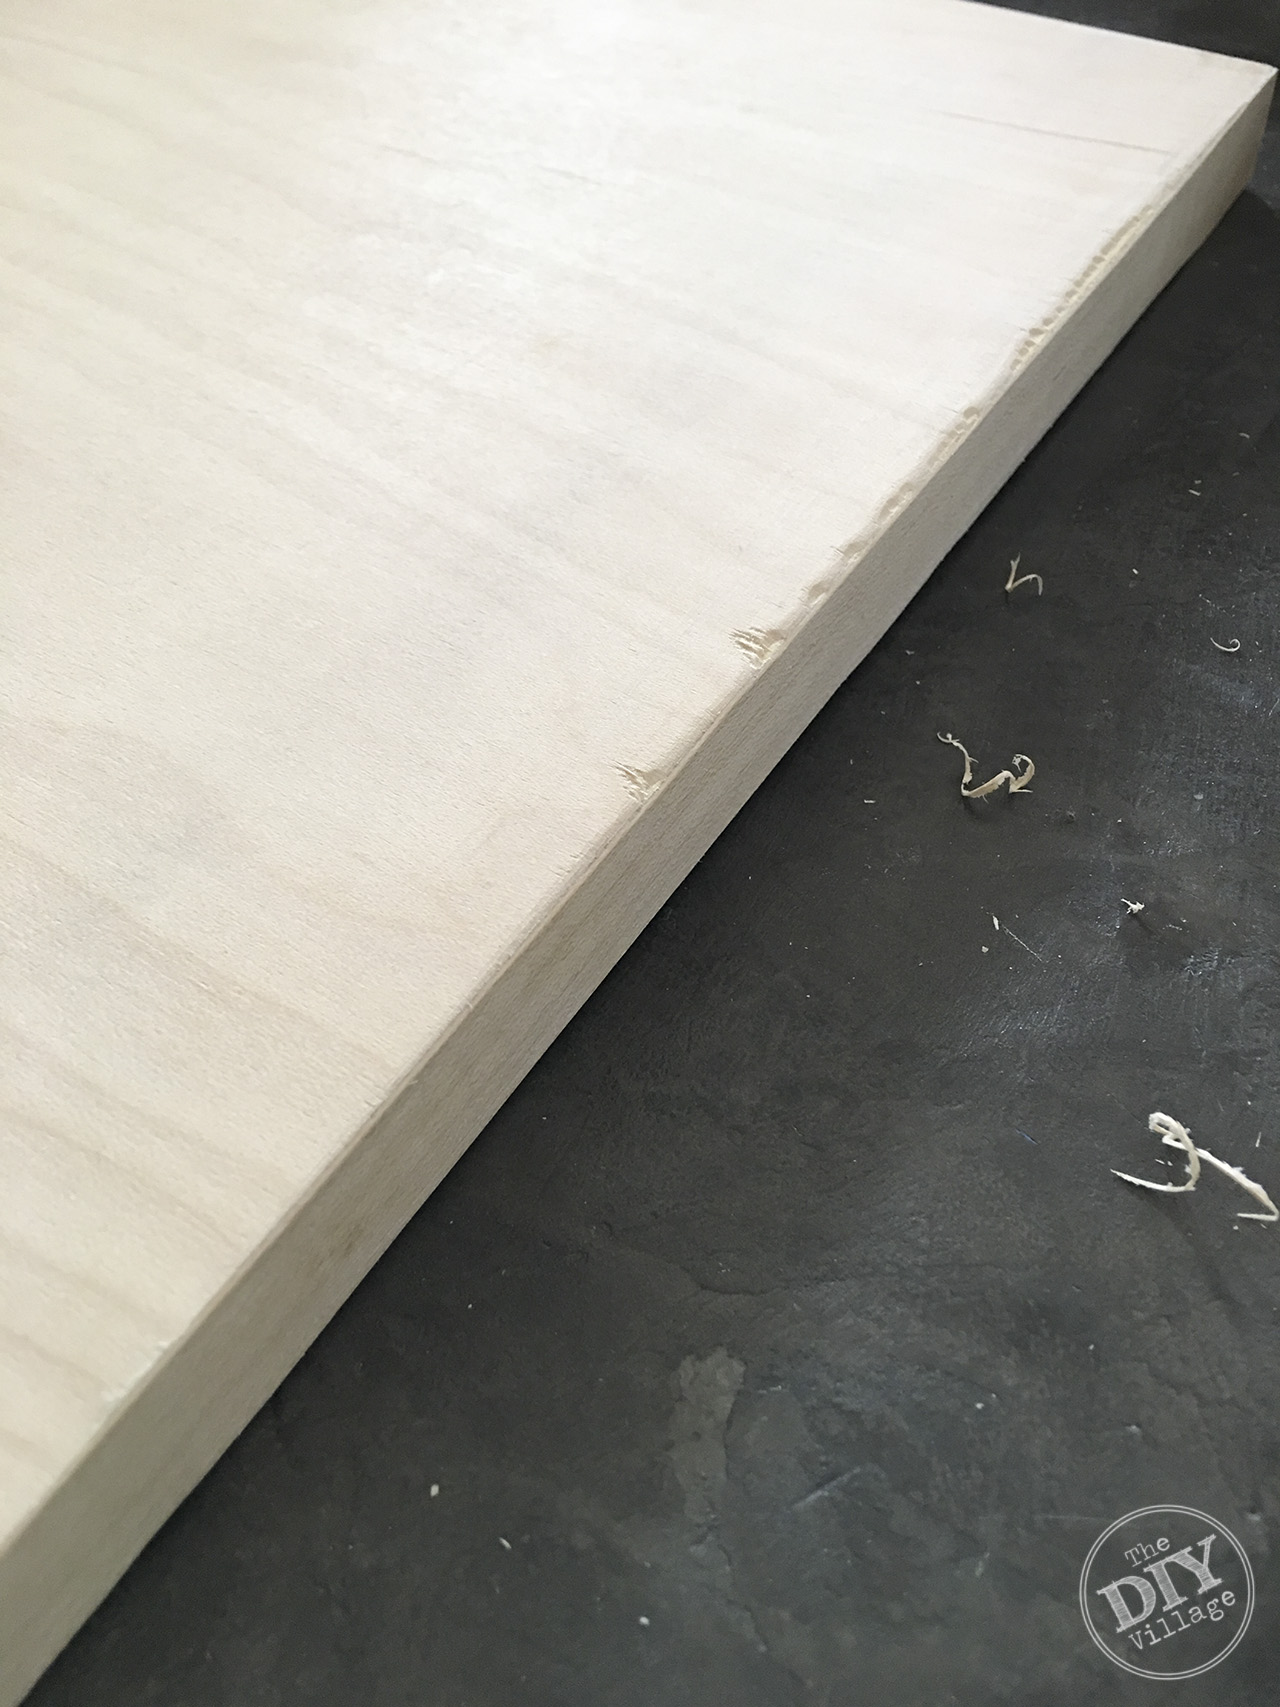 I got a little cocky while using the edgeband trimmer (Found HERE) and managed to gouge out some sizable chunks of wood along the edge. Whoops!
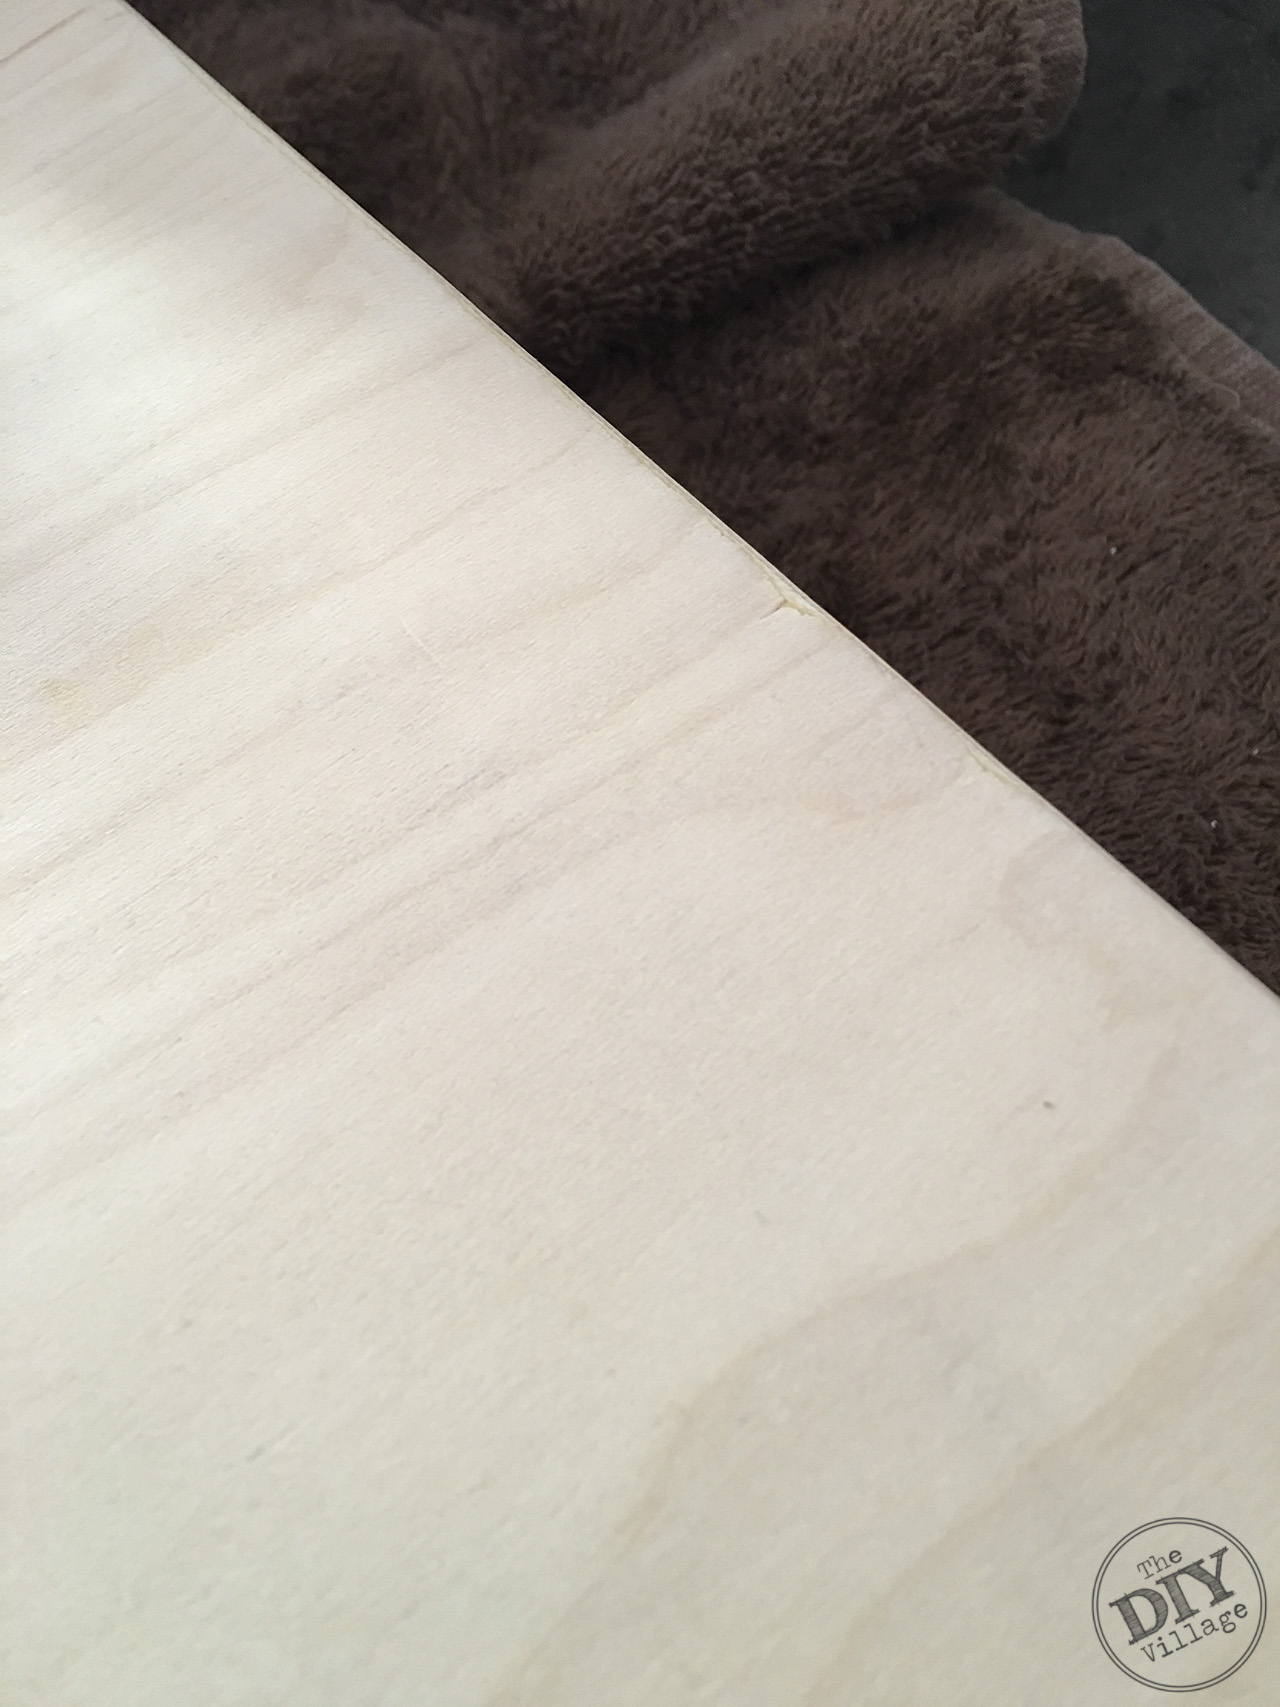 Thankfully I am very patient when it comes to sanding and was able to smooth down the edge to make it barely noticeable.
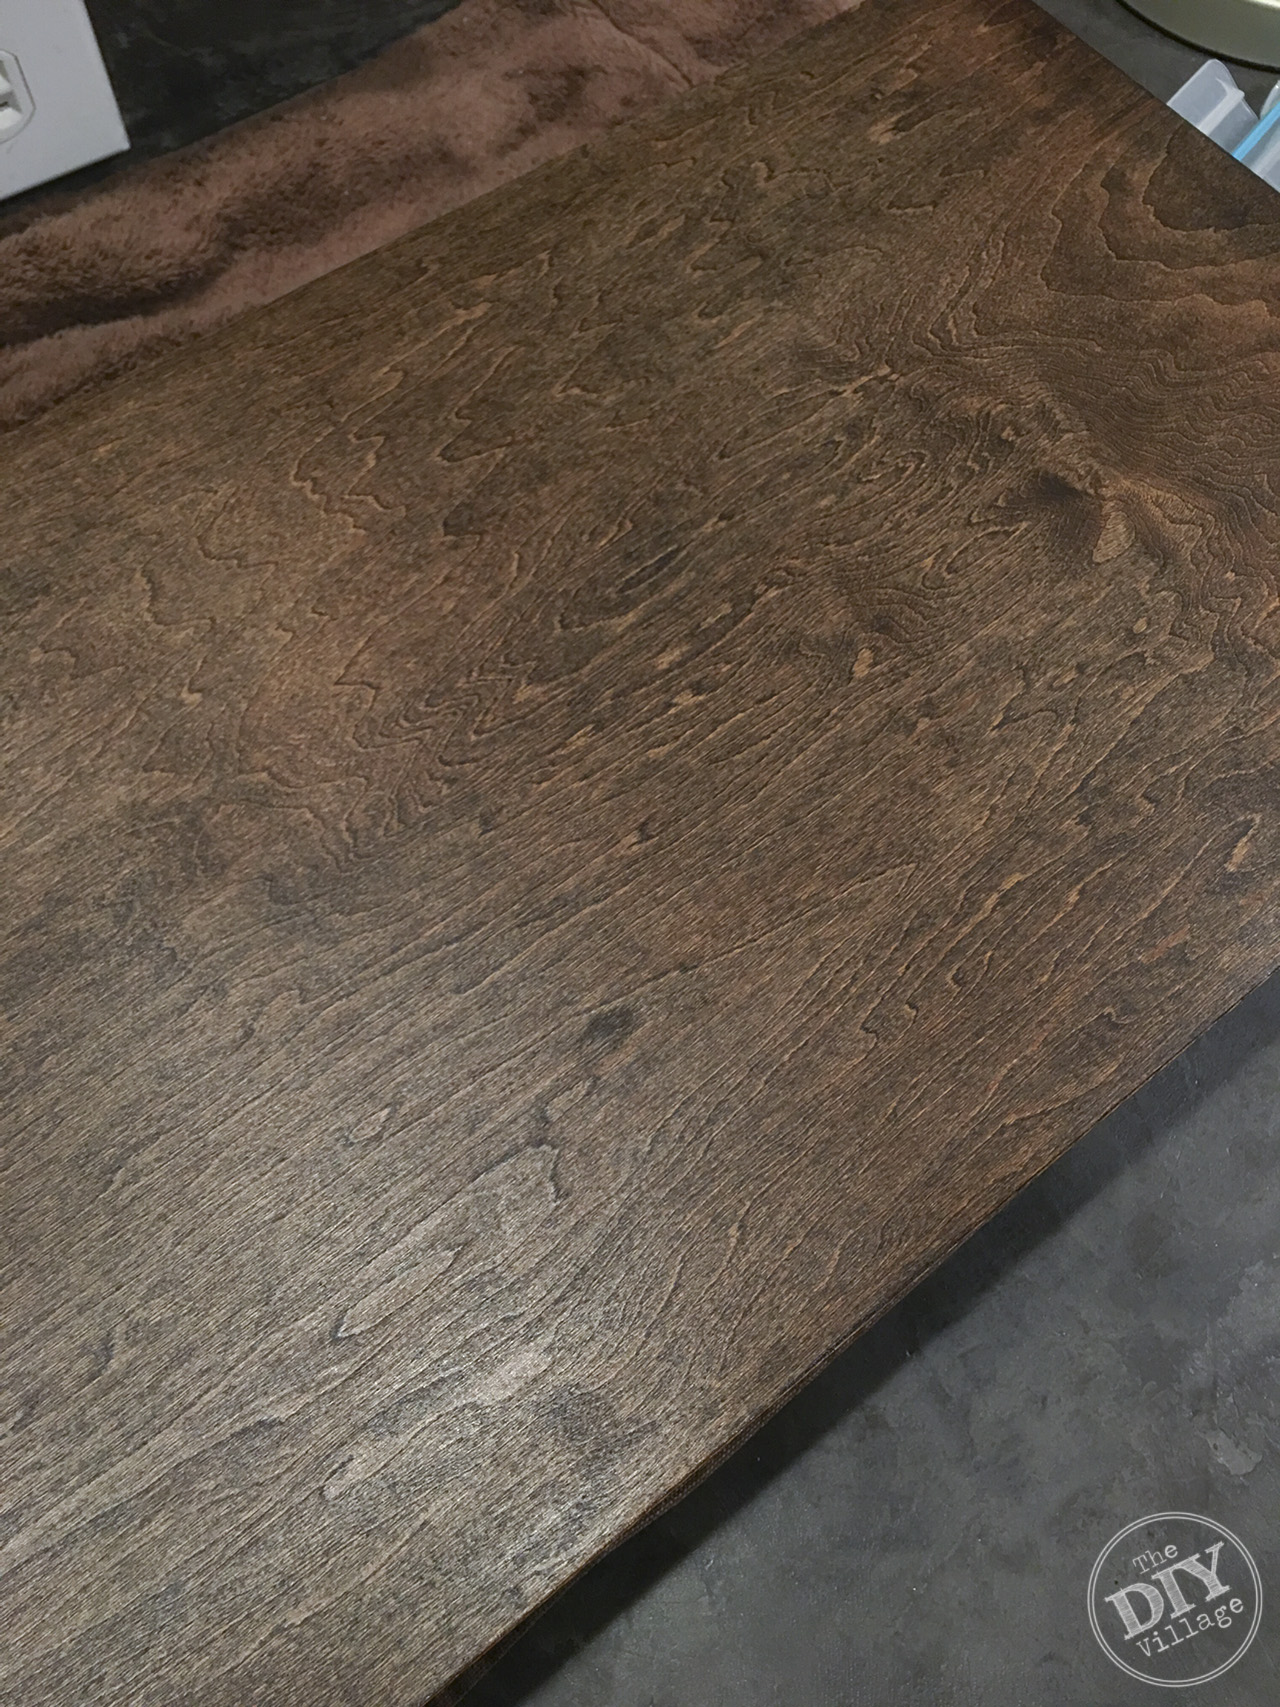
After a few coats of dark stain and poly you will never notice I had my whoops moment the day before.
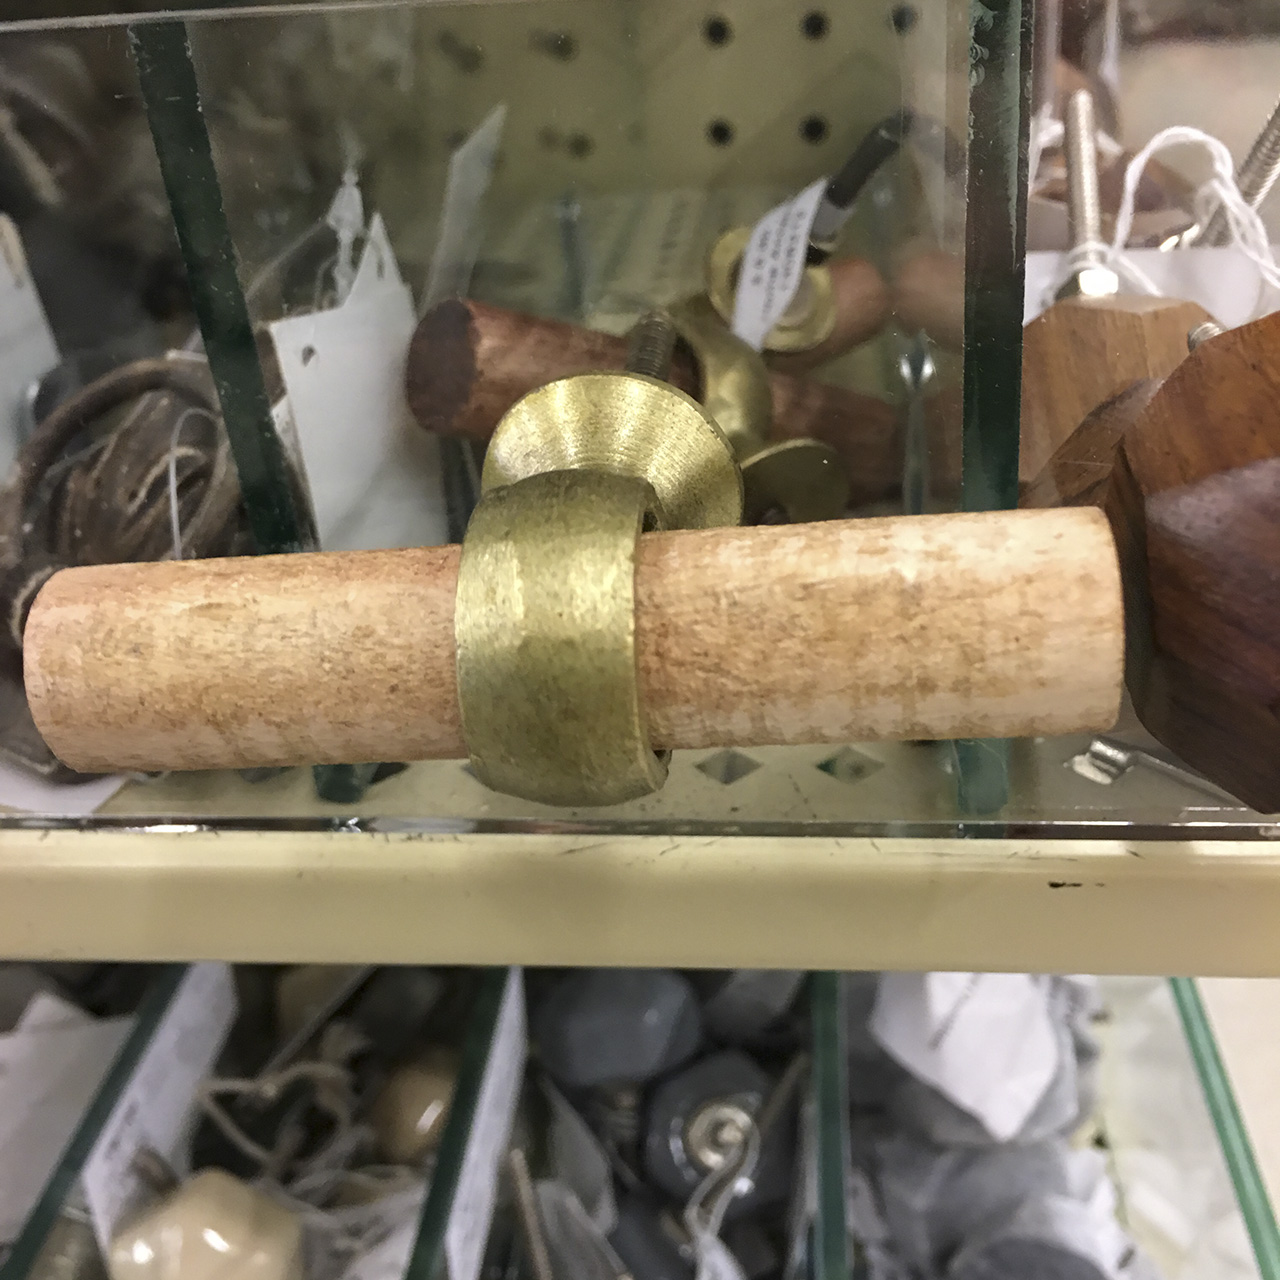 The hardware I picked out had red undertones to it so I added the same stain color as I used on the nightstand top. Problem solved.
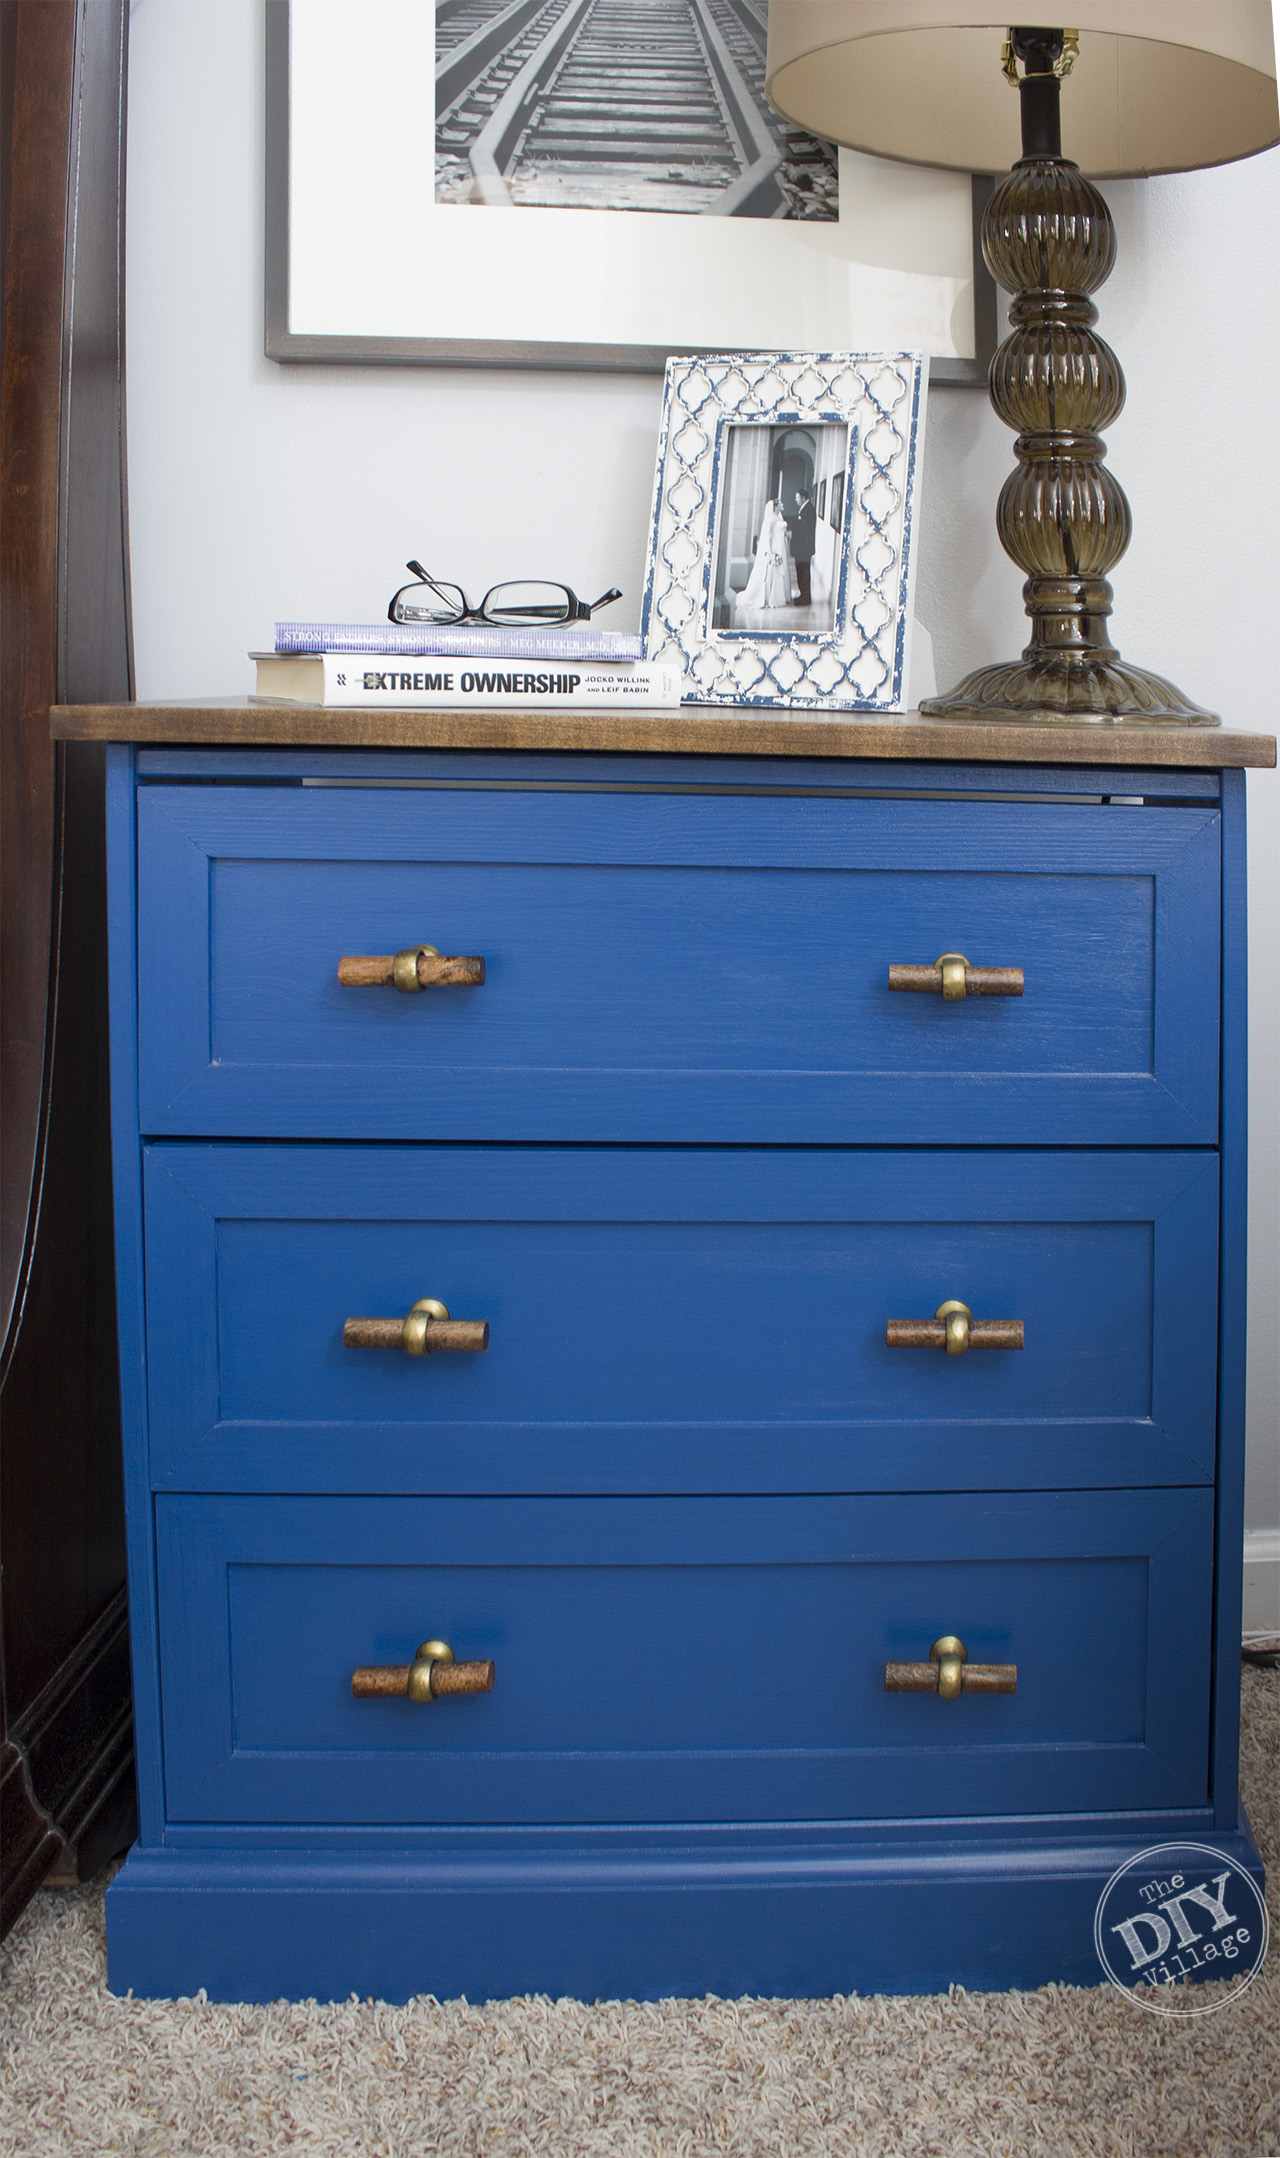 If you were wondering how much I love these nightstands I would tell you, More than ice cream!
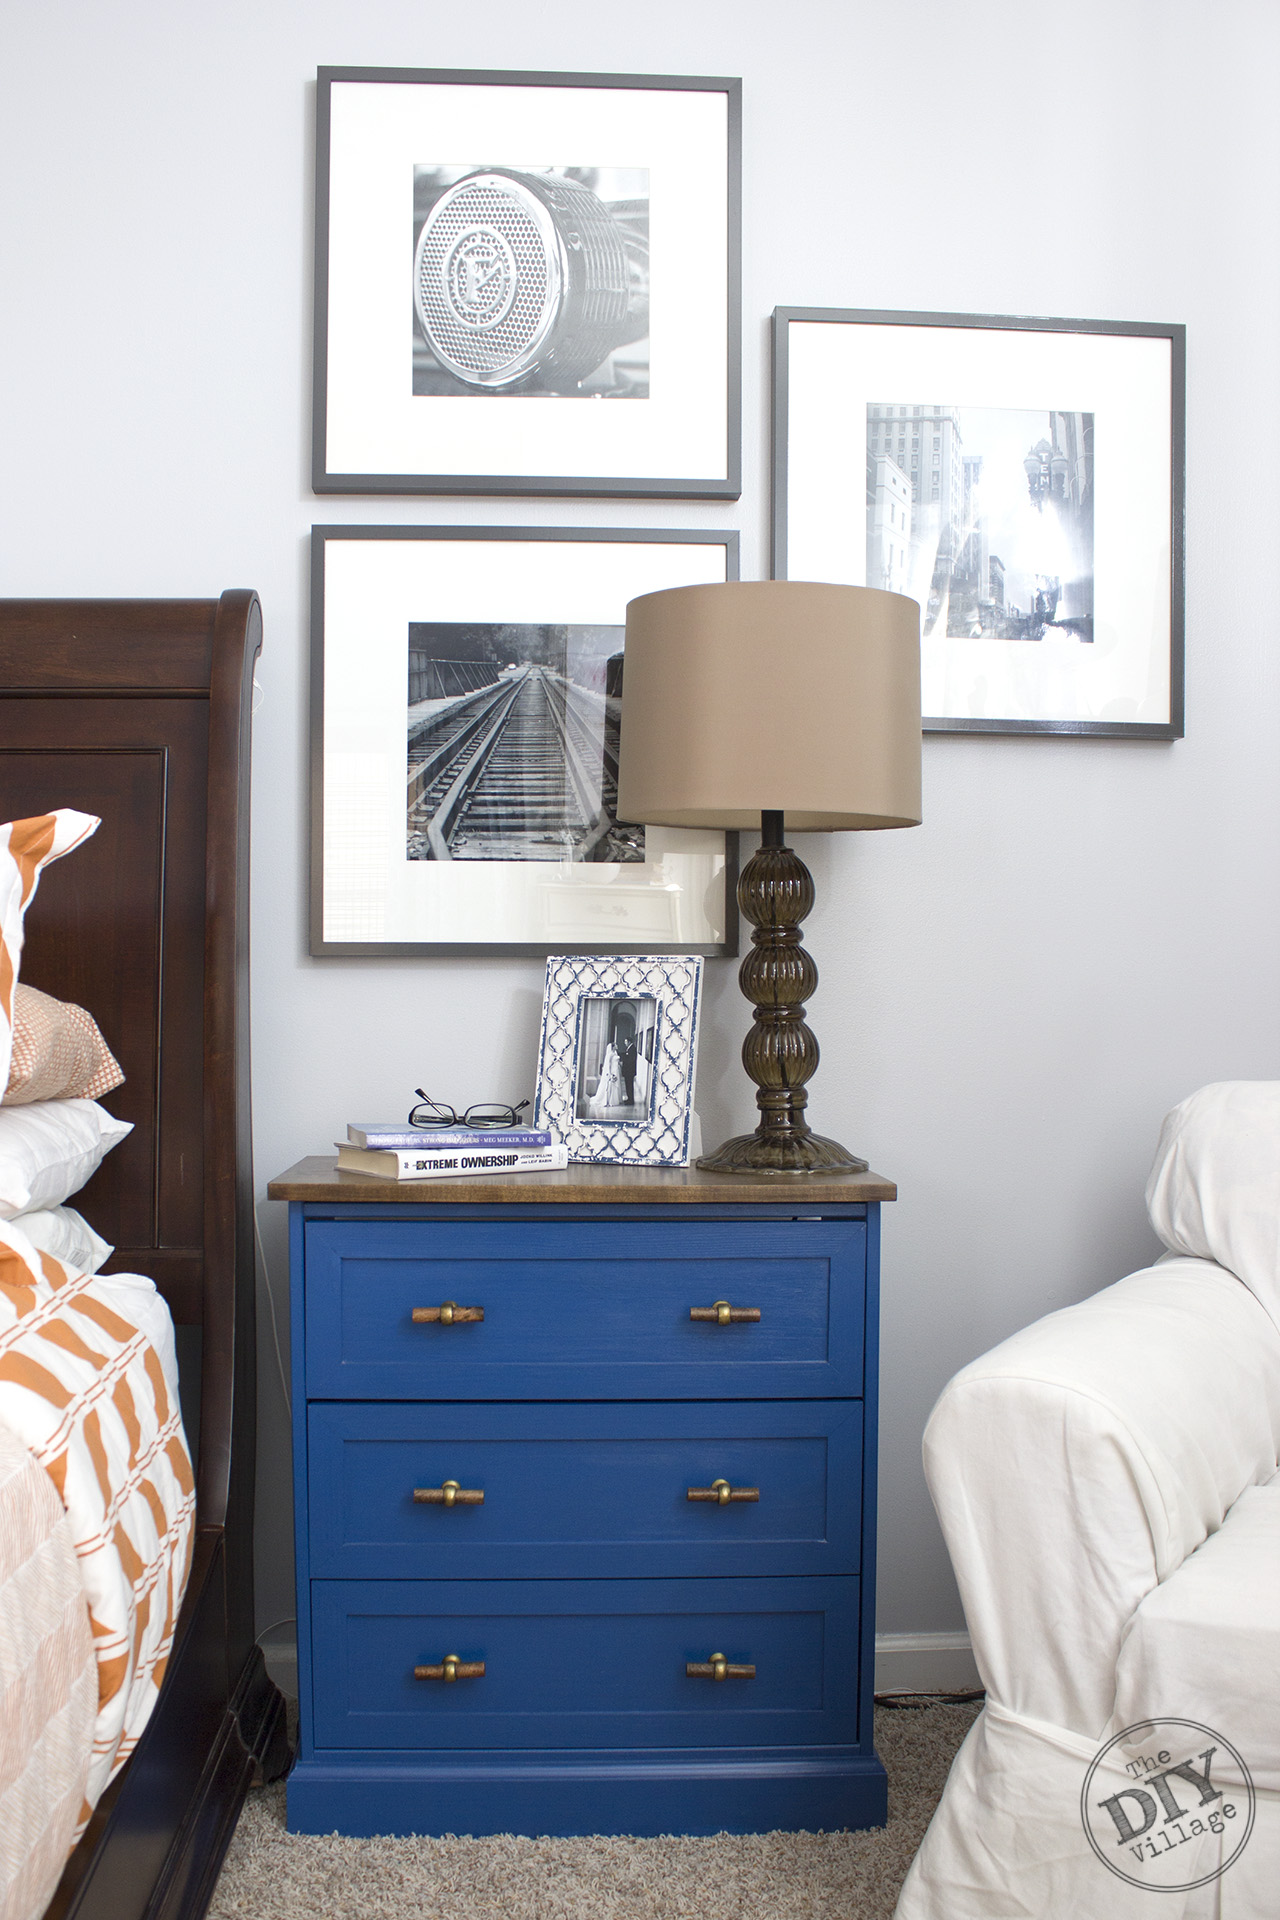 I love the look of the nightstands with the artwork we created. This is the first time I’ve had matching nightstands, I wish I had jumped on the RAST makeover bandwagon sooner!
Leave a Reply