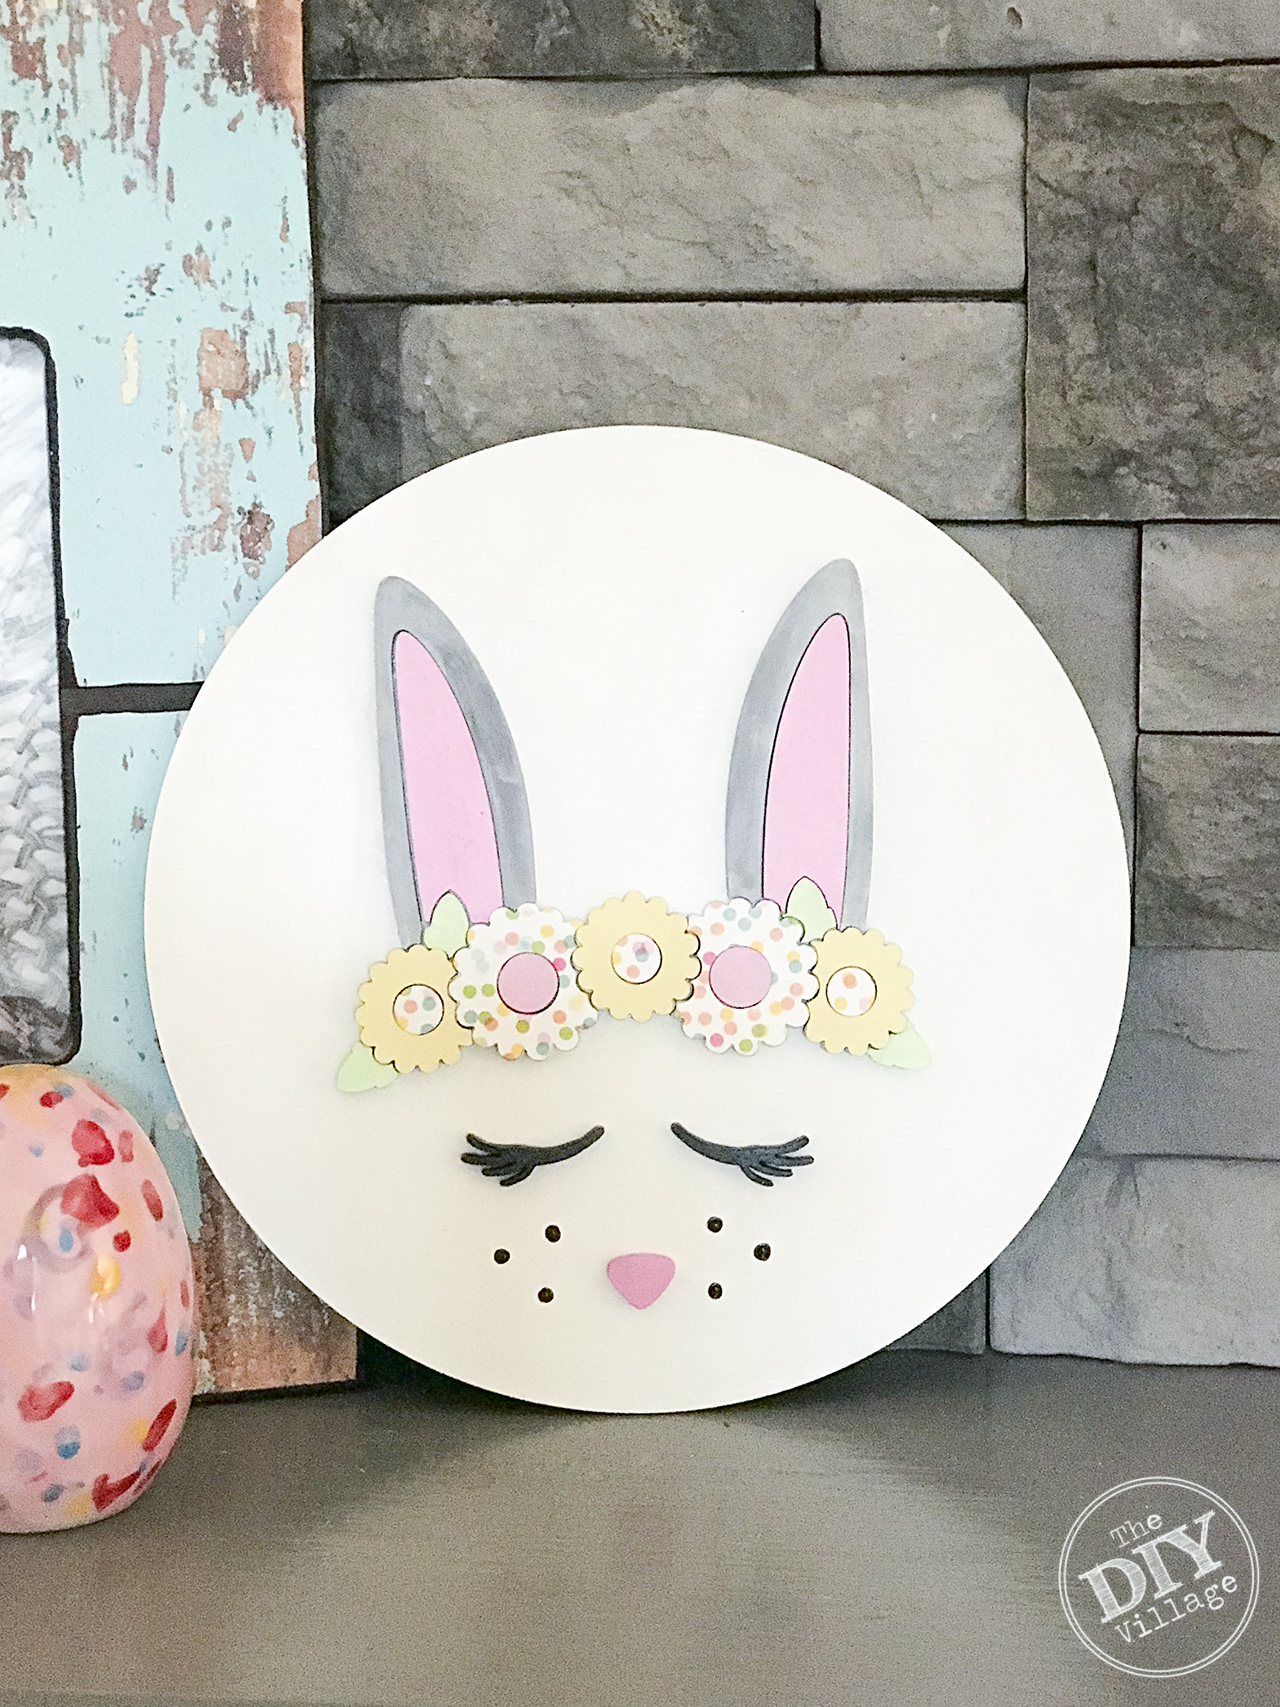
 When faced with a Craft Lightening Decoupage challenge I knew I wanted to make something to celebrate the first day of spring and do double duty for Easter. Since this particular craft challenge has a time constraint I made sure to incorporate my laser cutter. Our Glowforge can make light of most any project. If you are fast with a scroll saw then that is always an option. I am not, in fact I am not good at all so this was my best option for making my sweet wood bunny sign.
CUTTING
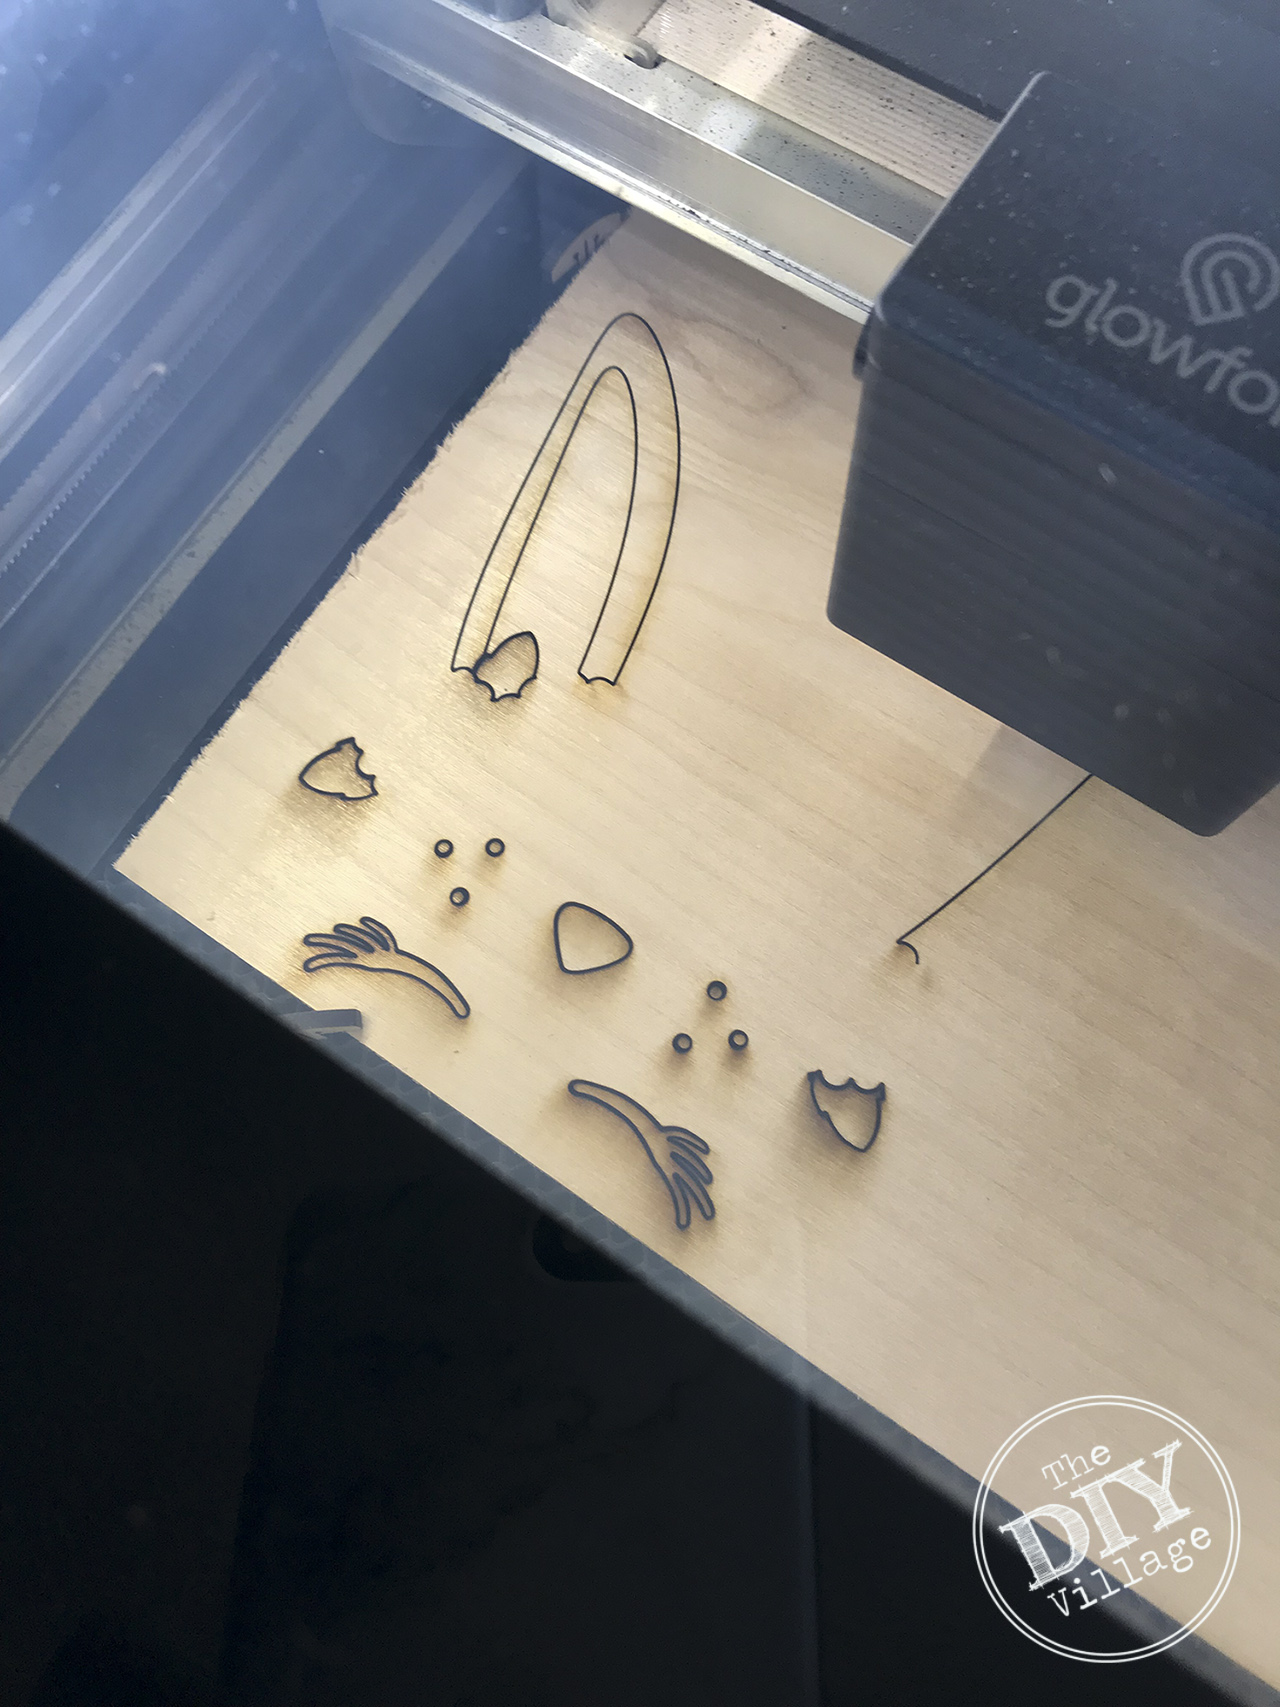
Start by selecting or creating your design and saving into SVG format. The design I used for the wood bunny sign can be found HERE. There are also a lot of other great designs in that bundle totally worth the money. Once the design is uploaded into the Glowforge app I set the machine to cut my 1/4 plywood.
 A whopping 5 minutes later the design is cut and ready to go and ready for a base coat of paint.
PAINTING
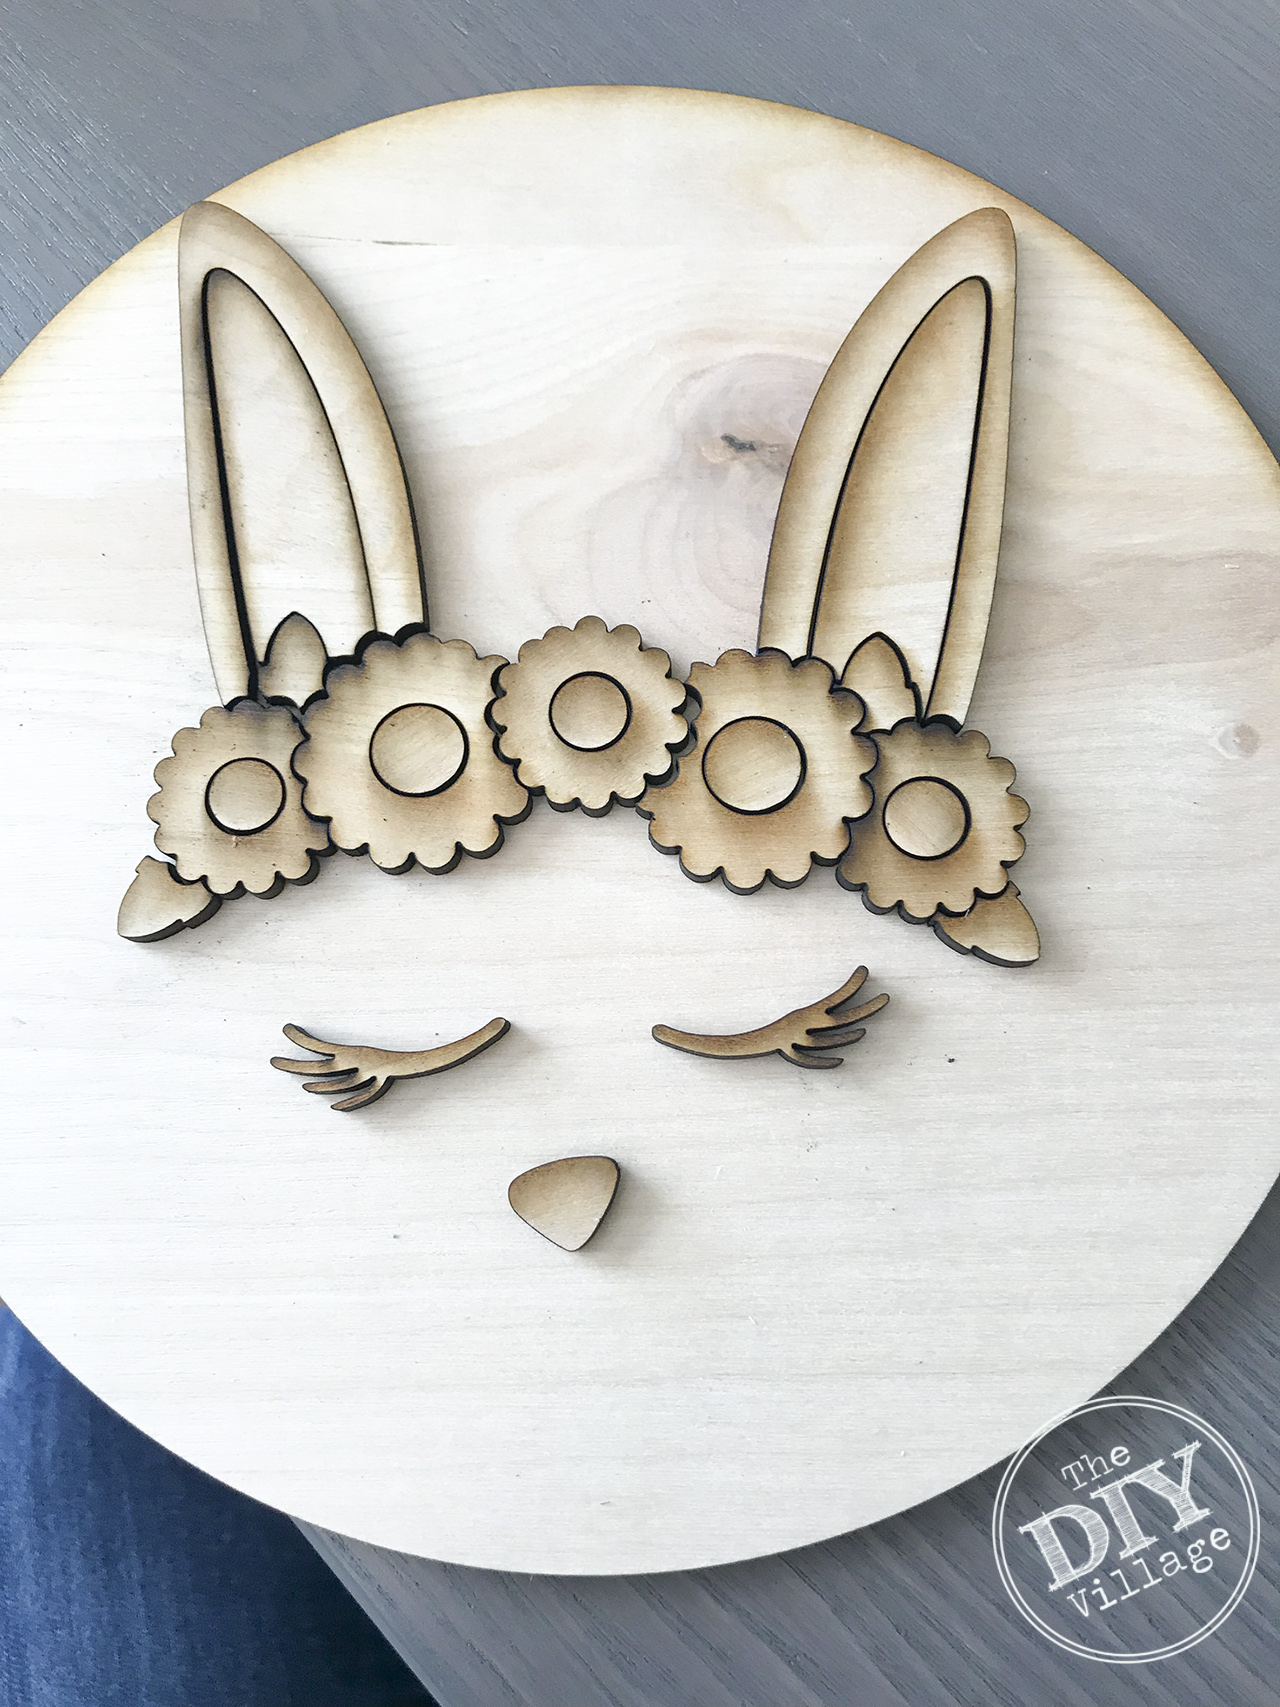
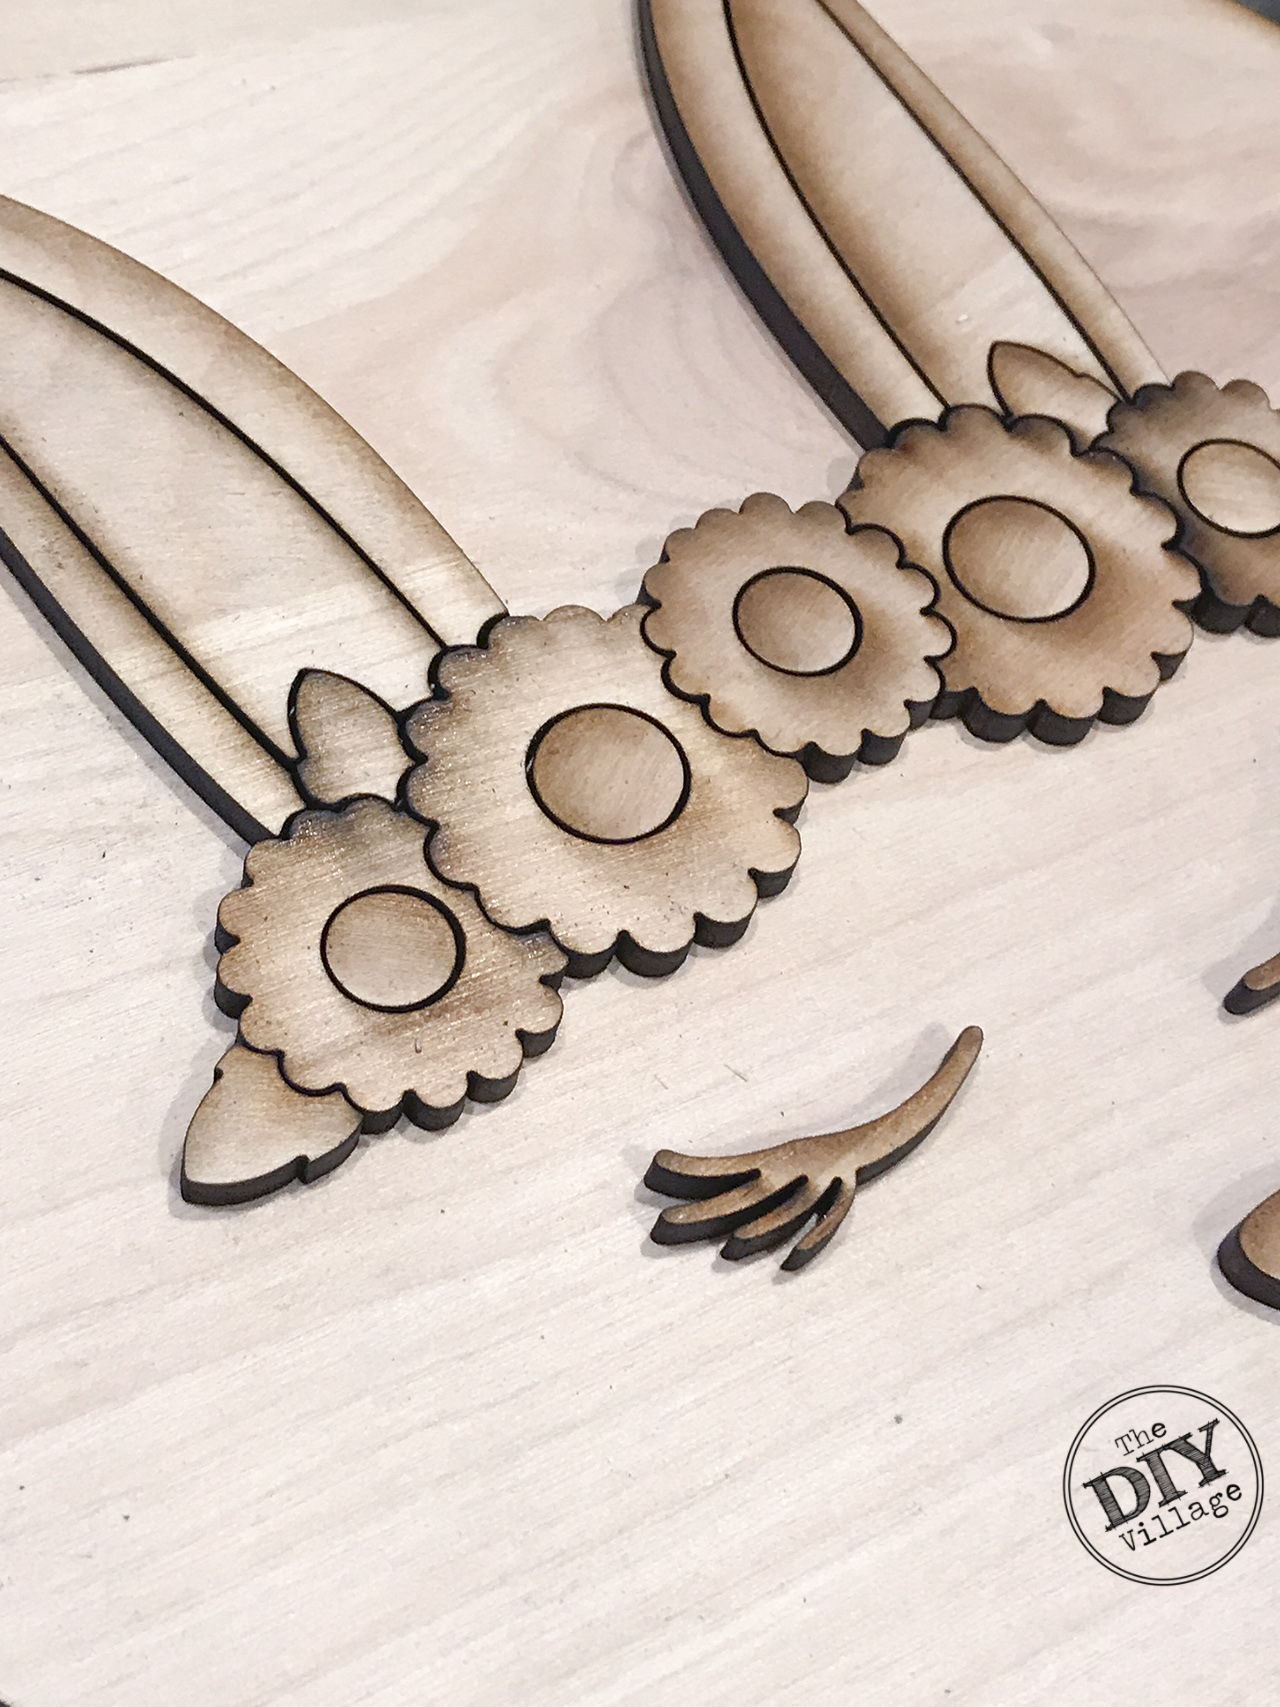
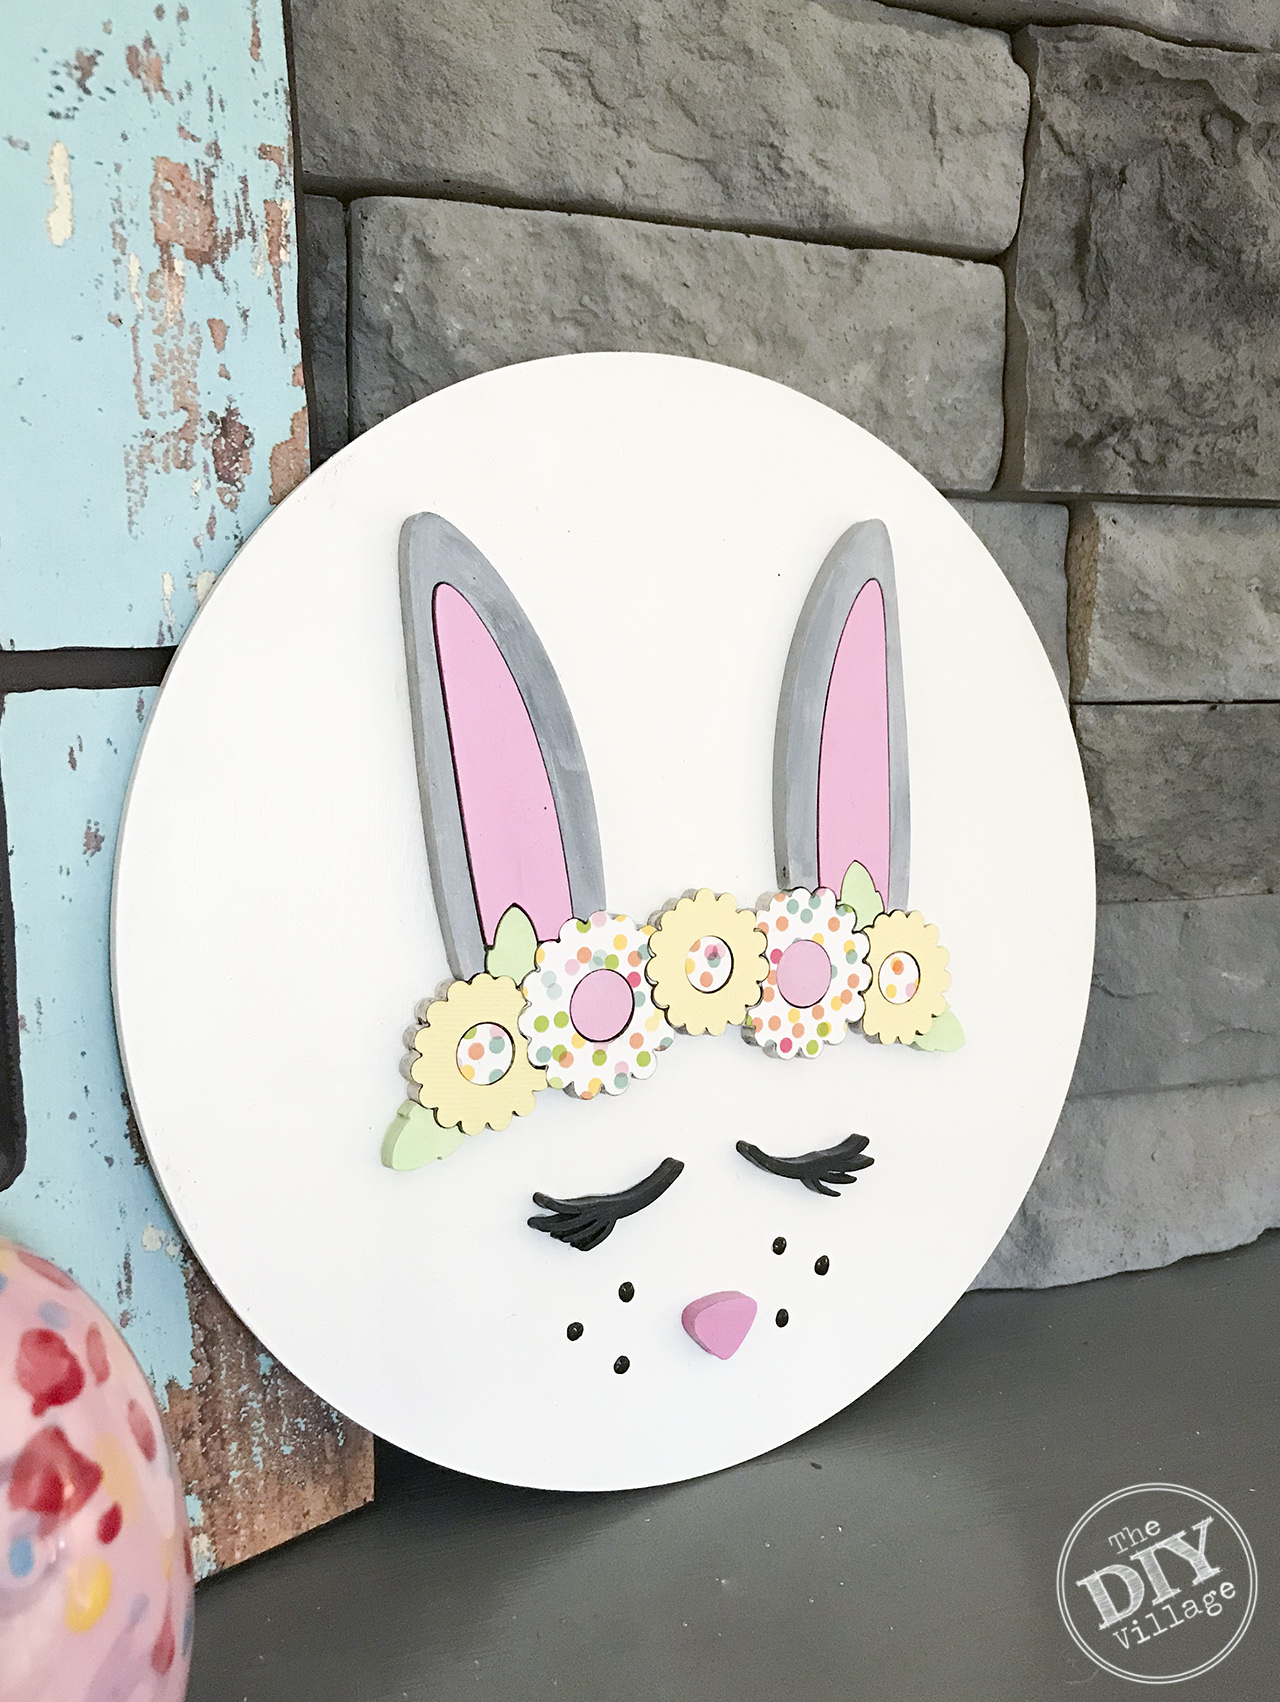
Before painting lay the pieces of the wood bunny sign out to get the correct placement. I give each piece at least one coat of paint. The paint serves double duty it acts as a primer for the other paint colors and also helps seal the cut edges of the wood reducing any char odor that might remain.
DECOUPAGE
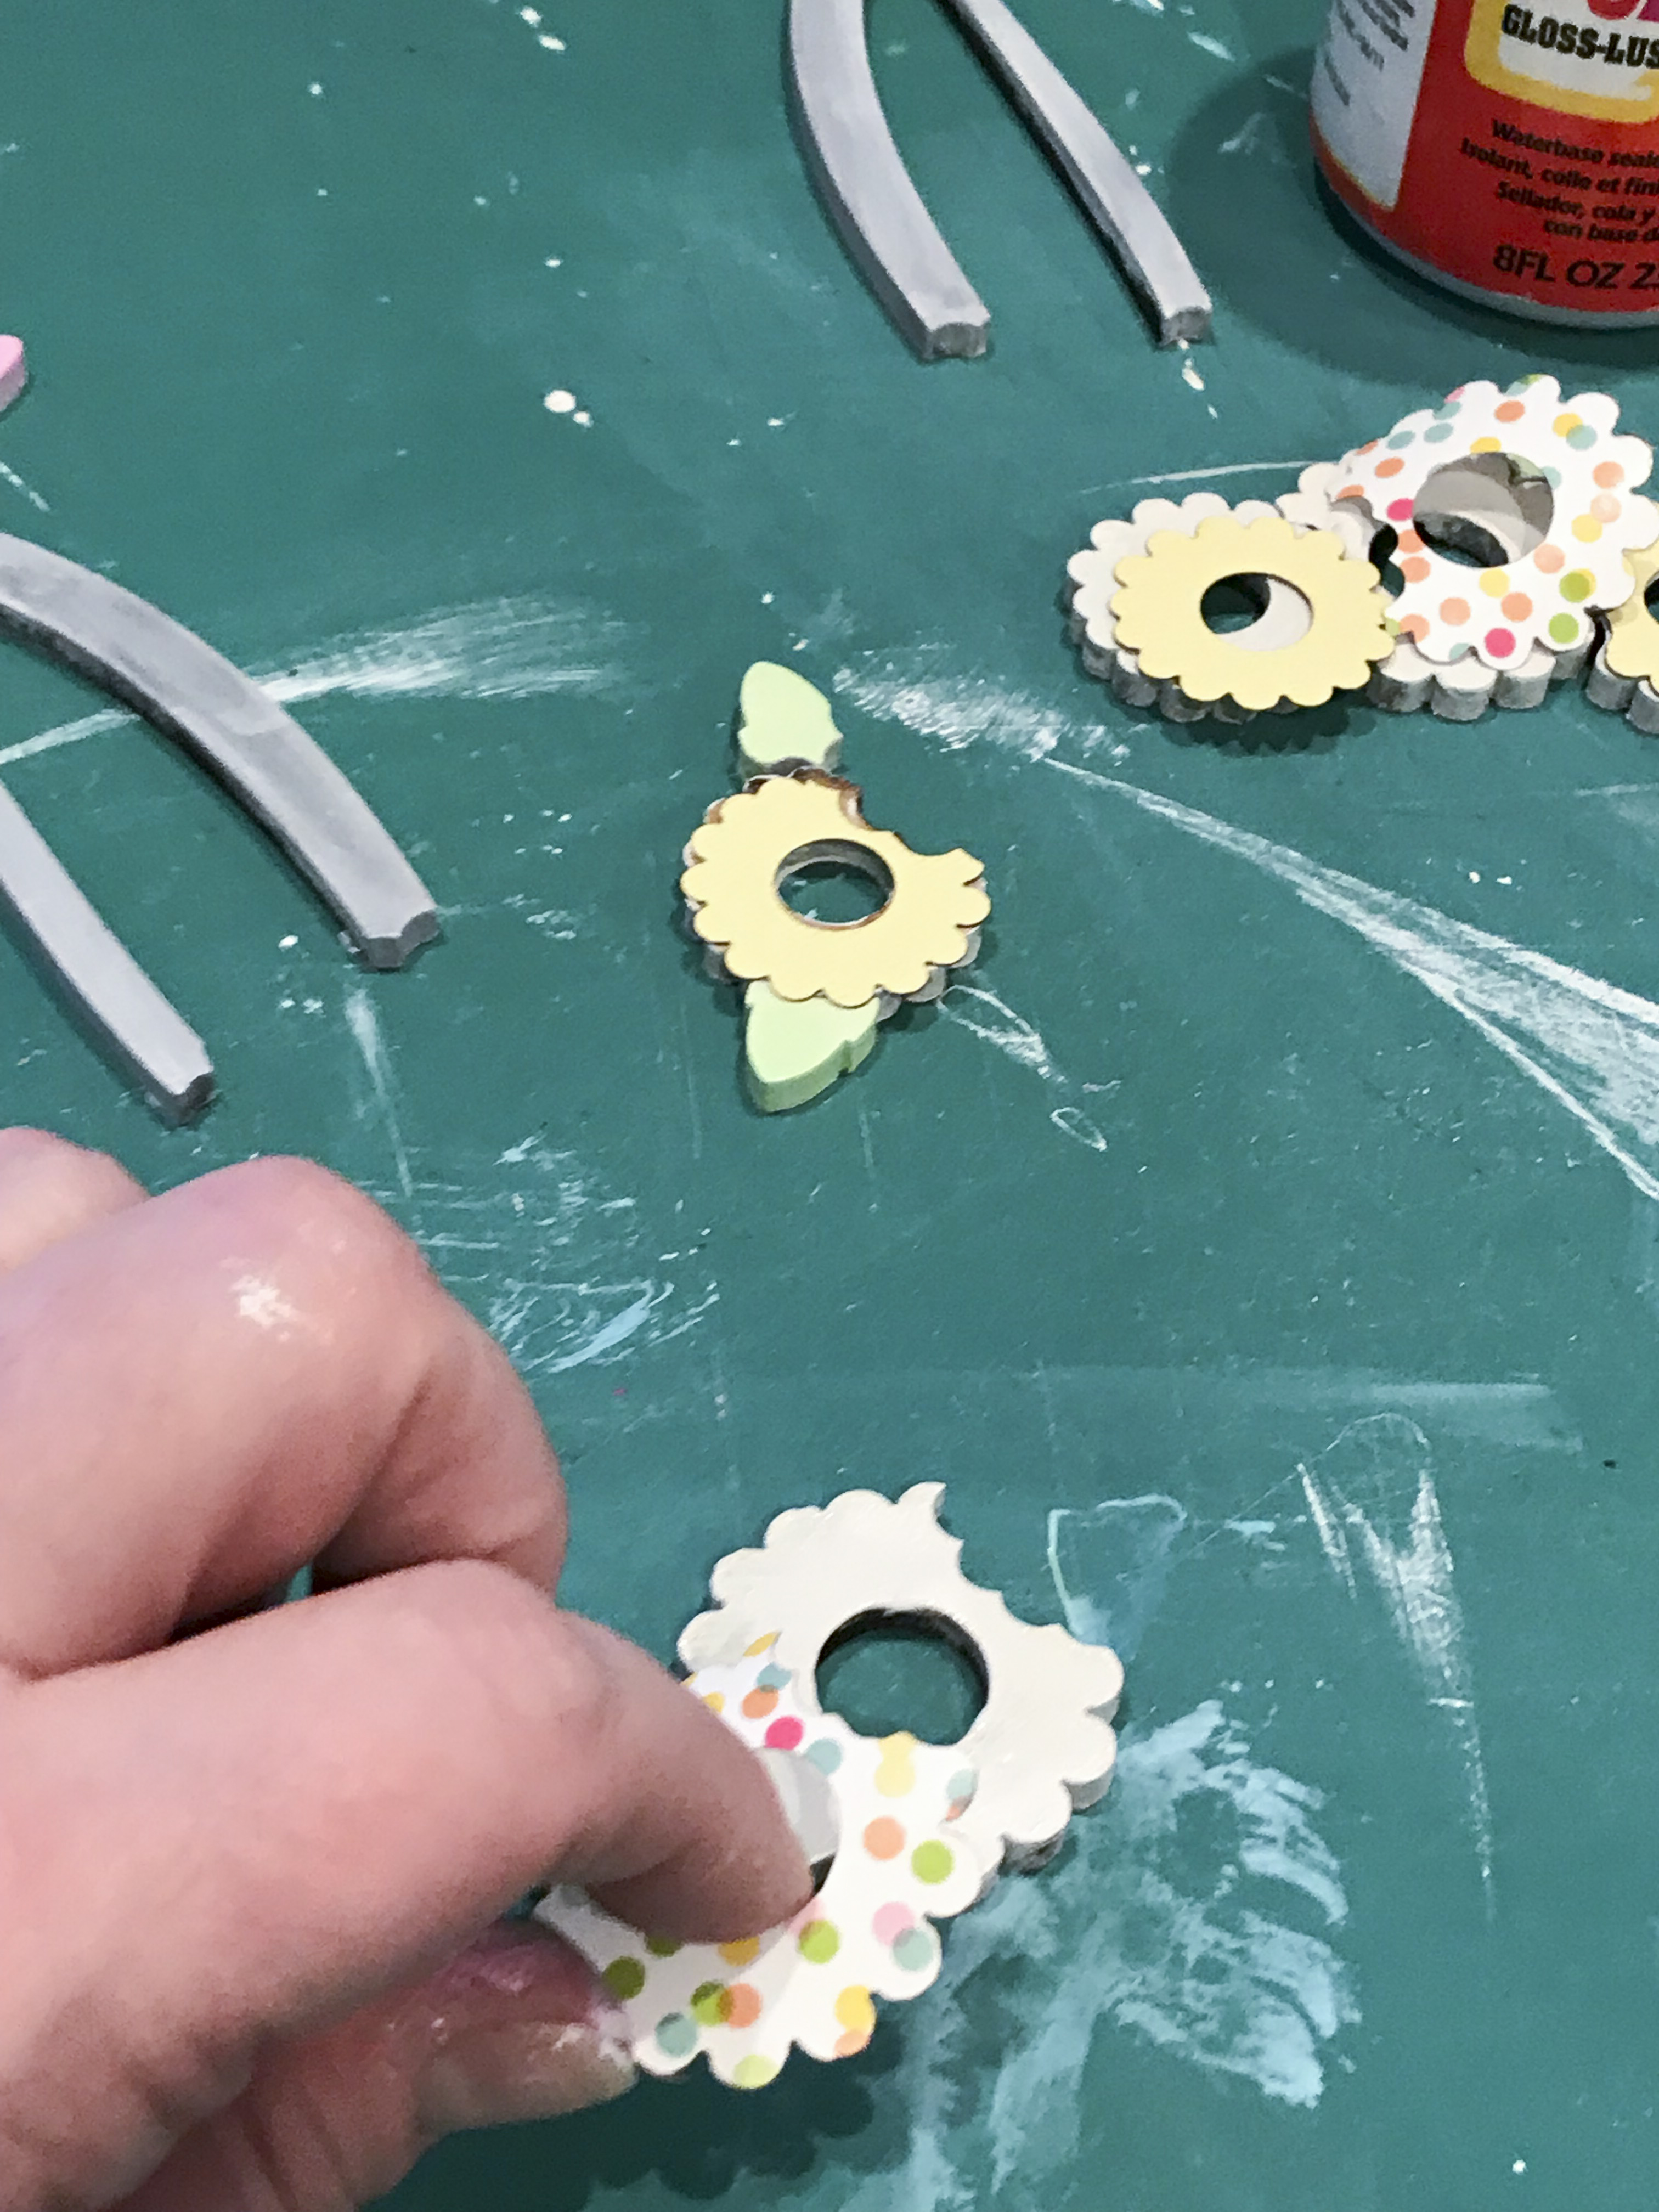
While the paint is drying you can set the Glowforge up to cut paper for the flower crown. I prefer a thicker scrapbook cardstock but most any paper will do as long as you use the correct settings. After the paint is dry and the paper flowers have been cut it’s time to decoupage (Mod Podge) the paper to the flowers. For this application I chose a spotted patterned paper and a solid paper. Mixing the elements of the flowers gives the wood bunny sign a nice touch.
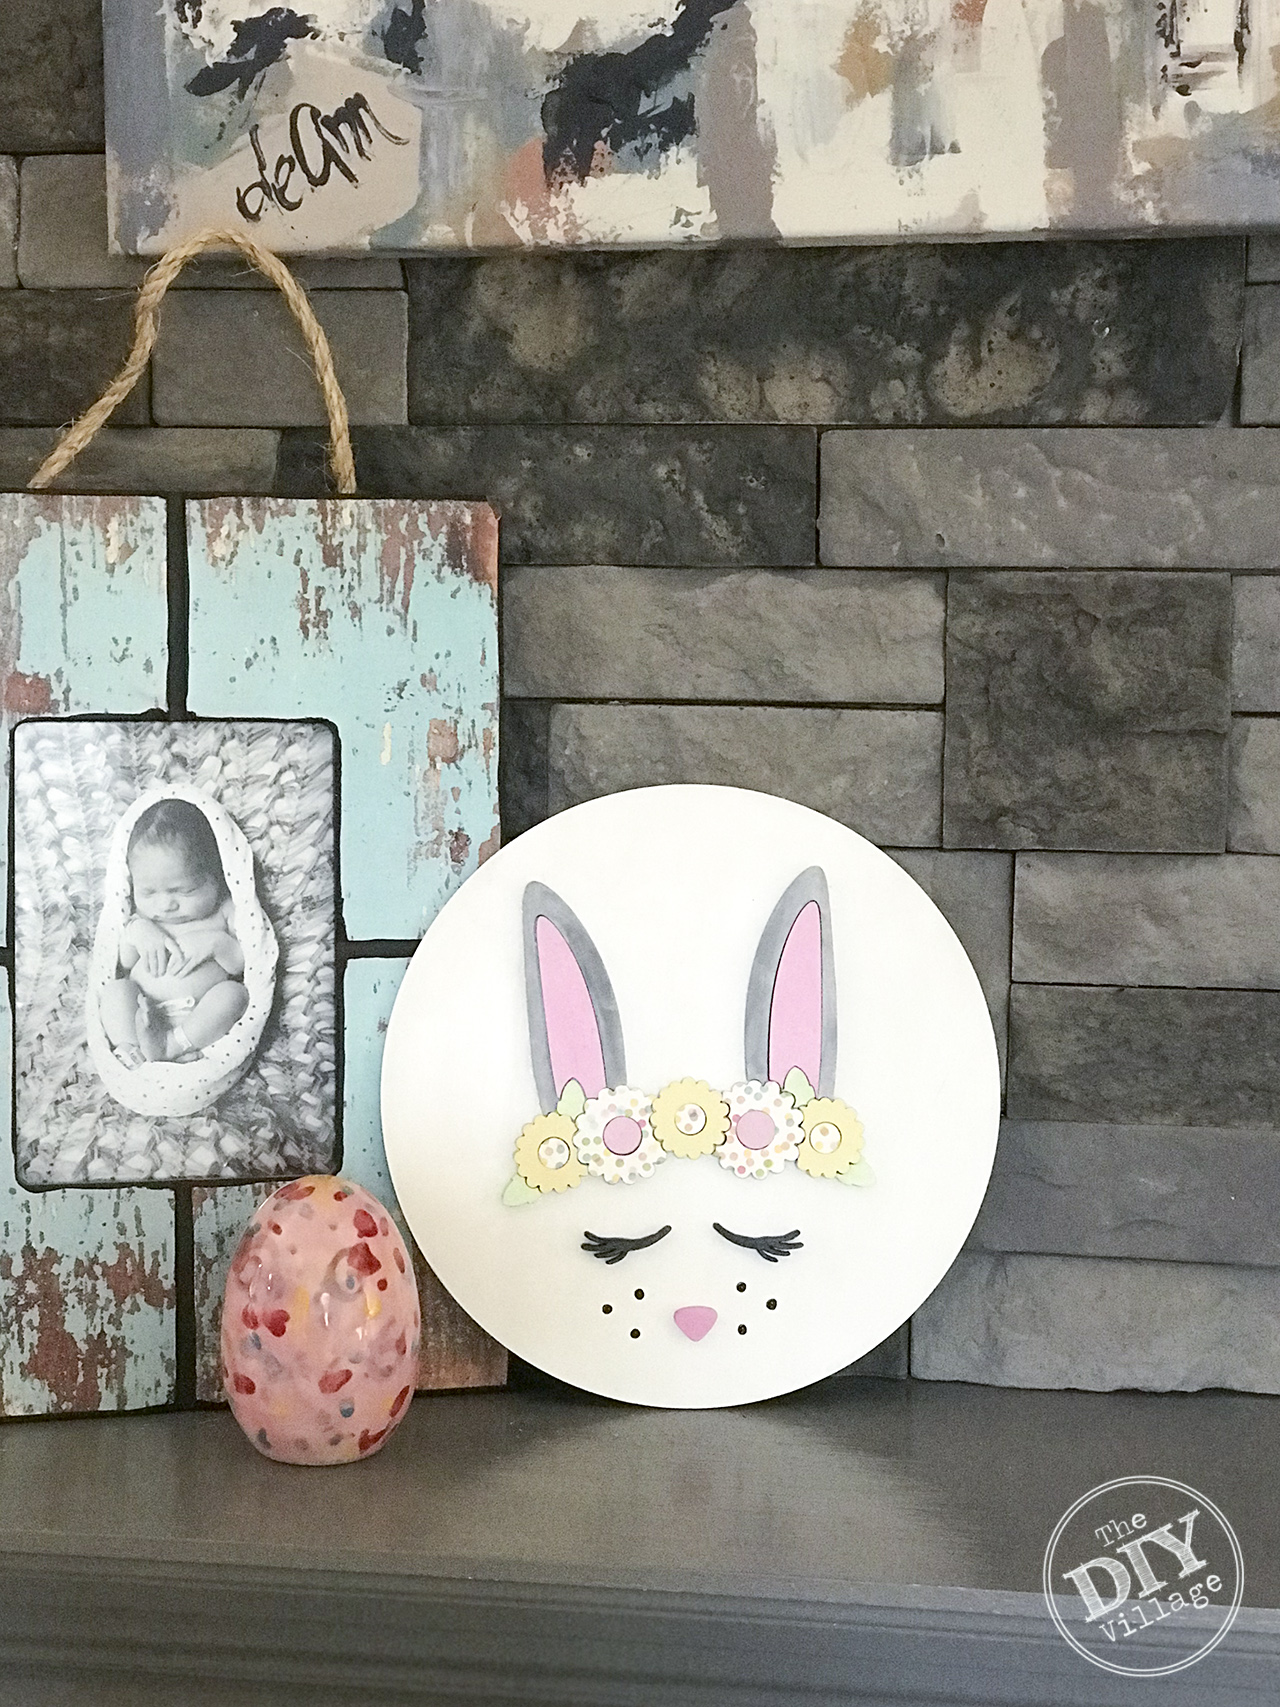 From start to finish you can expect this project to take 30-40 min depending on the amount of detail you want to have in your bunny. My wood bunny sign was painted at least 4 times until I got the colors that I thought would work best for this sweet girl. To add the whisker spots use the end of a paint brush dipped in paint to create dots.
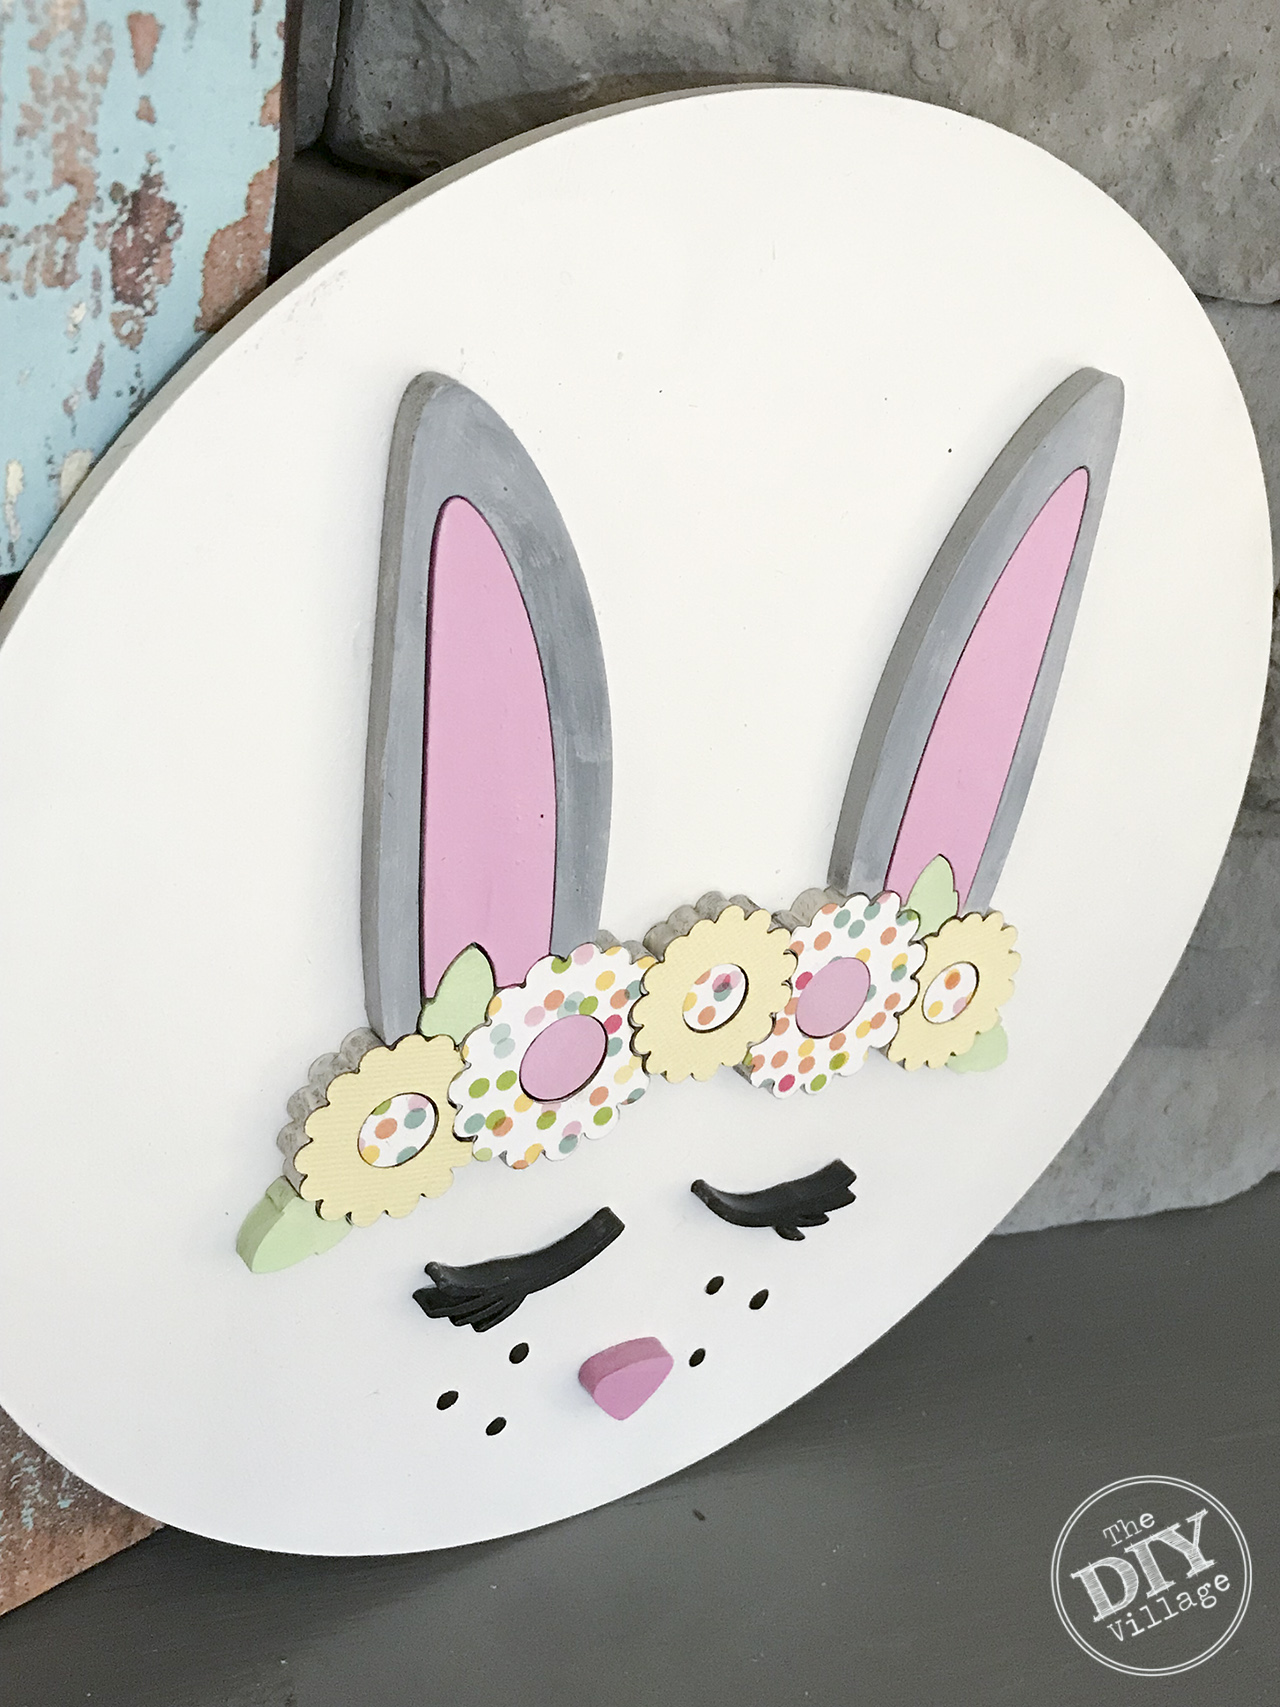
Make sure to glue your wood bunny pieces securely to your sign. I prefer DAP Rapid fuse.
Make sure to check out some of our other great Bunny projects for spring and Easter. Found HERE and HERE

This is so cute! I totally need a Glowforge!
Wood working projects are always best. This so cool and beautiful project. Thanks for sharing.
Hey, awesome post! Scroll saws can be kind of a headache to set up for those who are new to them, but the way you broke this down simplifies it tenfold. My team actually just wrote a full review about the Delta 40-694 scroll saw…maybe it will be of help to your readers! https://thebestscrollsaw.com/delta-power-tools-40-694-20-in-variable-speed-scroll-saw/ Thanks for posting!