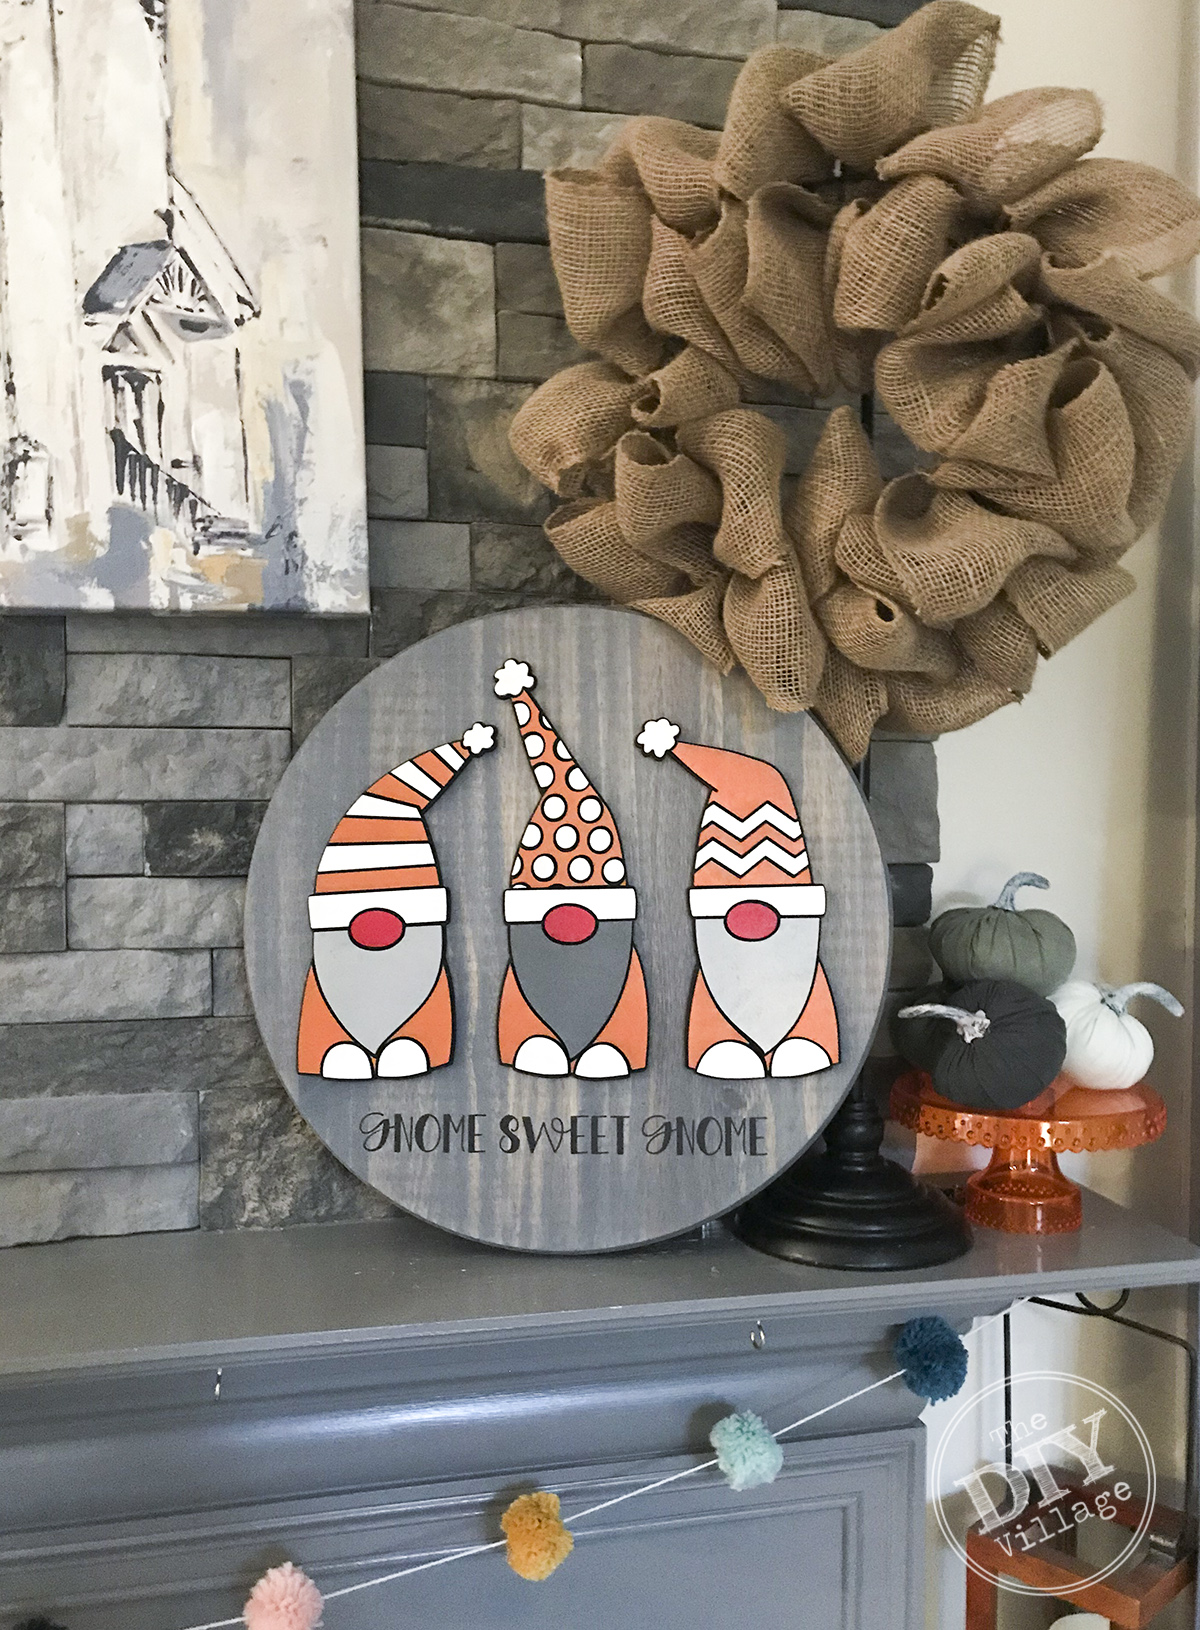
 This month for the At Home DIY Challenge, we were challenged to come up with something for your walls. Since I’ve already done Hand Painted Wall Paper, Airplane Art, Plank Santa Art, Toddler Art, and so many more, I knew it was time for something new, something whimsical. Since I love a good pun, I had to add that in there! I found a great file online and the rest just came to me. Thus was born my whimsical Gnome art. Because, let’s be honest, who doesn’t love those cute little gnomes?
The project will require the use of a scroll saw, laser cutter, or for a more 2 dimensional look, a vinyl cutter. After you check out my project make sure to check out all the other wall Challenge participants in the link up at the bottom of the page!
MATERIALS:
1/4 Birch Plywood – Approx. 20 x 20″
17″ Round – Found HERE
CA Glue – Found HERE
Vinyl – Found HERE
Transfer Tape – Found HERE
Spray Paint – Found HERE, HERE, HERE, and HERE
Wood Stain – Found HERE
Paint – Found HERE
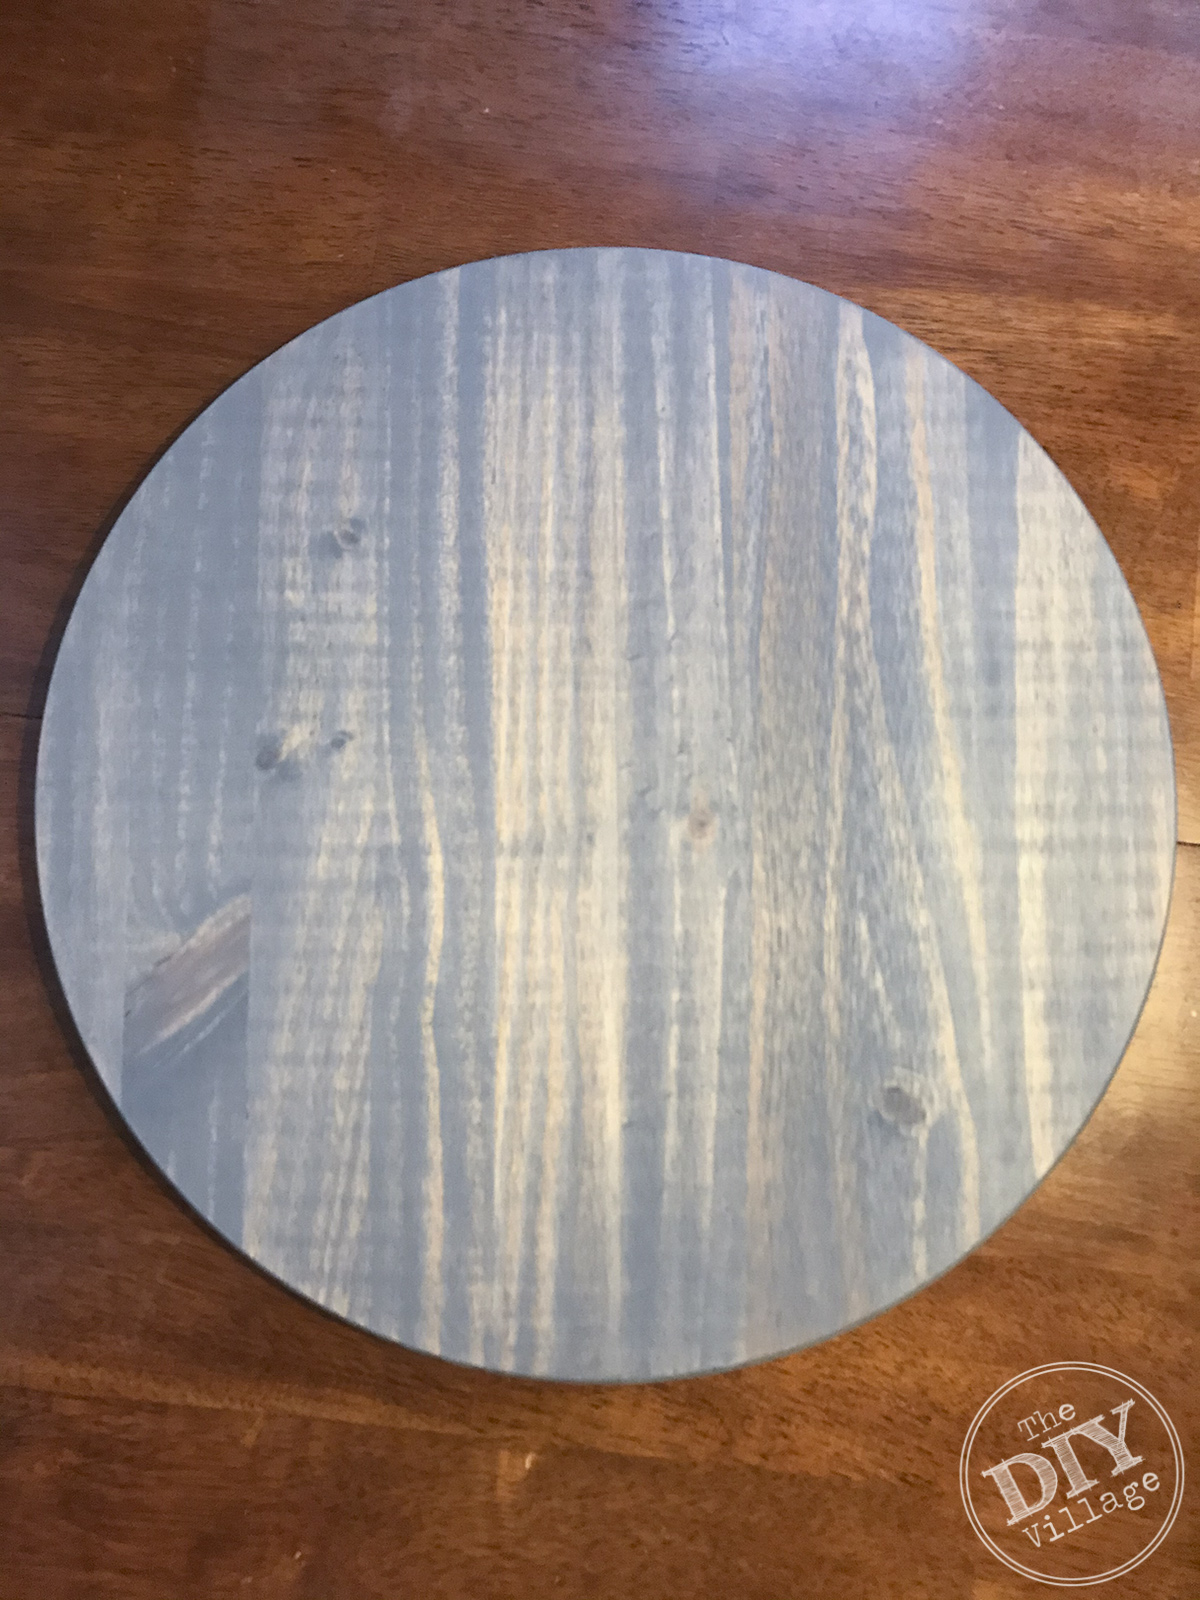 Start by staining your round and setting it aside to dry. I used a weathered Gray color, found HERE. While your round is drying cut your Gnomes.
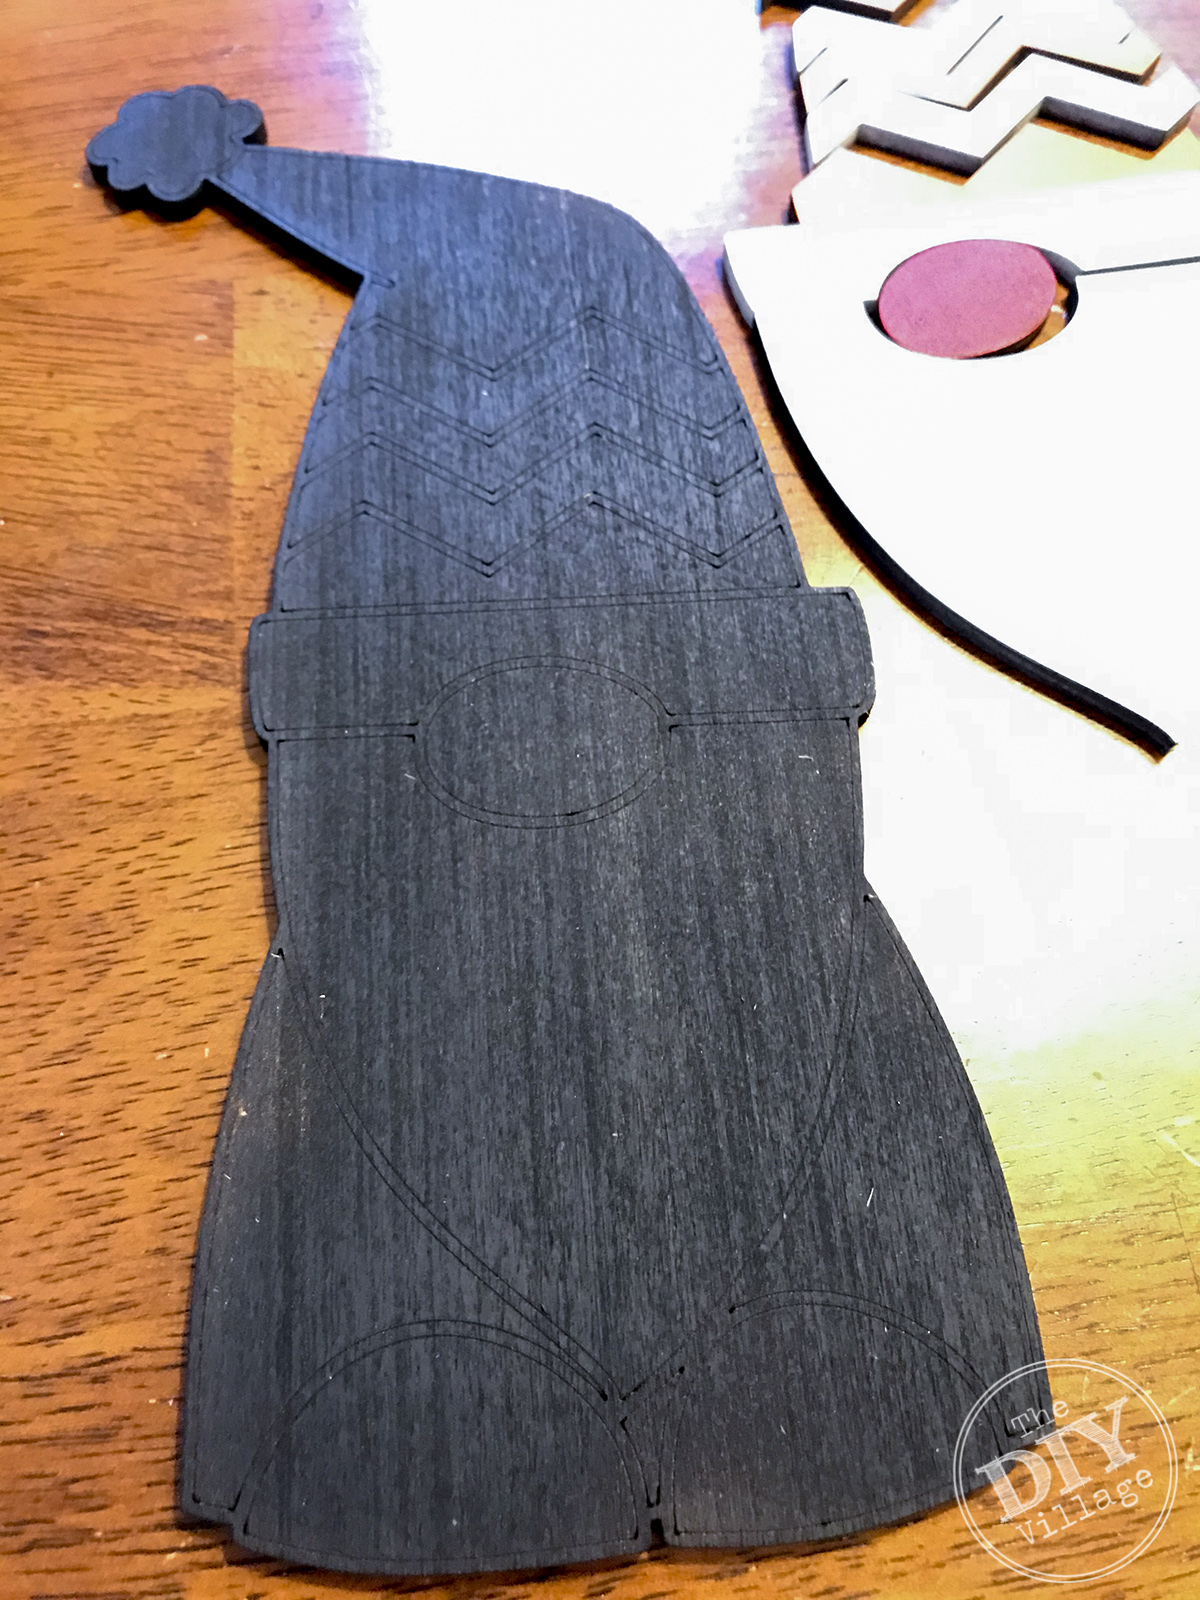
For a layered look you will need a base that includes the entire shape and smaller pieces to layer on top. To be able to find the exact placement of each layered piece I used the score function to lightly engrave the wood and show my outlines of the pieces.
Next cut the layered shapes. Make sure to take note of which shapes go to which gnome so they don’t get mixed up. Paint your pieces the colors of your choice.
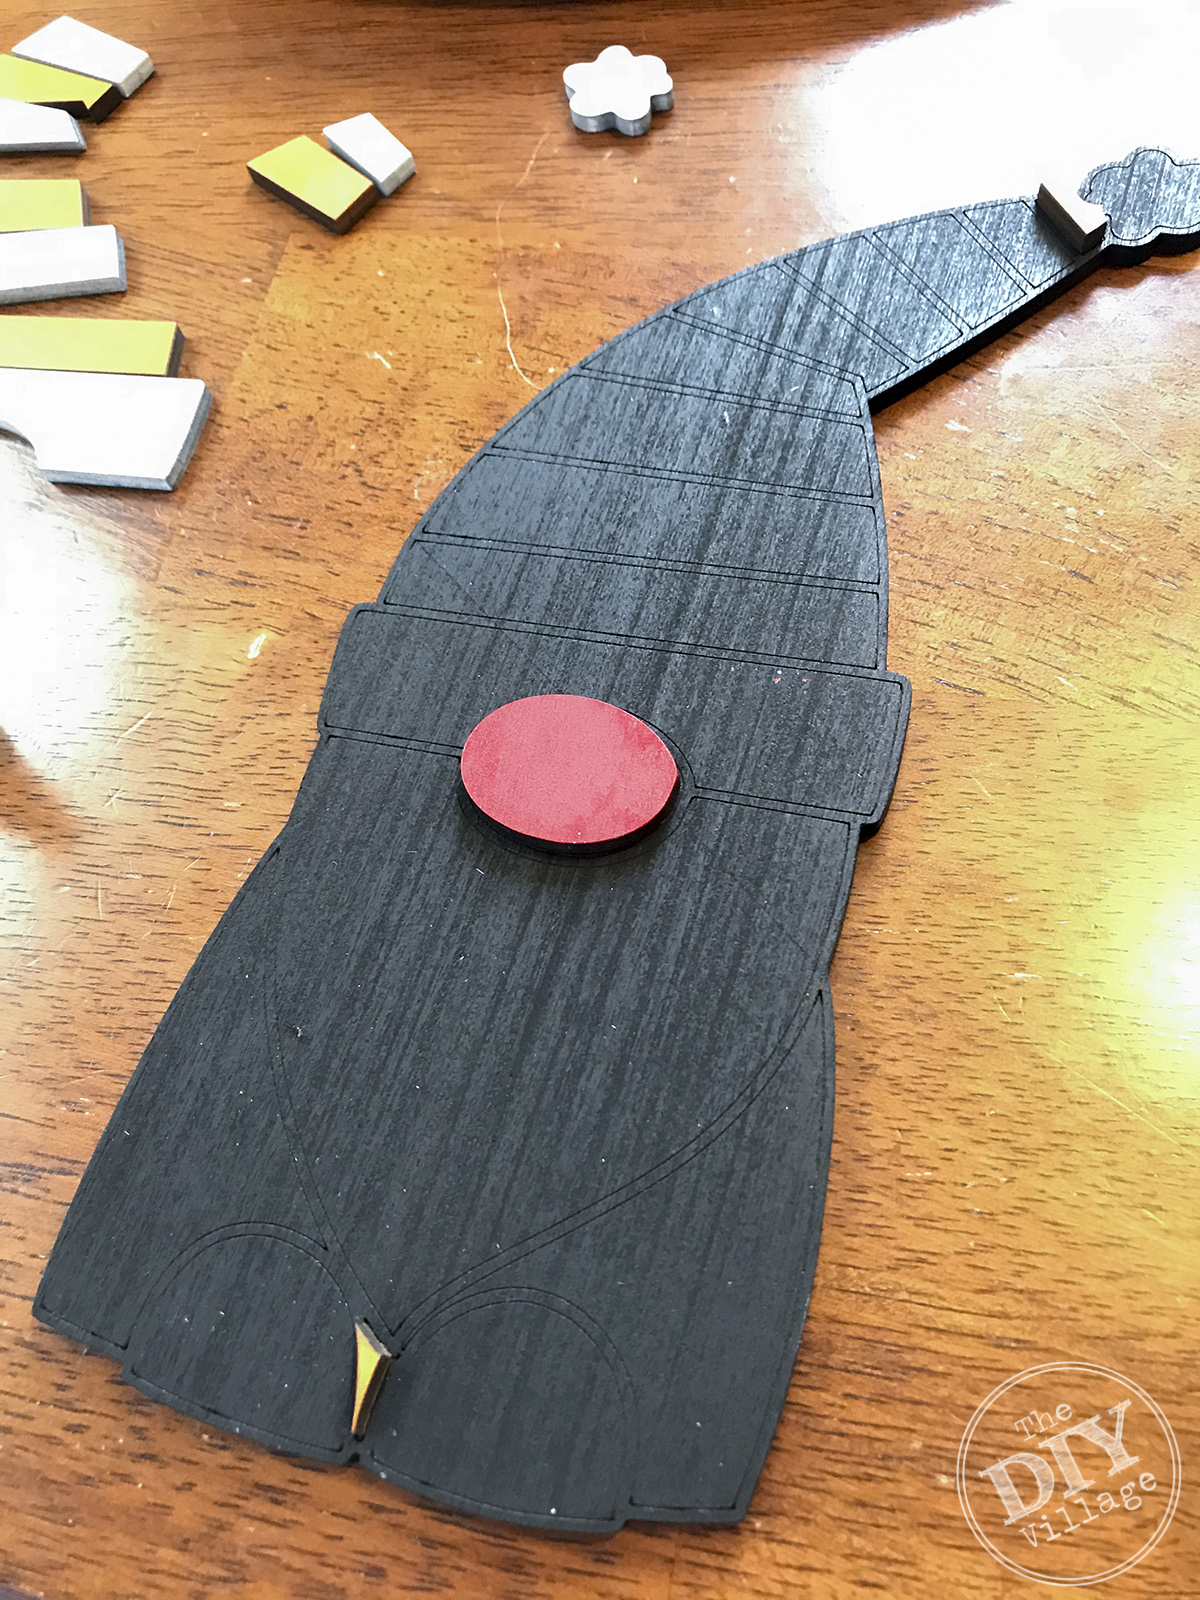 After your paint is cured you can start to glue up your gnomes. I start with the most center detailed pieces that would be hard to insert at the end. For example, the space between Mr.Gnomes feet and his nose were glued first. A good glue to use is a CA glue, found HERE.
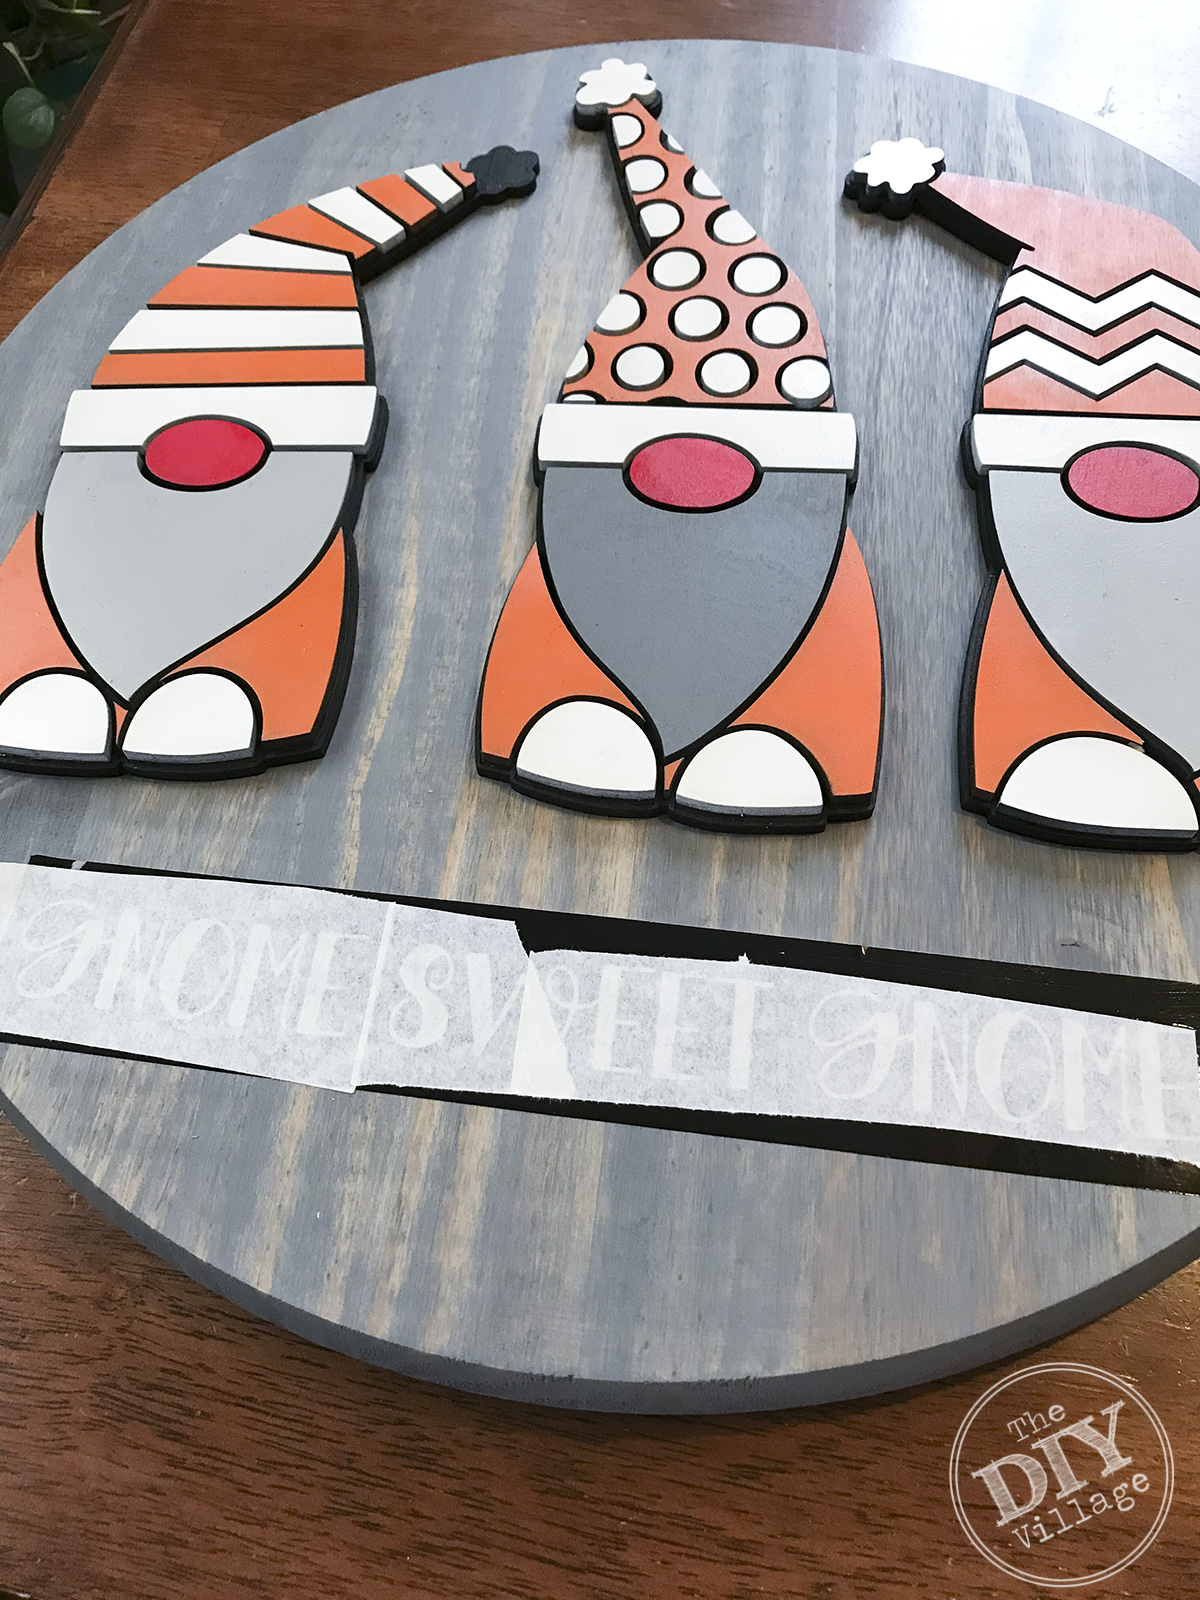 Once the Gnomes are glued it’s time to add your lettering. Place your gnomes in the locations you will glue them down. Find the placement of your phrase and apply the vinyl to the wood and remove the transfer tape.
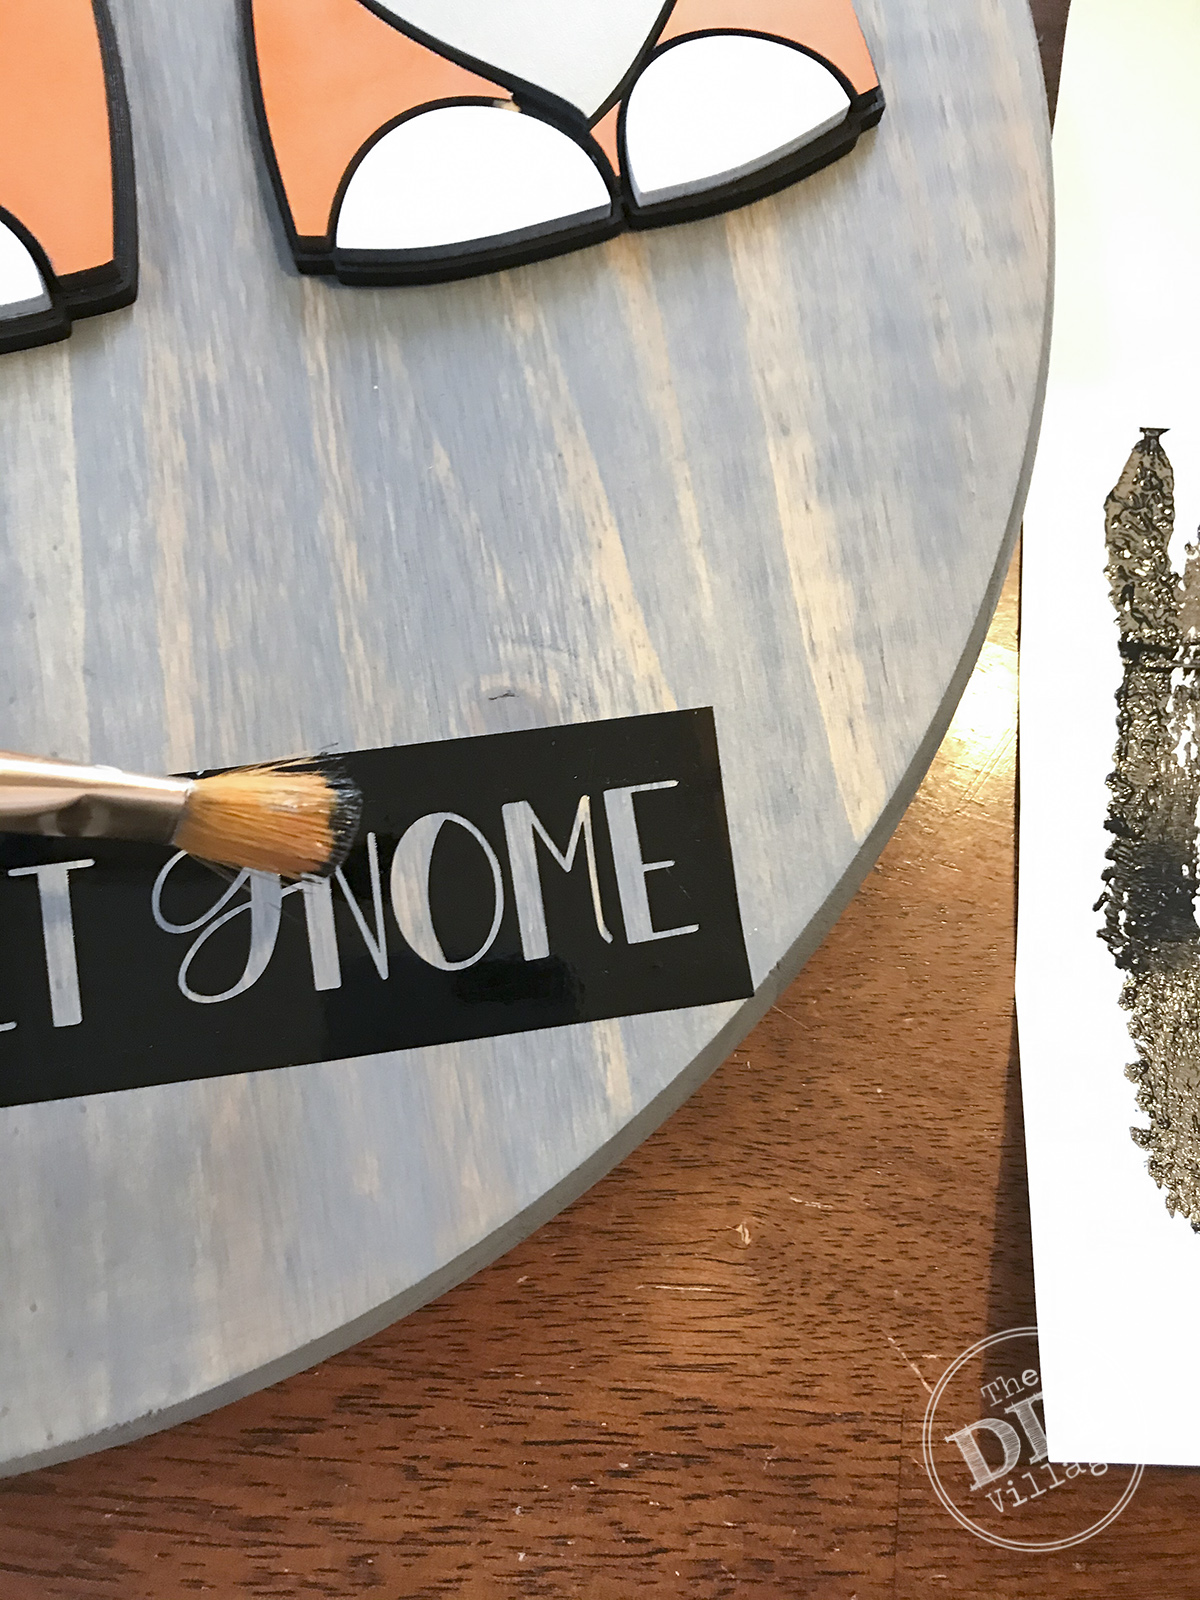 Fill in your letters using a stipple technique to keep from having bleed through under the vinyl. I like to apply 2-3 coats, or until the desired affect is achieved.
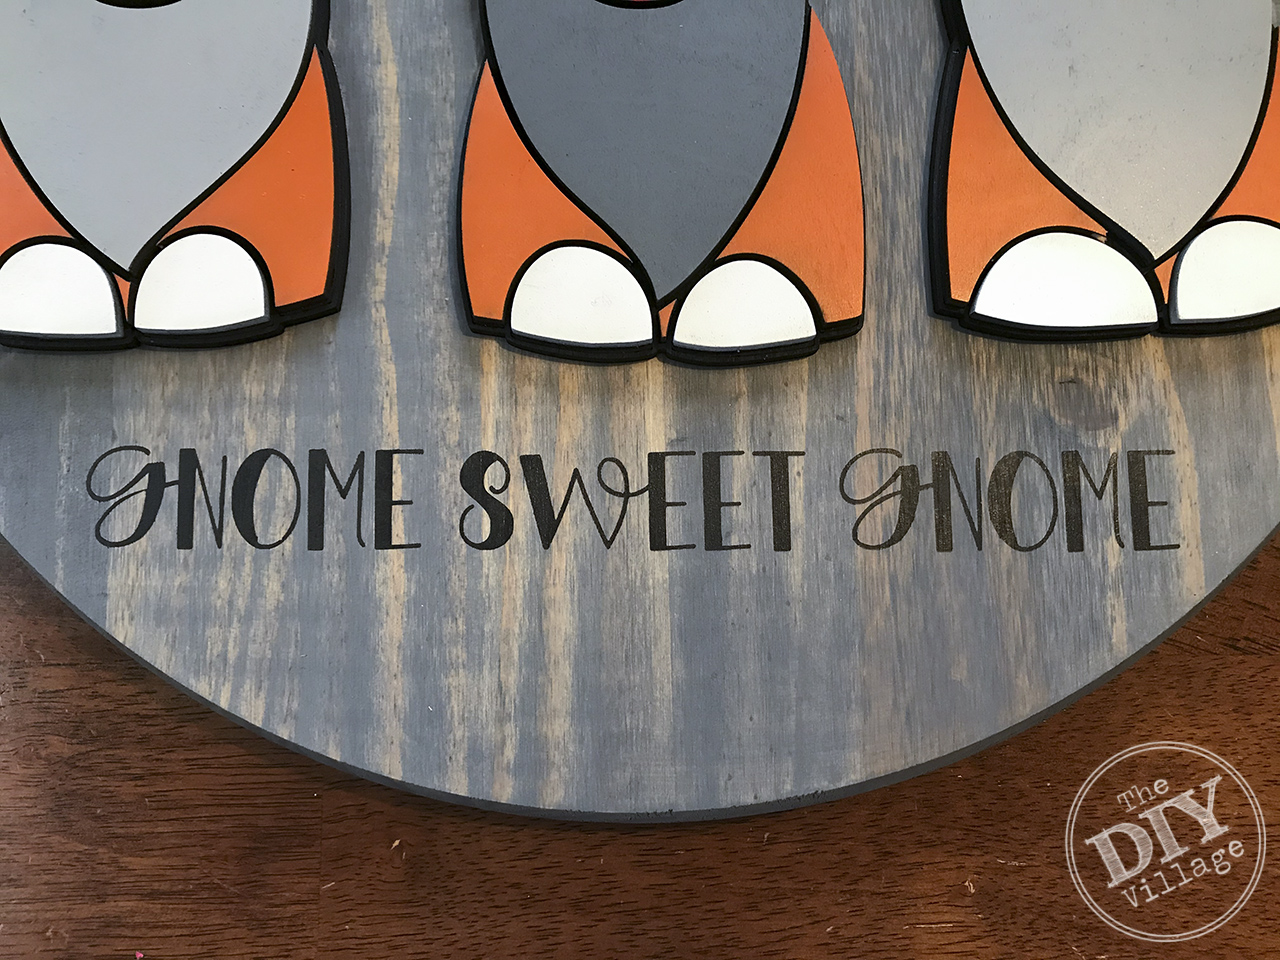 Remove the vinyl and let dry. Once the paint is dry you can seal your sign using a few different products depending on the sheen you would like.
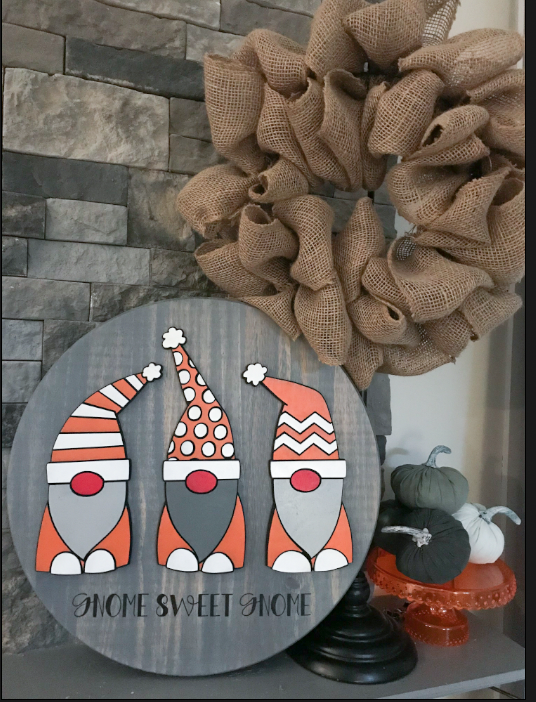 I can’t believe how cute this sign turned out. It’s official, my new obsession is whimsical gnomes. Bring on all the Gnomes folks!
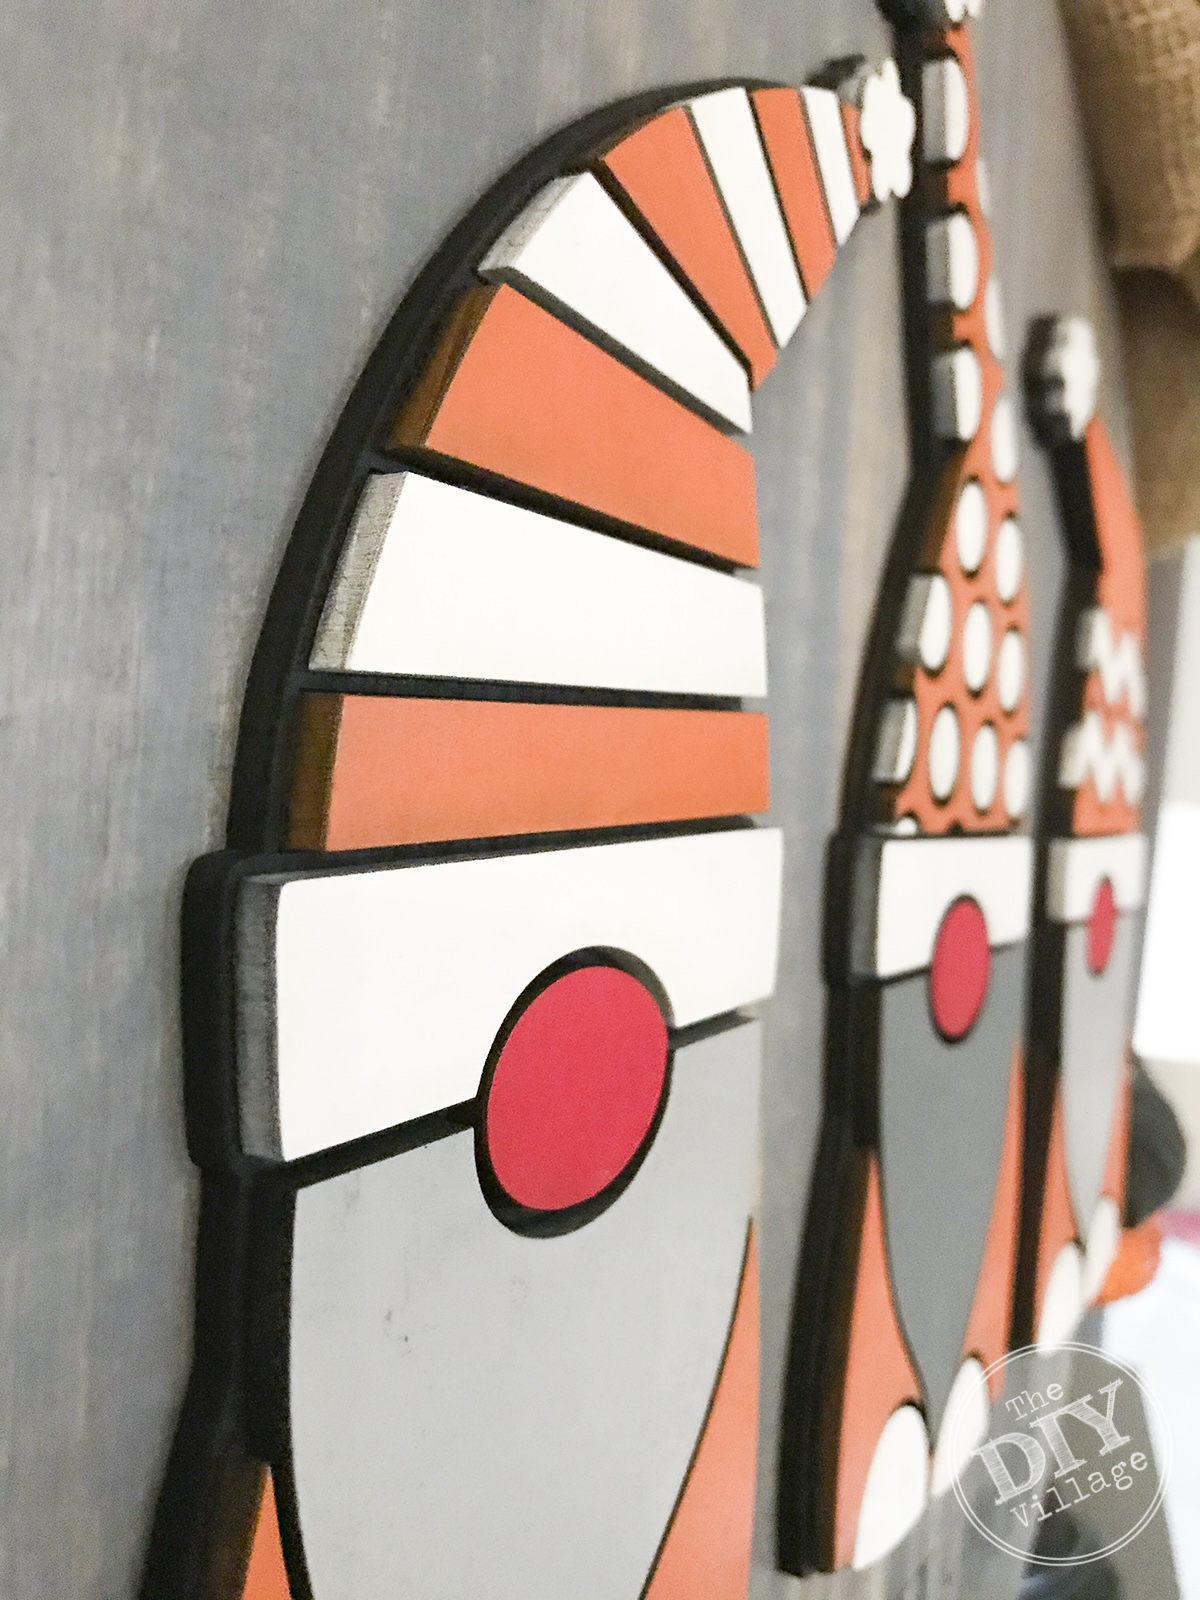 I love how the black base creates a custom outline for each piece.
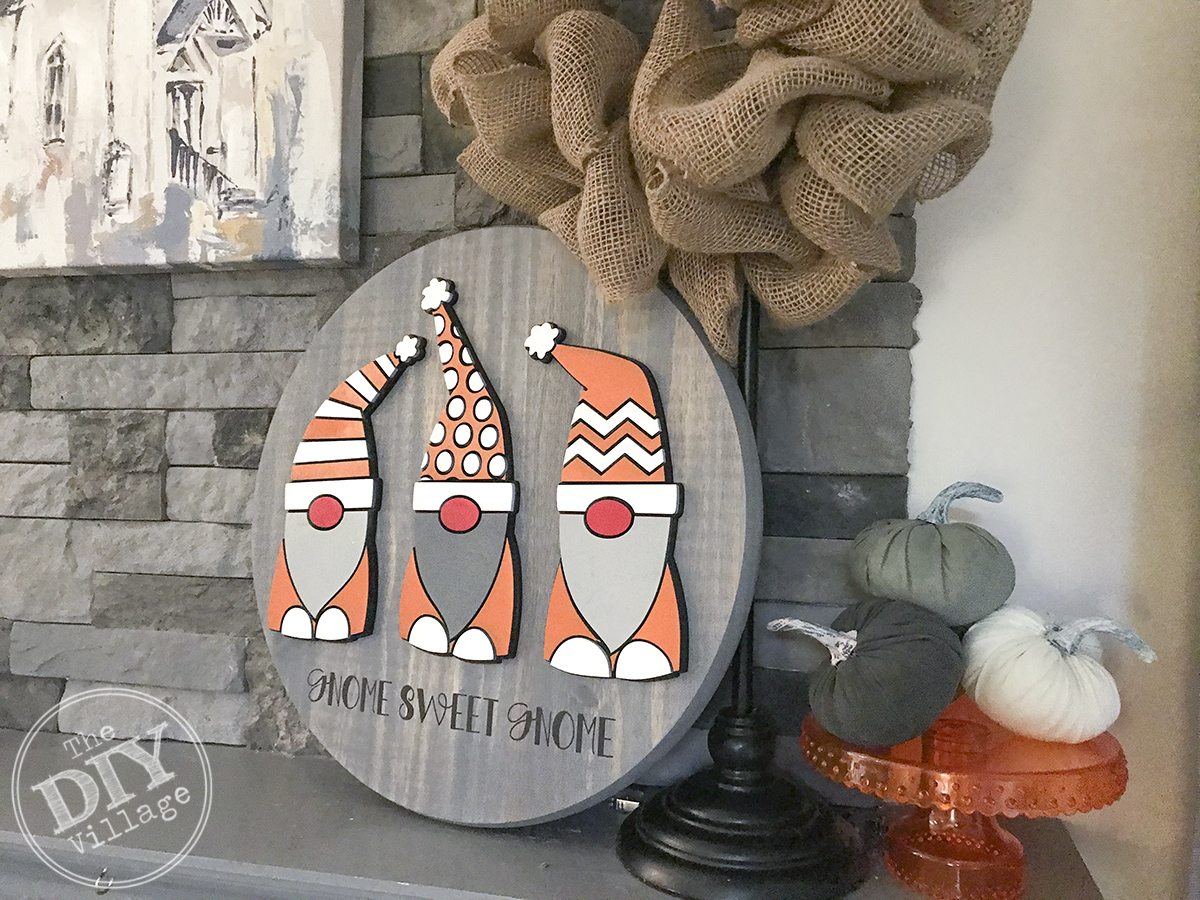 This sign is perfect for the door, wall, or just hanging out on your mantel, like mine is!
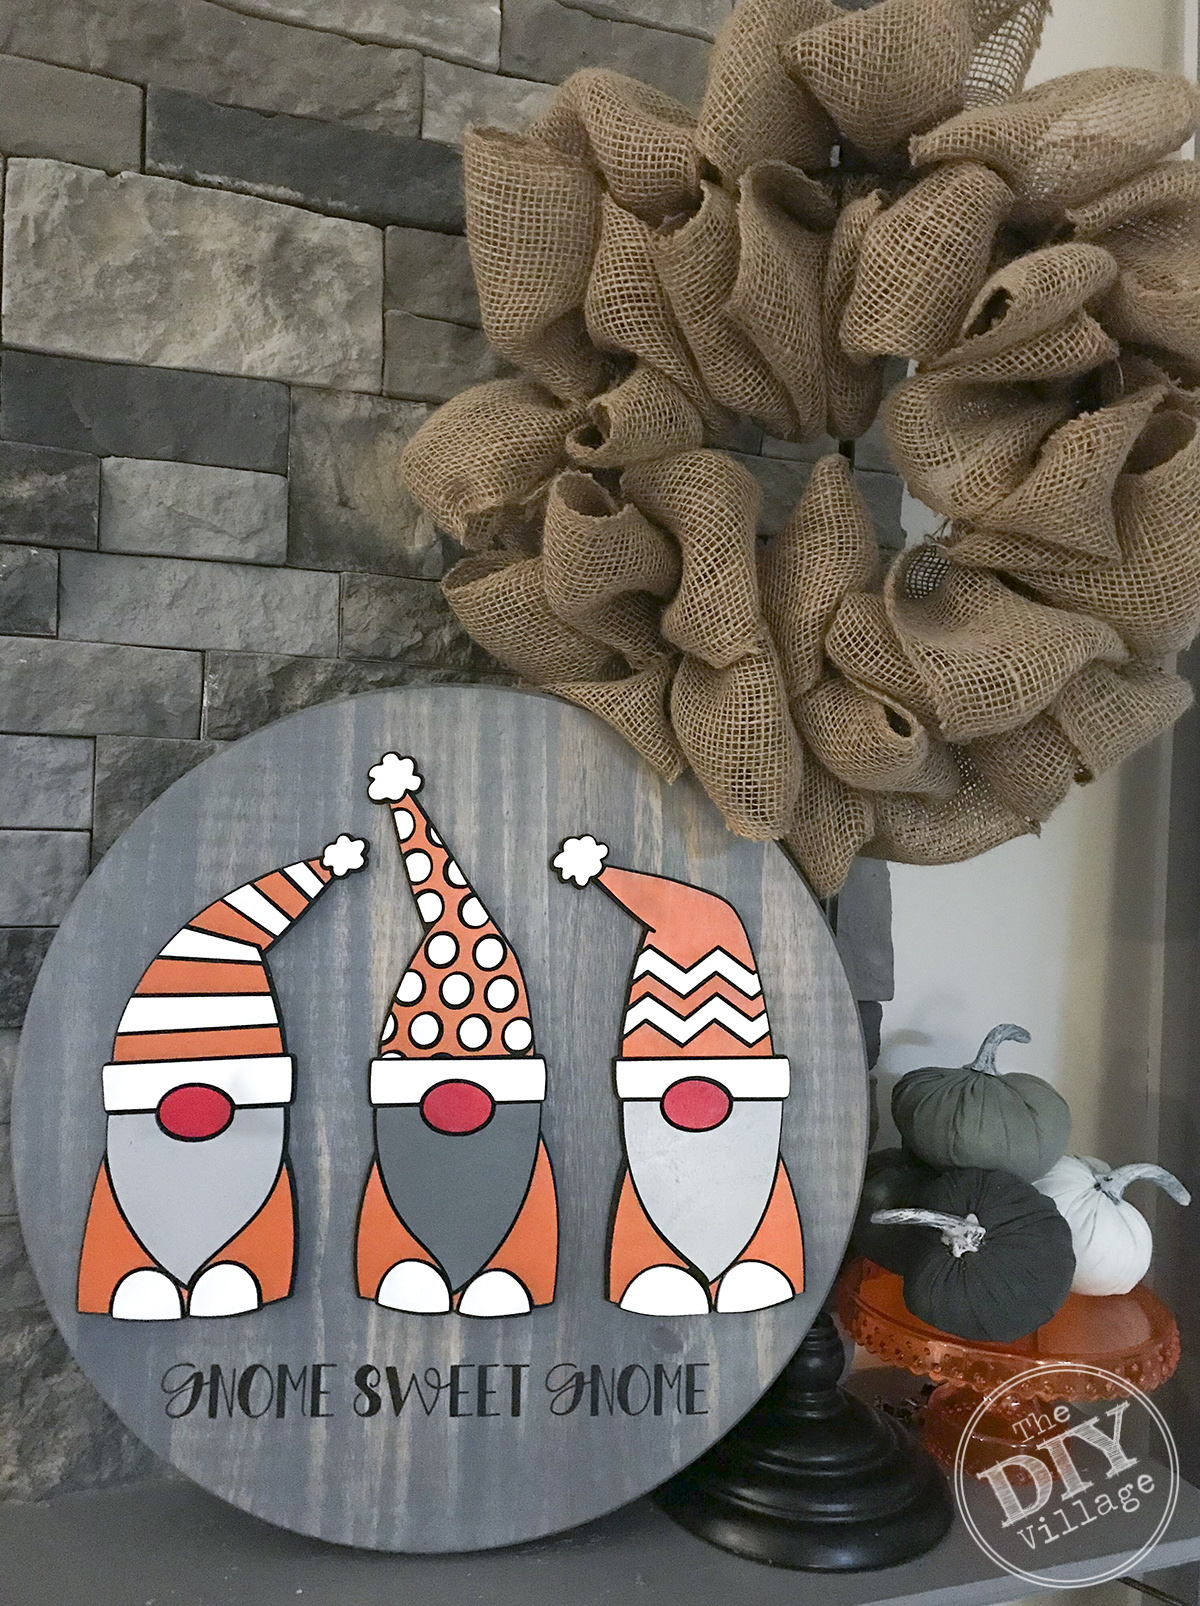 Annnnnd in case you were wondering why I picked orange and white for my little Gnomes? Because Rocky Top is Gnome Sweet Gnome to me! Just in case you forgot or are new here, I’m a VOL fan, through thick and apparently very very very thin.

 See more Creative Wall Projects